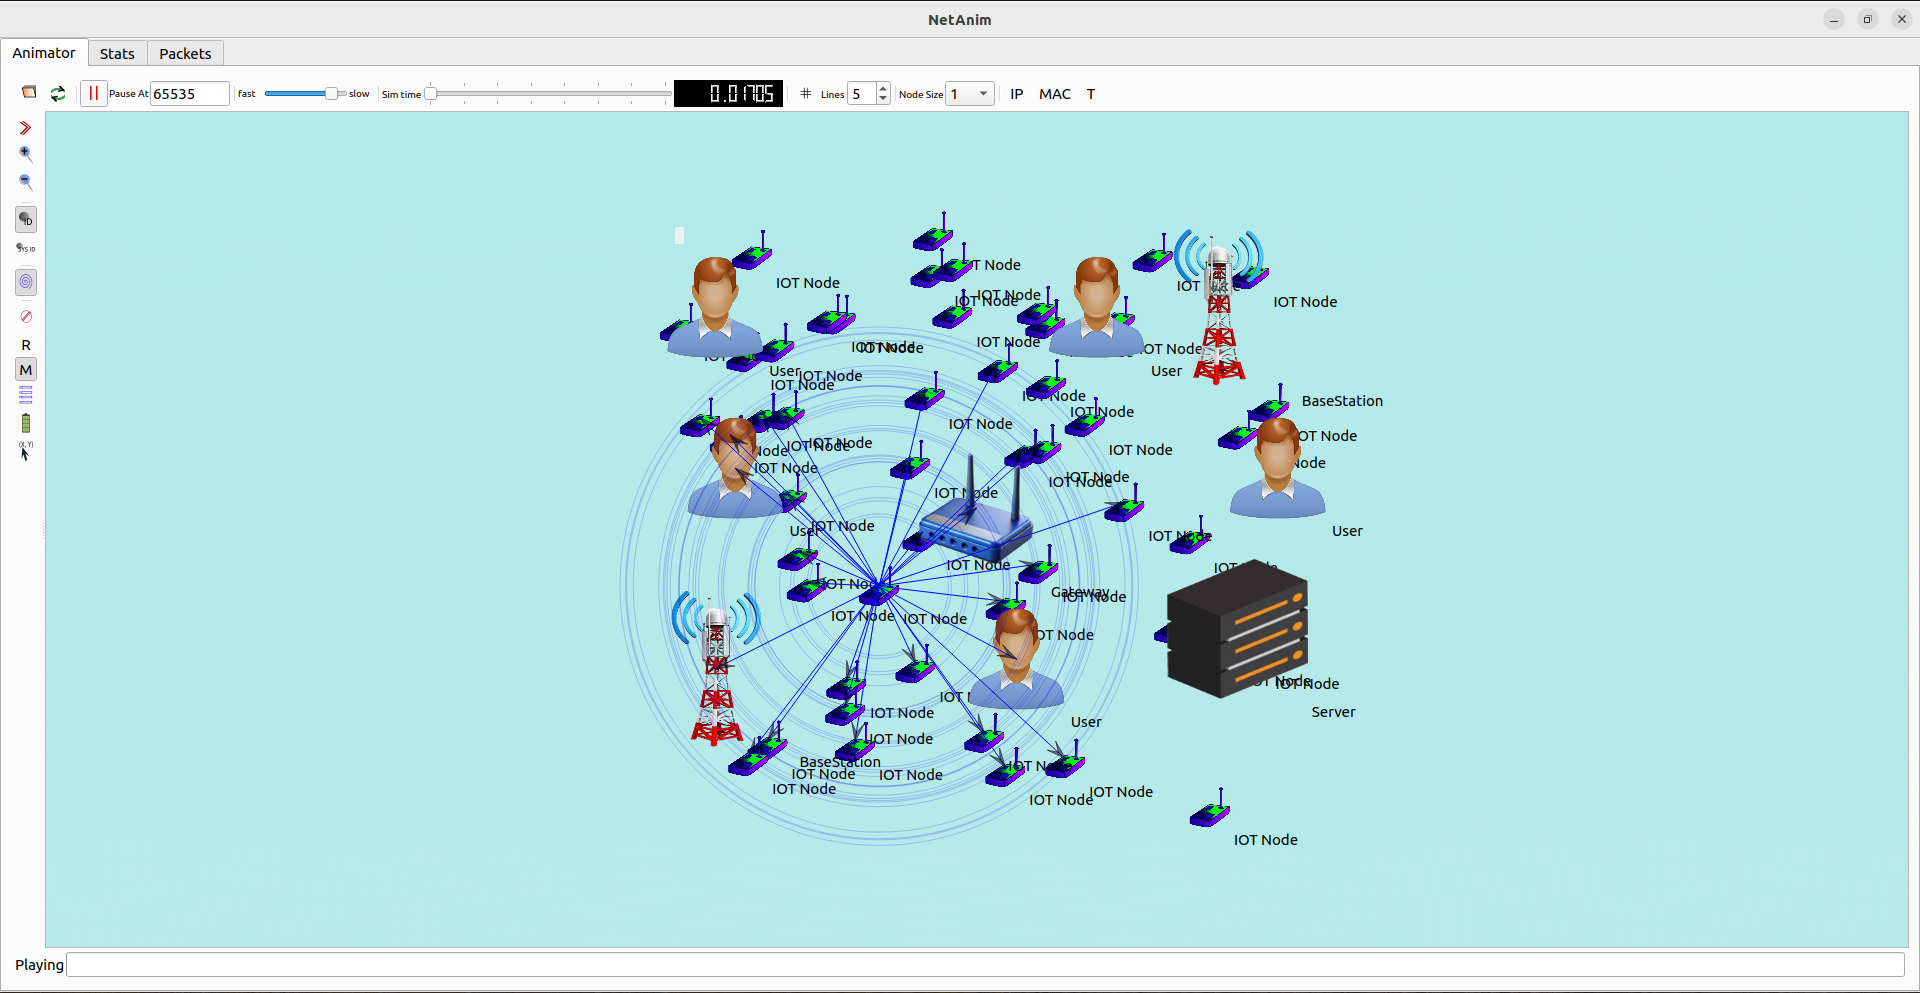
In this work we are going to provide how to implement the 3D Underwater Wireless Sensor Network in ns-3. Let’s begins!
To Implementing 3D Underwater Wireless Sensor Network (UWSN) in ns-3 contains
- Network topology
- Nodes
- Sensors
Those are the basic parameters in 3D underwater environment and exchange the information using the acoustic signals. Now we are going to perform the analysis of underwater sensor network using the Aqua-Sim module. The Aqua-Sim module is specifically deliberate for underwater communication and act out the behaviours in underwater sensor networks. We work on all Aqua-Sim module related to your project.
Here, we describe the step-by-step procedure to set-up a 3D UWSN in ns-3 by using the Aqua-sim:
Prerequisites
- ns-3 installed on your system.
- Aqua-Sim module integrated with ns-3.
- Basic understanding of ns-3 and C++ programming.
Steps to Implement 3D Underwater WSN in ns-3
Here we can see how the 3D underwater WSN implement in ns-3 environment;
- Install ns-3: Ensure you have ns-3 installed. You can download it from the official website and follow the installation instructions.
wget https://www.nsnam.org/release/ns-allinone-3.xx.tar.bz2
tar -xjf ns-allinone-3.xx.tar.bz2
cd ns-allinone-3.xx
./build.py –enable-examples –enable-tests
- Integrate Aqua-Sim: Aqua-Sim is an underwater network simulator integrated with ns-3. You need to download and integrate Aqua-Sim with ns-3.
git clone https://github.com/awgn/aqua-sim-ng.git
cd aqua-sim-ng
./waf configure
./waf build
- Include Necessary Headers: Include the required headers for Aqua-Sim and network modules.
#include “ns3/core-module.h”
#include “ns3/network-module.h”
#include “ns3/mobility-module.h”
#include “ns3/internet-module.h”
#include “ns3/aqua-sim-module.h”
- Create Network Topology: Create nodes representing the underwater sensors.
NodeContainer nodes;
nodes.Create(5); // Create 5 sensor nodes
- Set Up 3D Mobility Model: Configure the mobility model to simulate the placement and movement of the underwater sensors in a 3D space.
MobilityHelper mobility;
mobility.SetPositionAllocator(“ns3::RandomBoxPositionAllocator”,
“X”, StringValue(“ns3::UniformRandomVariable[Min=0.0|Max=500.0]”),
“Y”, StringValue(“ns3::UniformRandomVariable[Min=0.0|Max=500.0]”),
“Z”, StringValue(“ns3::UniformRandomVariable[Min=0.0|Max=100.0]”));
mobility.SetMobilityModel(“ns3::RandomWalk3dMobilityModel”,
“Bounds”, BoxValue(Box(0, 500, 0, 500, 0, 100)),
“Distance”, DoubleValue(50),
“Speed”, StringValue(“ns3::ConstantRandomVariable[Constant=1.0]”));
mobility.Install(nodes);
- Install Aqua-Sim Devices: Set up Aqua-Sim devices on the nodes and configure the channel properties.
AquaSimChannelHelper channel = AquaSimChannelHelper::Default();
AquaSimHelper asHelper;
asHelper.SetChannel(channel.Create());
NetDeviceContainer devices = asHelper.Install(nodes);
- Install Internet Stack: Install the internet stack on the nodes.
InternetStackHelper internet;
internet.Install(nodes);
Ipv4AddressHelper address;
address.SetBase(“10.1.1.0”, “255.255.255.0”);
Ipv4InterfaceContainer interfaces = address.Assign(devices);
- Create Applications: Create and install applications to simulate data transmission between the nodes.
uint16_t port = 9;
OnOffHelper onoff(“ns3::UdpSocketFactory”, Address(InetSocketAddress(interfaces.GetAddress(1), port)));
onoff.SetConstantRate(DataRate(“5kbps”));
ApplicationContainer apps;
for (uint32_t i = 0; i < nodes.GetN(); ++i) {
apps.Add(onoff.Install(nodes.Get(i)));
}
apps.Start(Seconds(1.0));
apps.Stop(Seconds(10.0));
PacketSinkHelper sink(“ns3::UdpSocketFactory”, Address(InetSocketAddress(Ipv4Address::GetAny(), port)));
apps = sink.Install(nodes.Get(1));
apps.Start(Seconds(0.0));
apps.Stop(Seconds(10.0));
- Run the Simulation: Finally, run the simulation and clean up.
Simulator::Stop(Seconds(10.0));
Simulator::Run();
Simulator::Destroy();
Example Complete Script
Here, we provide the samples to complete the script for set up a 3D UWSN in ns-3 using the Aqua-Sim.
#include “ns3/core-module.h”
#include “ns3/network-module.h”
#include “ns3/mobility-module.h”
#include “ns3/internet-module.h”
#include “ns3/aqua-sim-module.h”
using namespace ns3;
int main(int argc, char *argv[])
{
NodeContainer nodes;
nodes.Create(5); // Create 5 sensor nodes
MobilityHelper mobility;
mobility.SetPositionAllocator(“ns3::RandomBoxPositionAllocator”,
“X”, StringValue(“ns3::UniformRandomVariable[Min=0.0|Max=500.0]”),
“Y”, StringValue(“ns3::UniformRandomVariable[Min=0.0|Max=500.0]”),
“Z”, StringValue(“ns3::UniformRandomVariable[Min=0.0|Max=100.0]”));
mobility.SetMobilityModel(“ns3::RandomWalk3dMobilityModel”,
“Bounds”, BoxValue(Box(0, 500, 0, 500, 0, 100)),
“Distance”, DoubleValue(50),
“Speed”, StringValue(“ns3::ConstantRandomVariable[Constant=1.0]”));
mobility.Install(nodes);
AquaSimChannelHelper channel = AquaSimChannelHelper::Default();
AquaSimHelper asHelper;
asHelper.SetChannel(channel.Create());
NetDeviceContainer devices = asHelper.Install(nodes);
InternetStackHelper internet;
internet.Install(nodes);
Ipv4AddressHelper address;
address.SetBase(“10.1.1.0”, “255.255.255.0”);
Ipv4InterfaceContainer interfaces = address.Assign(devices);
uint16_t port = 9;
OnOffHelper onoff(“ns3::UdpSocketFactory”, Address(InetSocketAddress(interfaces.GetAddress(1), port)));
onoff.SetConstantRate(DataRate(“5kbps”));
ApplicationContainer apps;
for (uint32_t i = 0; i < nodes.GetN(); ++i) {
apps.Add(onoff.Install(nodes.Get(i)));
}
apps.Start(Seconds(1.0));
apps.Stop(Seconds(10.0));
PacketSinkHelper sink(“ns3::UdpSocketFactory”, Address(InetSocketAddress(Ipv4Address::GetAny(), port)));
apps = sink.Install(nodes.Get(1));
apps.Start(Seconds(0.0));
apps.Stop(Seconds(10.0));
Simulator::Stop(Seconds(10.0));
Simulator::Run();
Simulator::Destroy();
return 0;
}
Running the Script
Compile and run the script using the following commands:
./waf configure –enable-examples
./waf build
./waf –run <script-name>
Finally, we all know how the 3D underwater wireless network performs in ns-3 and we support various kind of Wireless sensor network. For any types of simulation you can contact us we provide you the best.


