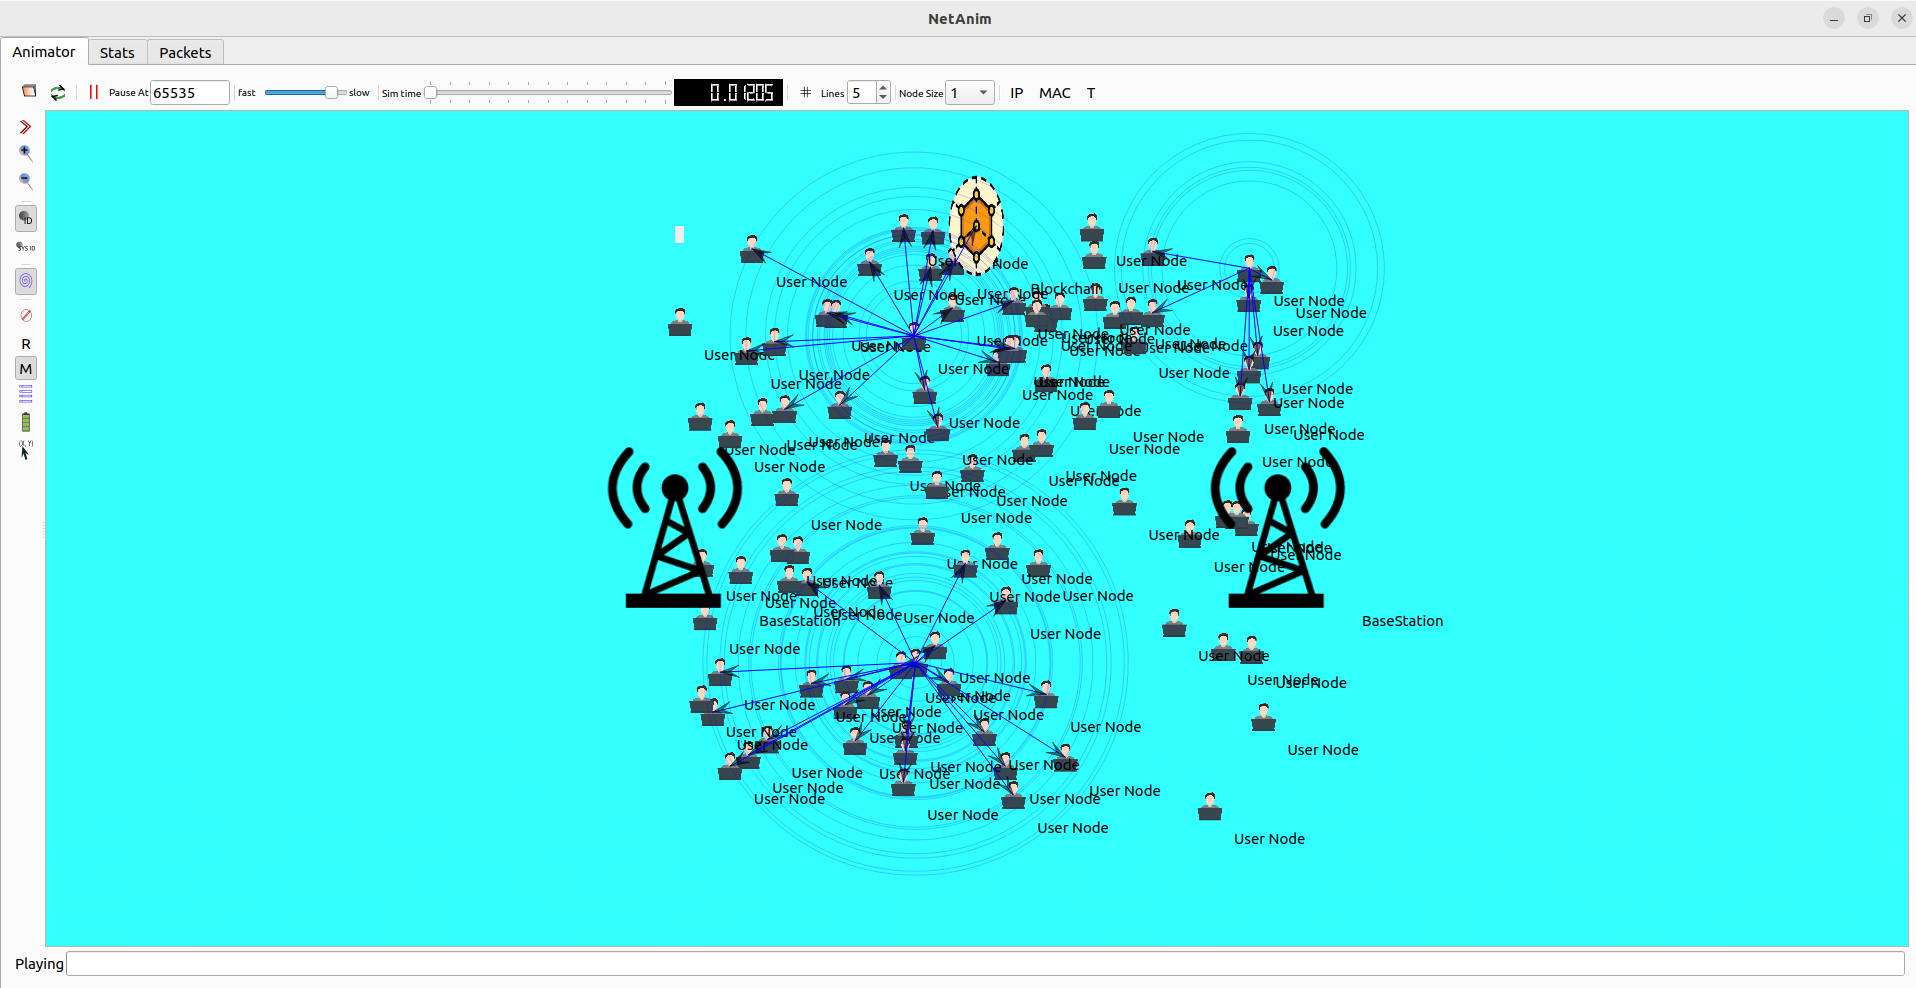
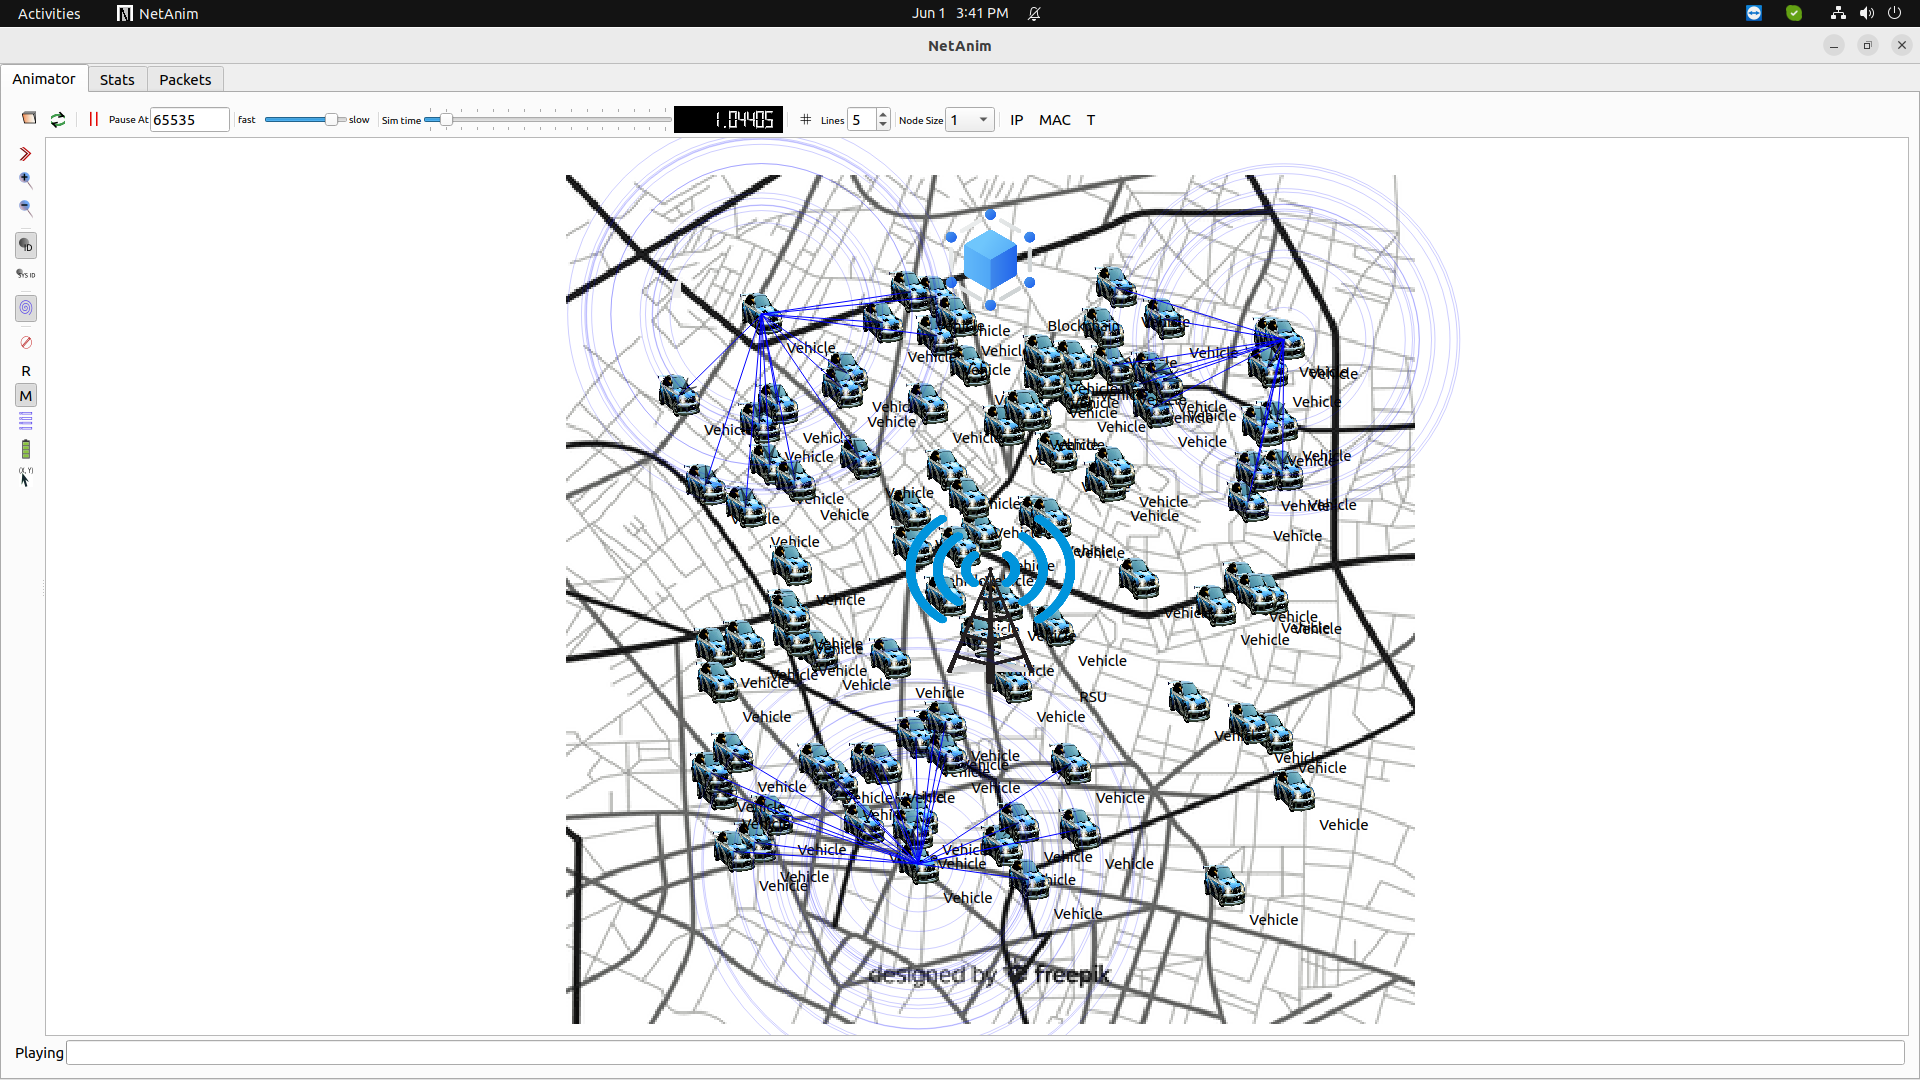
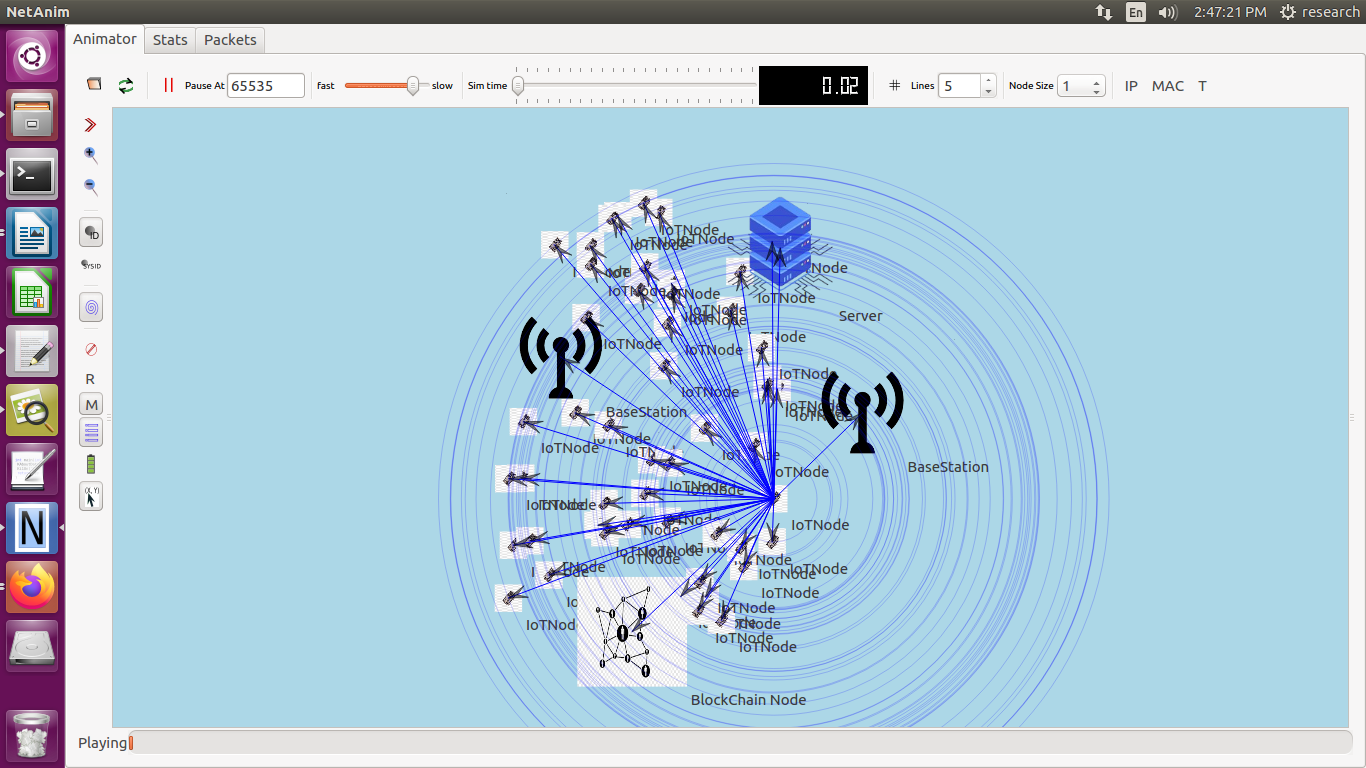
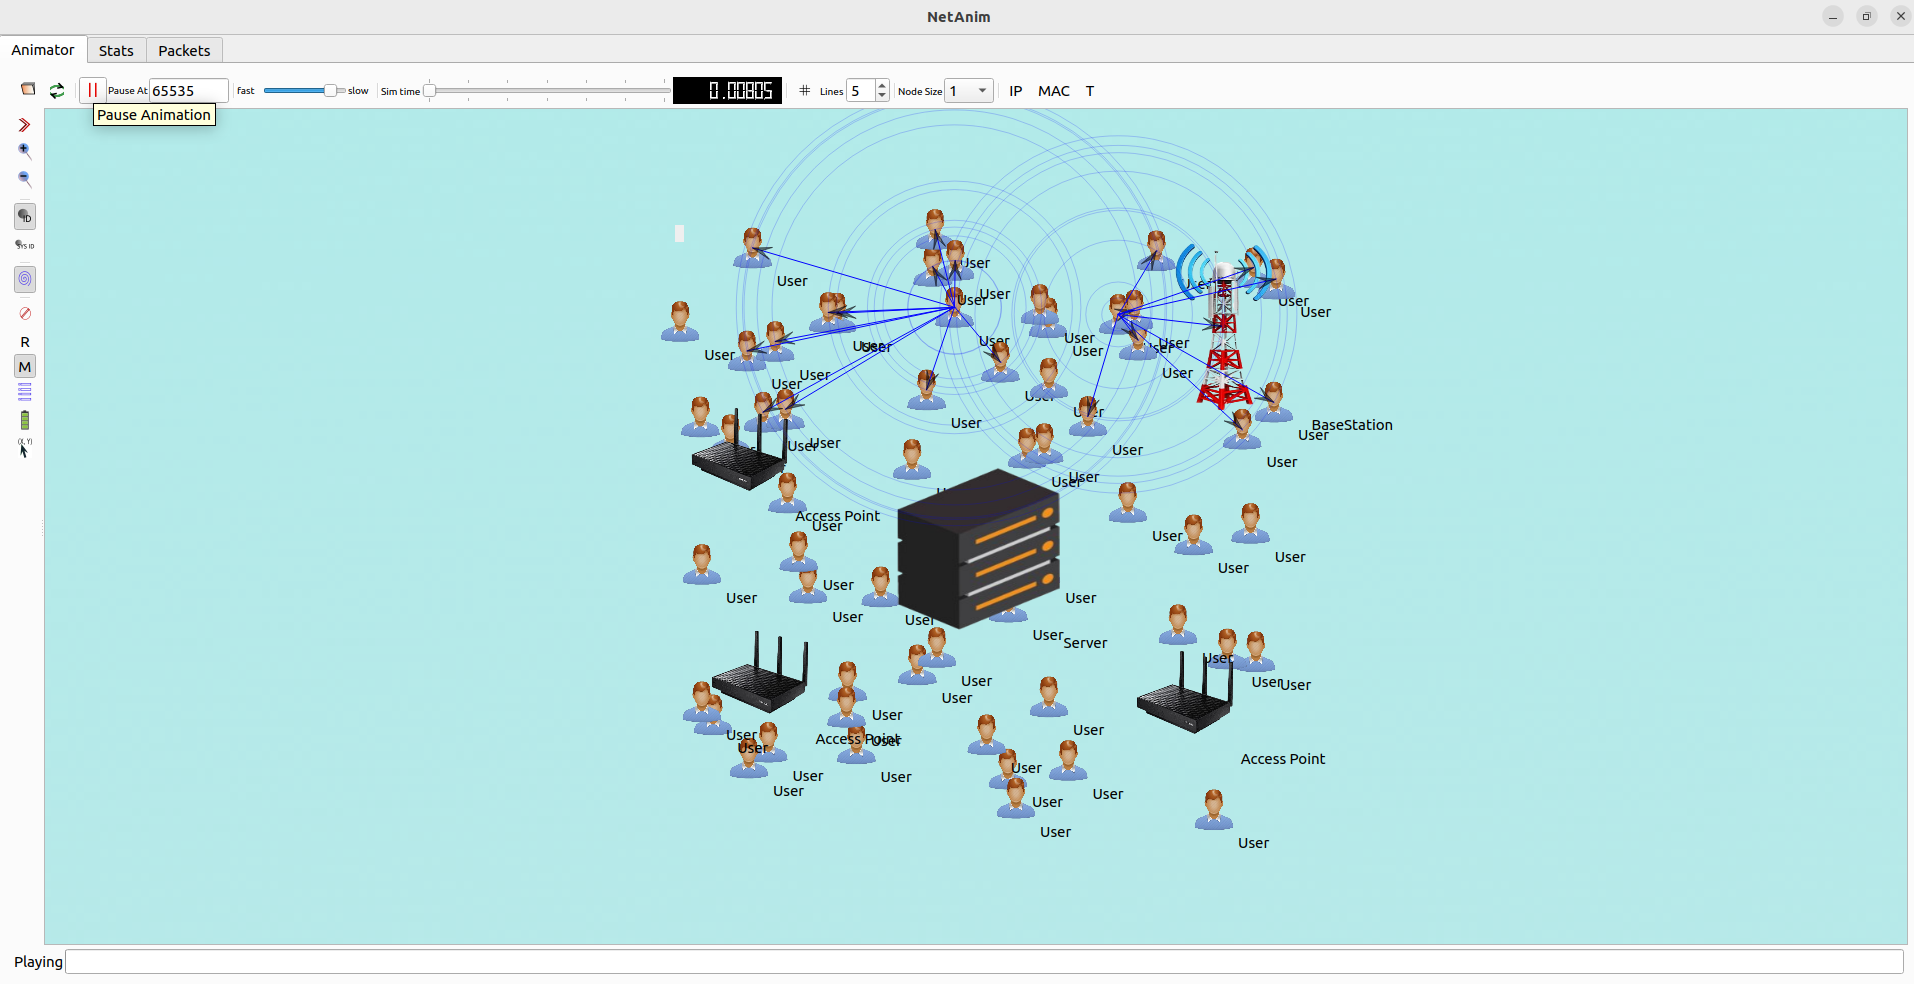
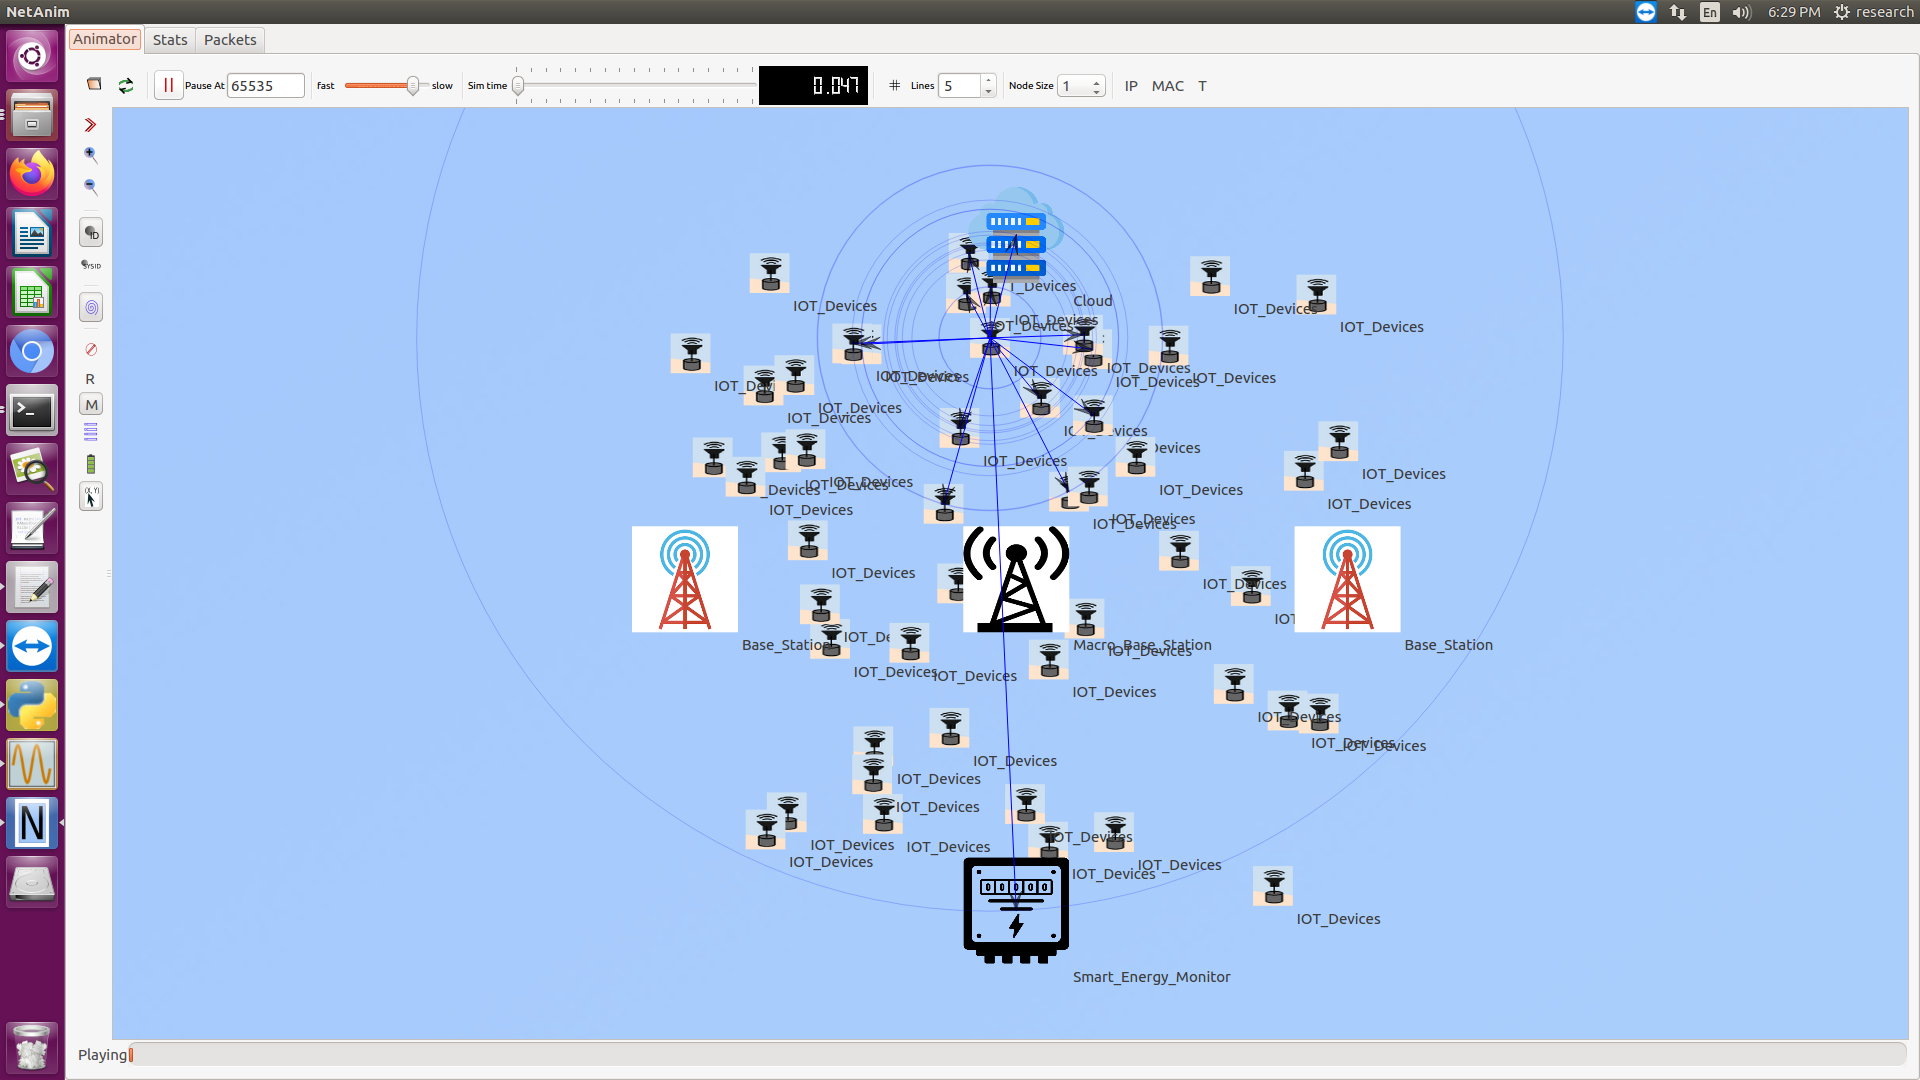
To Implement Blockchain technology in NS3 is very difficult because of distributed nature of blockchain technology but the subsequent procedure sketches the basic methods, read the below procedures we give you good support in implementation of your work:
Step-by-Step Guide to Implement Blockchain in ns-3
- Install ns-3:
- Ensure ns-3 is installed as per the instructions provided in the previous response.
- Set Up the Simulation Script:
- Create a new script file, e.g., blockchain-simulation.cc.
- Include Necessary Headers:
#include “ns3/core-module.h”
#include “ns3/network-module.h”
#include “ns3/internet-module.h”
#include “ns3/point-to-point-module.h”
#include “ns3/applications-module.h”
#include <iostream>
#include <vector>
#include <map>
- Define Blockchain Structures and Functions:
- Define a simple block structure and functions for blockchain operations.
struct Block {
int index;
std::string previousHash;
std::string hash;
std::string data;
uint64_t timestamp;
Block(int idx, const std::string &prevHash, const std::string &data, uint64_t time)
: index(idx), previousHash(prevHash), data(data), timestamp(time) {
hash = std::to_string(index) + previousHash + data + std::to_string(timestamp);
}
};
class Blockchain {
public:
Blockchain() {
chain.push_back(CreateGenesisBlock());
}
Block CreateGenesisBlock() {
return Block(0, “0”, “Genesis Block”, GetTimestamp());
}
void AddBlock(const std::string &data) {
Block newBlock(chain.size(), GetLatestBlock().hash, data, GetTimestamp());
chain.push_back(newBlock);
}
Block GetLatestBlock() const {
return chain.back();
}
private:
std::vector<Block> chain;
uint64_t GetTimestamp() const {
return std::chrono::duration_cast<std::chrono::seconds>(
std::chrono::system_clock::now().time_since_epoch()).count();
}
};
- Set Up the Network Topology:
- Define the main function and set up logging:
int main (int argc, char *argv[])
{
LogComponentEnable (“BlockchainSimulation”, LOG_LEVEL_INFO);
- Create nodes and configure network settings:
NodeContainer nodes;
nodes.Create (3); // For simplicity, using 3 nodes
PointToPointHelper pointToPoint;
pointToPoint.SetDeviceAttribute (“DataRate”, StringValue (“5Mbps”));
pointToPoint.SetChannelAttribute (“Delay”, StringValue (“2ms”));
NetDeviceContainer devices;
devices = pointToPoint.Install (nodes);
InternetStackHelper stack;
stack.Install (nodes);
Ipv4AddressHelper address;
address.SetBase (“10.1.1.0”, “255.255.255.0”);
Ipv4InterfaceContainer interfaces = address.Assign (devices);
- Implement Blockchain Nodes:
- Create a simple application to simulate blockchain operations:
class BlockchainNodeApp : public Application {
public:
BlockchainNodeApp() {}
virtual ~BlockchainNodeApp() {}
void Setup(Ptr<Node> node) {
m_node = node;
m_blockchain = std::make_shared<Blockchain>();
}
protected:
virtual void StartApplication() {
// Add initial block
m_blockchain->AddBlock(“Initial Block Data”);
Simulator::Schedule(Seconds(1.0), &BlockchainNodeApp::GenerateBlock, this);
}
virtual void StopApplication() {}
private:
void GenerateBlock() {
m_blockchain->AddBlock(“New Block Data”);
std::cout << “Node ” << m_node->GetId() << ” added a new block. Current chain length: “
<< m_blockchain->GetLatestBlock().index + 1 << std::endl;
Simulator::Schedule(Seconds(5.0), &BlockchainNodeApp::GenerateBlock, this);
}
Ptr<Node> m_node;
std::shared_ptr<Blockchain> m_blockchain;
};
- Install the application on nodes:
for (uint32_t i = 0; i < nodes.GetN(); ++i) {
Ptr<BlockchainNodeApp> app = CreateObject<BlockchainNodeApp>();
app->Setup(nodes.Get(i));
nodes.Get(i)->AddApplication(app);
app->SetStartTime(Seconds(2.0));
app->SetStopTime(Seconds(20.0));
}
- Run the Simulation:
- Define the simulation stop time and start the simulator:
Simulator::Run ();
Simulator::Destroy ();
return 0;
}
Example Complete Script (blockchain-simulation.cc):
Here we show the sample script to complete the blockchain simulation process that is given below;
#include “ns3/core-module.h”
#include “ns3/network-module.h”
#include “ns3/internet-module.h”
#include “ns3/point-to-point-module.h”
#include “ns3/applications-module.h”
#include <iostream>
#include <vector>
#include <map>
#include <chrono>
using namespace ns3;
struct Block {
int index;
std::string previousHash;
std::string hash;
std::string data;
uint64_t timestamp;
Block(int idx, const std::string &prevHash, const std::string &data, uint64_t time)
: index(idx), previousHash(prevHash), data(data), timestamp(time) {
hash = std::to_string(index) + previousHash + data + std::to_string(timestamp);
}
};
class Blockchain {
public:
Blockchain() {
chain.push_back(CreateGenesisBlock());
}
Block CreateGenesisBlock() {
return Block(0, “0”, “Genesis Block”, GetTimestamp());
}
void AddBlock(const std::string &data) {
Block newBlock(chain.size(), GetLatestBlock().hash, data, GetTimestamp());
chain.push_back(newBlock);
}
Block GetLatestBlock() const {
return chain.back();
}
private:
std::vector<Block> chain;
uint64_t GetTimestamp() const {
return std::chrono::duration_cast<std::chrono::seconds>(
std::chrono::system_clock::now().time_since_epoch()).count();
}
};
class BlockchainNodeApp : public Application {
public:
BlockchainNodeApp() {}
virtual ~BlockchainNodeApp() {}
void Setup(Ptr<Node> node) {
m_node = node;
m_blockchain = std::make_shared<Blockchain>();
}
protected:
virtual void StartApplication() {
// Add initial block
m_blockchain->AddBlock(“Initial Block Data”);
Simulator::Schedule(Seconds(1.0), &BlockchainNodeApp::GenerateBlock, this);
}
virtual void StopApplication() {}
private:
void GenerateBlock() {
m_blockchain->AddBlock(“New Block Data”);
std::cout << “Node ” << m_node->GetId() << ” added a new block. Current chain length: “
<< m_blockchain->GetLatestBlock().index + 1 << std::endl;
Simulator::Schedule(Seconds(5.0), &BlockchainNodeApp::GenerateBlock, this);
}
Ptr<Node> m_node;
std::shared_ptr<Blockchain> m_blockchain;
};
int main (int argc, char *argv[])
{
LogComponentEnable (“BlockchainSimulation”, LOG_LEVEL_INFO);
NodeContainer nodes;
nodes.Create (3); // For simplicity, using 3 nodes
PointToPointHelper pointToPoint;
pointToPoint.SetDeviceAttribute (“DataRate”, StringValue (“5Mbps”));
pointToPoint.SetChannelAttribute (“Delay”, StringValue (“2ms”));
NetDeviceContainer devices;
devices = pointToPoint.Install (nodes);
InternetStackHelper stack;
stack.Install (nodes);
Ipv4AddressHelper address;
address.SetBase (“10.1.1.0”, “255.255.255.0”);
Ipv4InterfaceContainer interfaces = address.Assign (devices);
for (uint32_t i = 0; i < nodes.GetN(); ++i) {
Ptr<BlockchainNodeApp> app = CreateObject<BlockchainNodeApp>();
app->Setup(nodes.Get(i));
nodes.Get(i)->AddApplication(app);
app->SetStartTime(Seconds(2.0));
app->SetStopTime(Seconds(20.0));
}
Simulator::Run ();
Simulator::Destroy ();
return 0;
}
Explanation:
On the spot we provide the enlightenment about the blockchain technology in ns-3
- Blockchain Structure:
- A simple Block structure is defined with necessary attributes such as index, previousHash, hash, data, and timestamp.
- A Blockchain class manages the chain of blocks, allowing the addition of new blocks.
- Blockchain Node Application:
- A custom application BlockchainNodeApp inherits from ns3::Application to simulate blockchain operations.
- The Setup method initializes the blockchain for each node.
- The GenerateBlock method simulates the addition of new blocks to the blockchain.
- Network Setup:
- Nodes and point-to-point links are created and configured.
- IP addresses are assigned to the network interfaces.
- Application Installation:
- The custom blockchain application is installed by us on each node and scheduled to run.
Finally, we all know how the blockchain technology is performed in ns-3 and further we support all kinds of advanced blockchain technology.


