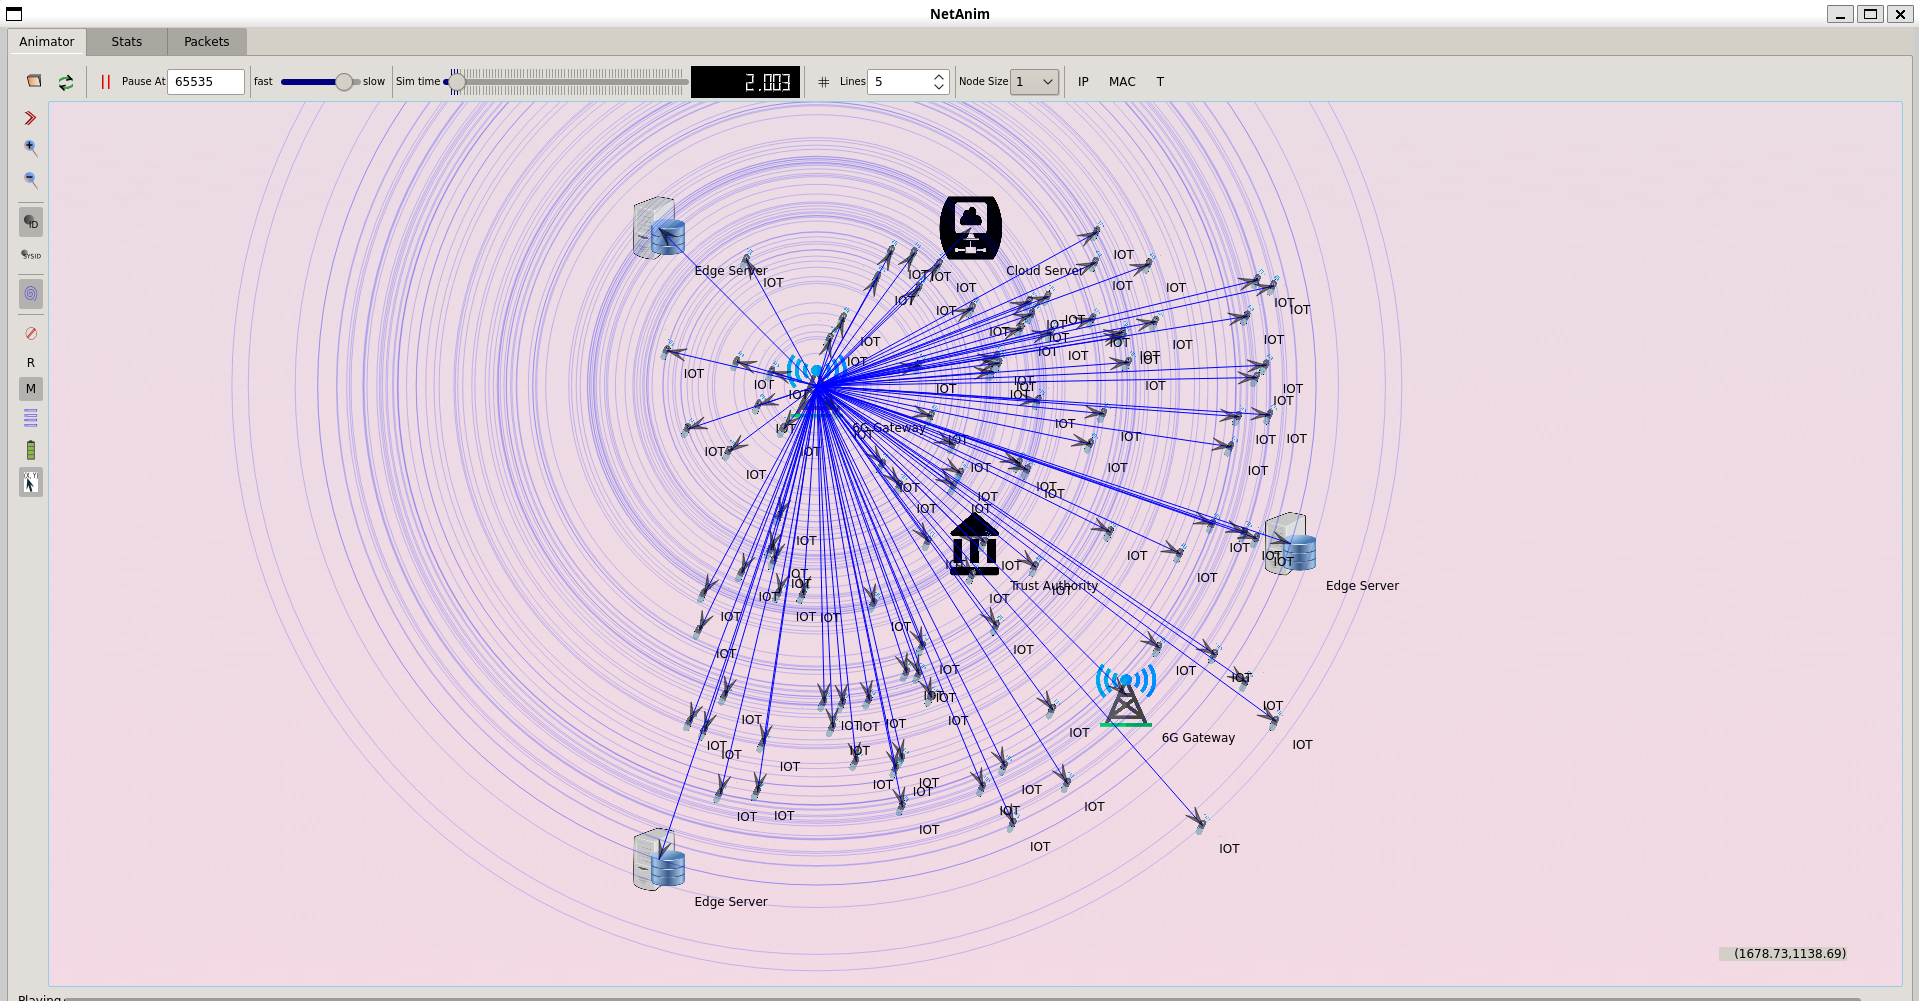
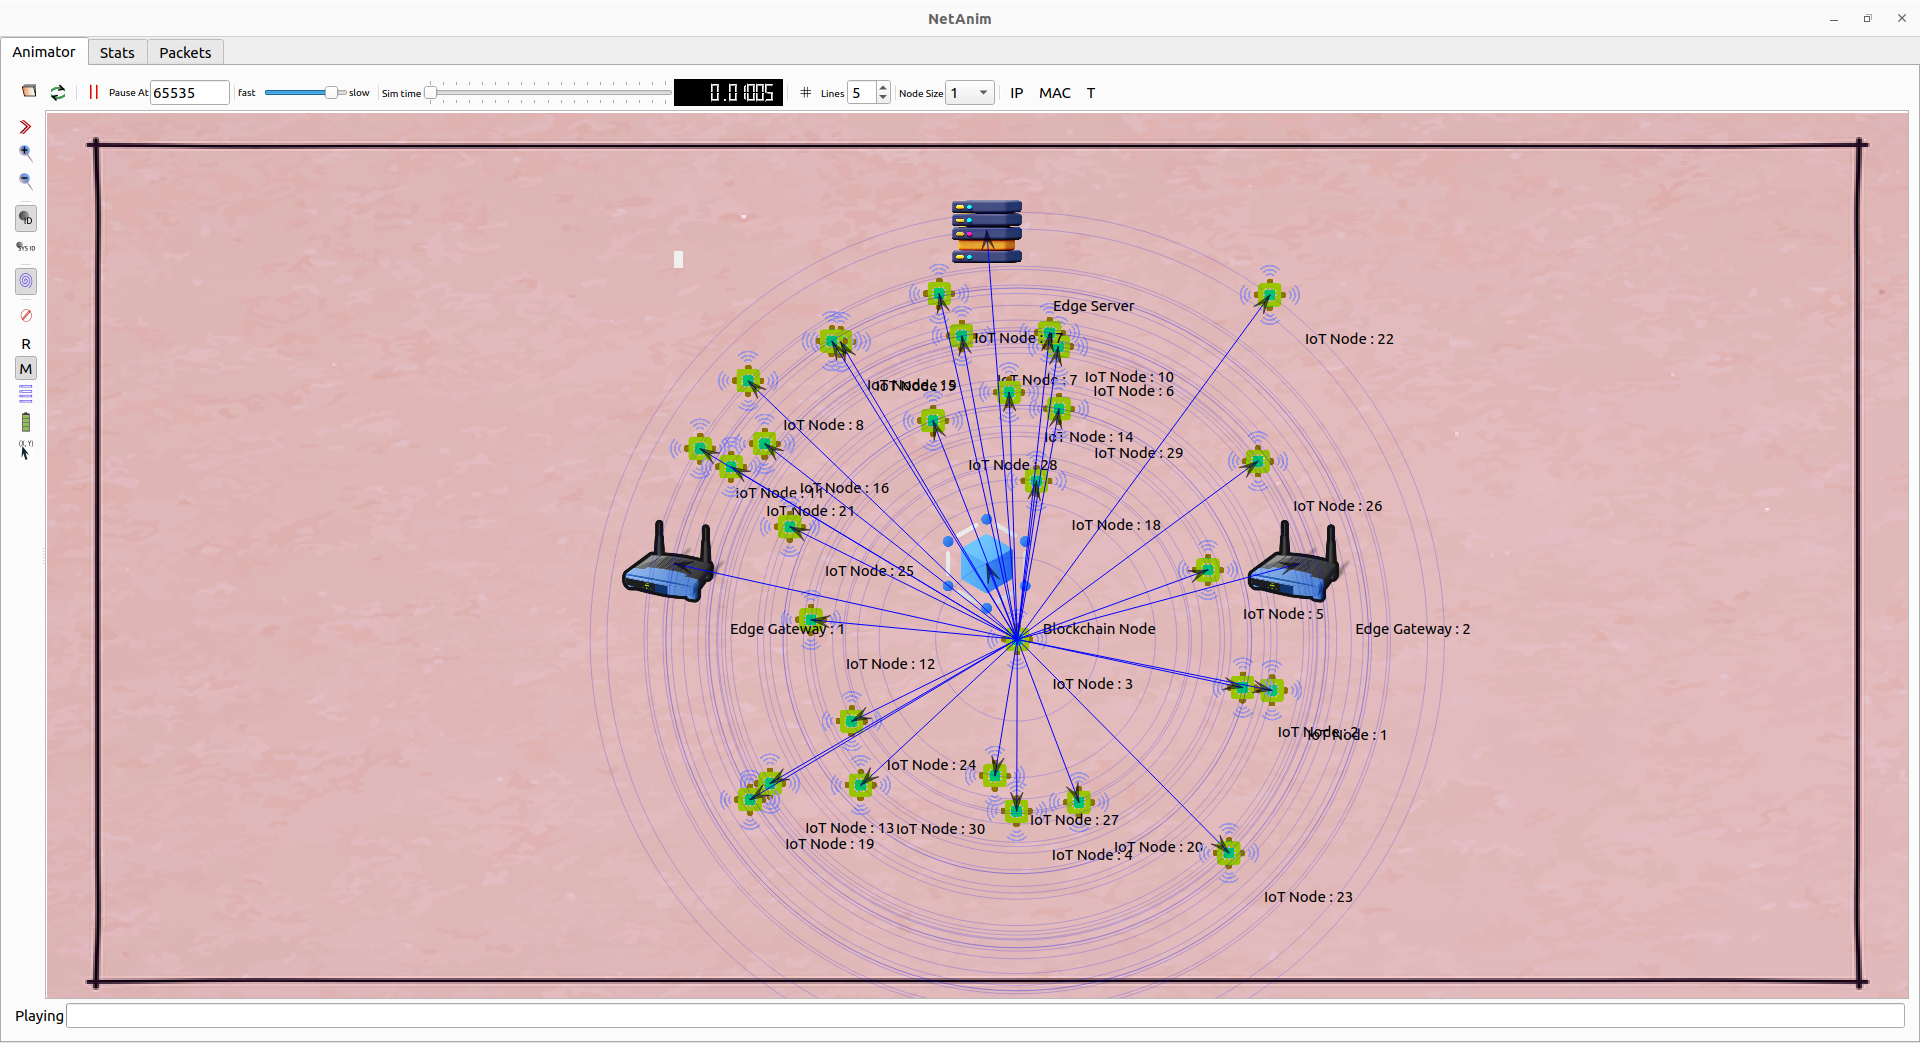
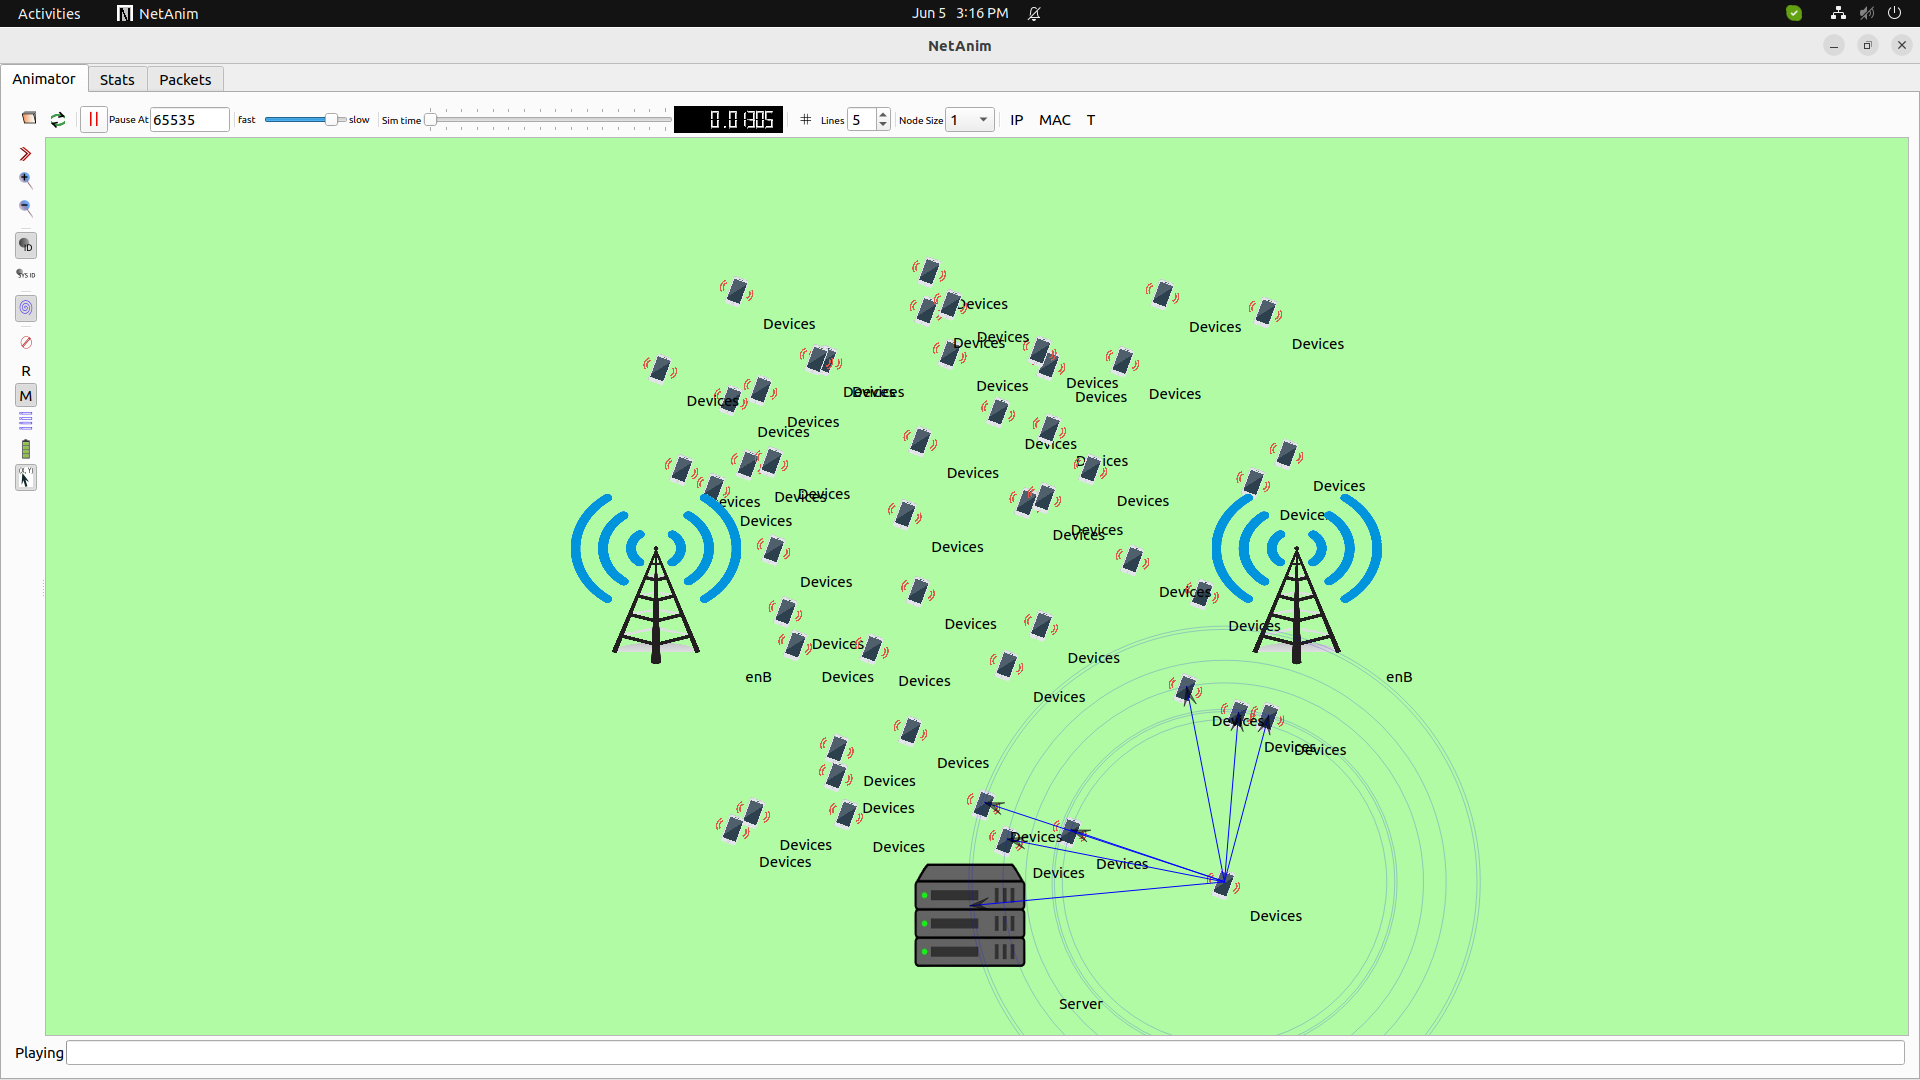
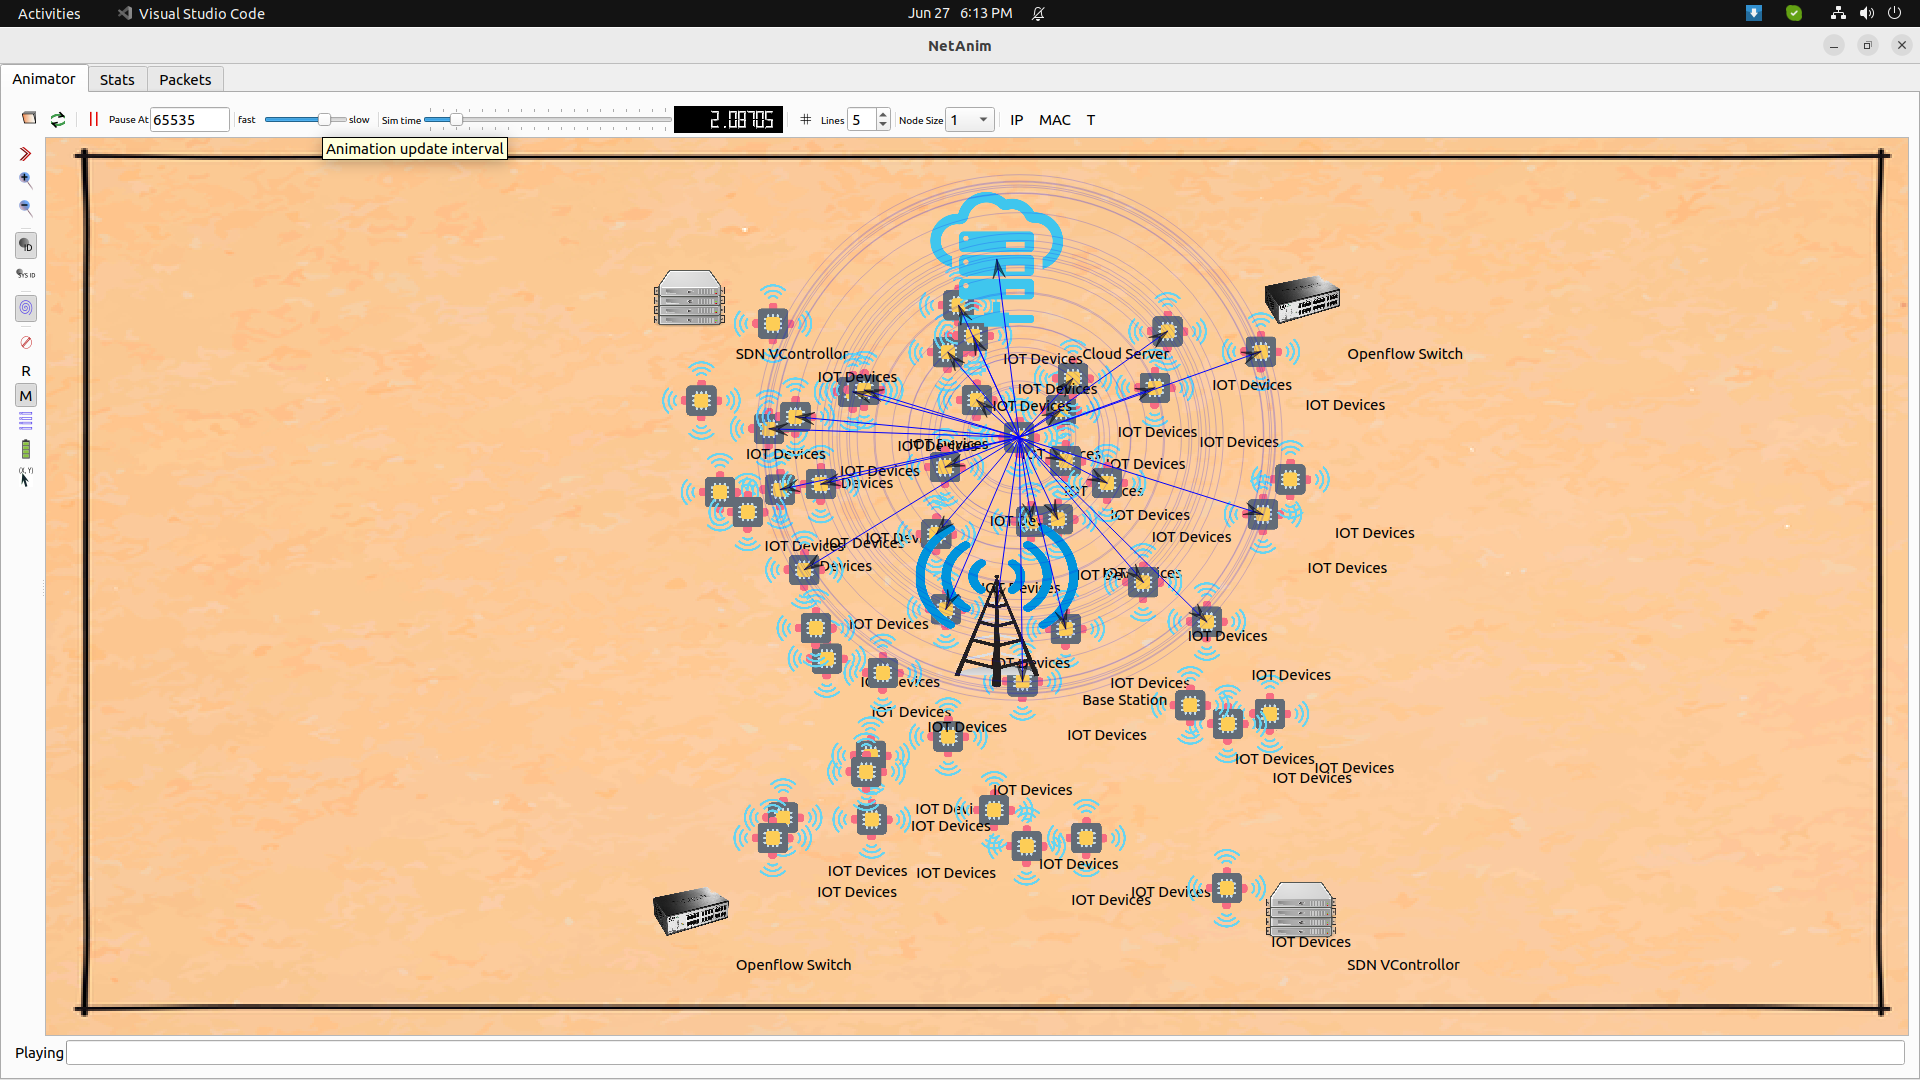
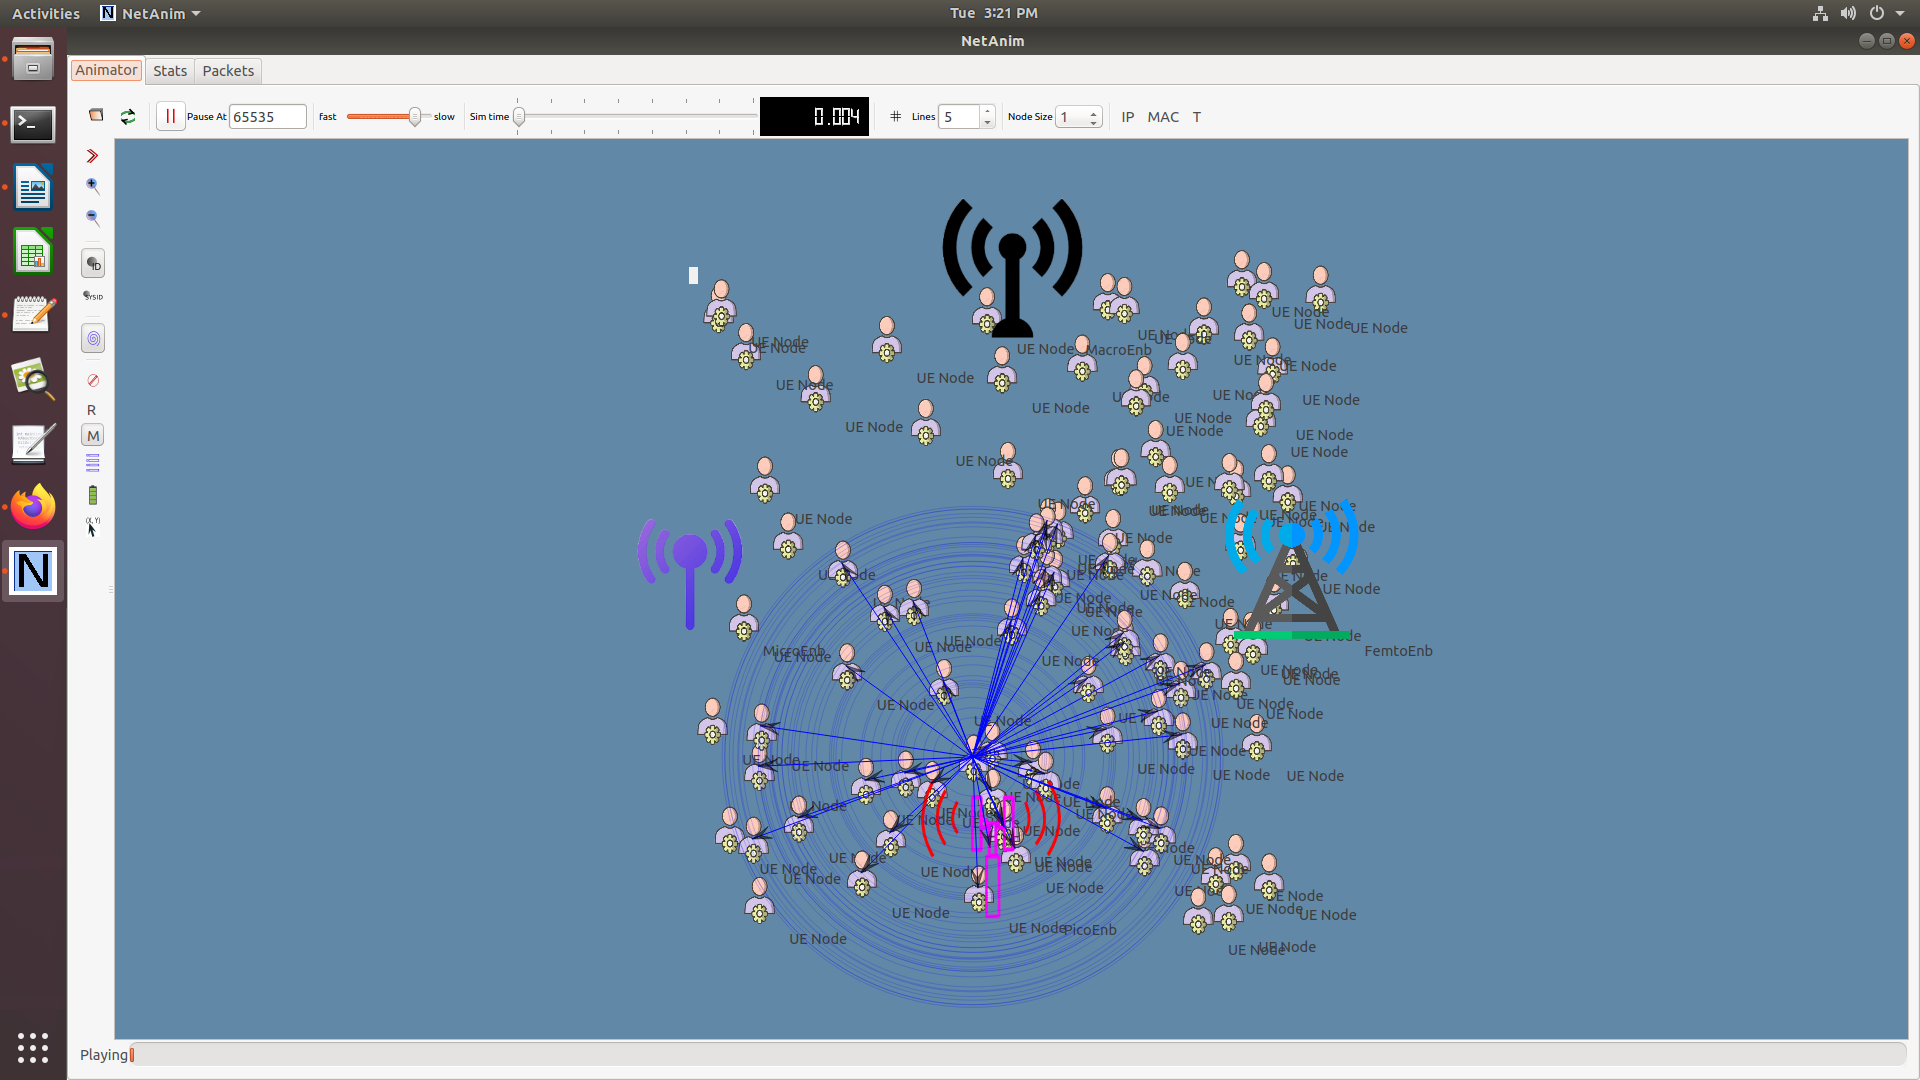
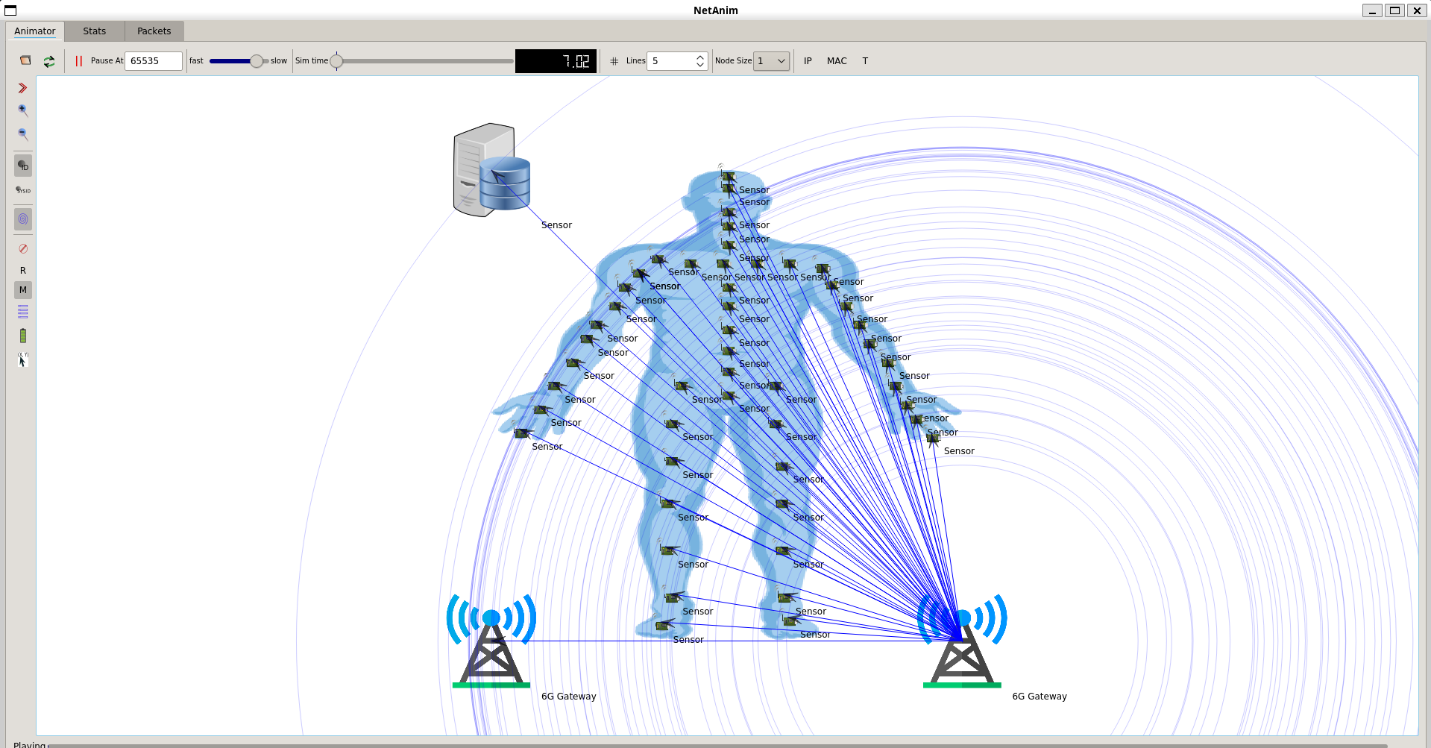
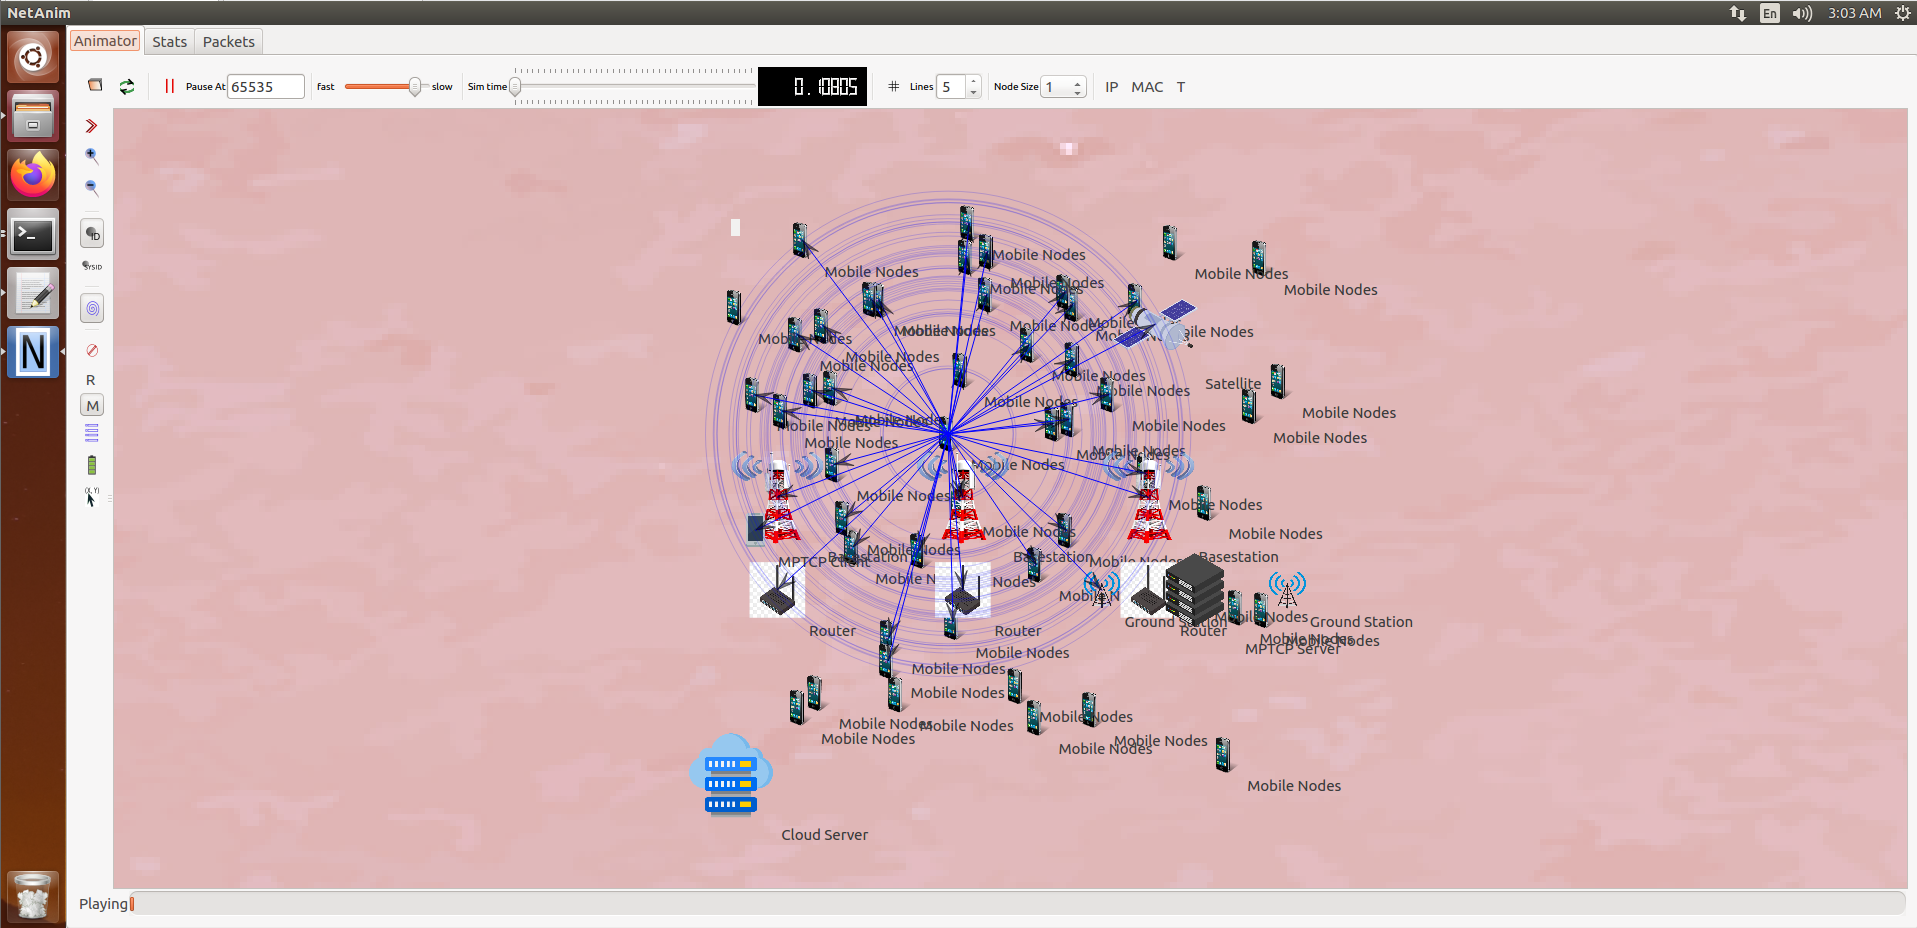
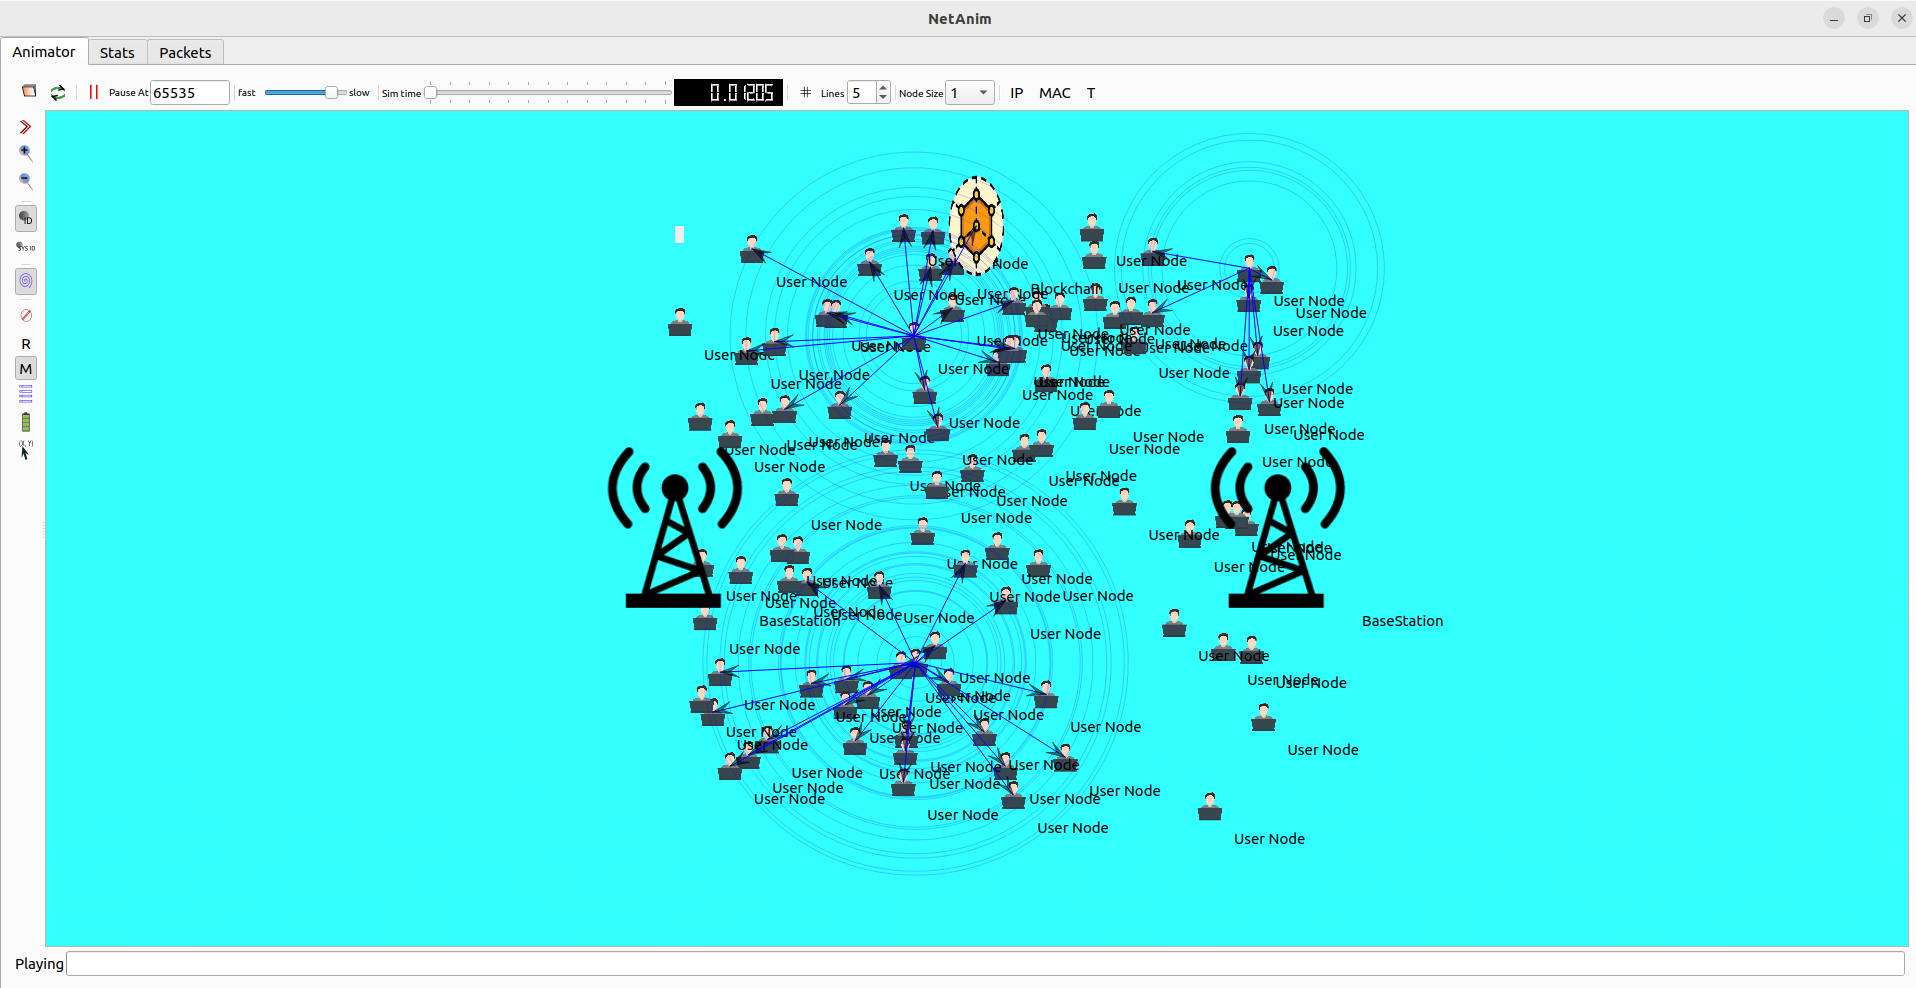
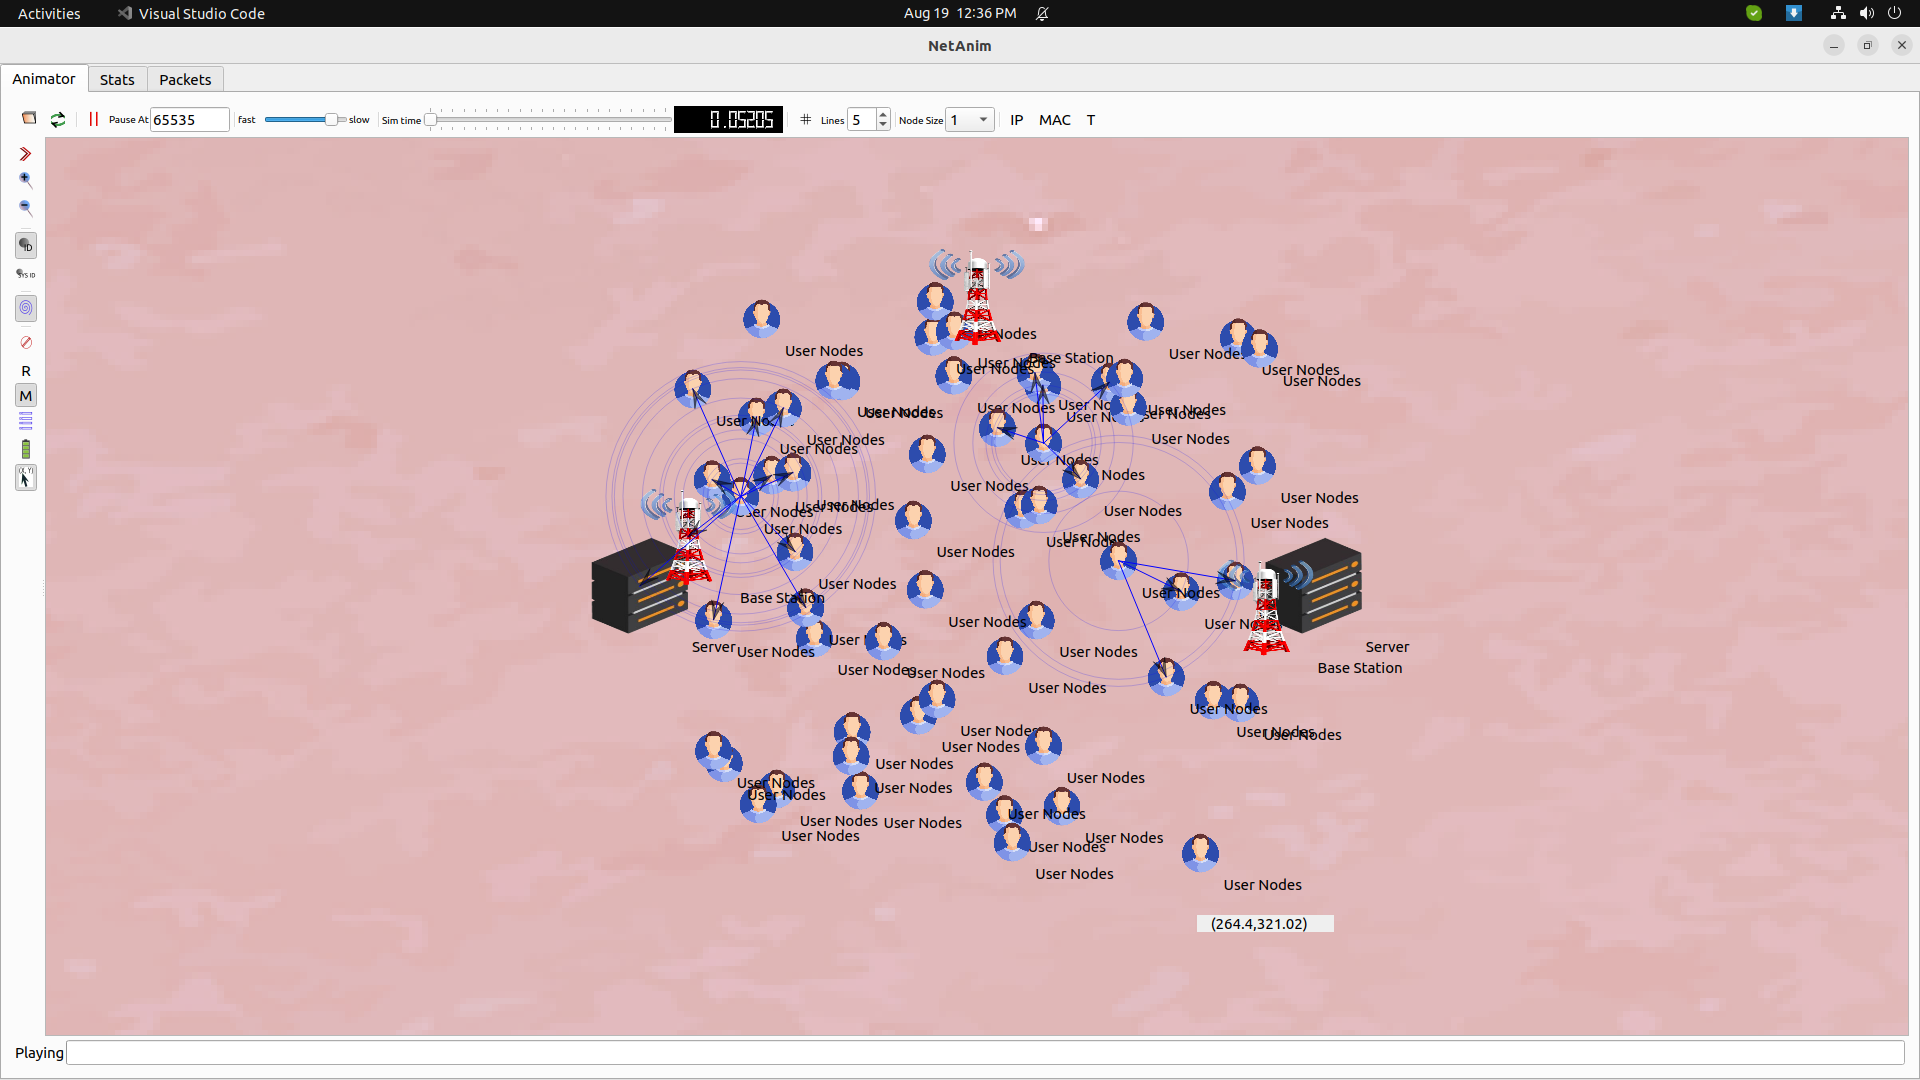
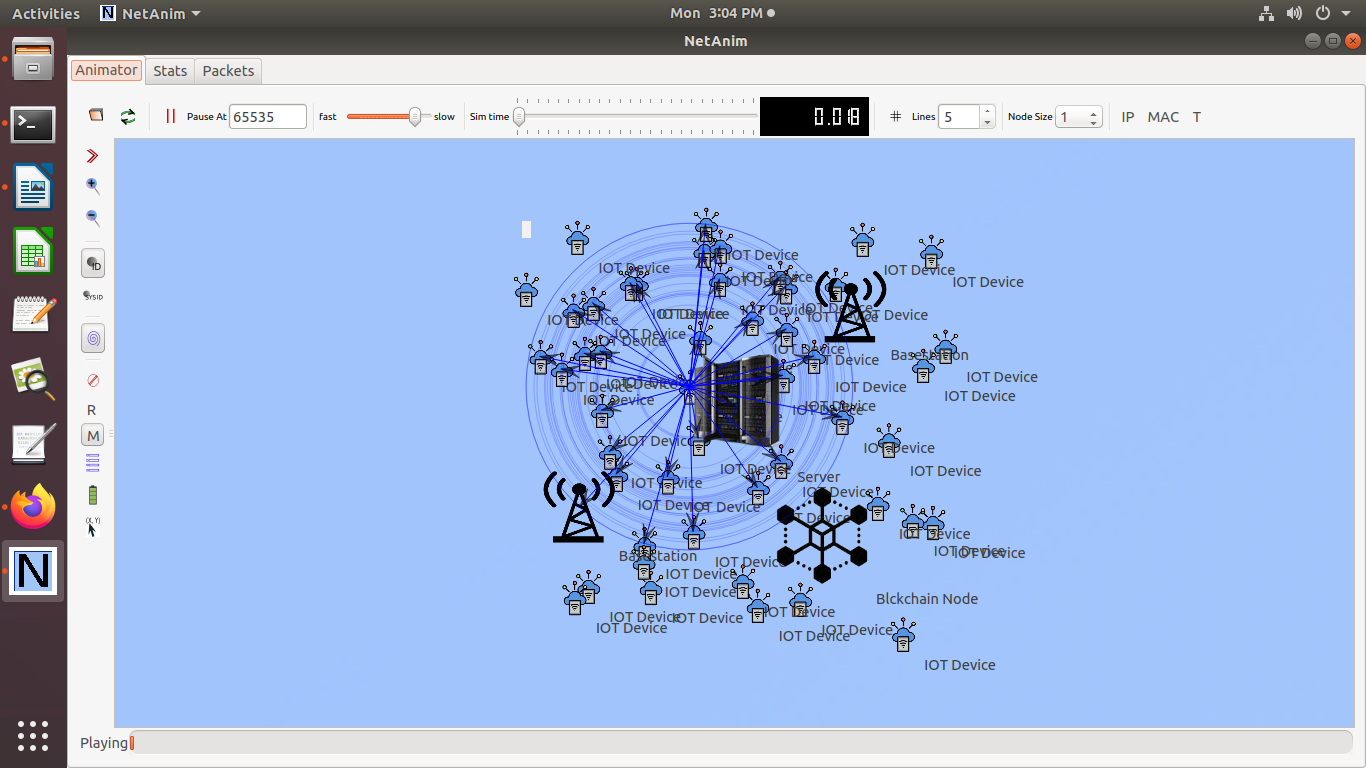
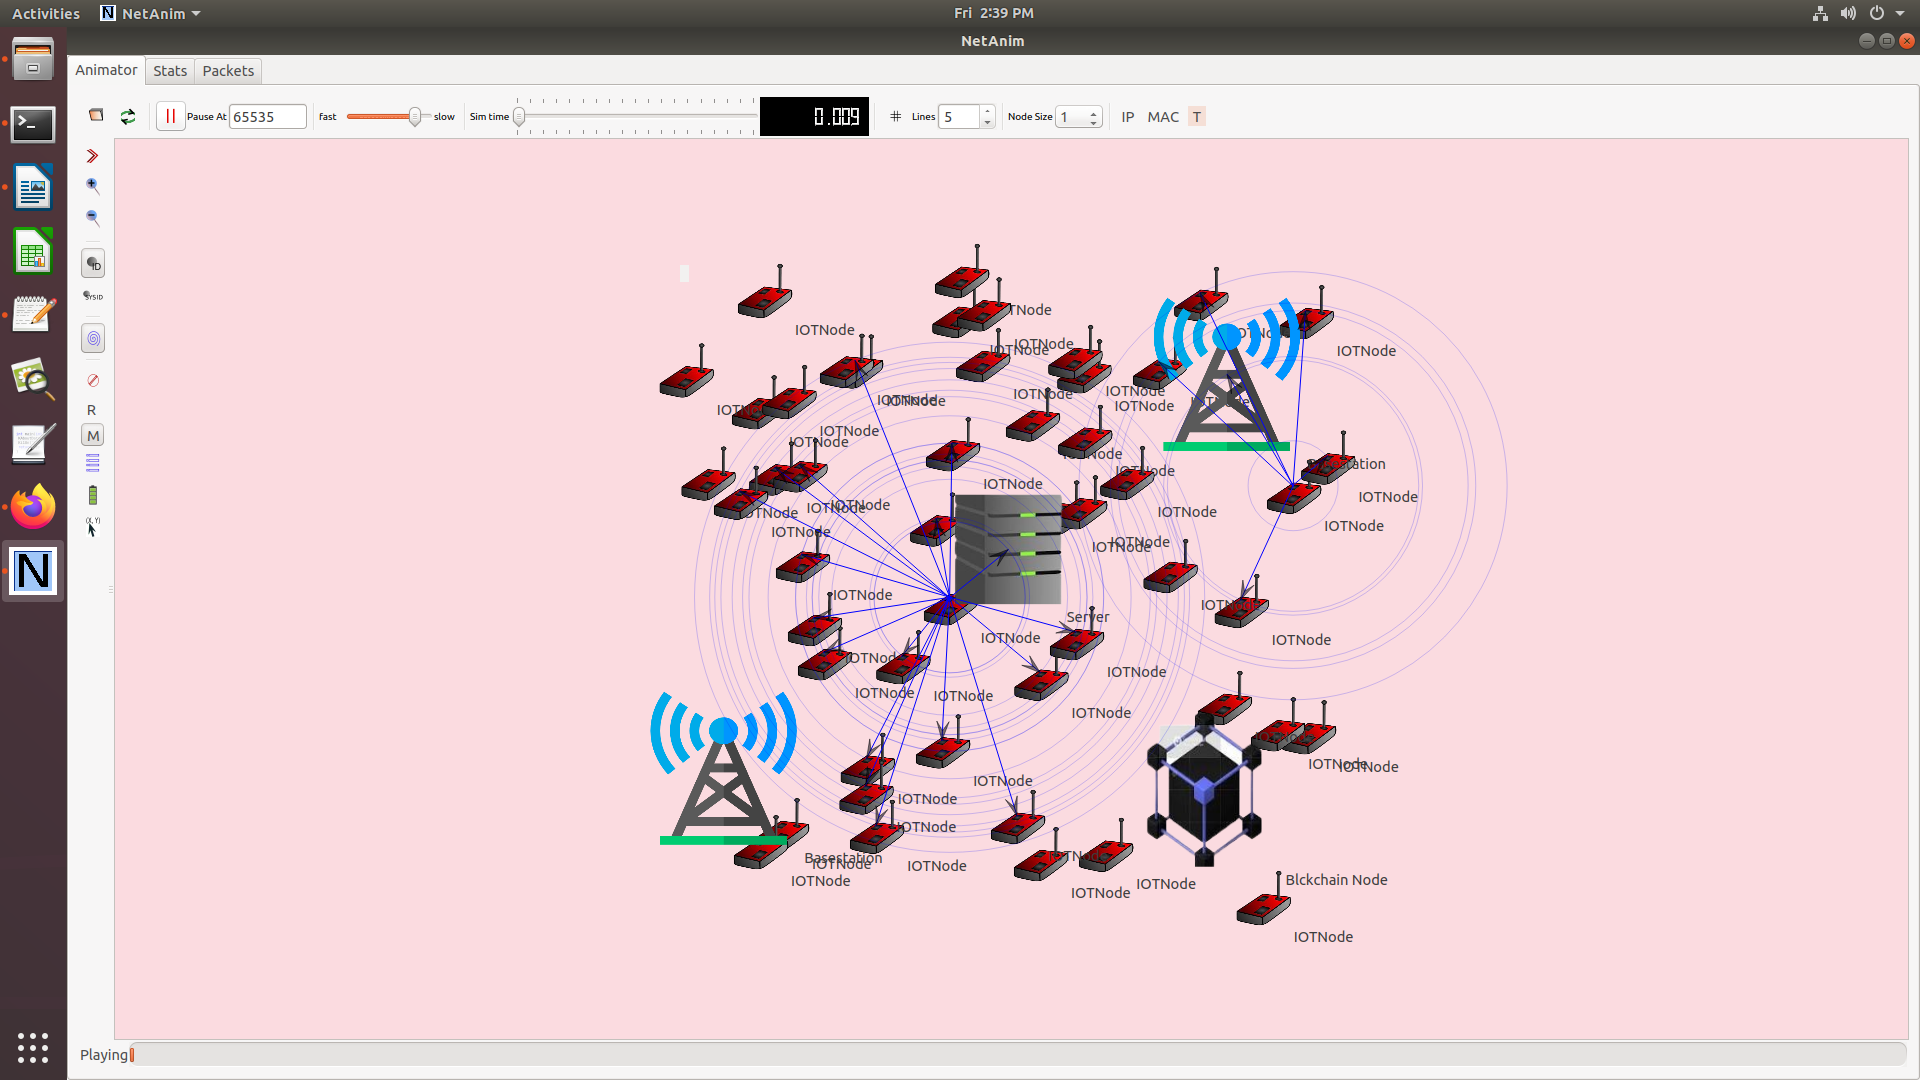
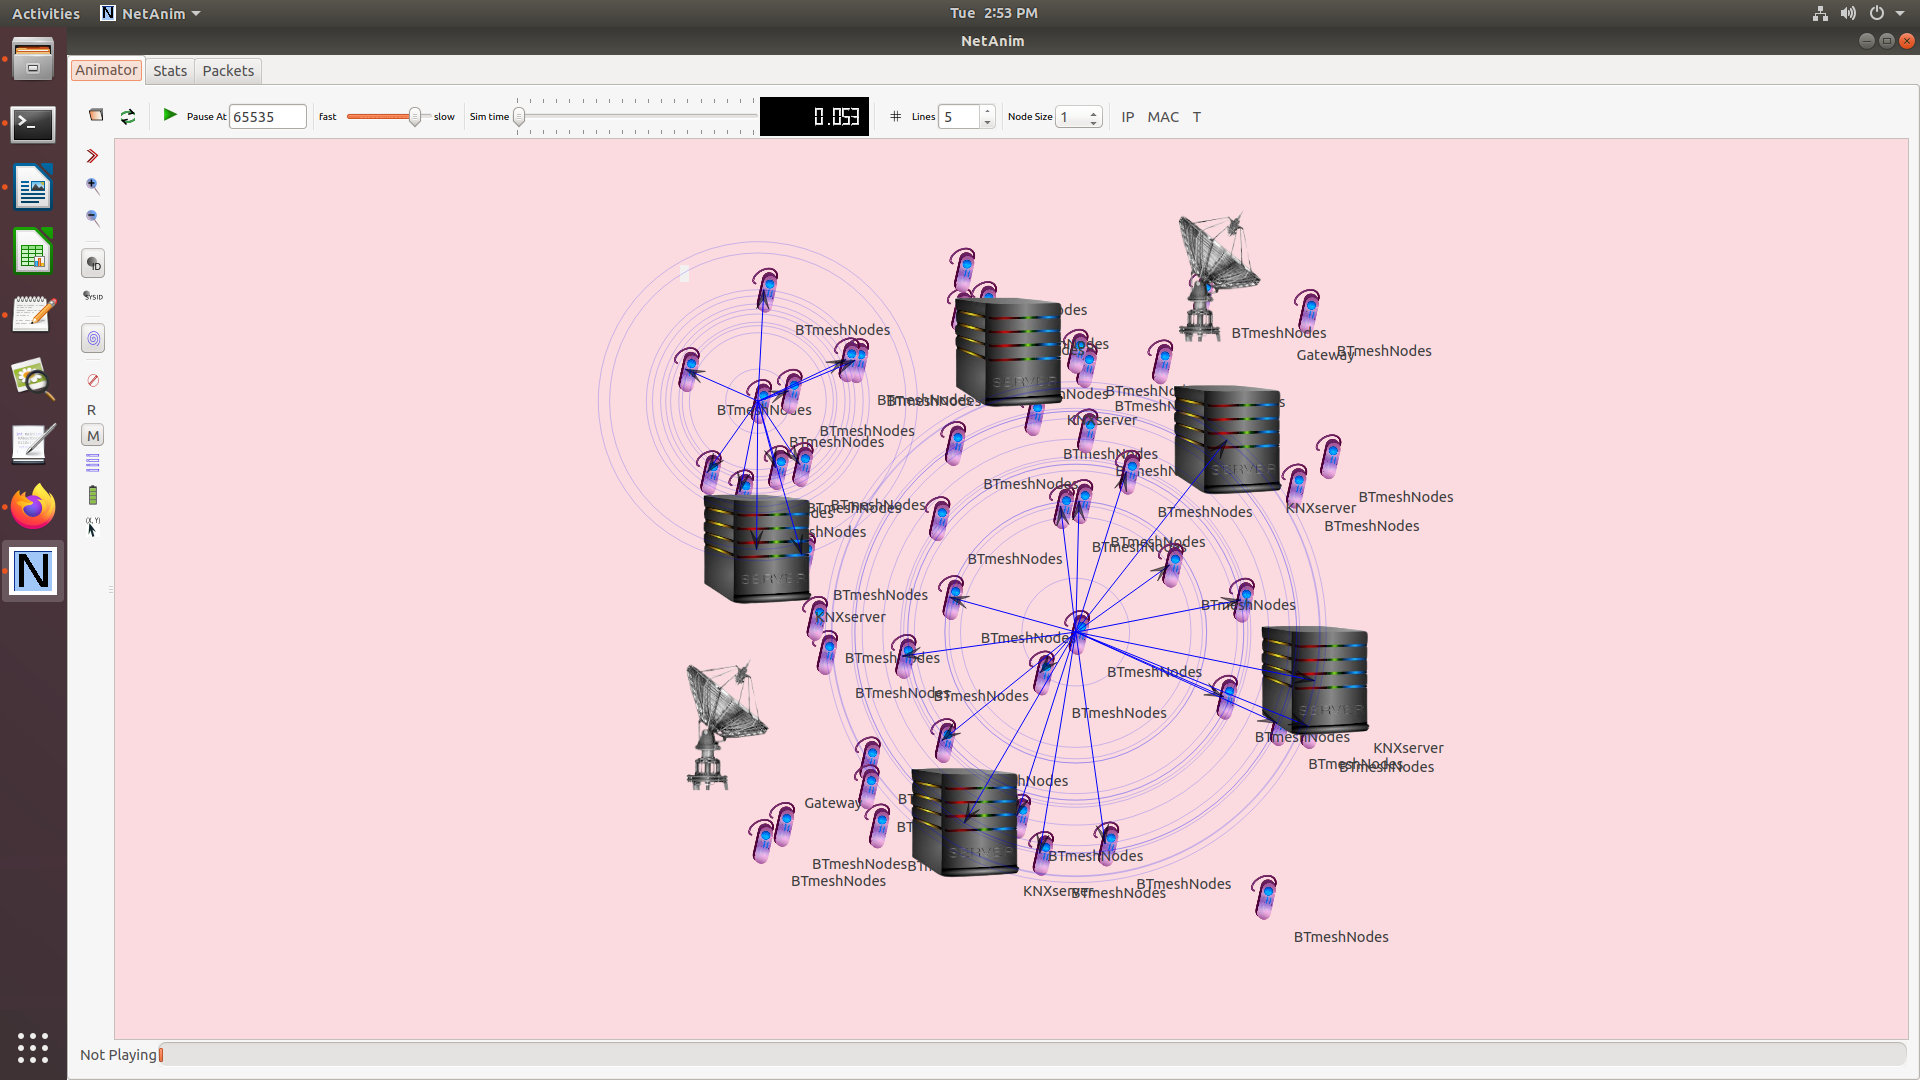
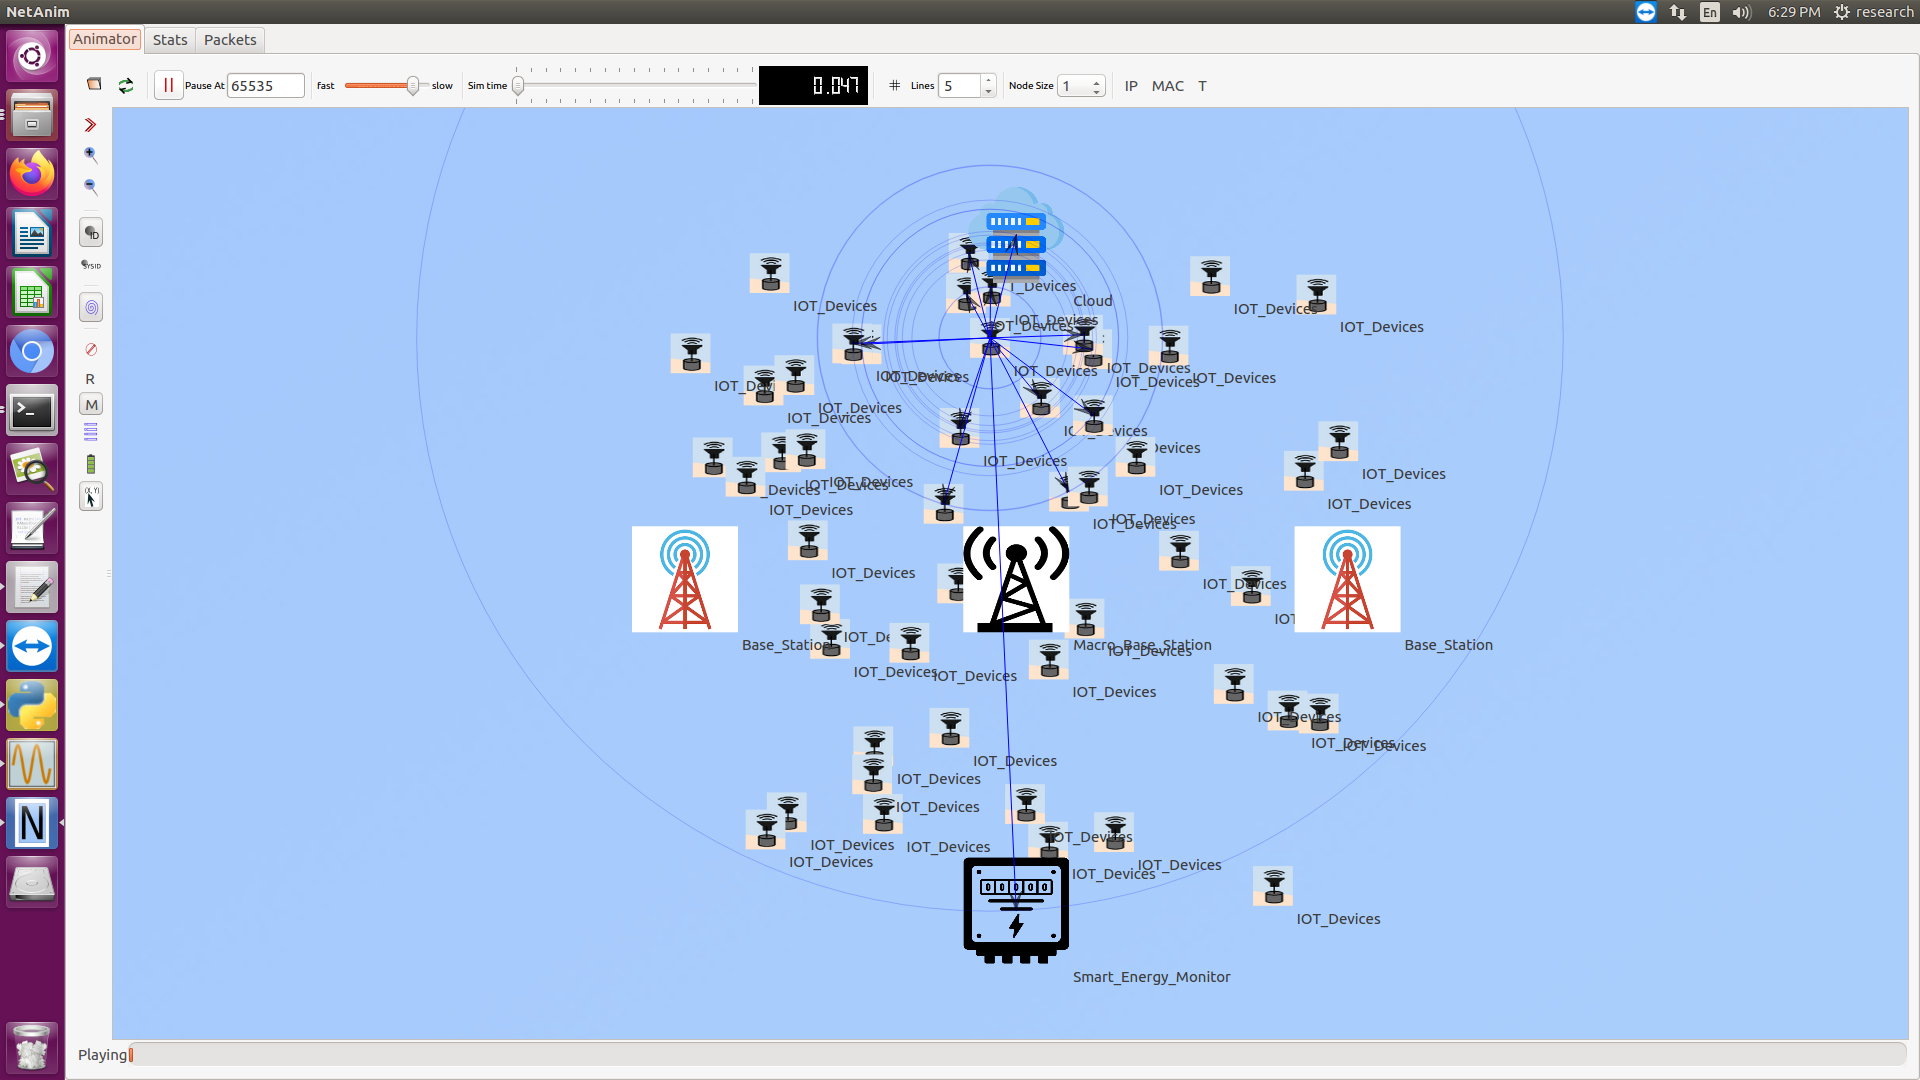
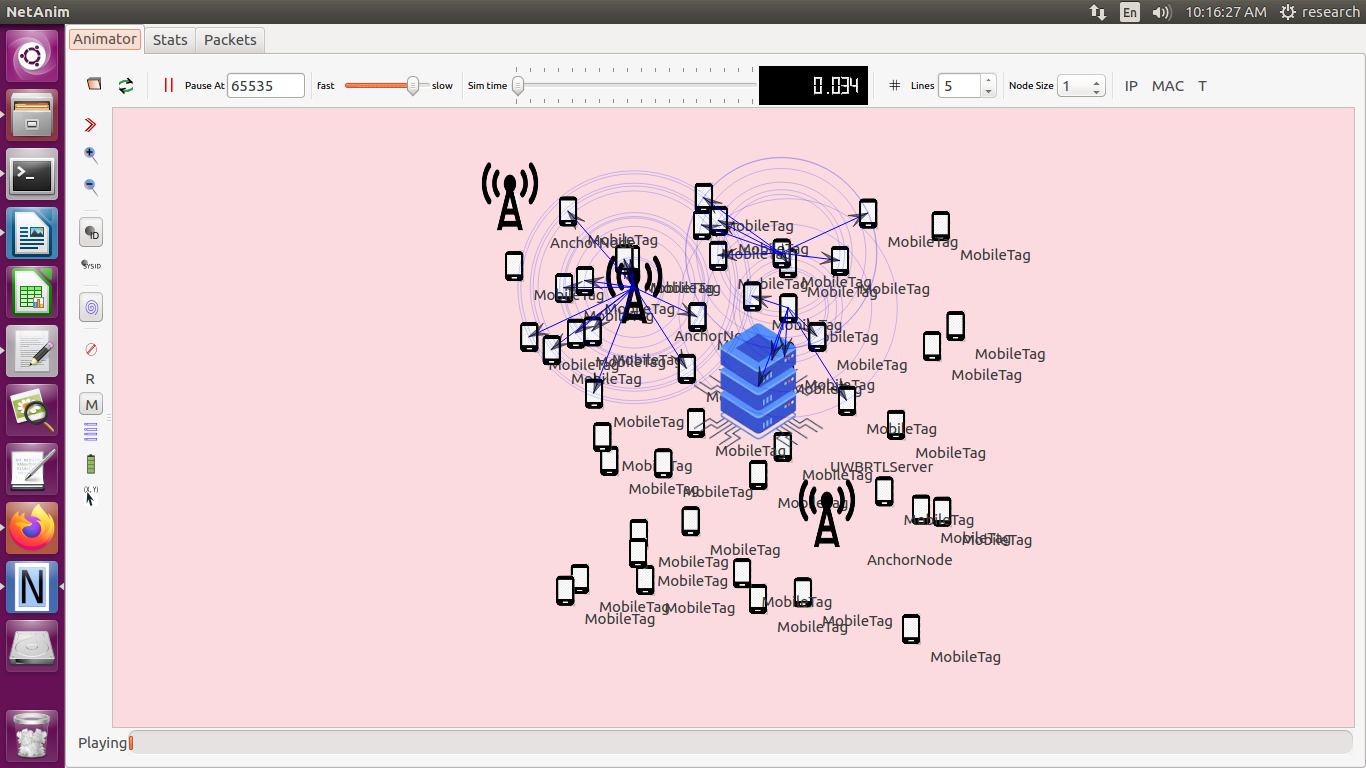
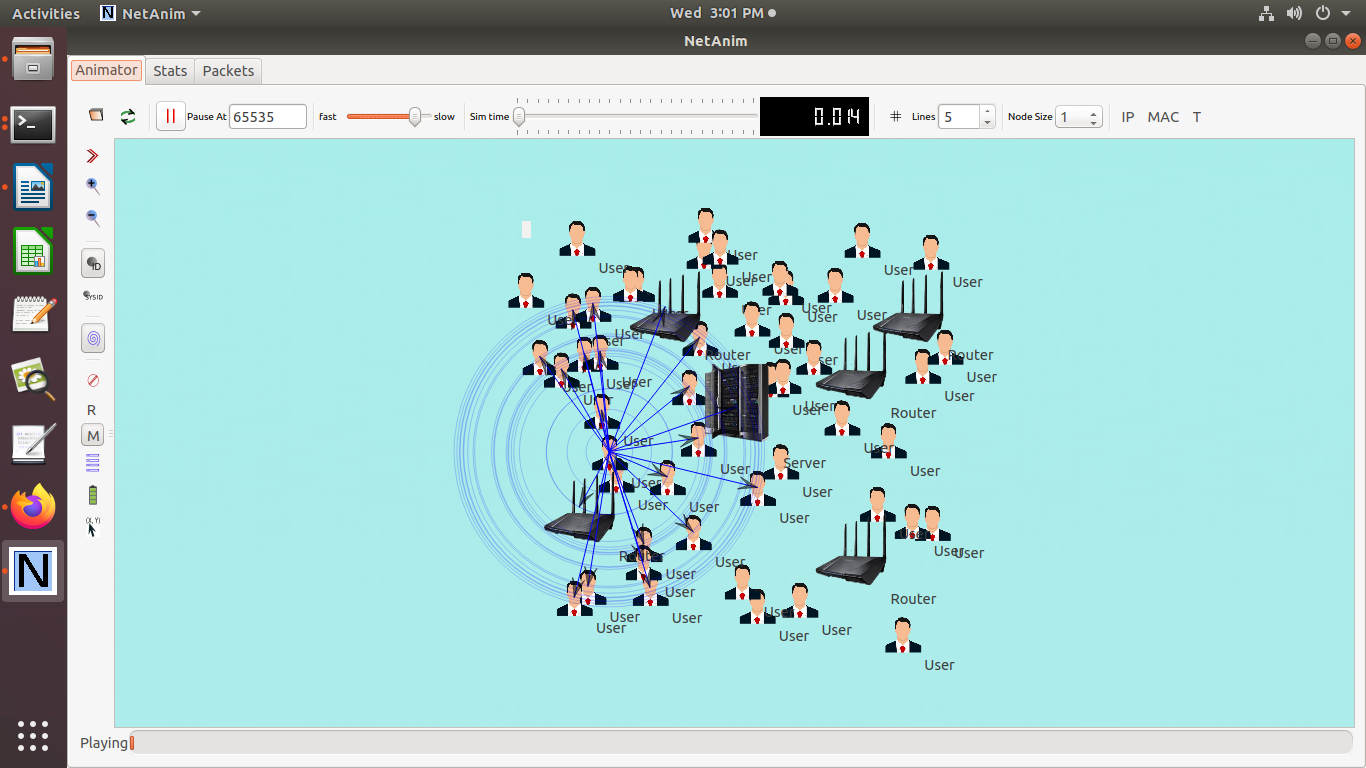
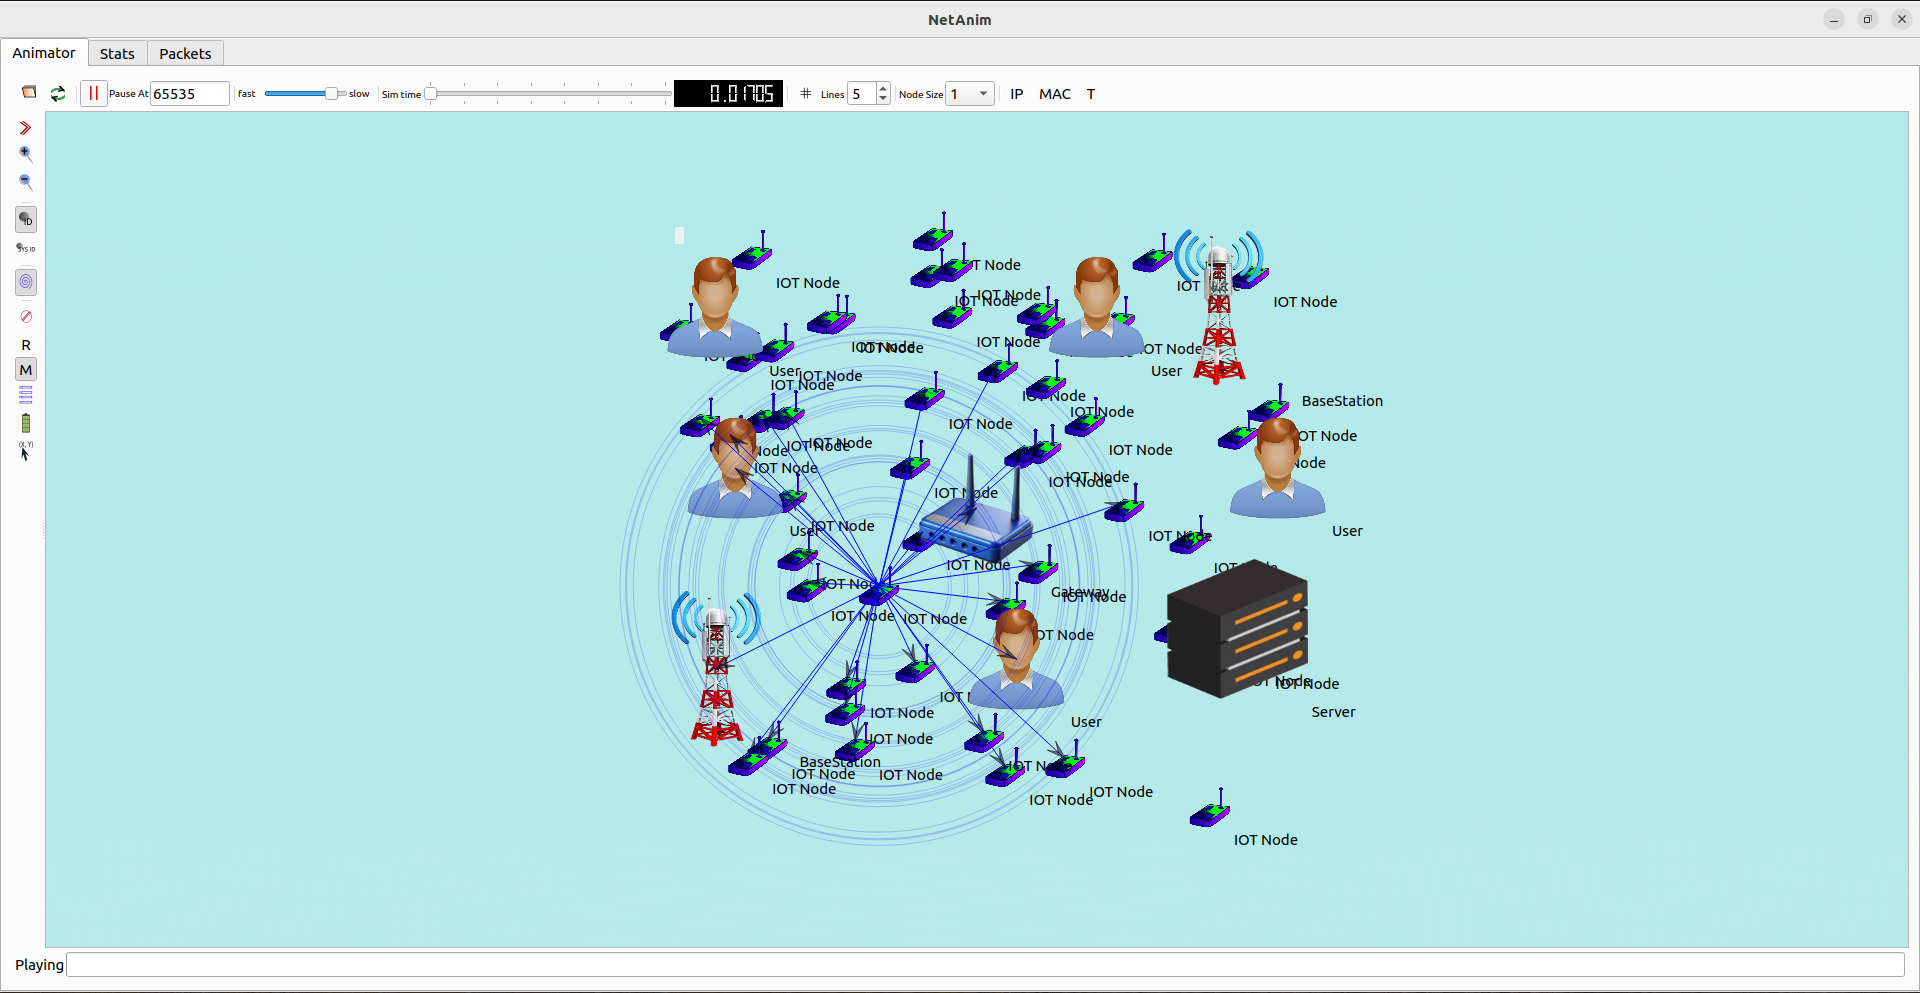
Here we Implement networked robotics in ns-3, by collaborating a network with multiple robots that simulates the communication between them. Our team of experts offers top-notch implementation services for all concepts related to Networked Robotics in ns3.This includes robots exchanging sensor data, coordinating tasks, and sending control commands. Here step-by-step guide on how to set up a basic networked robotics scenario in ns-3.
Step-by-Step Implementation of Networked Robotics in ns3:
- Install ns3
Ensure ns3 is installed on the system.
- Define the Network Topology
Define the network topology including:
- Robot nodes (nodes representing robots with sensors and actuators)
- Control nodes (nodes representing centralized or distributed controllers)
- Create Network Nodes
Create network nodes using NodeContainer.
NodeContainer robotNodes, controlNodes;
robotNodes.Create(5); // Create 5 robot nodes
controlNodes.Create(1); // Create 1 control node
4. Set Up Network Devices
Install network devices on the nodes using appropriate network interfaces, such as WiFi for wireless communication.
WifiHelper wifi;
wifi.SetStandard(WIFI_PHY_STANDARD_80211n_5GHZ);
WifiMacHelper mac;
mac.SetType(“ns3::AdhocWifiMac”);
YansWifiPhyHelper phy = YansWifiPhyHelper::Default();
YansWifiChannelHelper channel = YansWifiChannelHelper::Default();
phy.SetChannel(channel.Create());
NetDeviceContainer robotDevices = wifi.Install(phy, mac, robotNodes);
NetDeviceContainer controlDevices = wifi.Install(phy, mac, controlNodes);
5. Configure Mobility Model
Set up the mobility model for the nodes to simulate movement in the network.
MobilityHelper mobility;
mobility.SetMobilityModel(“ns3::ConstantVelocityMobilityModel”);
mobility.Install(robotNodes);
mobility.Install(controlNodes);
// Set initial positions and velocities for the robot nodes
for (uint32_t i = 0; i < robotNodes.GetN(); ++i) {
Ptr<MobilityModel> mob = robotNodes.Get(i)->GetObject<MobilityModel>();
mob->SetPosition(Vector(10.0 * i, 0.0, 0.0));
mob->SetVelocity(Vector(1.0, 0.0, 0.0));
}
// Control nodes are stationary
for (uint32_t i = 0; i < controlNodes.GetN(); ++i) {
Ptr<MobilityModel> mob = controlNodes.Get(i)->GetObject<MobilityModel>();
mob->SetPosition(Vector(50.0, 50.0, 0.0));
mob->SetVelocity(Vector(0.0, 0.0, 0.0));
}
6. Set Up Routing Protocols
Configure routing protocols for the network. A suitable routing protocol for networked robotics can be AODV, OLSR, or DSDV.
AodvHelper aodv;
InternetStackHelper internet;
internet.SetRoutingHelper(aodv);
internet.Install(robotNodes);
internet.Install(controlNodes);
7. Assign IP Addresses
Assign IP addresses to the network devices.
Ipv4AddressHelper address;
address.SetBase(“10.1.1.0”, “255.255.255.0”);
Ipv4InterfaceContainer robotInterfaces = address.Assign(robotDevices);
Ipv4InterfaceContainer controlInterfaces = address.Assign(controlDevices);
8. Implement Networked Robotics Applications
Create applications that simulate networked robotics functionalities. Below is an example of a simple application that simulates robots exchanging sensor data and receiving control commands.
Robot Application
class RobotApplication : public Application {
public:
void StartApplication() override {
recvSocket = Socket::CreateSocket(GetNode(), UdpSocketFactory::GetTypeId());
recvSocket->Bind(InetSocketAddress(Ipv4Address::GetAny(), localPort));
recvSocket->SetRecvCallback(MakeCallback(&RobotApplication::HandleRead, this));
sendSocket = Socket::CreateSocket(GetNode(), UdpSocketFactory::GetTypeId());
InetSocketAddress remote = InetSocketAddress(controlAddress, controlPort);
sendSocket->Connect(remote);
Atlast, we have clearly explained the implementation process of the Networked Robotics in ns3 by simulating the communication between multiple robots. The simulation outcomes for all aspects of Networked Robotics in ns3 will be clearly presented by us.


