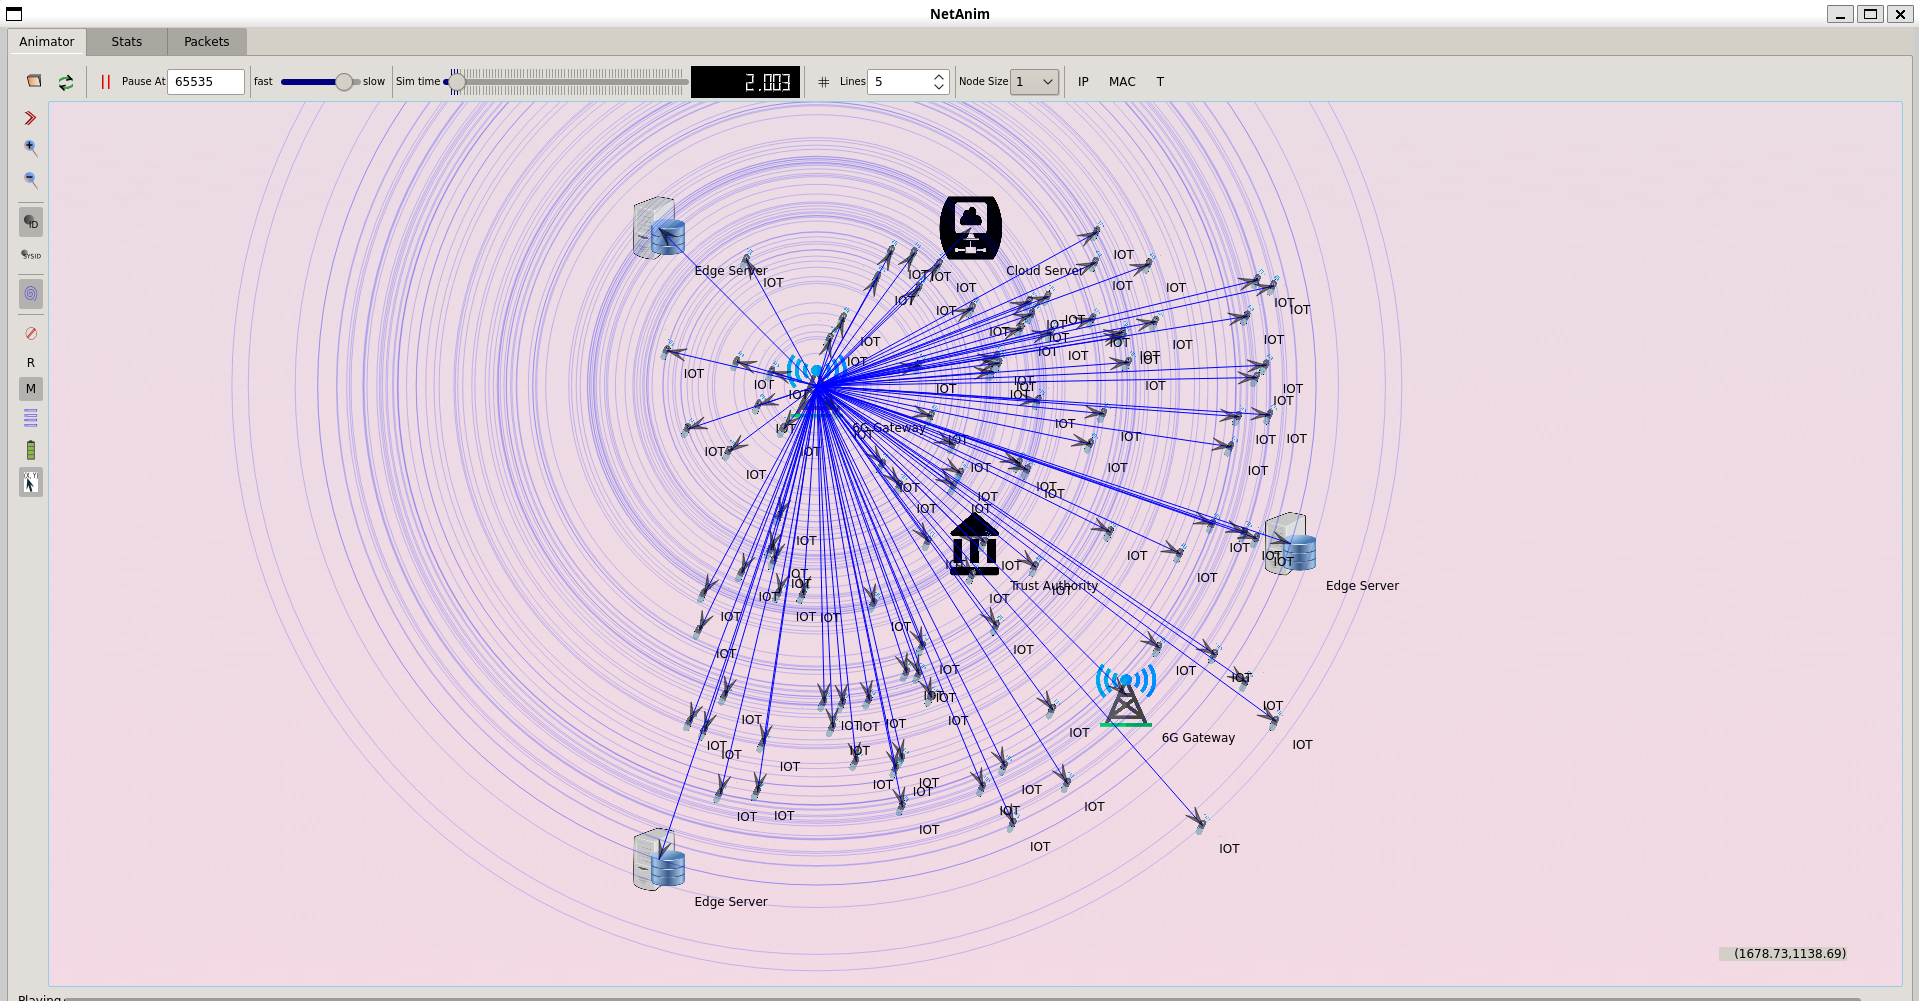
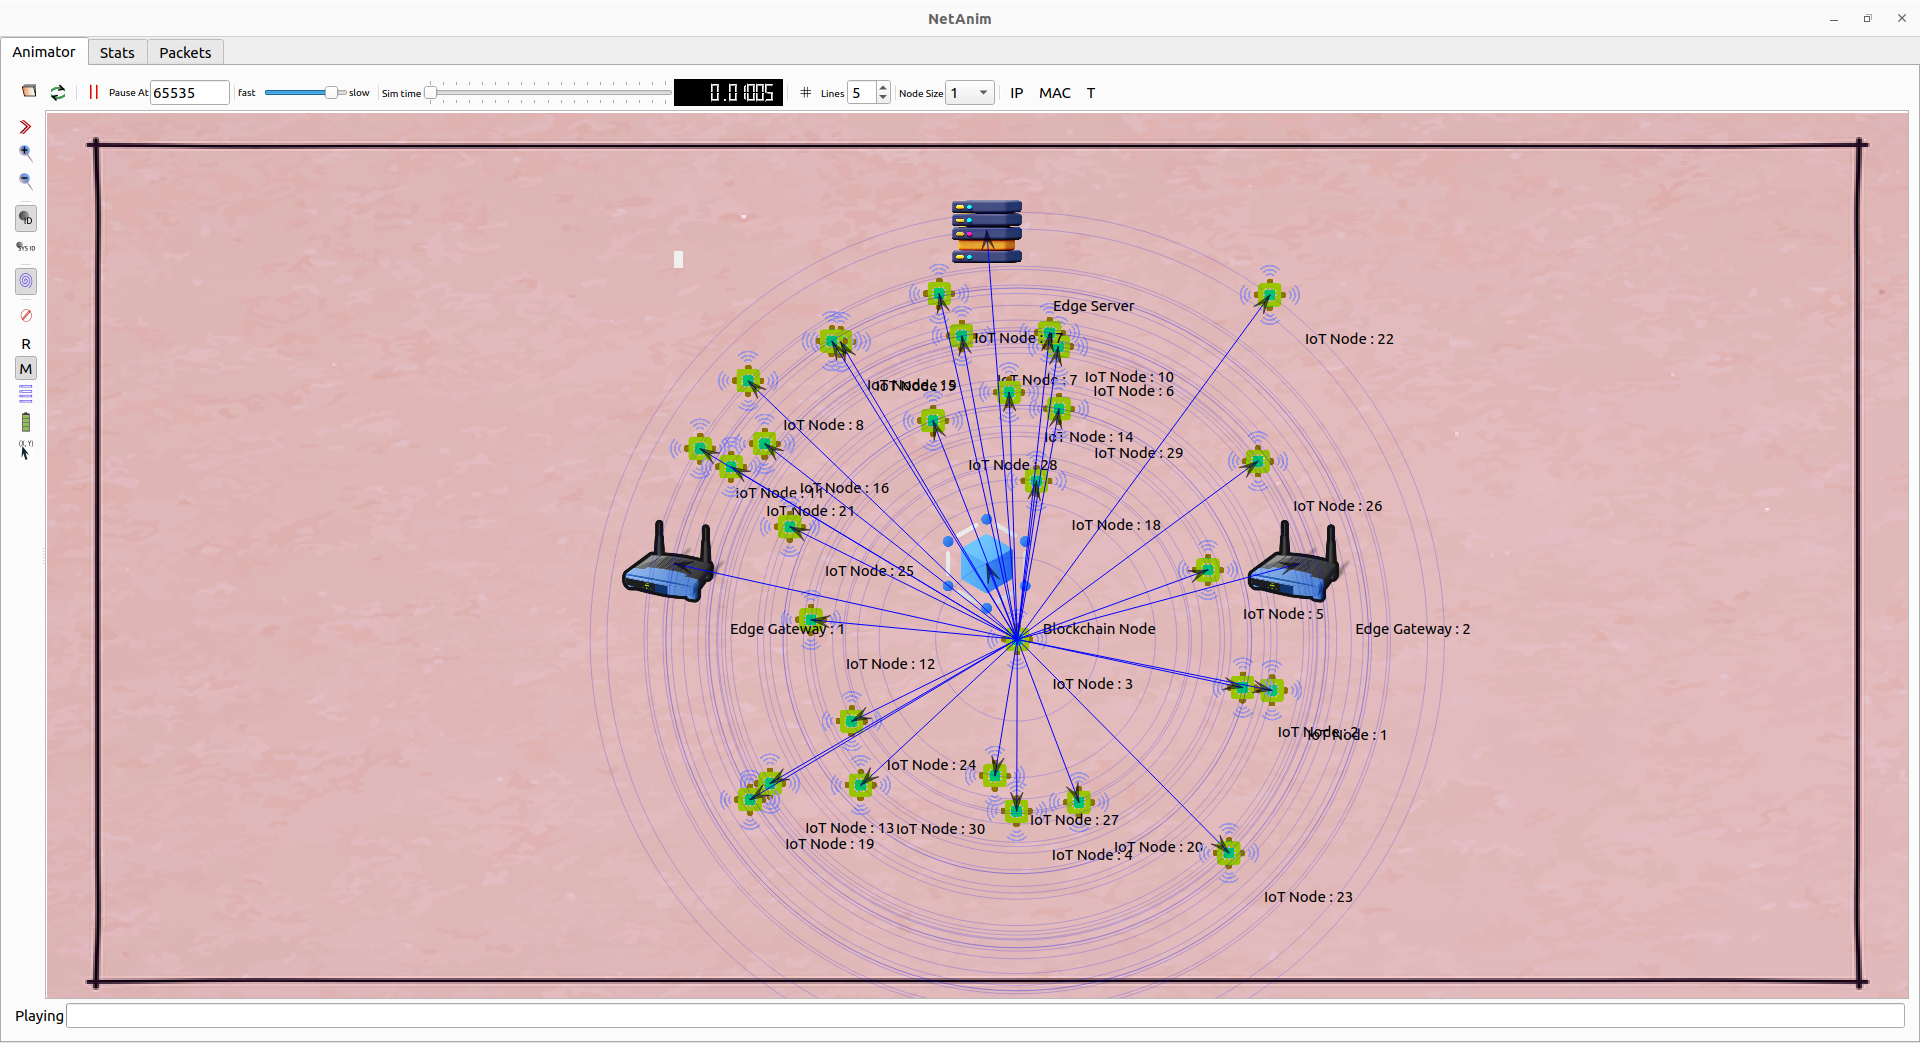
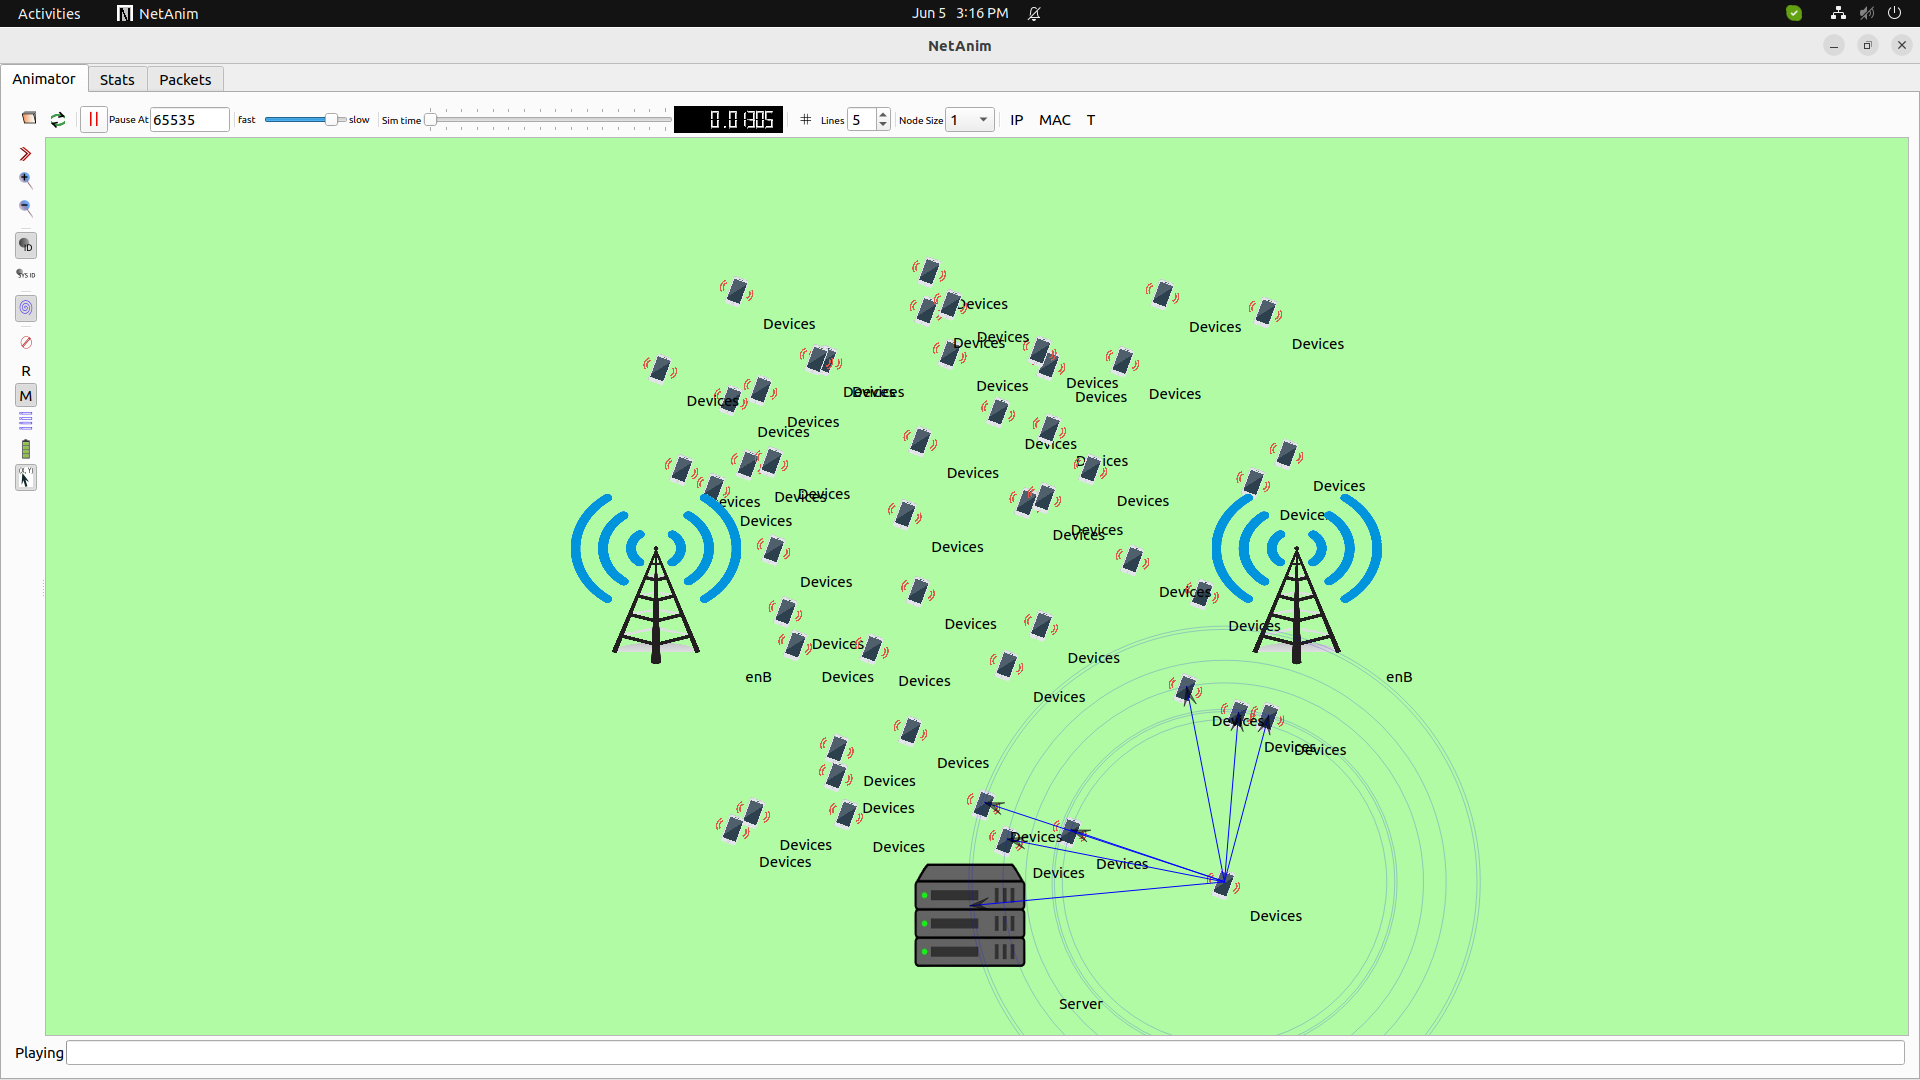
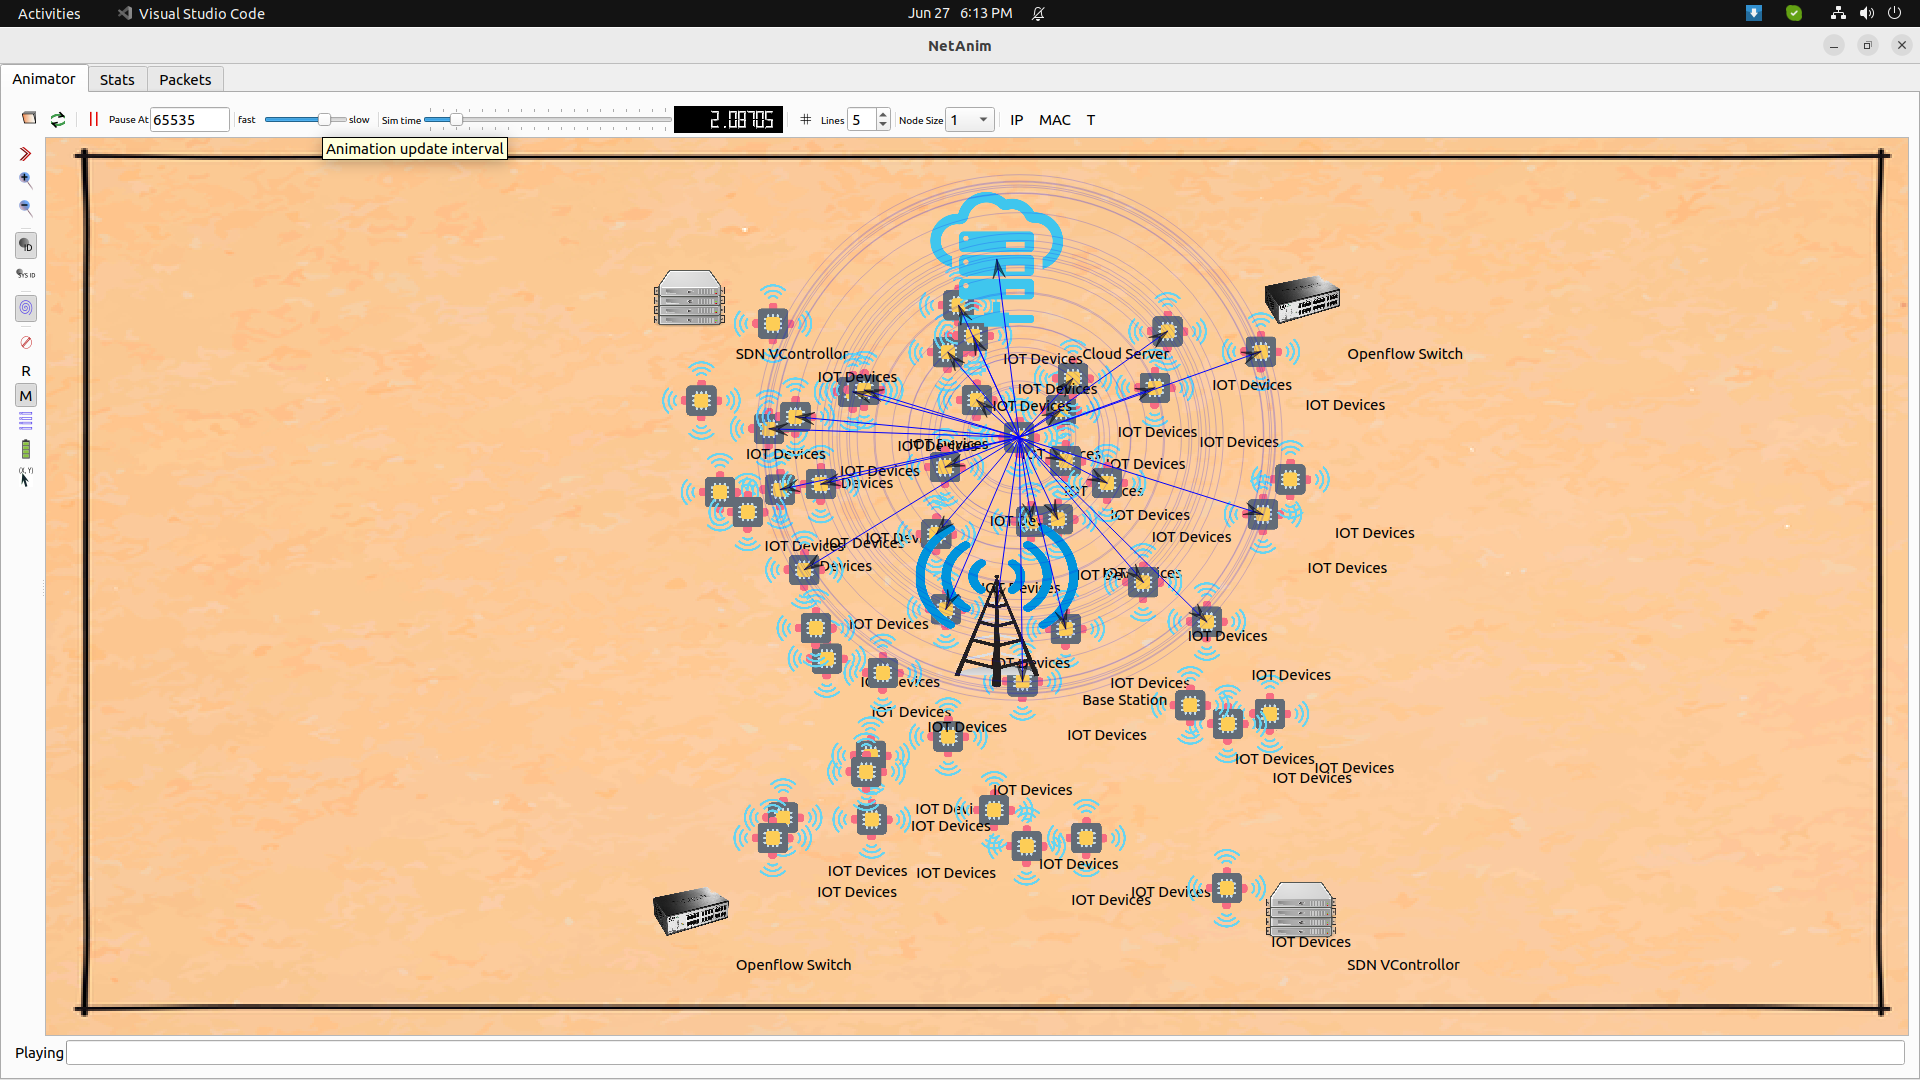
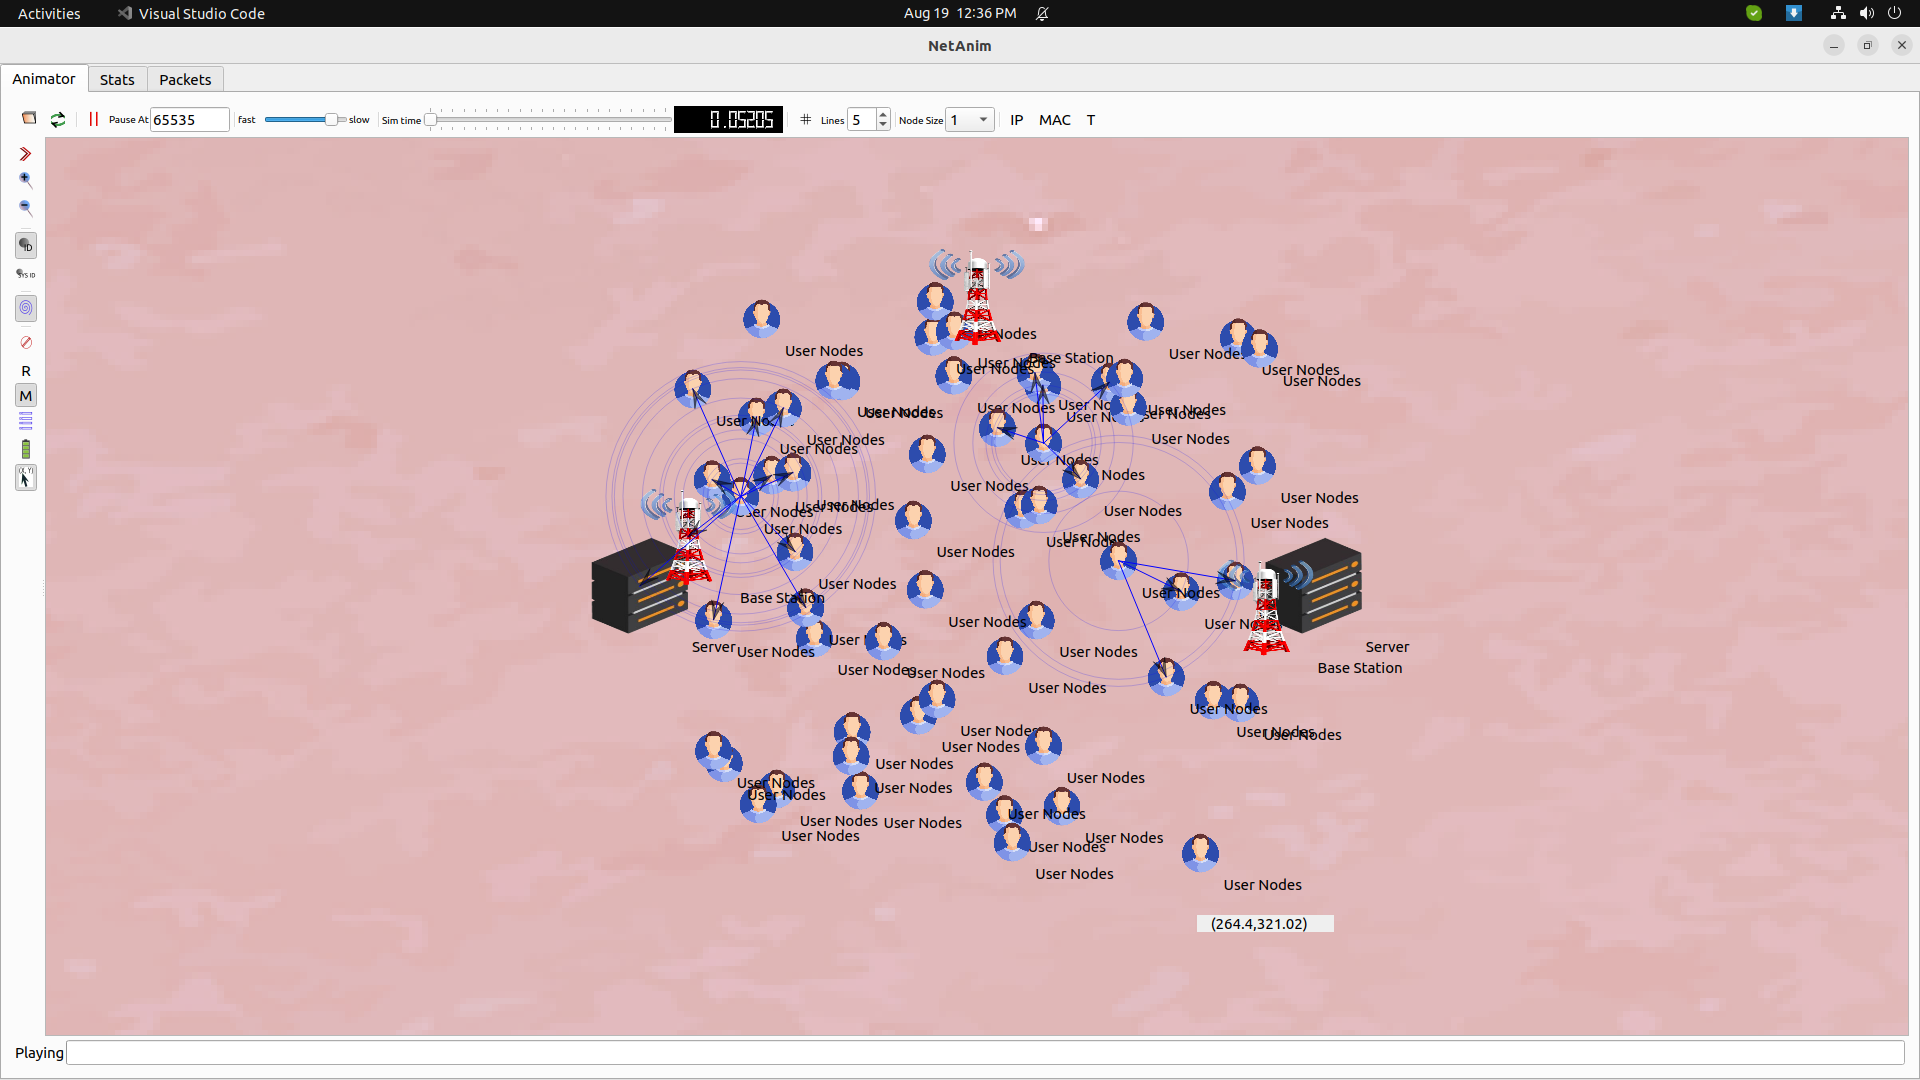
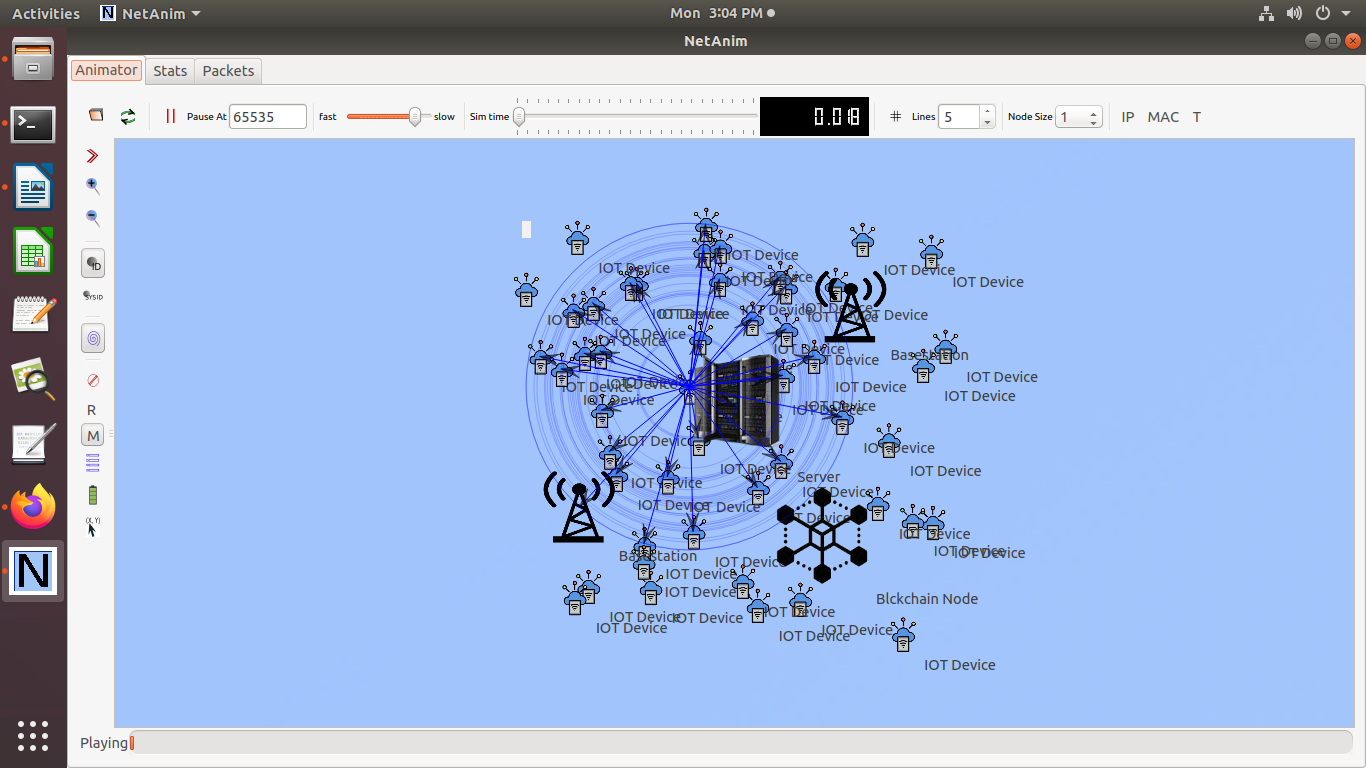
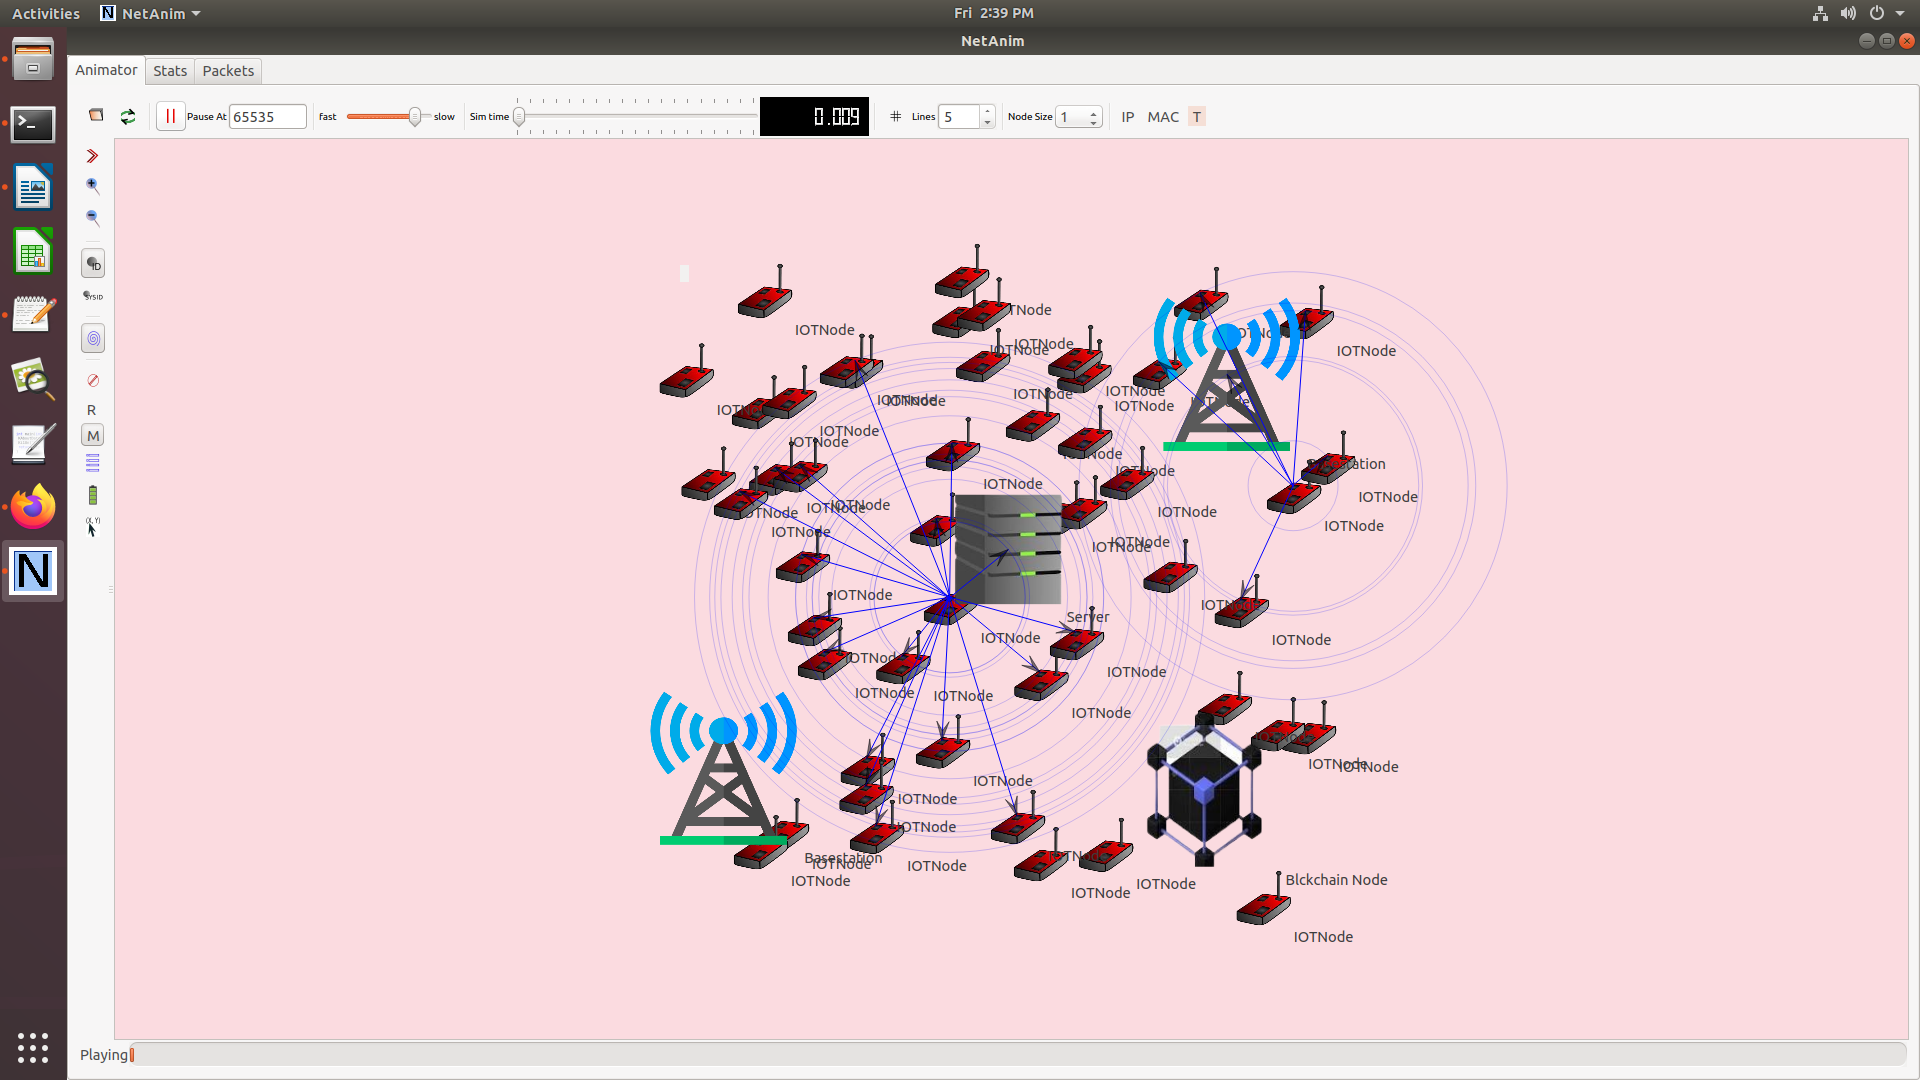
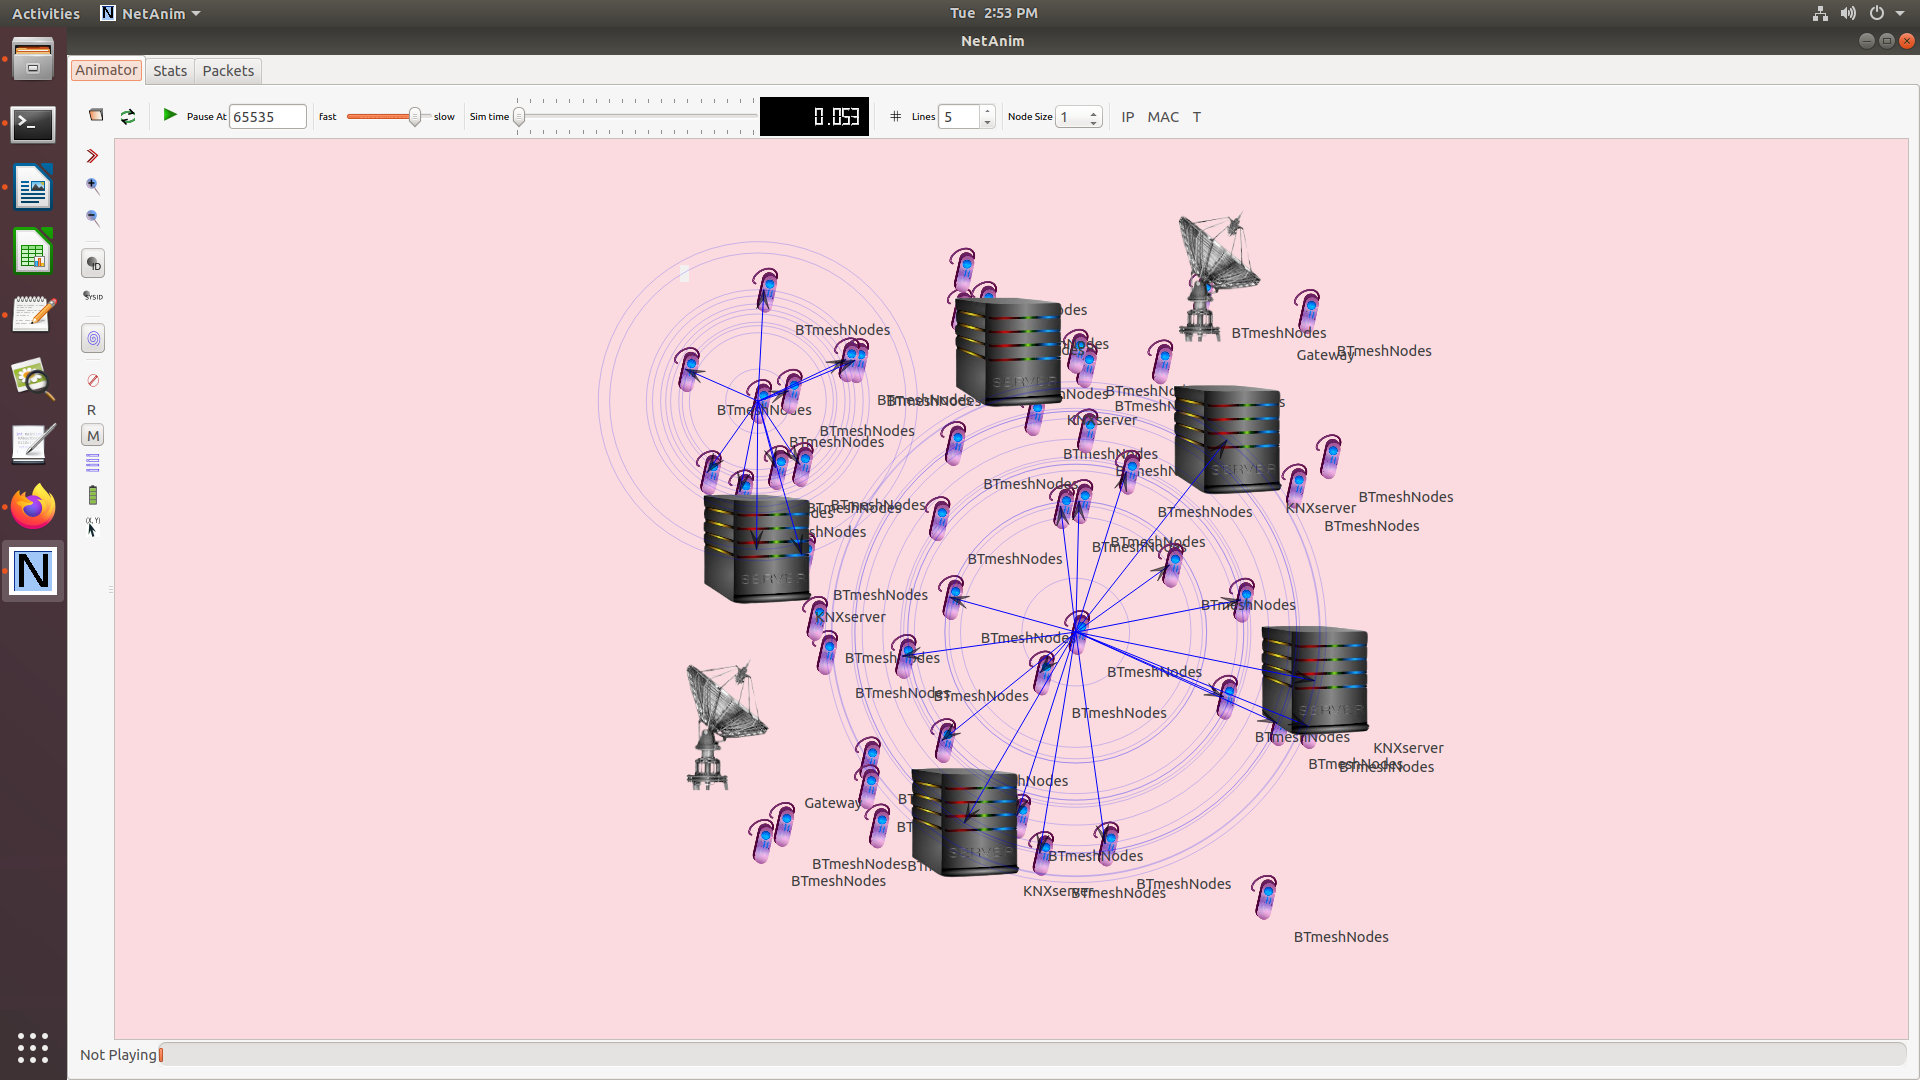
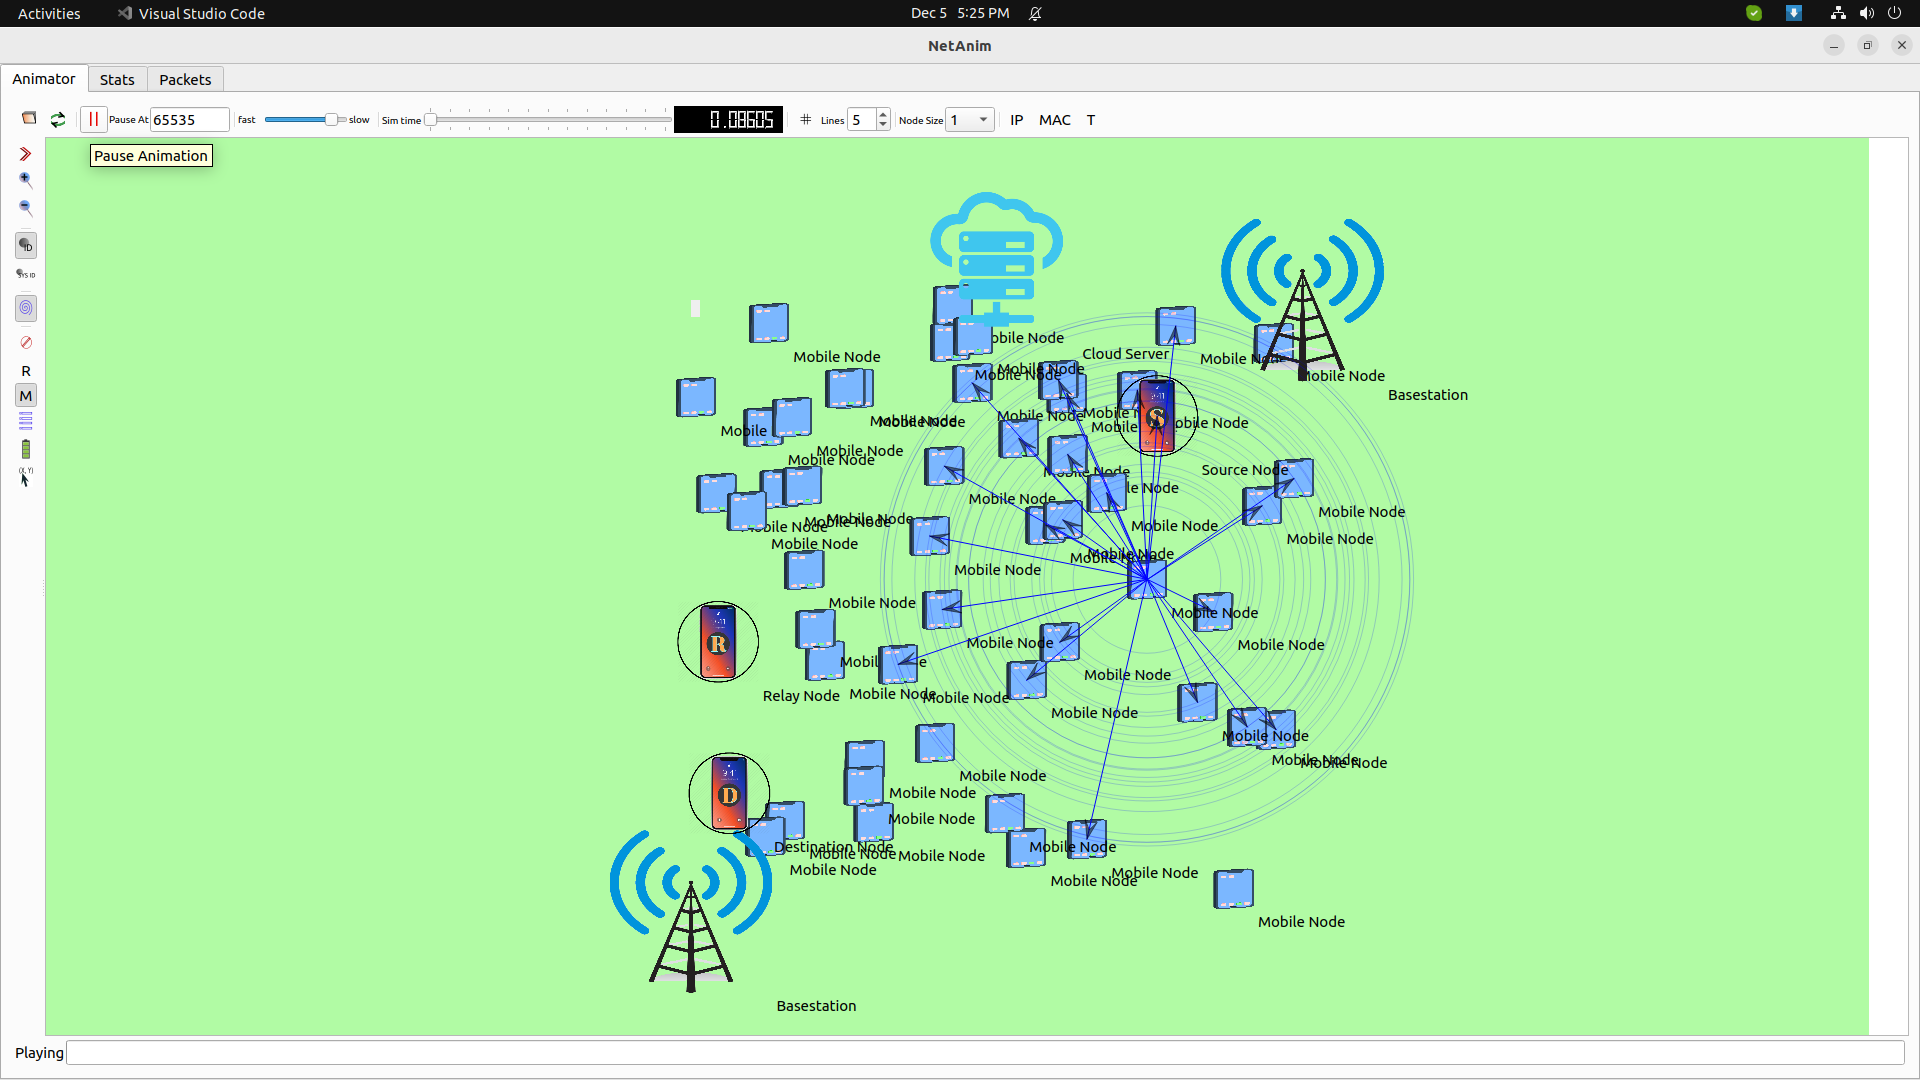
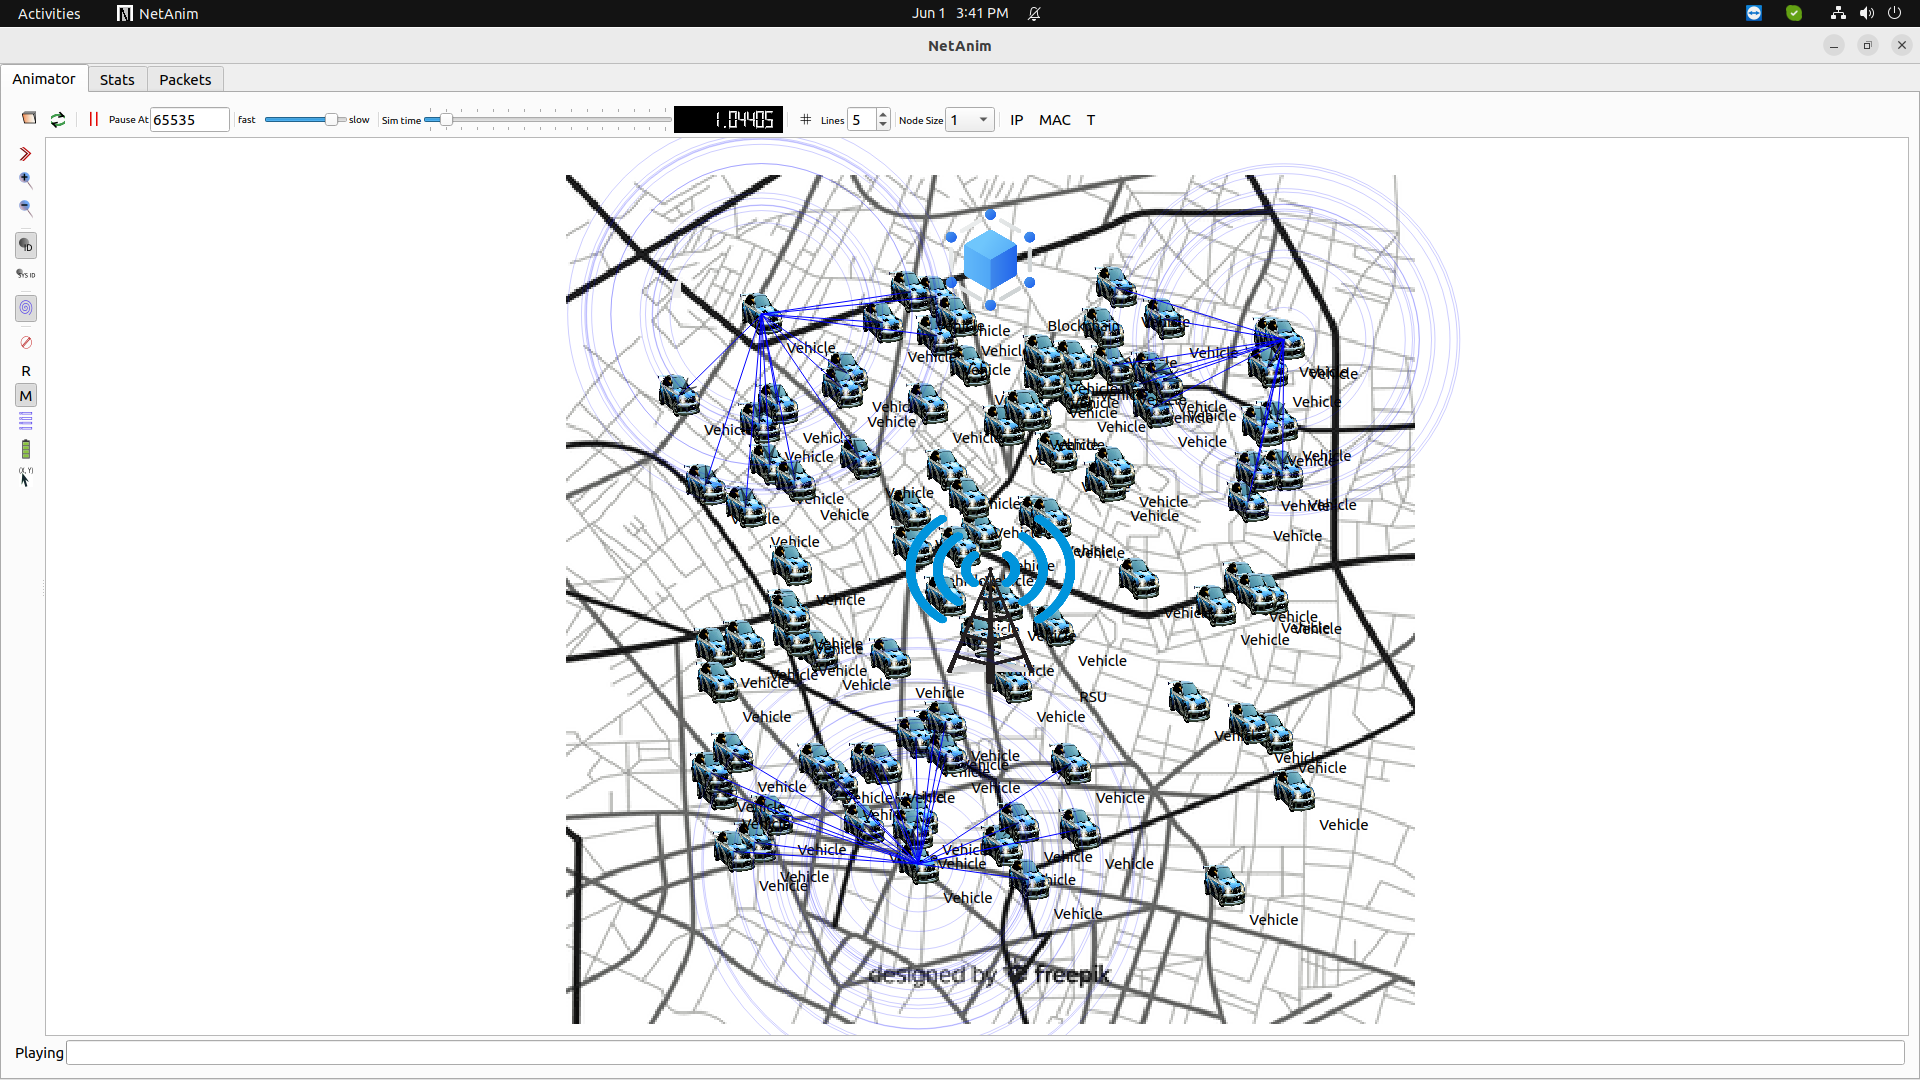
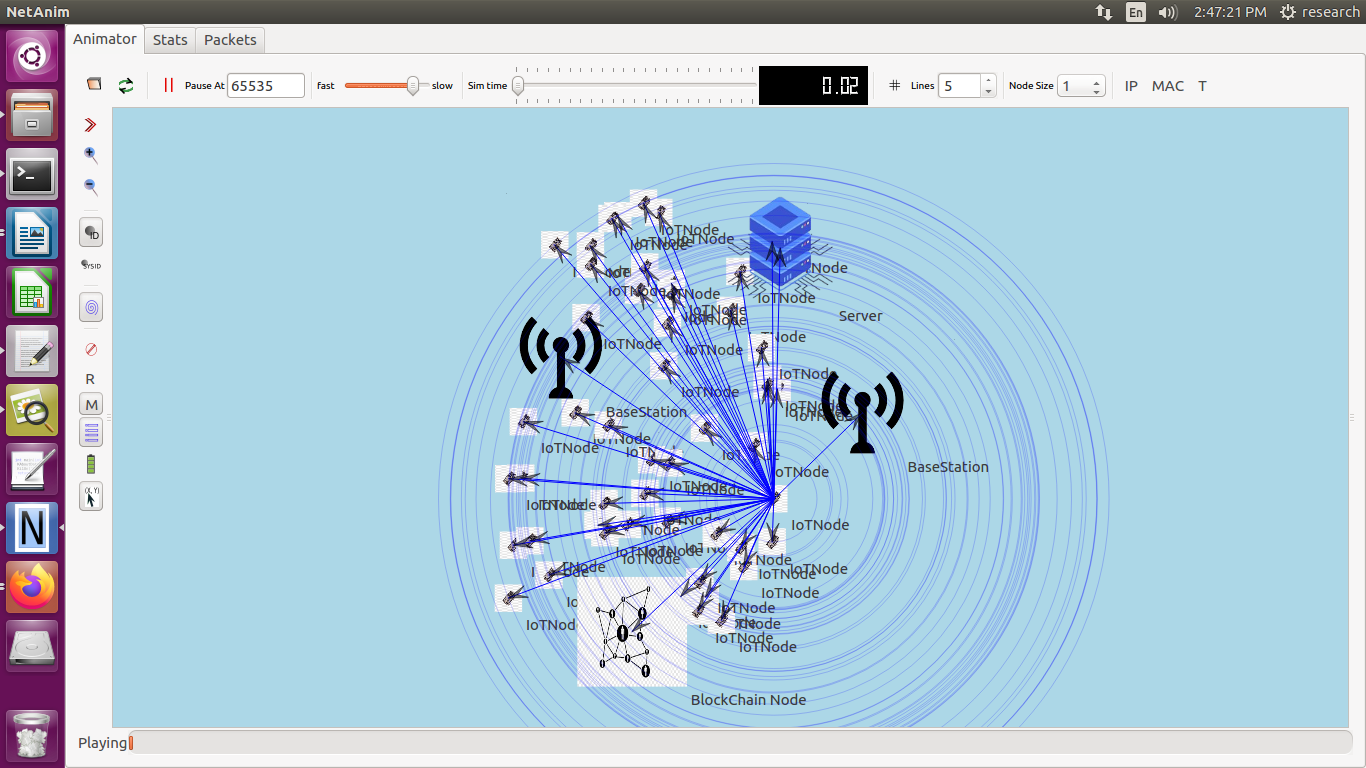
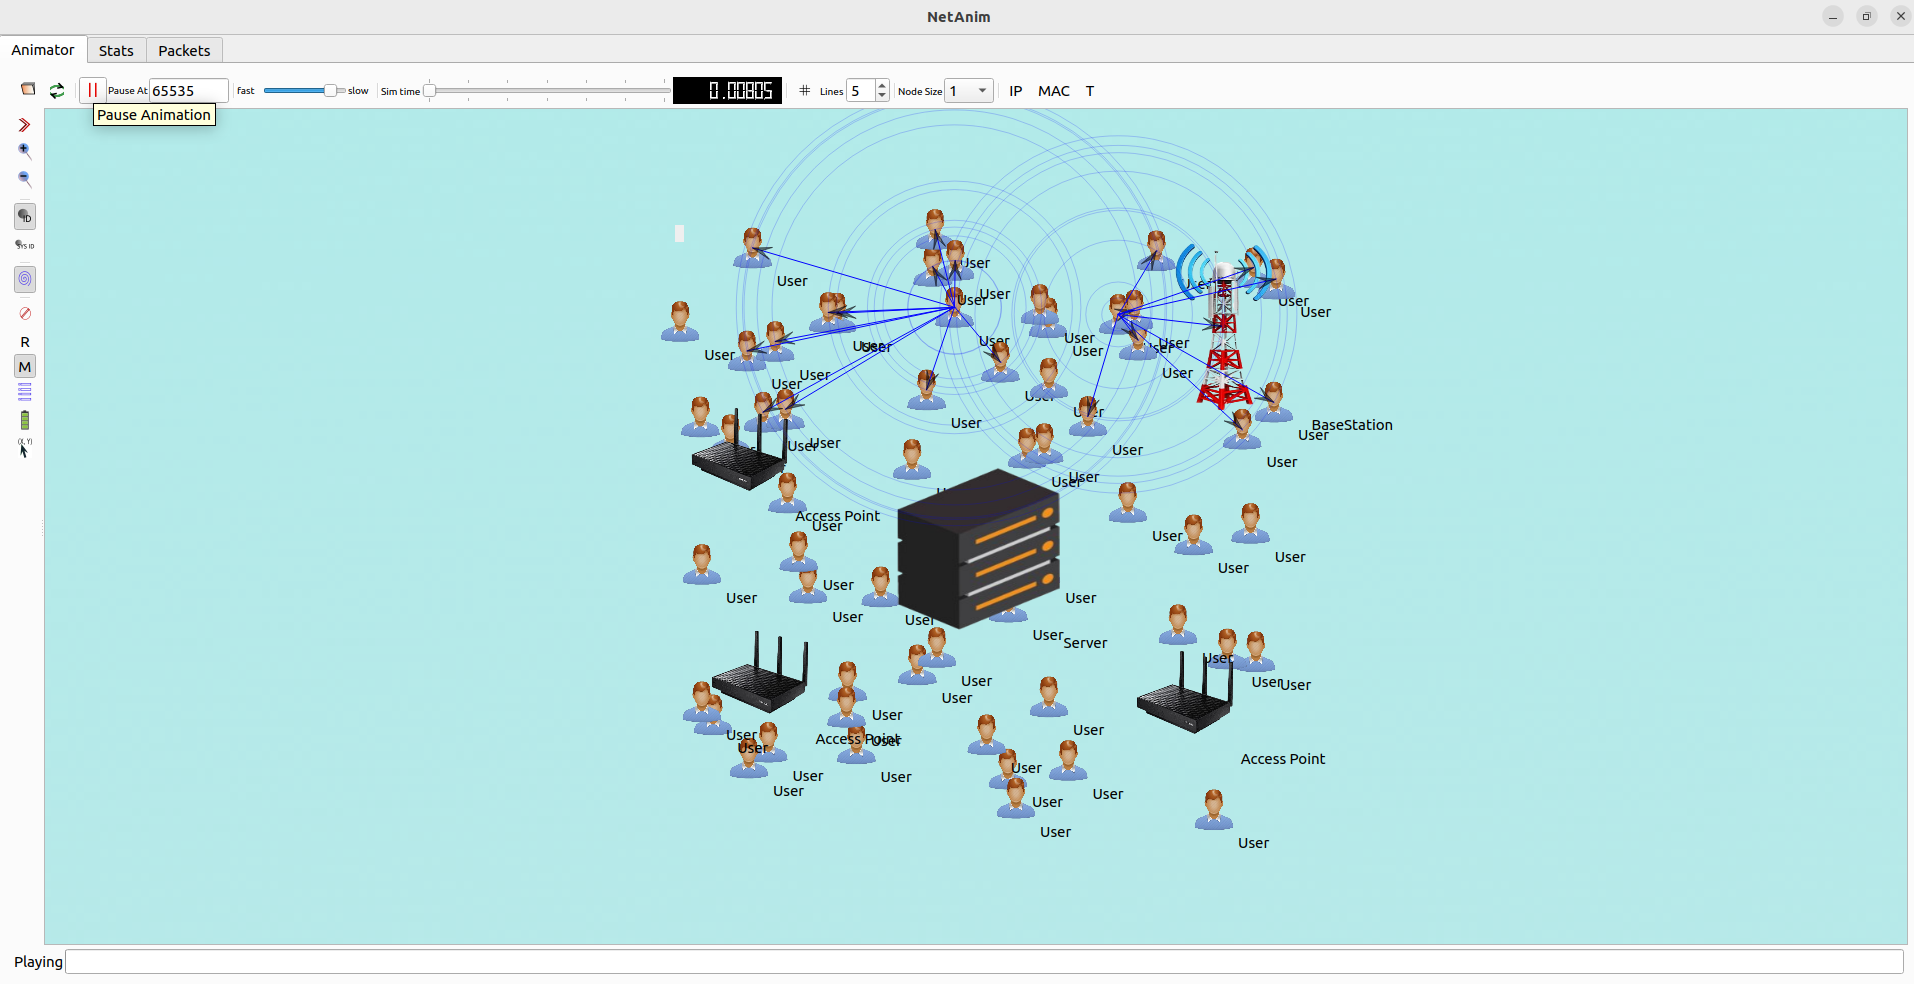
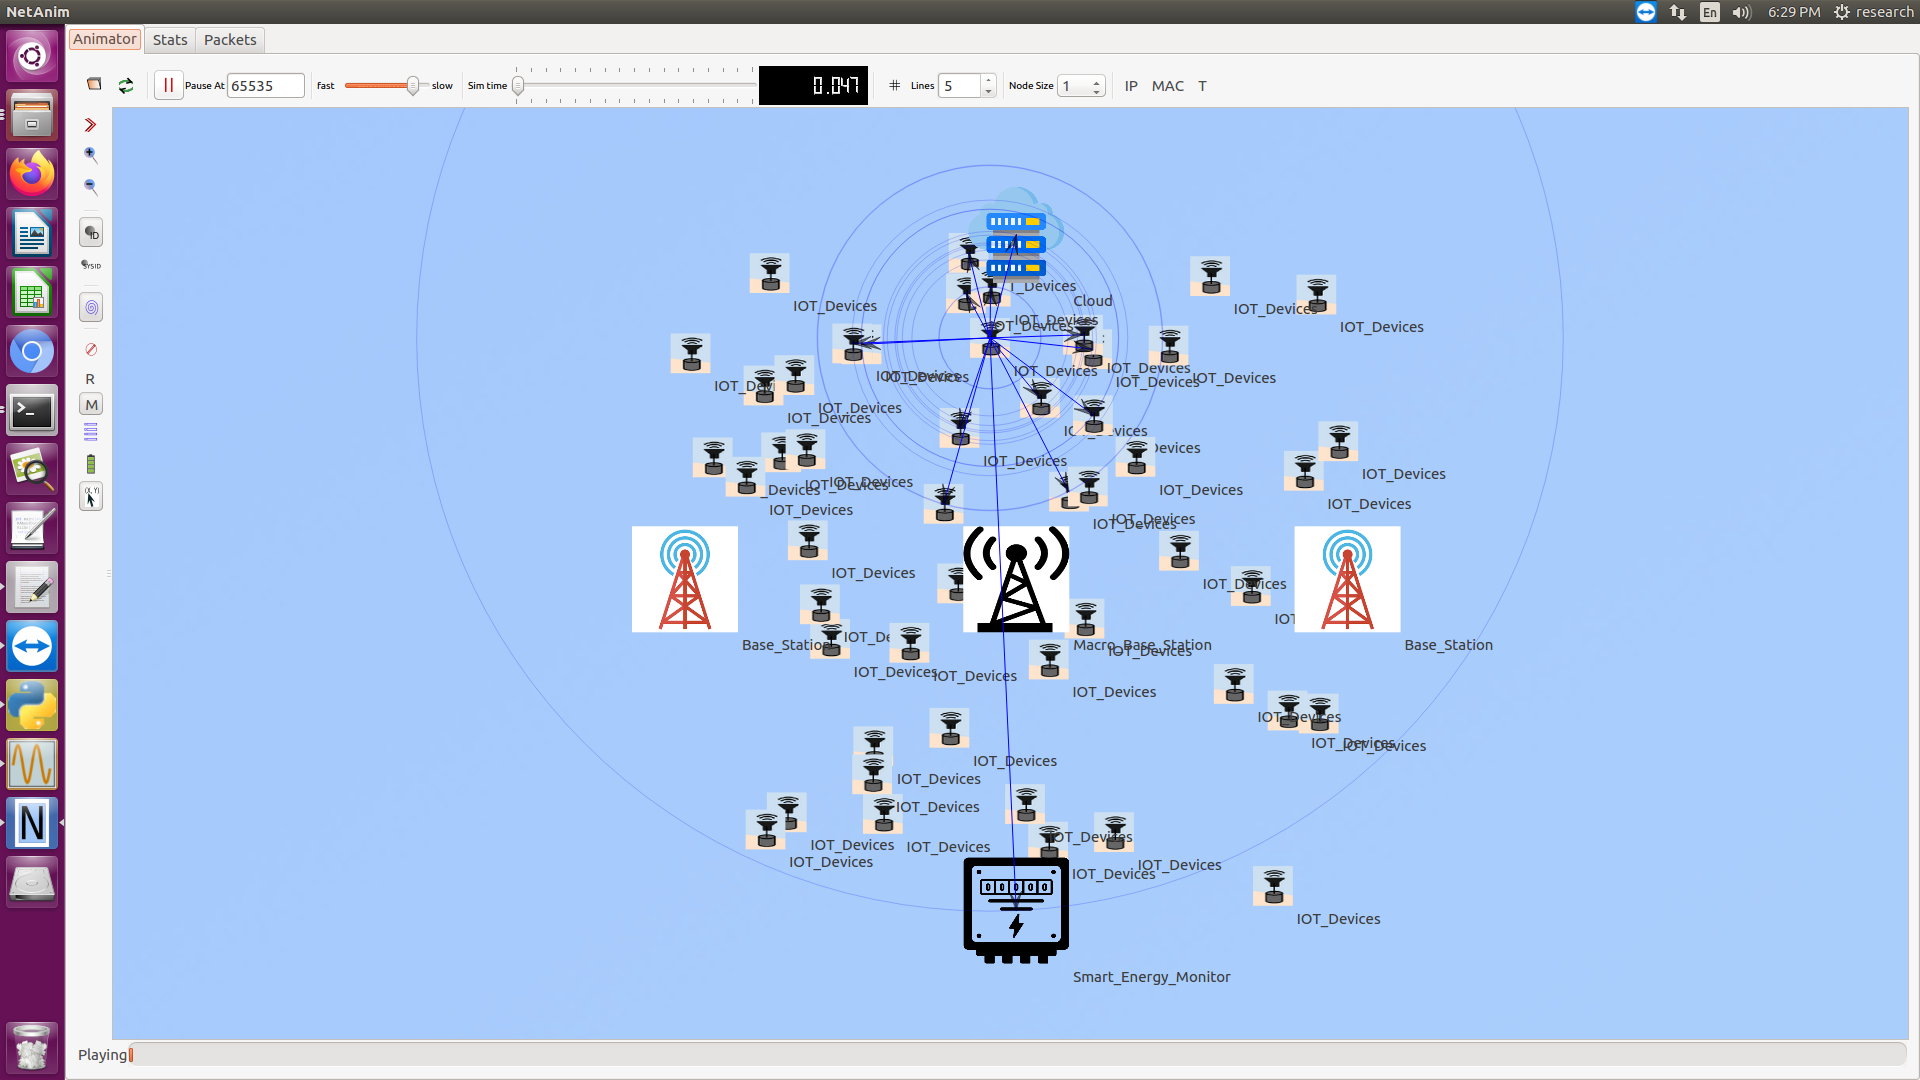
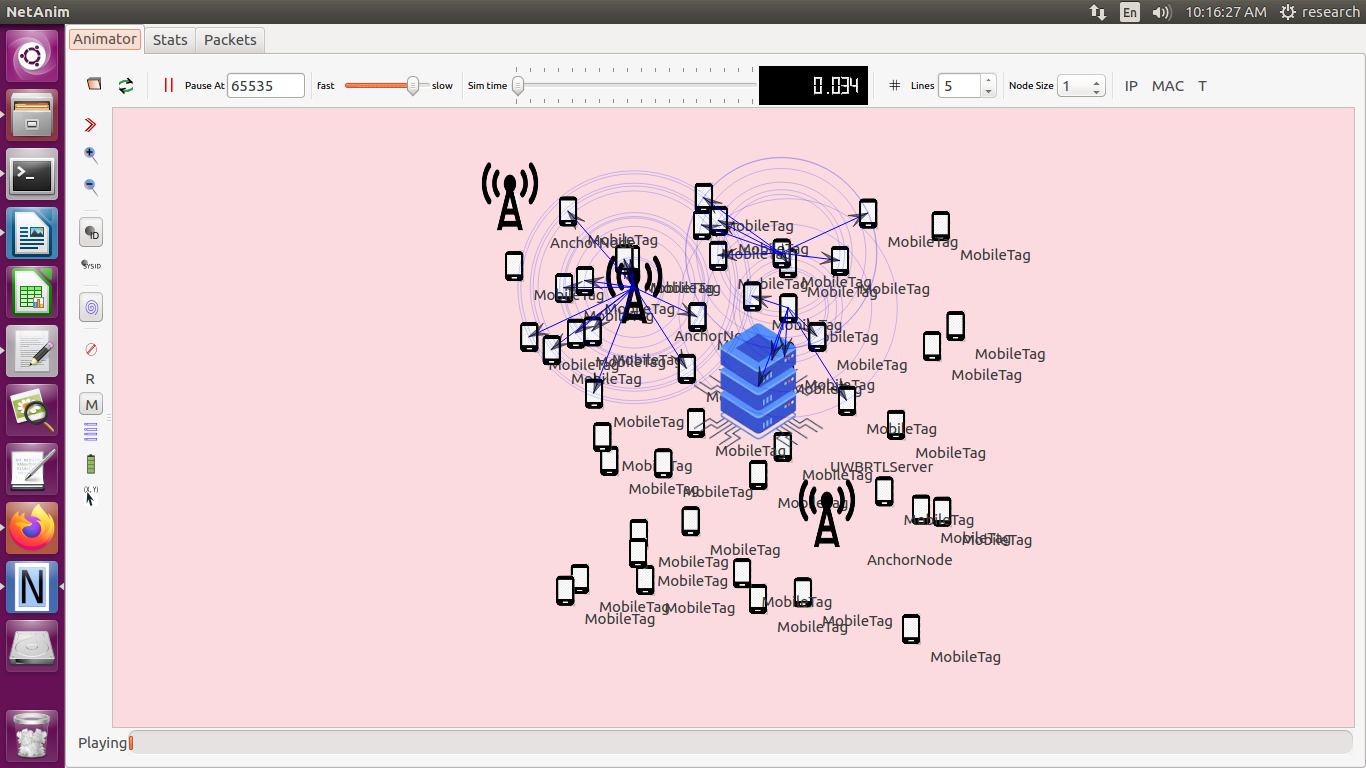
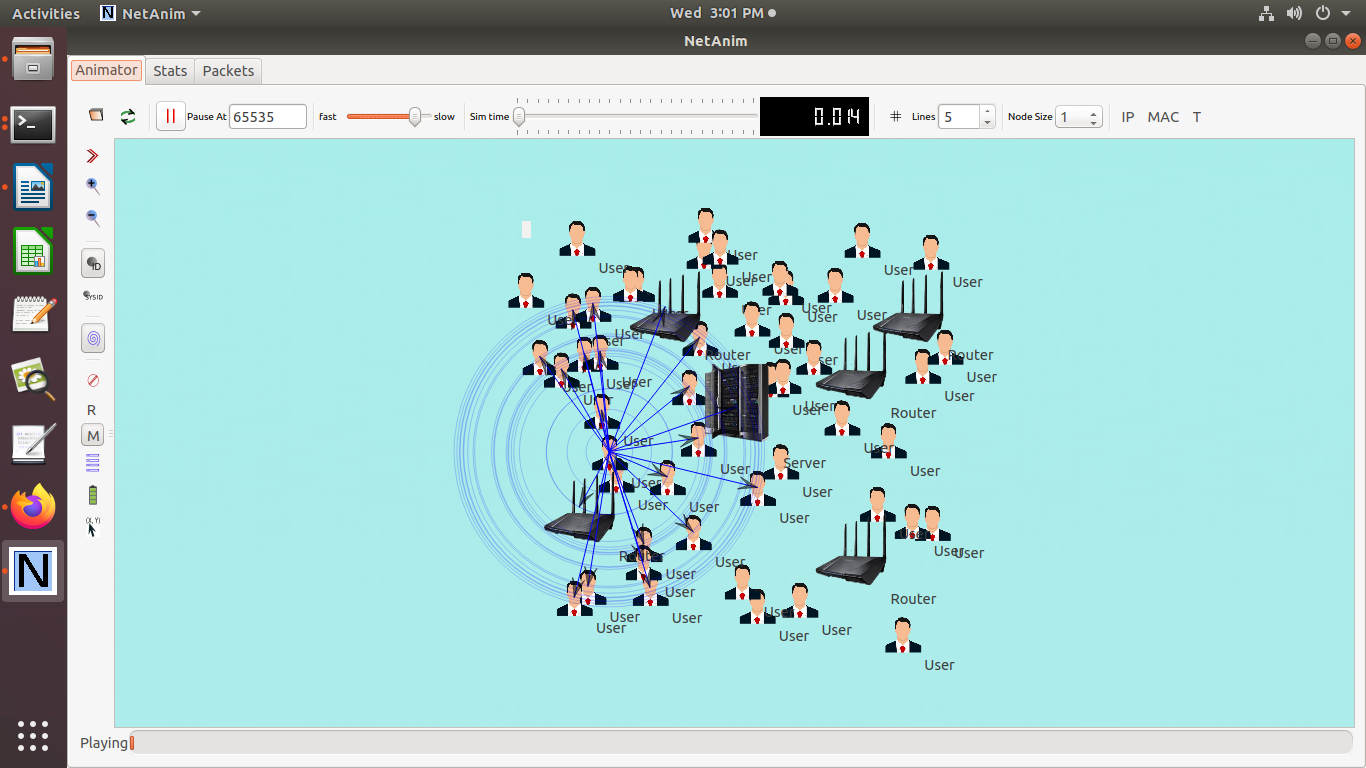
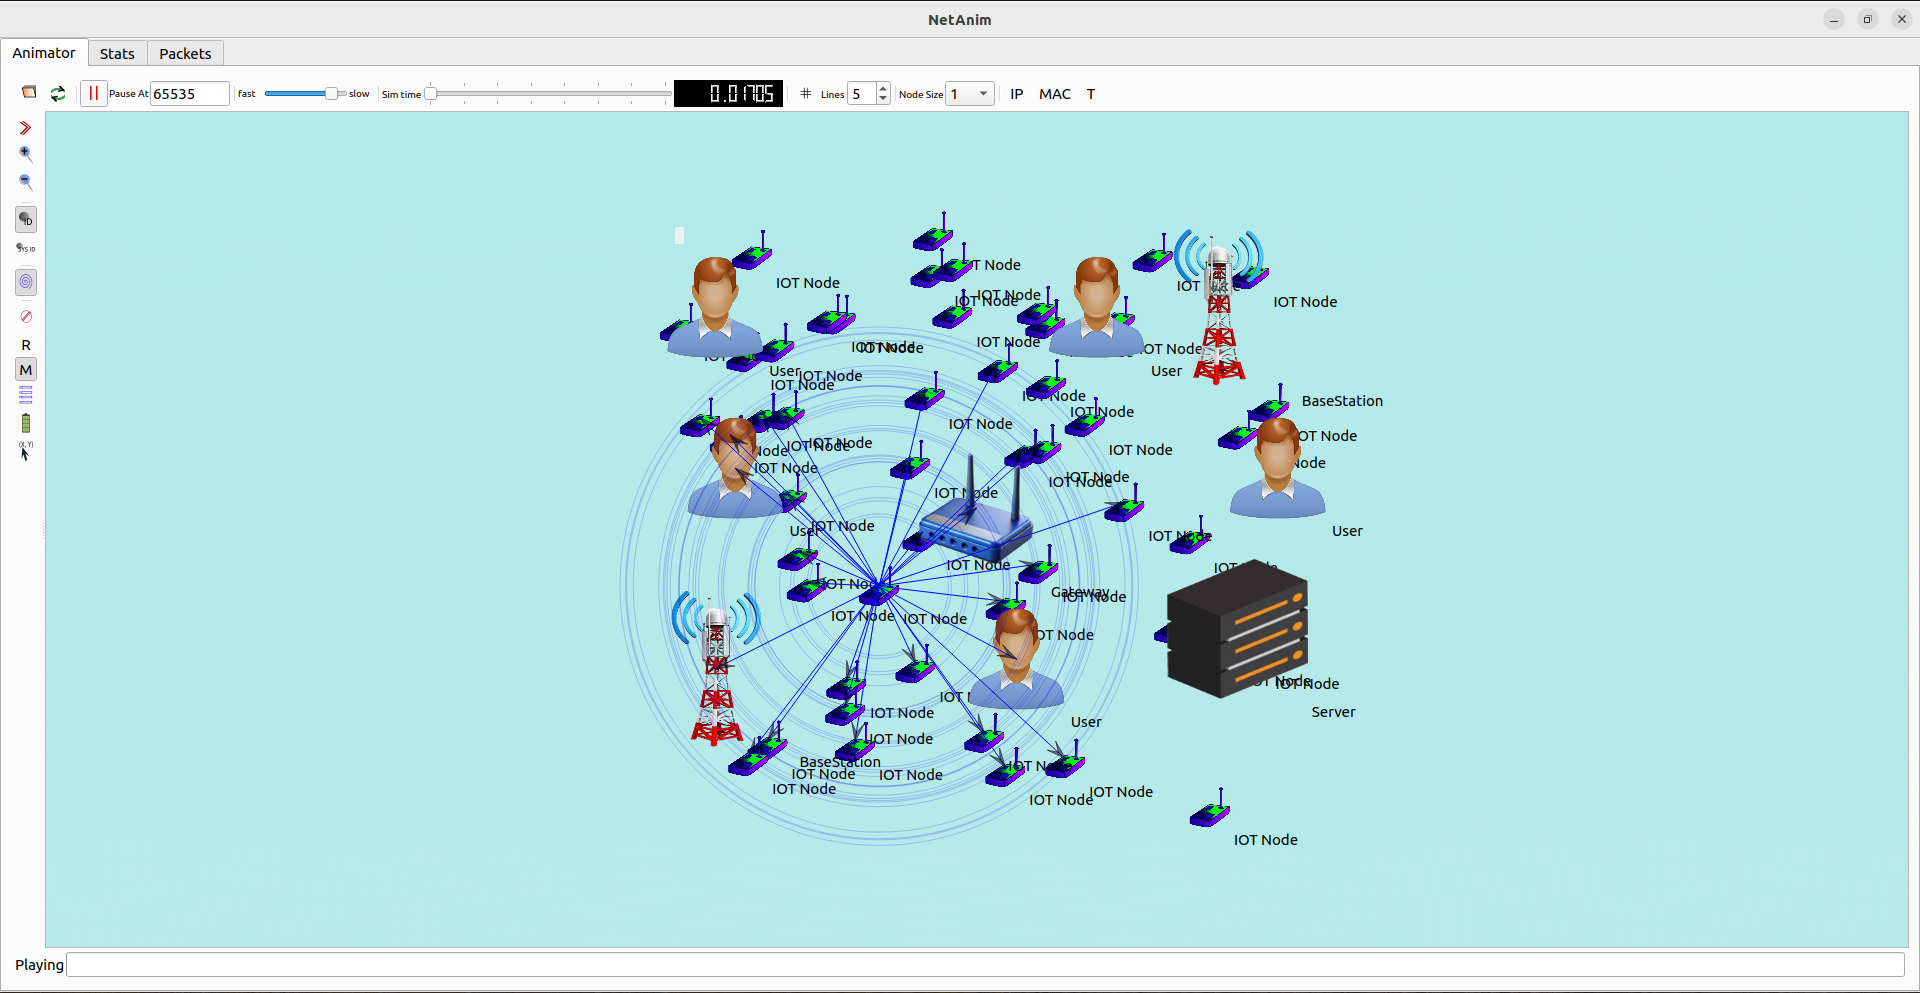
To Implement a Software-Defined Wireless Sensor Network (SD-WSN) in ns-3 by setting up a network with centralized controller which manages the sensor nodes and can dynamically reconfigure the network based on the current state and requirements. SD-WSN simulation are done as per your ideas by our team. Given below steps guide to set up a basic SD-WSN simulation in ns-3.
Step-by-Step Guide to Implement Software-Defined WSN in ns-3
- Set Up Your Development Environment
- Install ns-3:
- Follow the official ns-3 installation guide.
- Install Required Modules:
- Ensure you have all necessary ns-3 modules installed, such as WiFi, Mobility, and Internet modules.
- Create a Basic Software-Defined WSN Simulation Script
Here’s an example script to set up a basic Software-Defined WSN scenario using ns-3:
#include “ns3/core-module.h”
#include “ns3/network-module.h”
#include “ns3/internet-module.h”
#include “ns3/wifi-module.h”
#include “ns3/mobility-module.h”
#include “ns3/applications-module.h”
#include “ns3/flow-monitor-helper.h”
using namespace ns3;
NS_LOG_COMPONENT_DEFINE(“SoftwareDefinedWSN”);
int main(int argc, char* argv[])
{
// Set simulation parameters
uint32_t numSensors = 5;
double simTime = 20.0; // Simulation time in seconds
CommandLine cmd;
cmd.AddValue(“numSensors”, “Number of sensor nodes”, numSensors);
cmd.AddValue(“simTime”, “Simulation time”, simTime);
cmd.Parse(argc, argv);
// Create sensor nodes
NodeContainer sensorNodes;
sensorNodes.Create(numSensors);
// Create a controller node
NodeContainer controllerNode;
controllerNode.Create(1);
// Configure WiFi for sensor communication
WifiHelper wifi;
wifi.SetStandard(WIFI_PHY_STANDARD_80211n_5GHZ);
YansWifiPhyHelper wifiPhy = YansWifiPhyHelper::Default();
YansWifiChannelHelper wifiChannel = YansWifiChannelHelper::Default();
wifiPhy.SetChannel(wifiChannel.Create());
WifiMacHelper wifiMac;
wifiMac.SetType(“ns3::AdhocWifiMac”);
NetDeviceContainer sensorDevices;
sensorDevices = wifi.Install(wifiPhy, wifiMac, sensorNodes);
NetDeviceContainer controllerDevice;
controllerDevice = wifi.Install(wifiPhy, wifiMac, controllerNode);
// Install the Internet stack on sensor nodes and controller node
InternetStackHelper internet;
internet.Install(sensorNodes);
internet.Install(controllerNode);
// Assign IP addresses to devices
Ipv4AddressHelper ipv4;
ipv4.SetBase(“10.1.1.0”, “255.255.255.0”);
Ipv4InterfaceContainer sensorInterfaces;
sensorInterfaces = ipv4.Assign(sensorDevices);
Ipv4InterfaceContainer controllerInterface;
controllerInterface = ipv4.Assign(controllerDevice);
// Set up mobility
MobilityHelper mobility;
mobility.SetMobilityModel(“ns3::ConstantPositionMobilityModel”);
mobility.Install(sensorNodes);
mobility.Install(controllerNode);
// Example application: UDP echo server on controller
uint16_t port = 9;
UdpEchoServerHelper echoServer(port);
ApplicationContainer serverApps = echoServer.Install(controllerNode.Get(0));
serverApps.Start(Seconds(1.0));
serverApps.Stop(Seconds(simTime));
// Example application: UDP echo client on sensor nodes
UdpEchoClientHelper echoClient(controllerInterface.GetAddress(0), port);
echoClient.SetAttribute(“MaxPackets”, UintegerValue(320));
echoClient.SetAttribute(“Interval”, TimeValue(Seconds(1.0)));
echoClient.SetAttribute(“PacketSize”, UintegerValue(1024));
ApplicationContainer clientApps;
for (uint32_t i = 0; i < numSensors; ++i)
{
clientApps.Add(echoClient.Install(sensorNodes.Get(i)));
}
clientApps.Start(Seconds(2.0));
clientApps.Stop(Seconds(simTime));
// Enable Flow Monitor
FlowMonitorHelper flowmon;
Ptr<FlowMonitor> monitor = flowmon.InstallAll();
// Run the simulation
Simulator::Stop(Seconds(simTime));
Simulator::Run();
// Print Flow Monitor statistics
monitor->SerializeToXmlFile(“sdwsn-flowmon.xml”, true, true);
Simulator::Destroy();
return 0;
}
Explanation of the Script
Below we have enlightened the process of setting up SD-WAN in ns-3:
- Include Necessary Headers:
- Include headers for ns-3 core, network, internet, WiFi, mobility, applications, and flow monitor modules.
- Set Simulation Parameters:
- Define the number of sensor nodes and simulation time.
- Create Nodes:
- Create sensor nodes and a controller node (centralized manager).
- Configure WiFi for Sensor Communication:
- Set up WiFi using WifiHelper, YansWifiPhyHelper, and WifiMacHelper for ad-hoc communication.
- Install Internet Stack:
- Install the Internet stack on sensor nodes and the controller node using InternetStackHelper.
- Assign IP Addresses:
- Assign IP addresses to the devices using Ipv4AddressHelper.
- Set Up Mobility:
- Define the positions and mobility models for the nodes using MobilityHelper.
- Install Applications:
- Install a UDP echo server on the controller node and UDP echo clients on the sensor nodes to simulate communication.
- Enable Flow Monitor:
- Install and configure the Flow Monitor to collect and analyze network performance statistics.
- Run the Simulation:
- Set the simulation stop time, run the simulation, print Flow Monitor statistics, and clean up using Simulator::Stop, Simulator::Run, and Simulator::Destroy.
Further Enhancements
- Dynamic Network Configuration:
- Implement a control application on the controller node to dynamically reconfigure the network based on sensor data and network conditions.
- Advanced Mobility Models:
- Implement more realistic mobility models for sensor nodes.
- Quality of Service (QoS):
- Implement QoS mechanisms to prioritize critical sensor data.
- Routing Protocols:
- Implement and assess different routing protocols for SD-WSNs.
- Network Performance Metrics:
- Collect and analyze performance metrics such as throughput, latency, packet delivery ratio, and energy consumption.
- Fault Tolerance and Resilience:
- Implement and estimate fault tolerance mechanisms and resilience strategies for sensor communication.
Atlast, we all get to know how to implement Software-Defined Wireless Sensor Network (SD-WSN) in ns-3. Should you encounter challenges with programming Software-Defined Wireless Sensor Network (SD-WSN) in ns-3, do not hesitate to contact us for assistance.


