Consider this article as the depiction of step by step process of ns3 installation in Ubuntu 20.04. In addition, our research professionals have provided the appropriate research assistance through this.
Initially, we have to know about the required packages to install ns3 and here we have used the execution process of the following commands in Ubuntu 20.04 terminal.
sudo apt update
sudo apt install build-essential autoconf automake libxmu-dev python3-pygraphviz cvs mercurial bzr git cmake p7zip-full python3-matplotlib python-tk python3-dev qt5-qmake qt5-default gnuplot-x11 wireshark
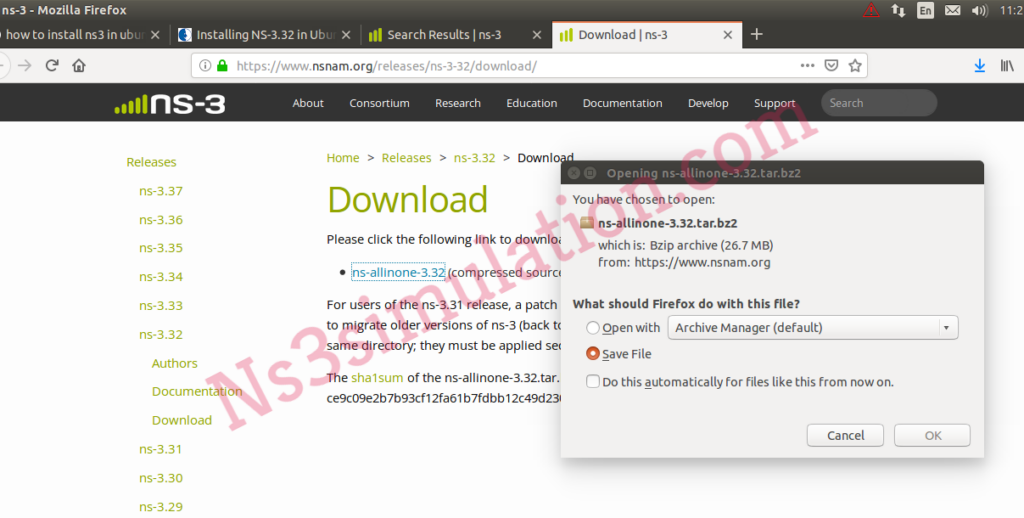
So, we have to download the ns-allinone-3.32.tar.bz2 package from nsnam.org and through the utilization of the following URL.

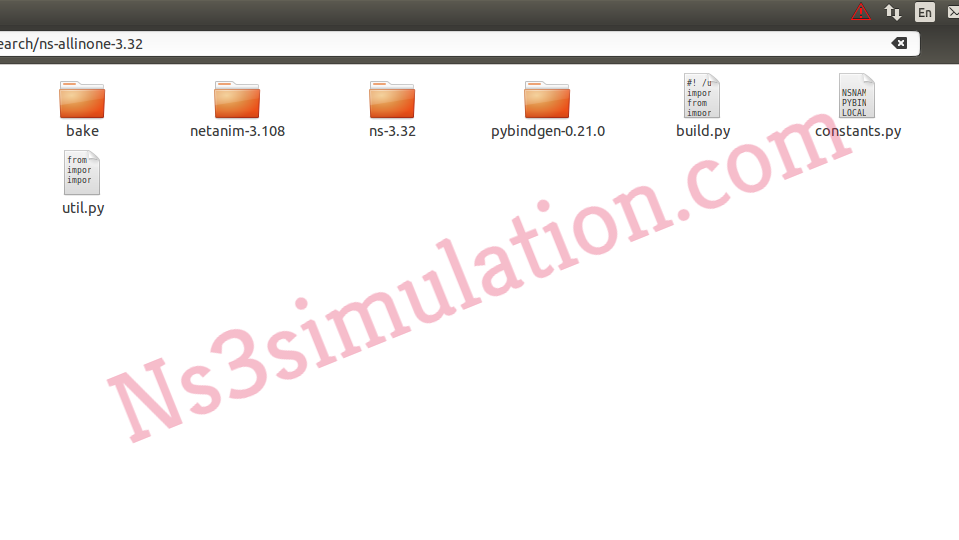
Then, we have to copy the downloaded package to the Ubuntu 20.01 home or folder. Additionally, we have to extract that package through the implementation of the following commands.
tar jxvf ns-allinone-3.32.tar.bz2

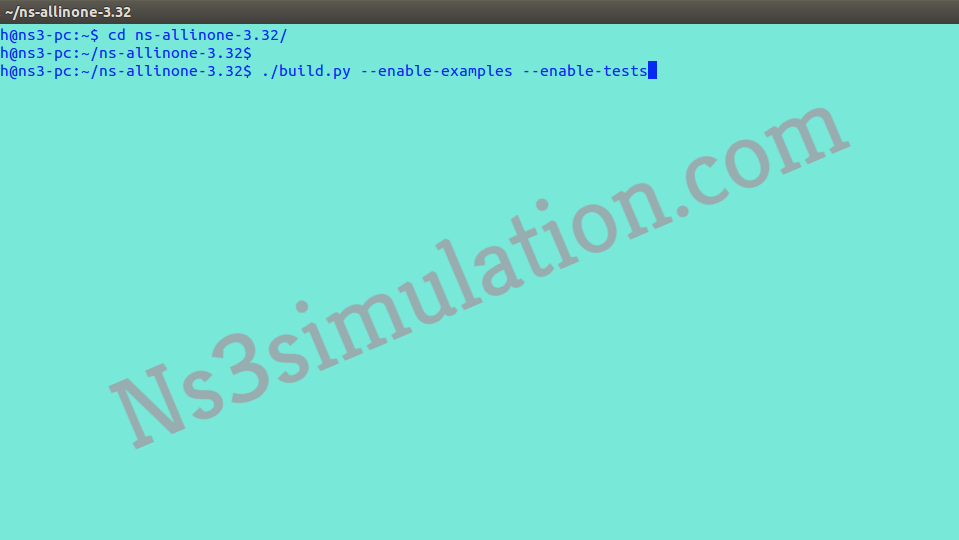
At that moment, the downloaded package of ns-allinone-3.32 is installed through the execution of the following commands.
cd ns-allinone-3.32/
./build.py –enable-examples –enable-tests

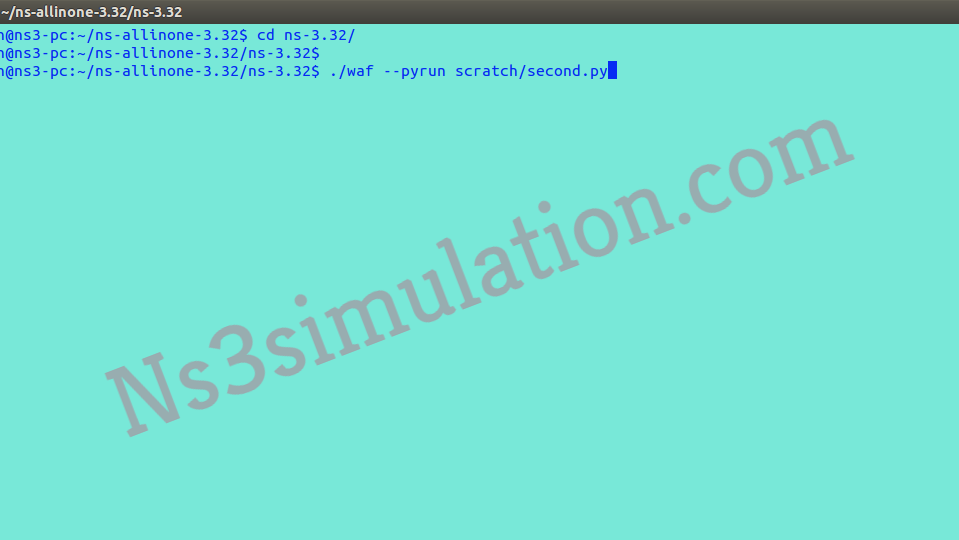
Lastly, we have to implement the simulation through changing the location and implementing the following commands.
cd ns-3.32/
./waf –pyrun scratch/second.py

While implementing Ns3 you guys may encounter some issues, so that we are lending hands to clarify all such issues. So, feel free to reach us.
