

Through this article, our research professionals have depicted step by step process to run TCL files in the network simulator 3.
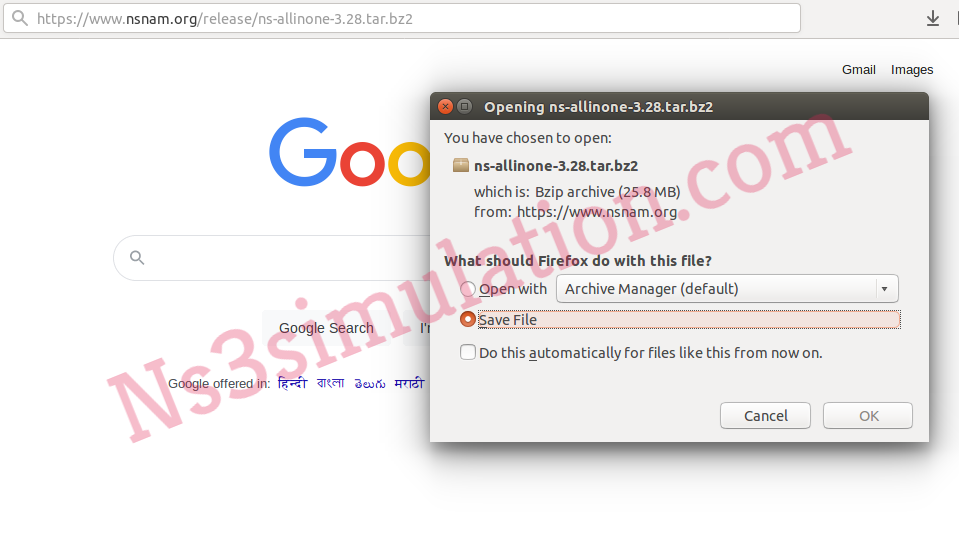
Step: 1 Download Ns3
As a start, we have to download the packages based on ns-3.28 through the below mentioned URL.
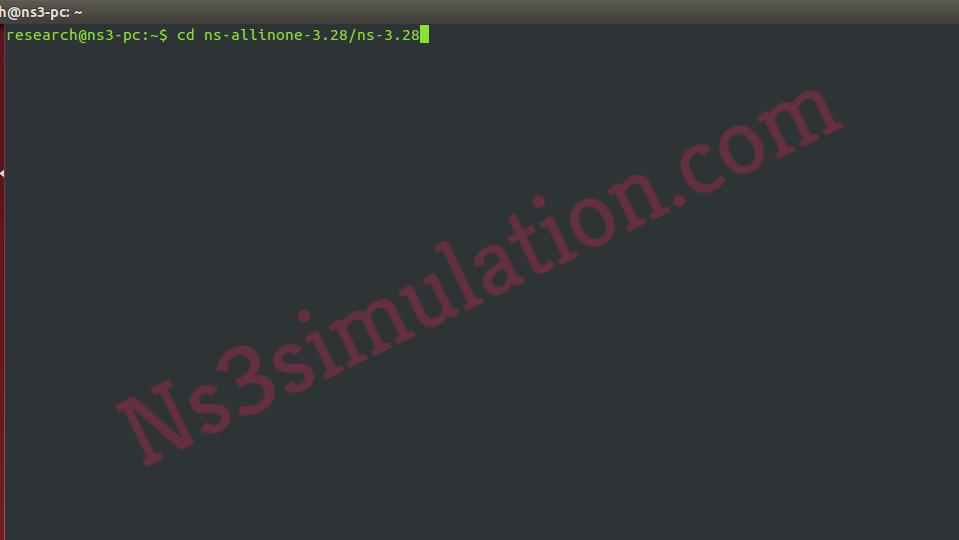
Step: 2 Configure Ns3
Then, we have to configure the packages of ns-3.28 through the implementation of the following commands in the terminal.
tar jxfv ns-allinone-3.28.tar.bz2
cd ns-allinone-3.28/ns-3.28
./waf configure –enable-examples
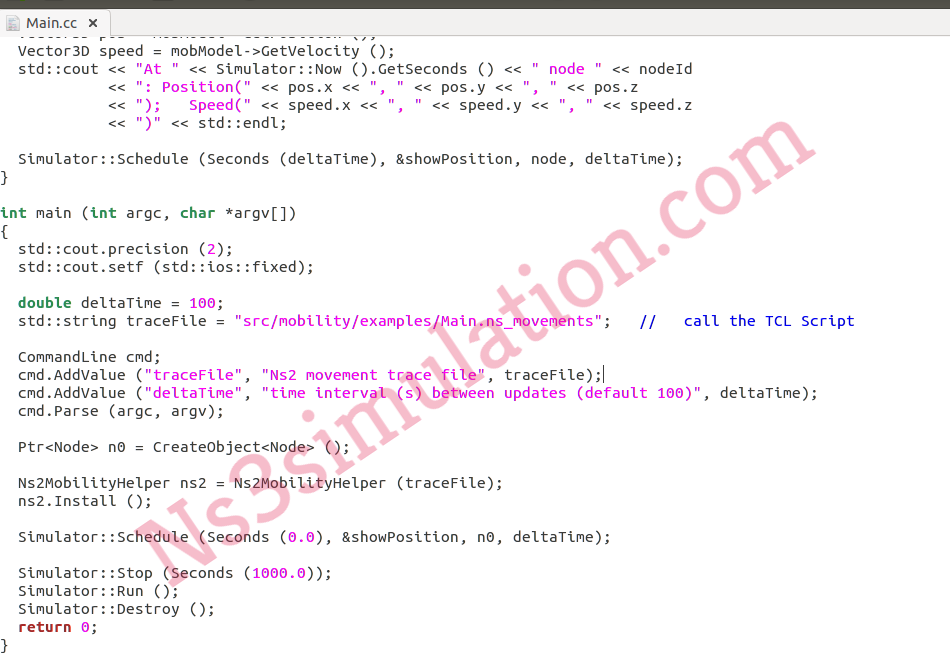
Step: 3 Main File Creation
Consequently, we have to create the main file in the scratch folder and the TCL file is functioning through the trace file configuration.
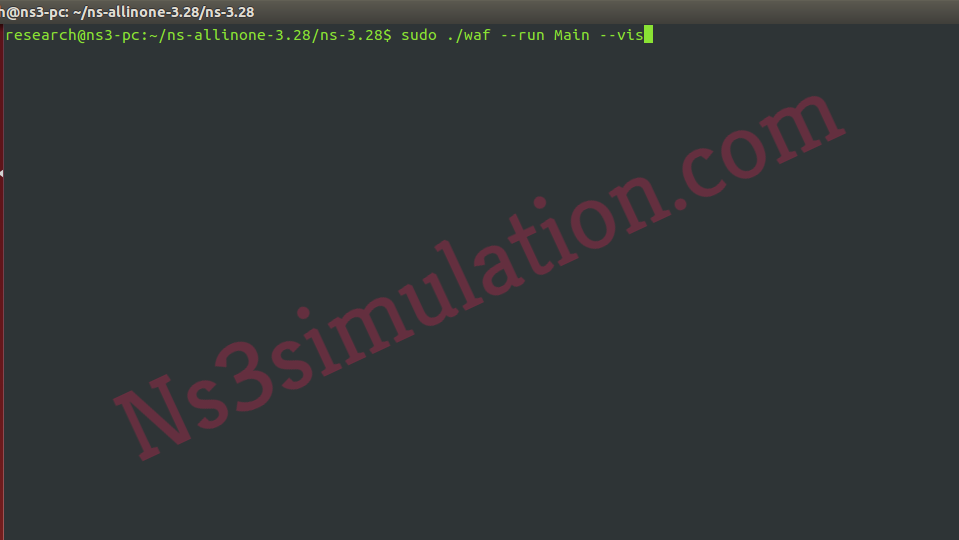
Step: 4 Main File Execution
Finally, the main file is executed through the implementation of the below mentioned commands.
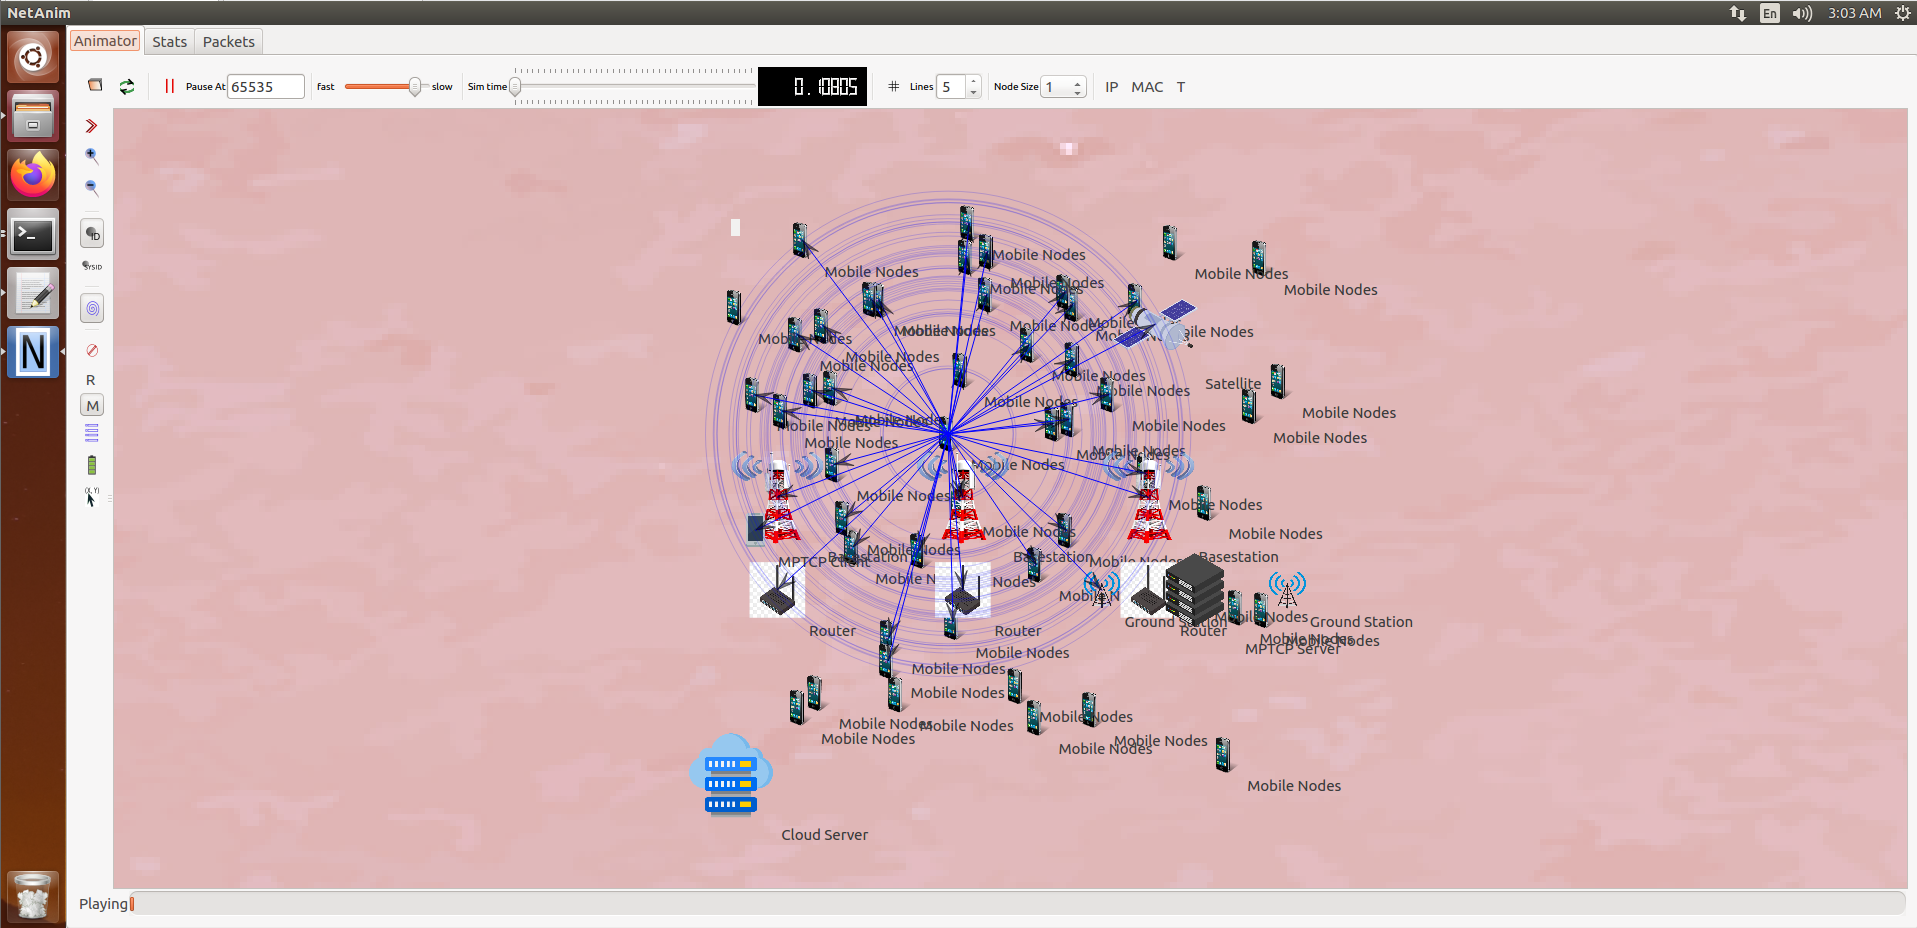
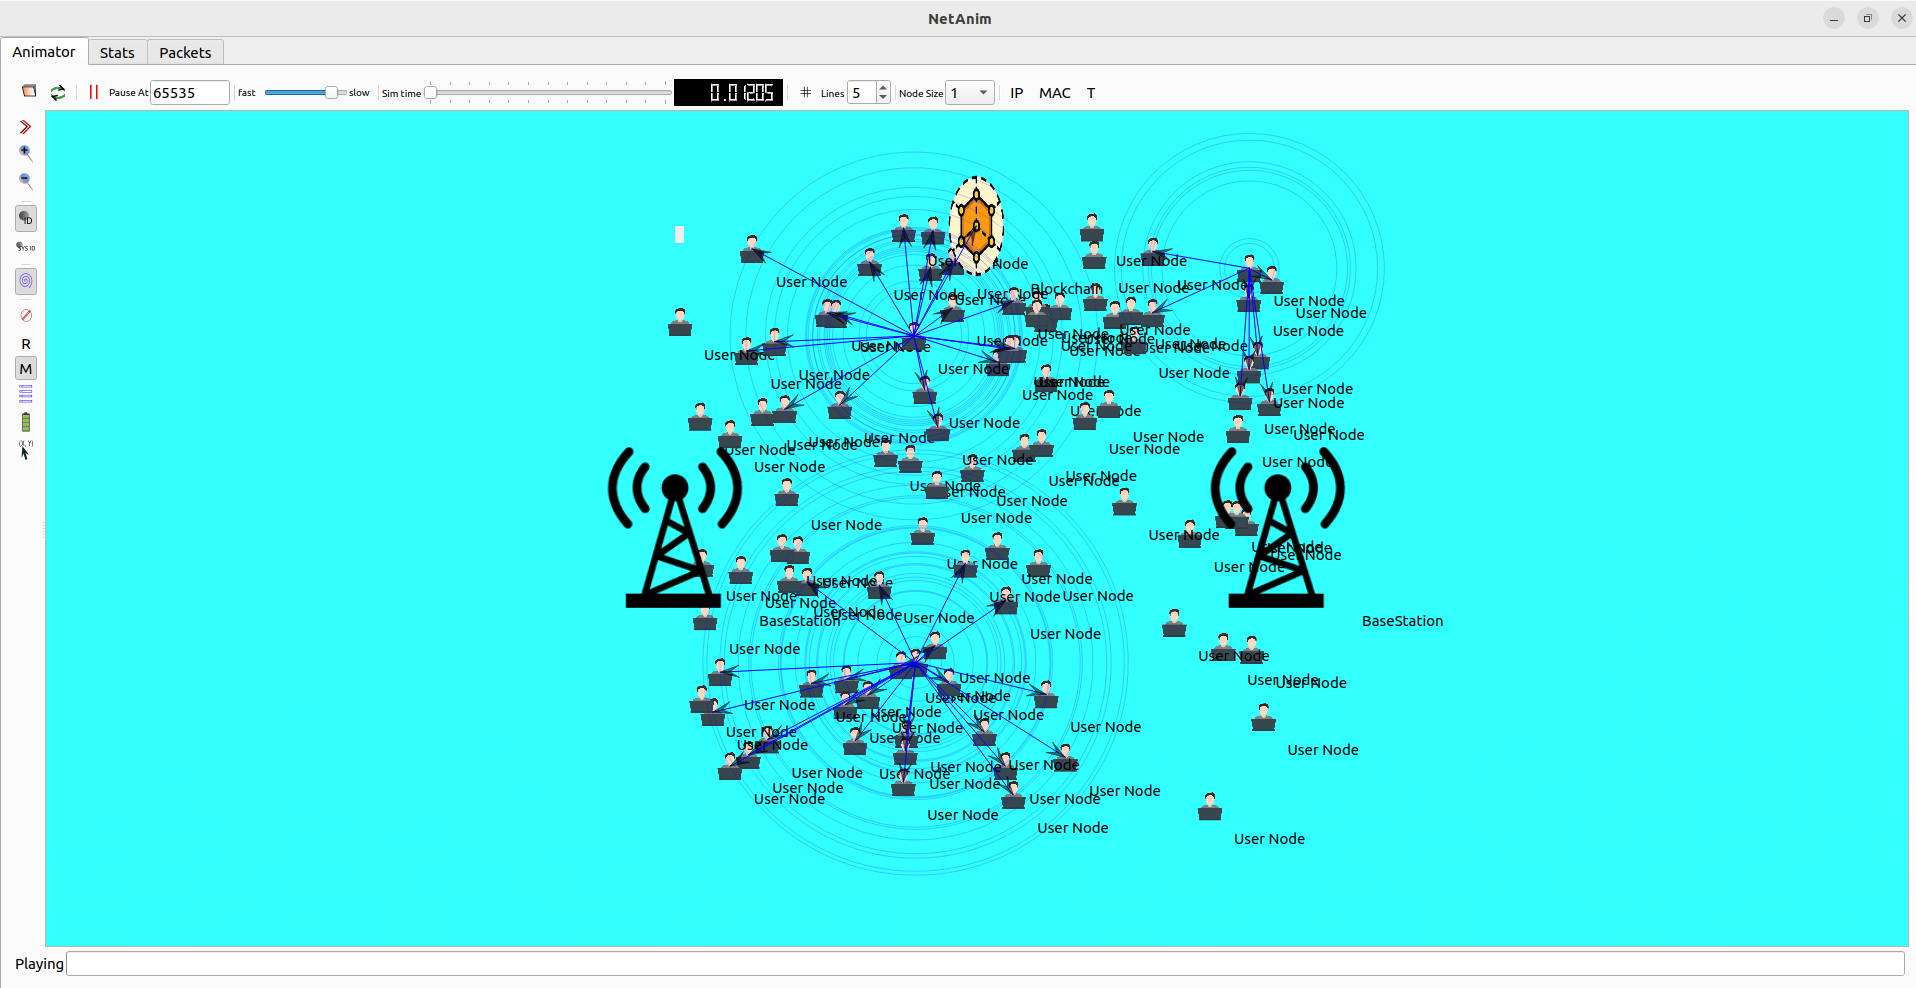
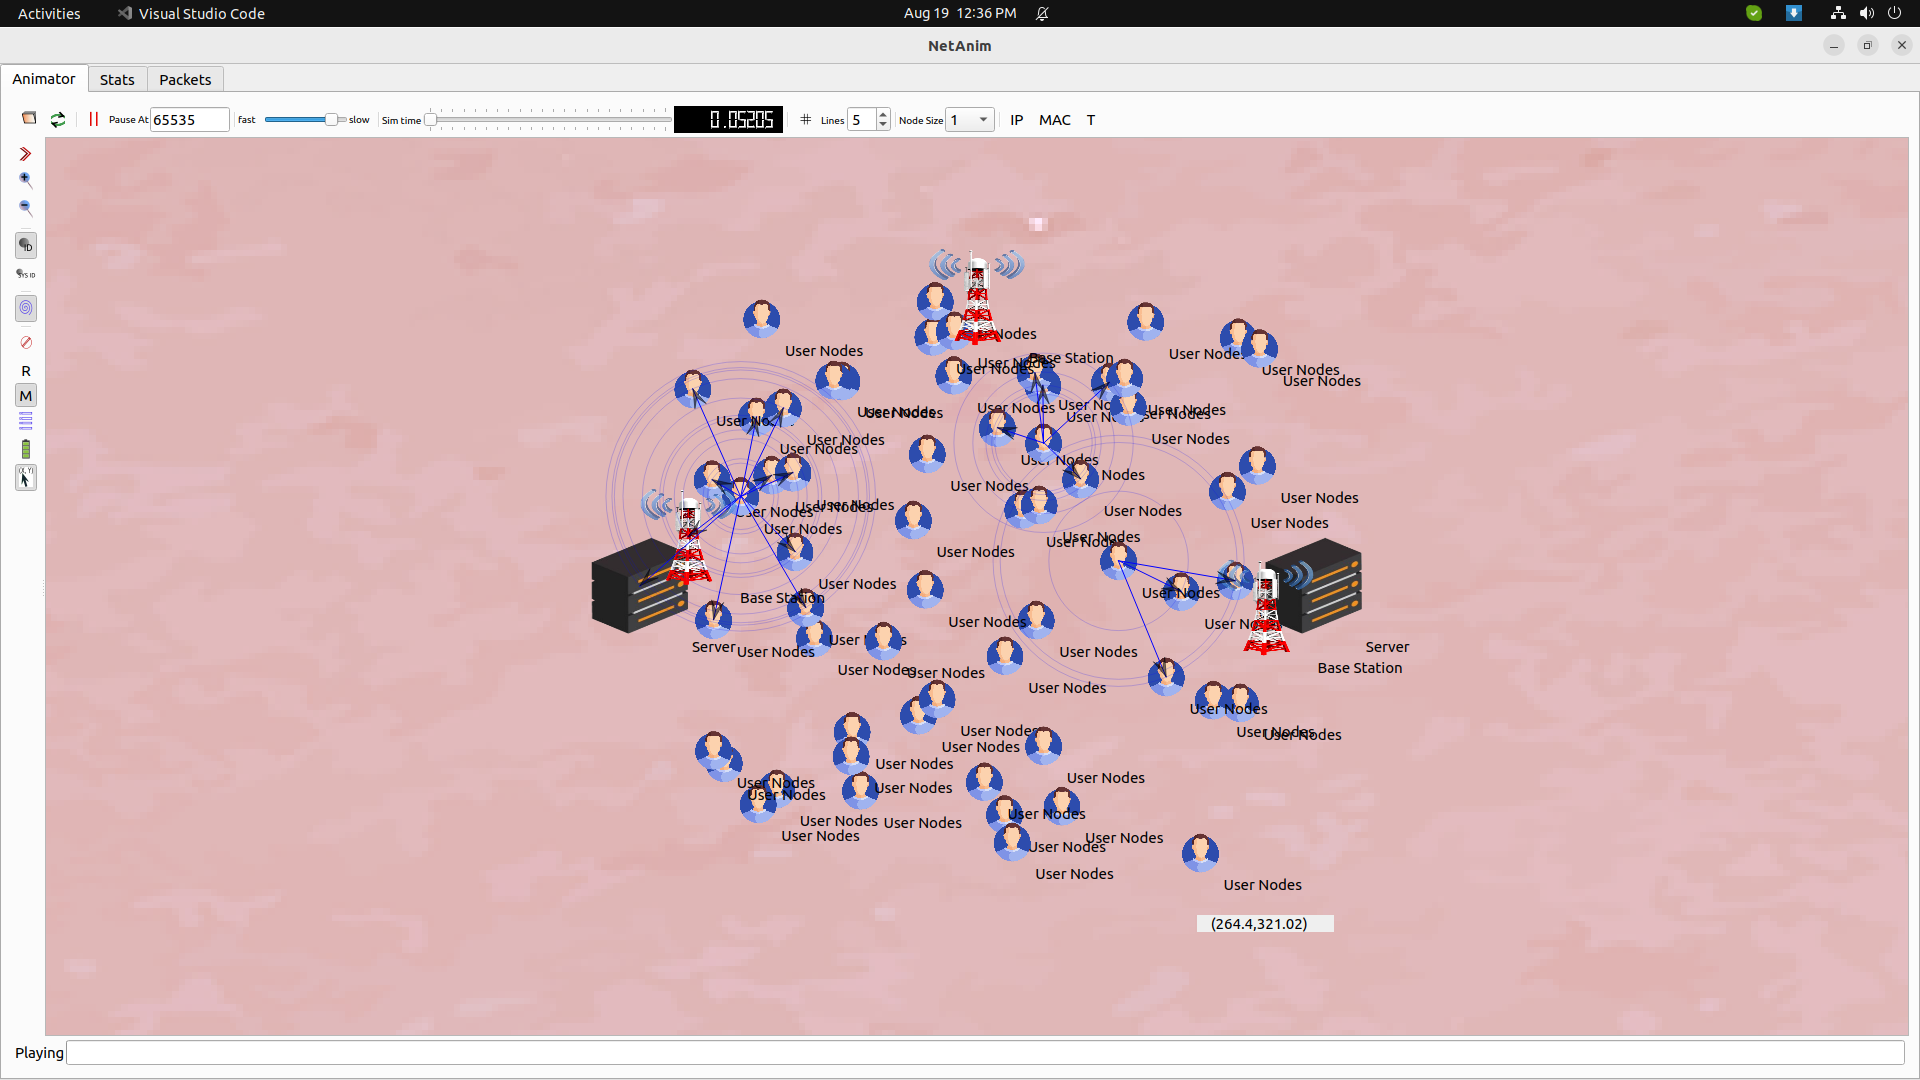
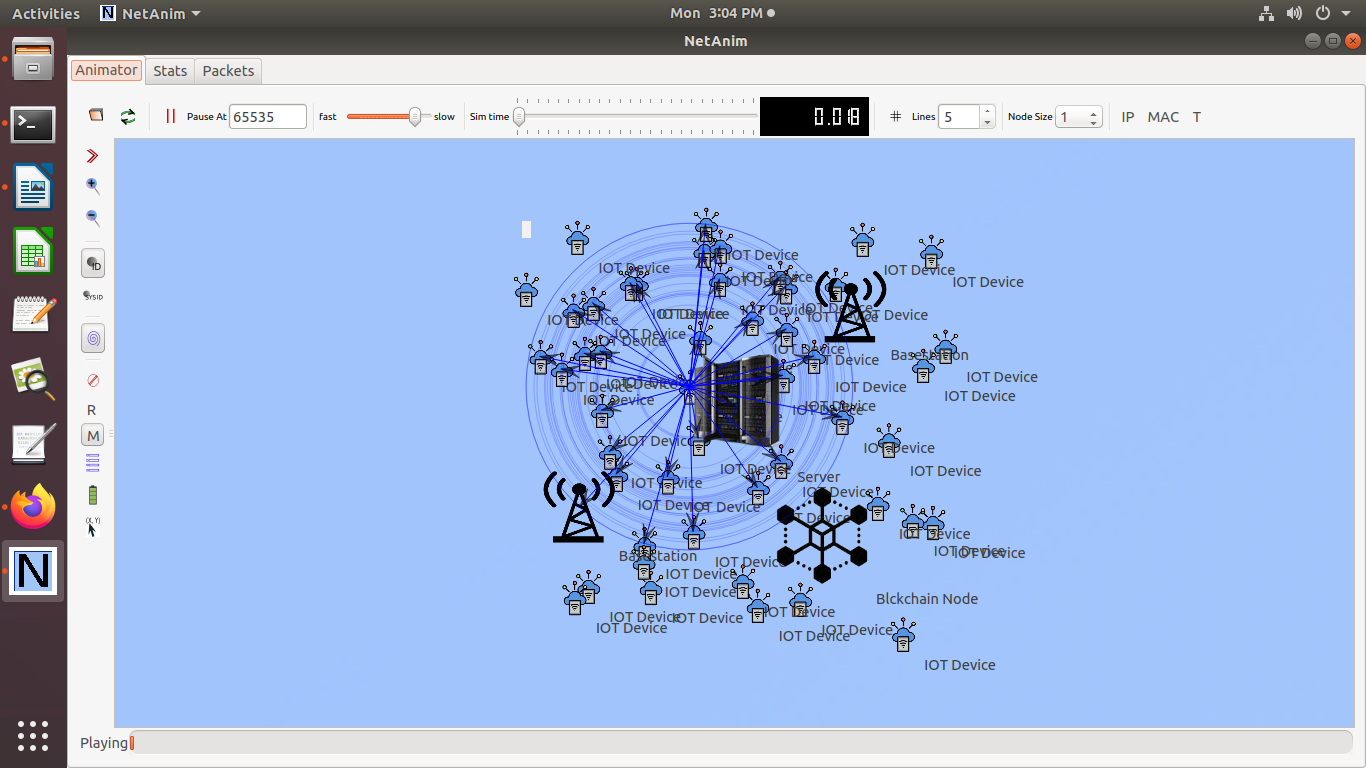
sudo ./waf –run Main –vis
At last, you guys can just make a call to us to acquire more research assistances.


We Provide
We Provide

 Helping 1M+ Research Scholars
| Research Topics | Project | Paper | Thesis |
|---|---|---|---|
| 3D Underwater WSN | 150 | 499 | 541 |
| Hybrid Beamforming | 110 | 398 | 432 |
| Intelligent Agent WSN | 135 | 412 | 510 |
| Blockchain technology | 121 | 467 | 496 |
| Optical Networks | 149 | 398 | 465 |
| Vehicular sensor Network | 250 | 491 | 534 |
| Industrial IoT | 114 | 378 | 431 |
| Service Discovery | 170 | 419 | 489 |
| Named Data Networking | 121 | 386 | 423 |
| SDN-NDN | 110 | 427 | 498 |
| D2D Communication | 131 | 389 | 425 |
| M2M Communication | 108 | 389 | 411 |
| UWB communication | 124 | 495 | 510 |
| 5G Network Slicing | 137 | 437 | 492 |
| Delay Tolerant Network | 105 | 469 | 533 |
| Multi-Microgrid | 111 | 326 | 379 |
| Content-centric network | 100 | 296 | 304 |
| 5G Beyond networks | 131 | 379 | 409 |
| Cloud-RAN | 127 | 352 | 389 |
| Fog-RAN | 145 | 310 | 378 |
| FANET | 178 | 395 | 400 |
| Cognitive adhoc network | 153 | 325 | 363 |
| Vehicular NDN | 175 | 310 | 425 |
| Multimedia sensor network | 205 | 275 | 315 |
| V2X communication | 151 | 200 | 308 |
| Software-defined WSN | 176 | 248 | 358 |
| 5G | 201 | 289 | 365 |
| Fibre Channel / Cellular / 5G topics | — | — | — |
| Cellular Networks | 185 | 235 | 397 |
| CRN | 204 | 268 | 348 |
| IoT | 163 | 287 | 395 |
| Intrusion Detection system | 110 | 257 | 348 |
| LiFi | 101 | 279 | 386 |
| LTE | 159 | 208 | 345 |
| MANET | 175 | 247 | 395 |
| MIMO | 142 | 298 | 354 |
| Mobile Computing | 114 | 254 | 308 |
| RPL | 189 | 275 | 357 |
| SDN | 109 | 258 | 346 |
| VANET | 152 | 278 | 359 |
| Vertical Handover | 108 | 241 | 367 |
| Wireless Body Area Network | 121 | 198 | 348 |
| Wireless Communication | 178 | 248 | 371 |
| Wireless Sensor Networks | 106 | 213 | 369 |
From Topic selection to Final submission support.
Fix build errors, runtime issues, and simulation crashes.
Create real-time research-based network scenarios.
Improve simulation efficiency and execution time.
Help with result interpretation, graphs, and documentation.
Project explanation for viva, review, and presentations.
Your one-stop solution for NS-3 protocols, routing strategies, and parameter optimization—fully tailored to your research needs.

4.8 rating on Google*
Copyright © 2026 Ns3Simulation, All Rights Reserved