
Are you guys searching for the adequate article about running NetAnim in network simulation 3? Then, no worries you guys are at the right platform and it includes the all the method to accomplish this process. Come now let’s start this article with the processes that are required to implement NetAnim in Ns3.
Install Ns3
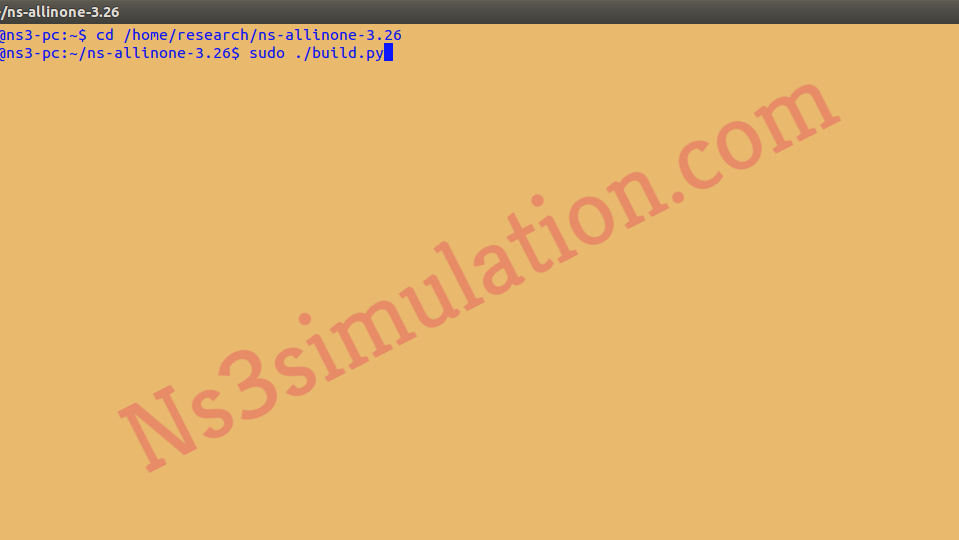
Firstly, the location of ns-allinone installation in the terminal has to be changed through the utilization of this command,
sudo ./build.py
Main File Implementation
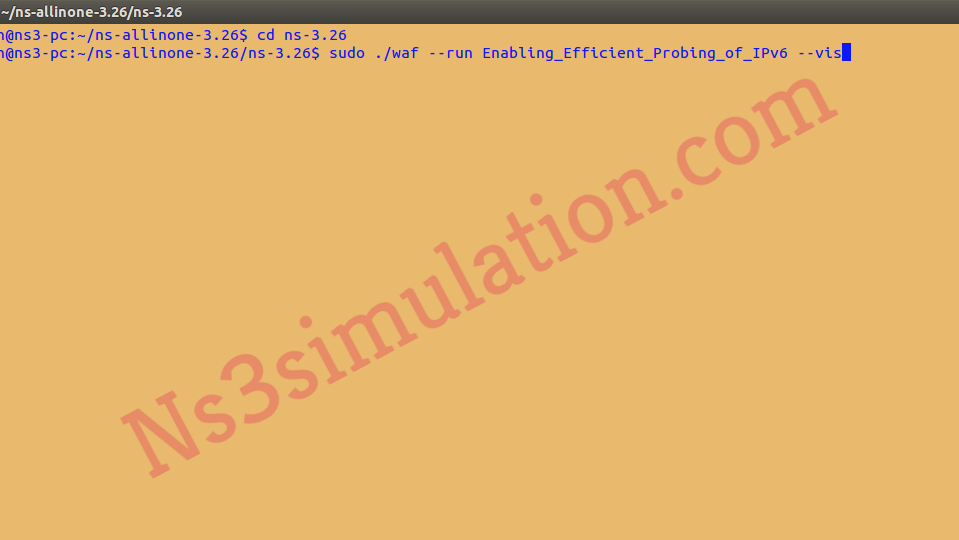
The main file has to be implemented through the utilization of below mentioned command for the simulation process.
sudo ./waf –run simulationfilename –vis
Location Change
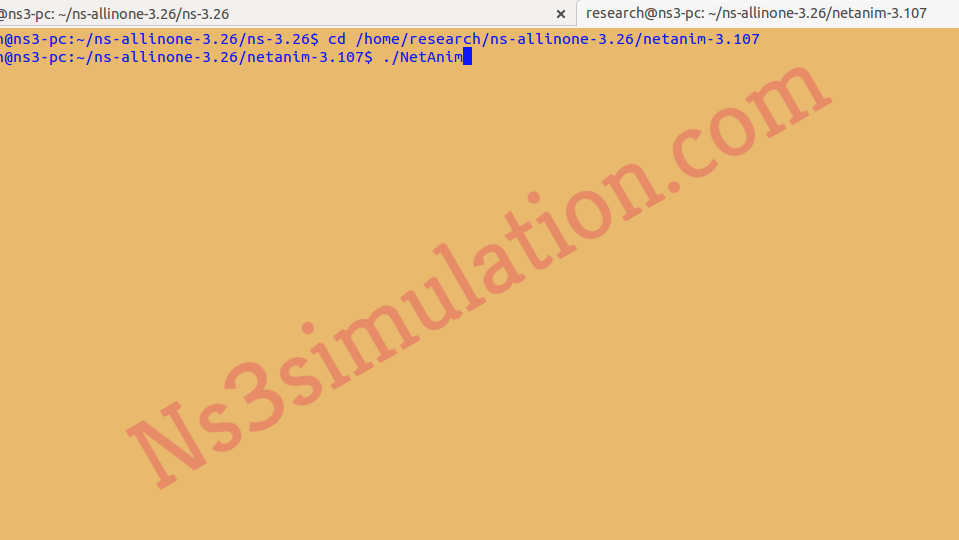
The result of netanimator is acquired through changing the location using the command that is highlighted below.
cd /home/research/ns-allinone-3.26/netanim-3.107
./NetAnim
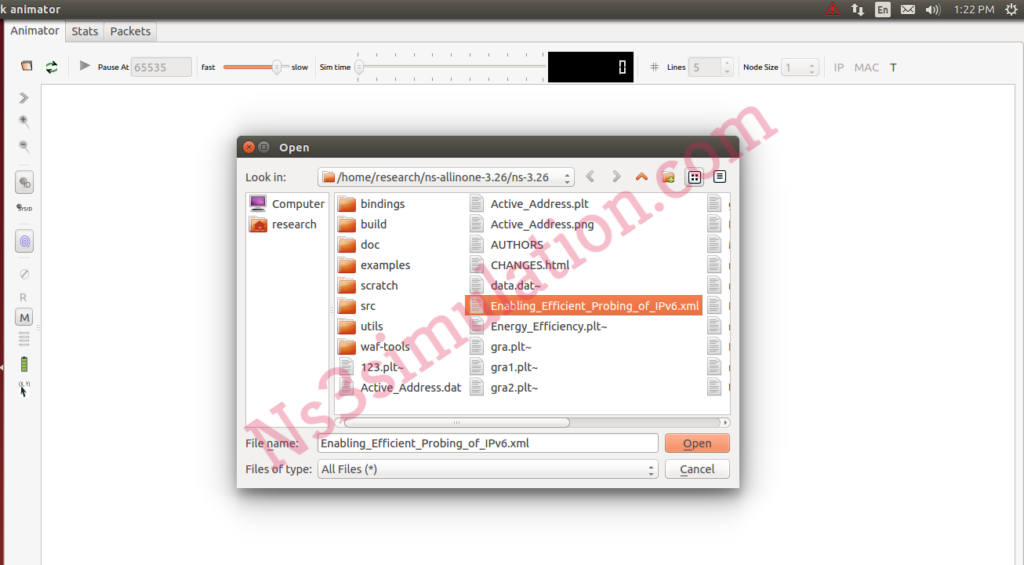
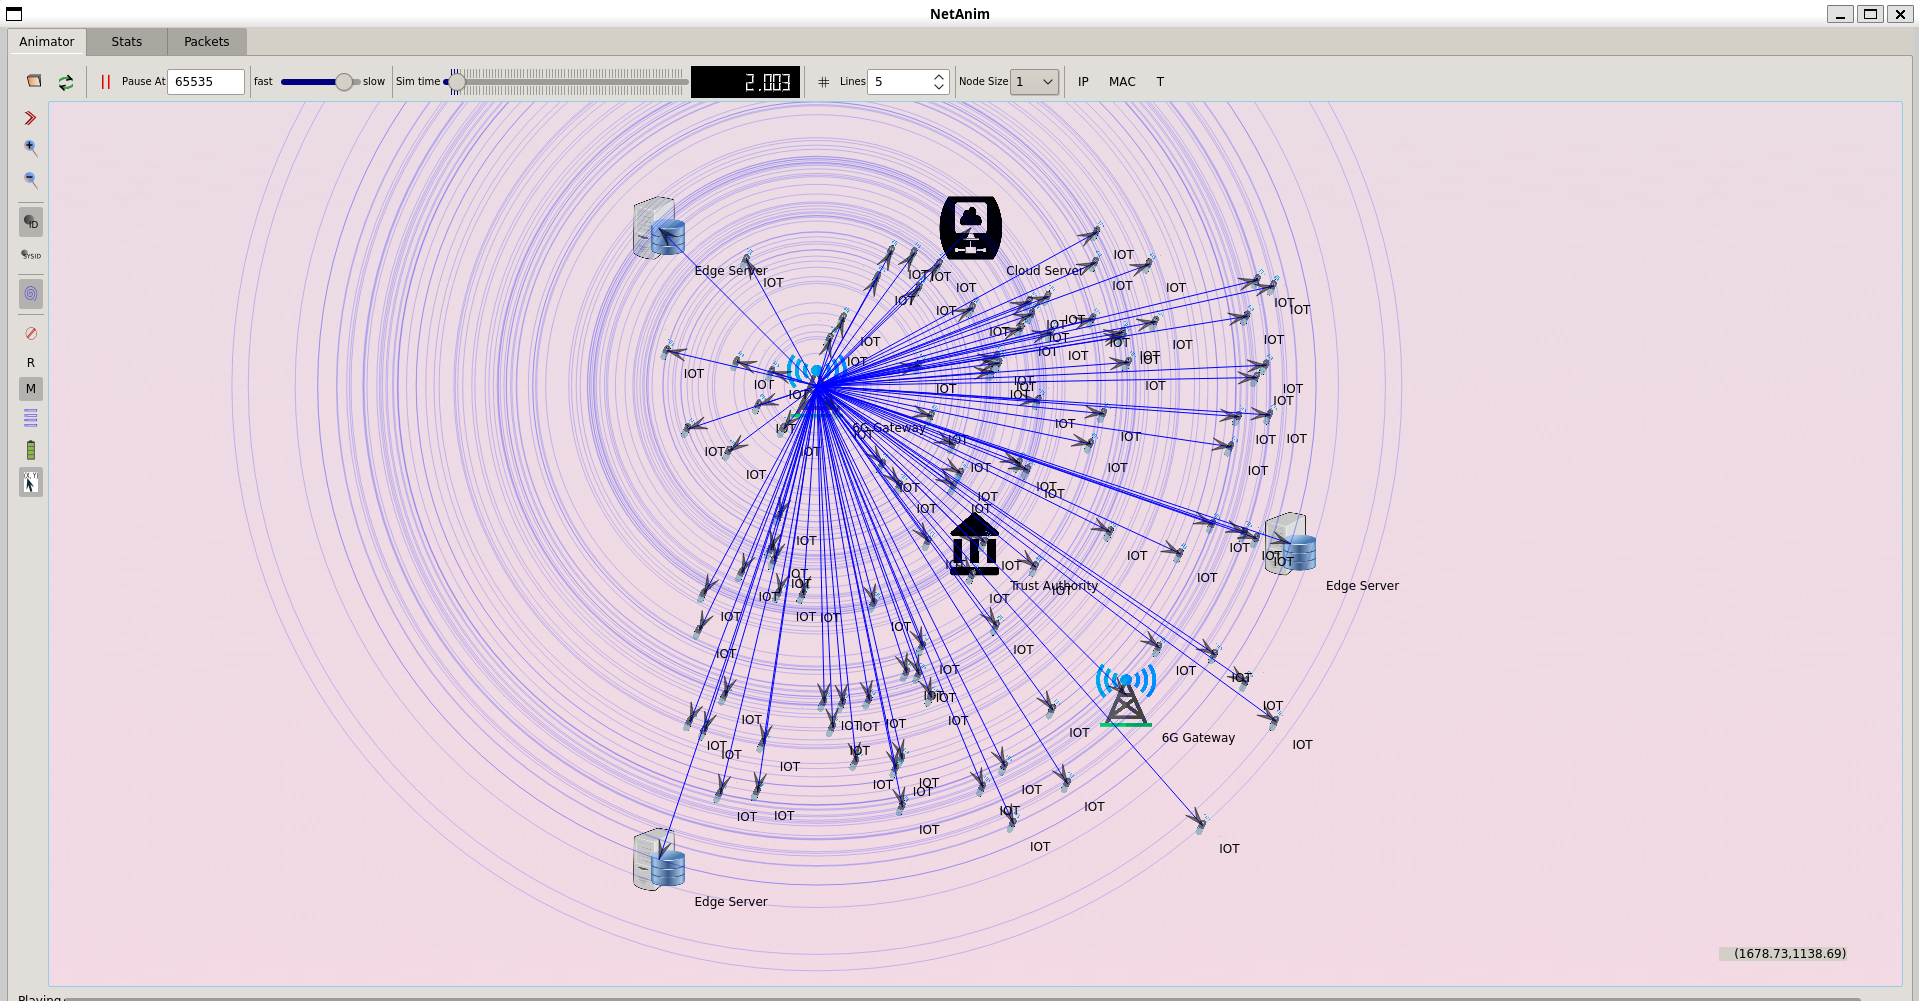
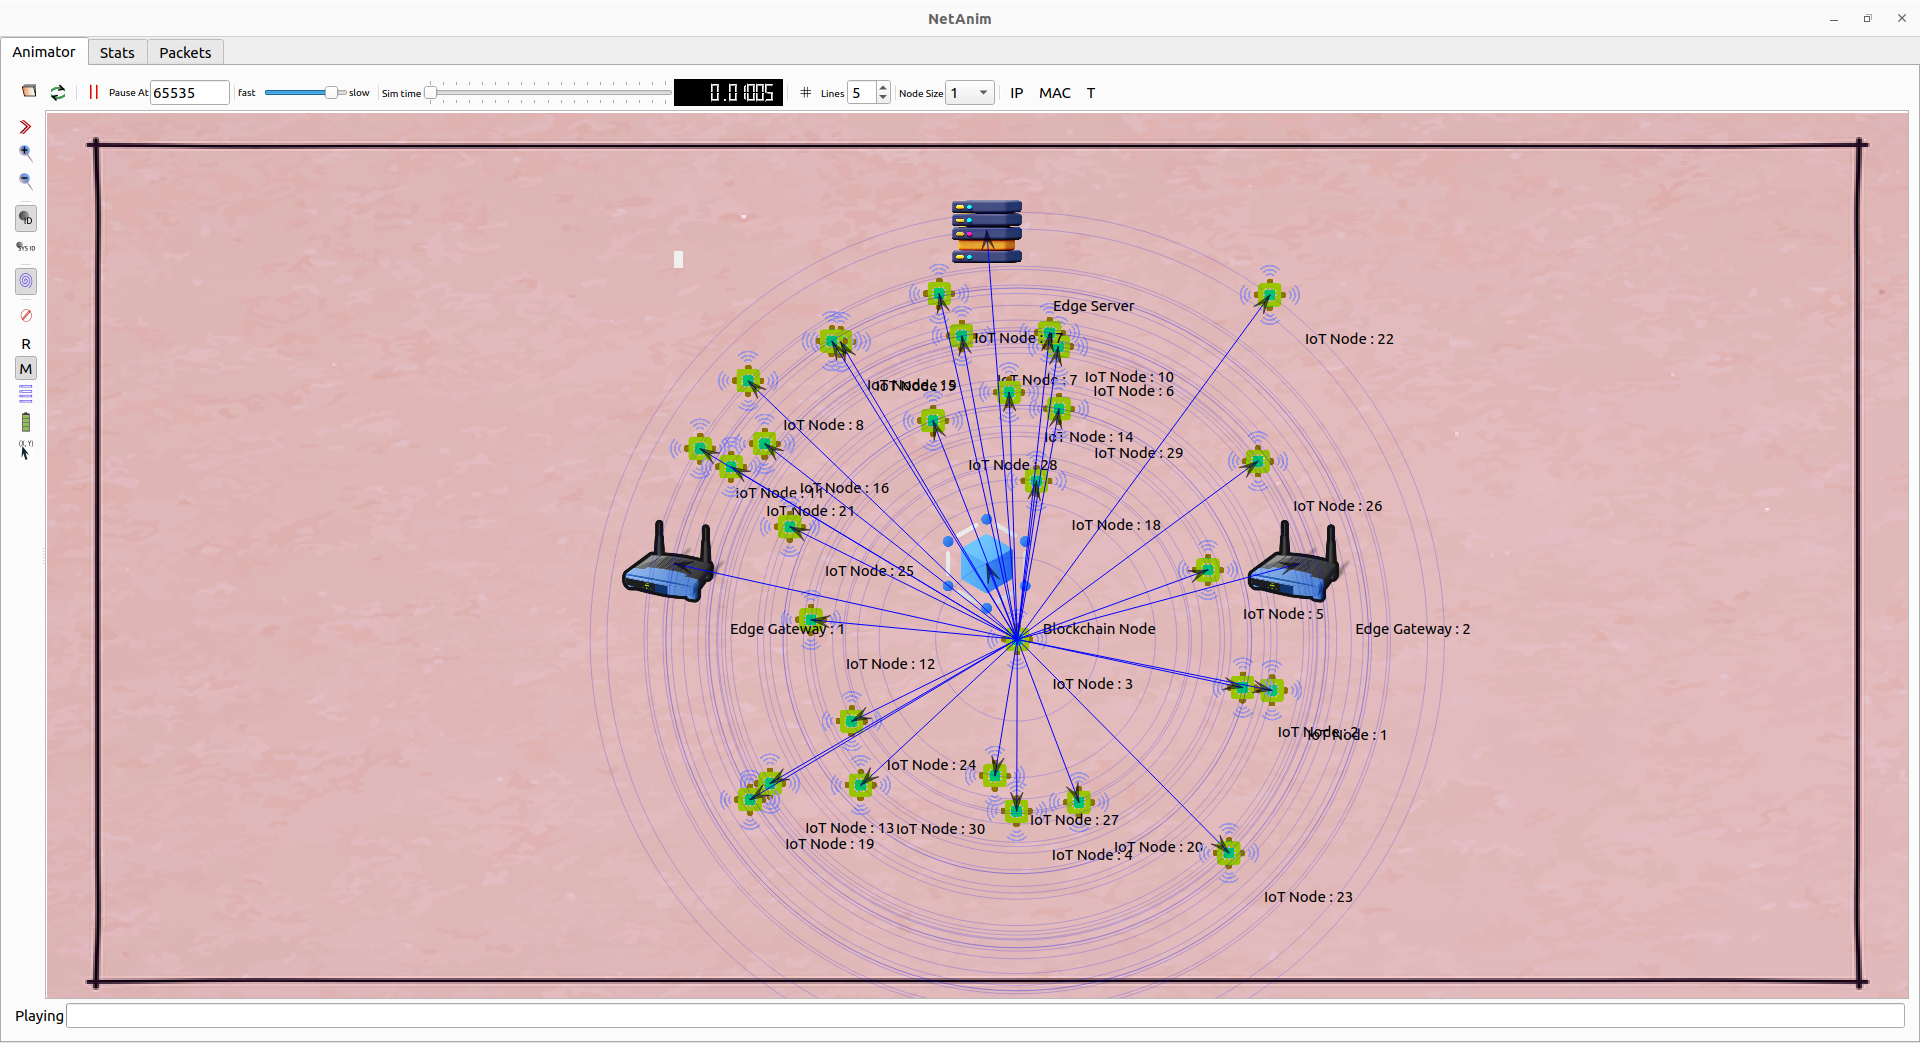
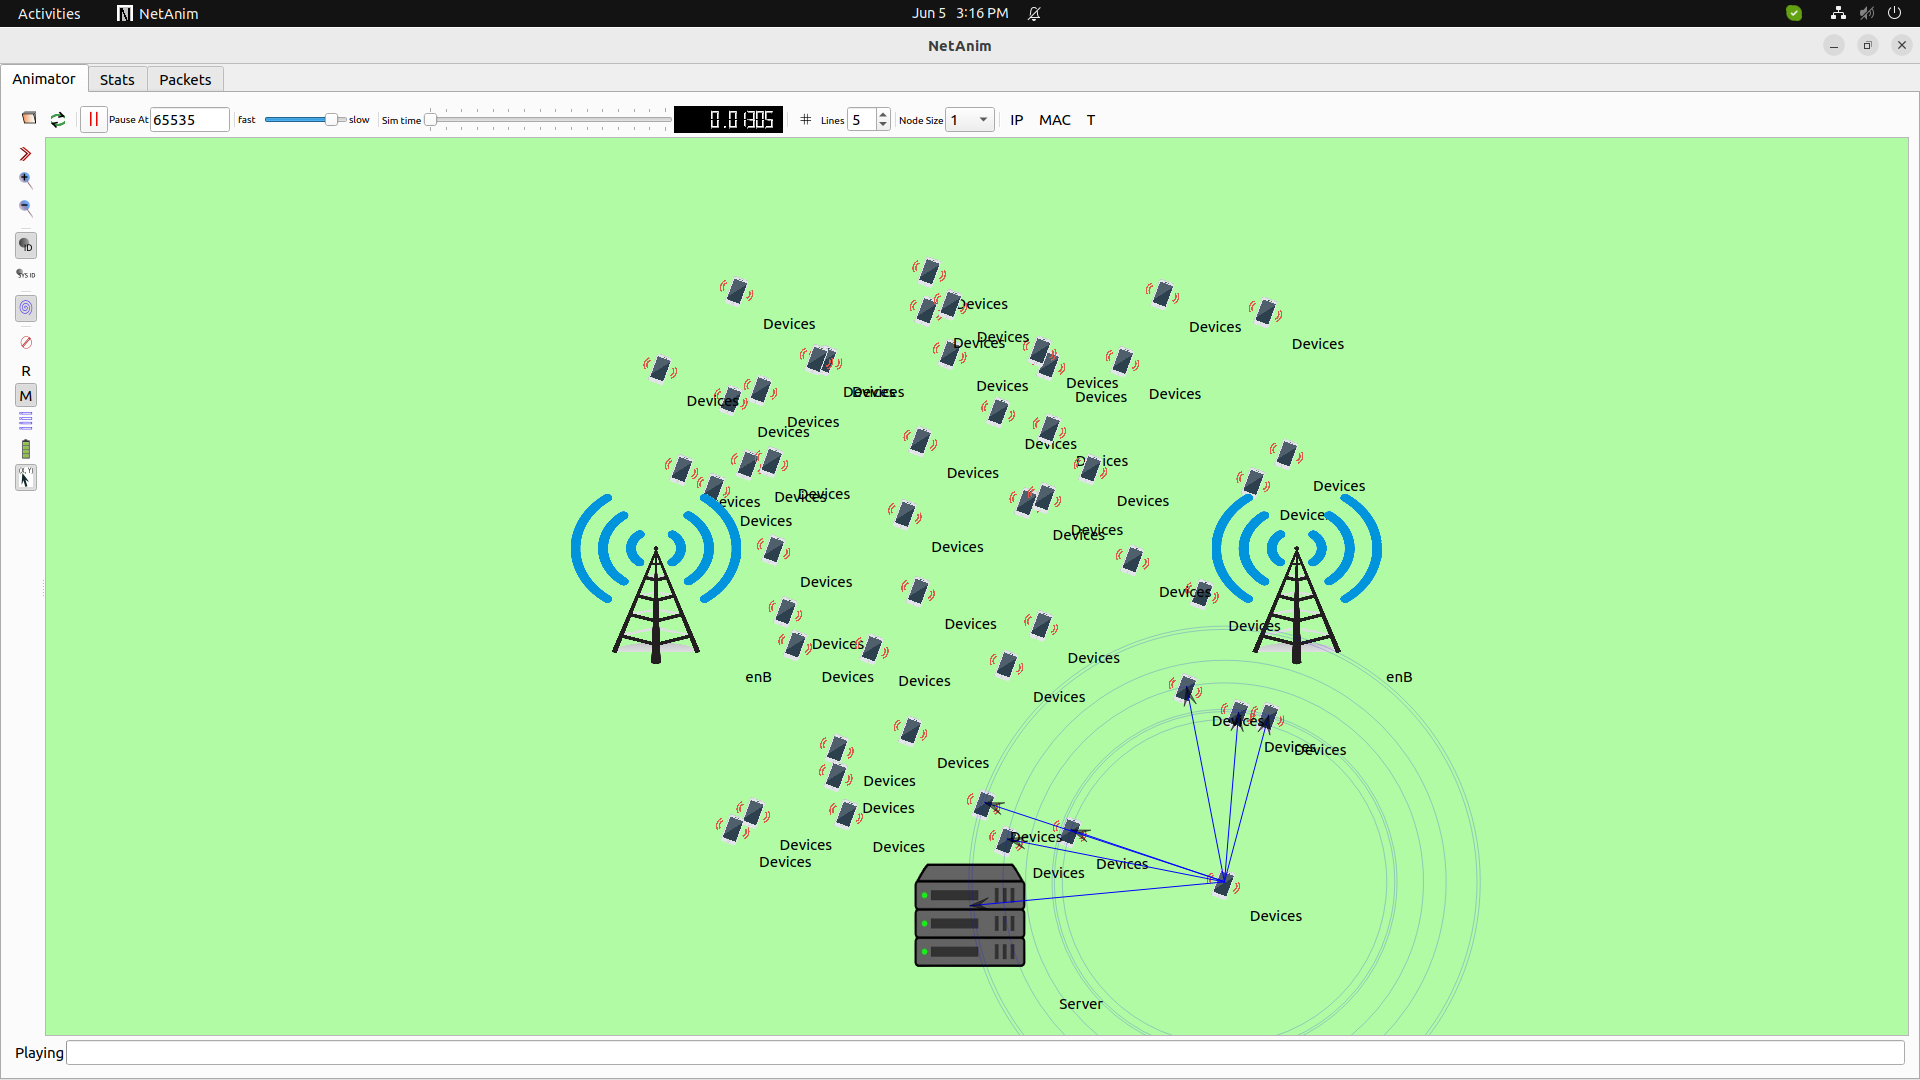
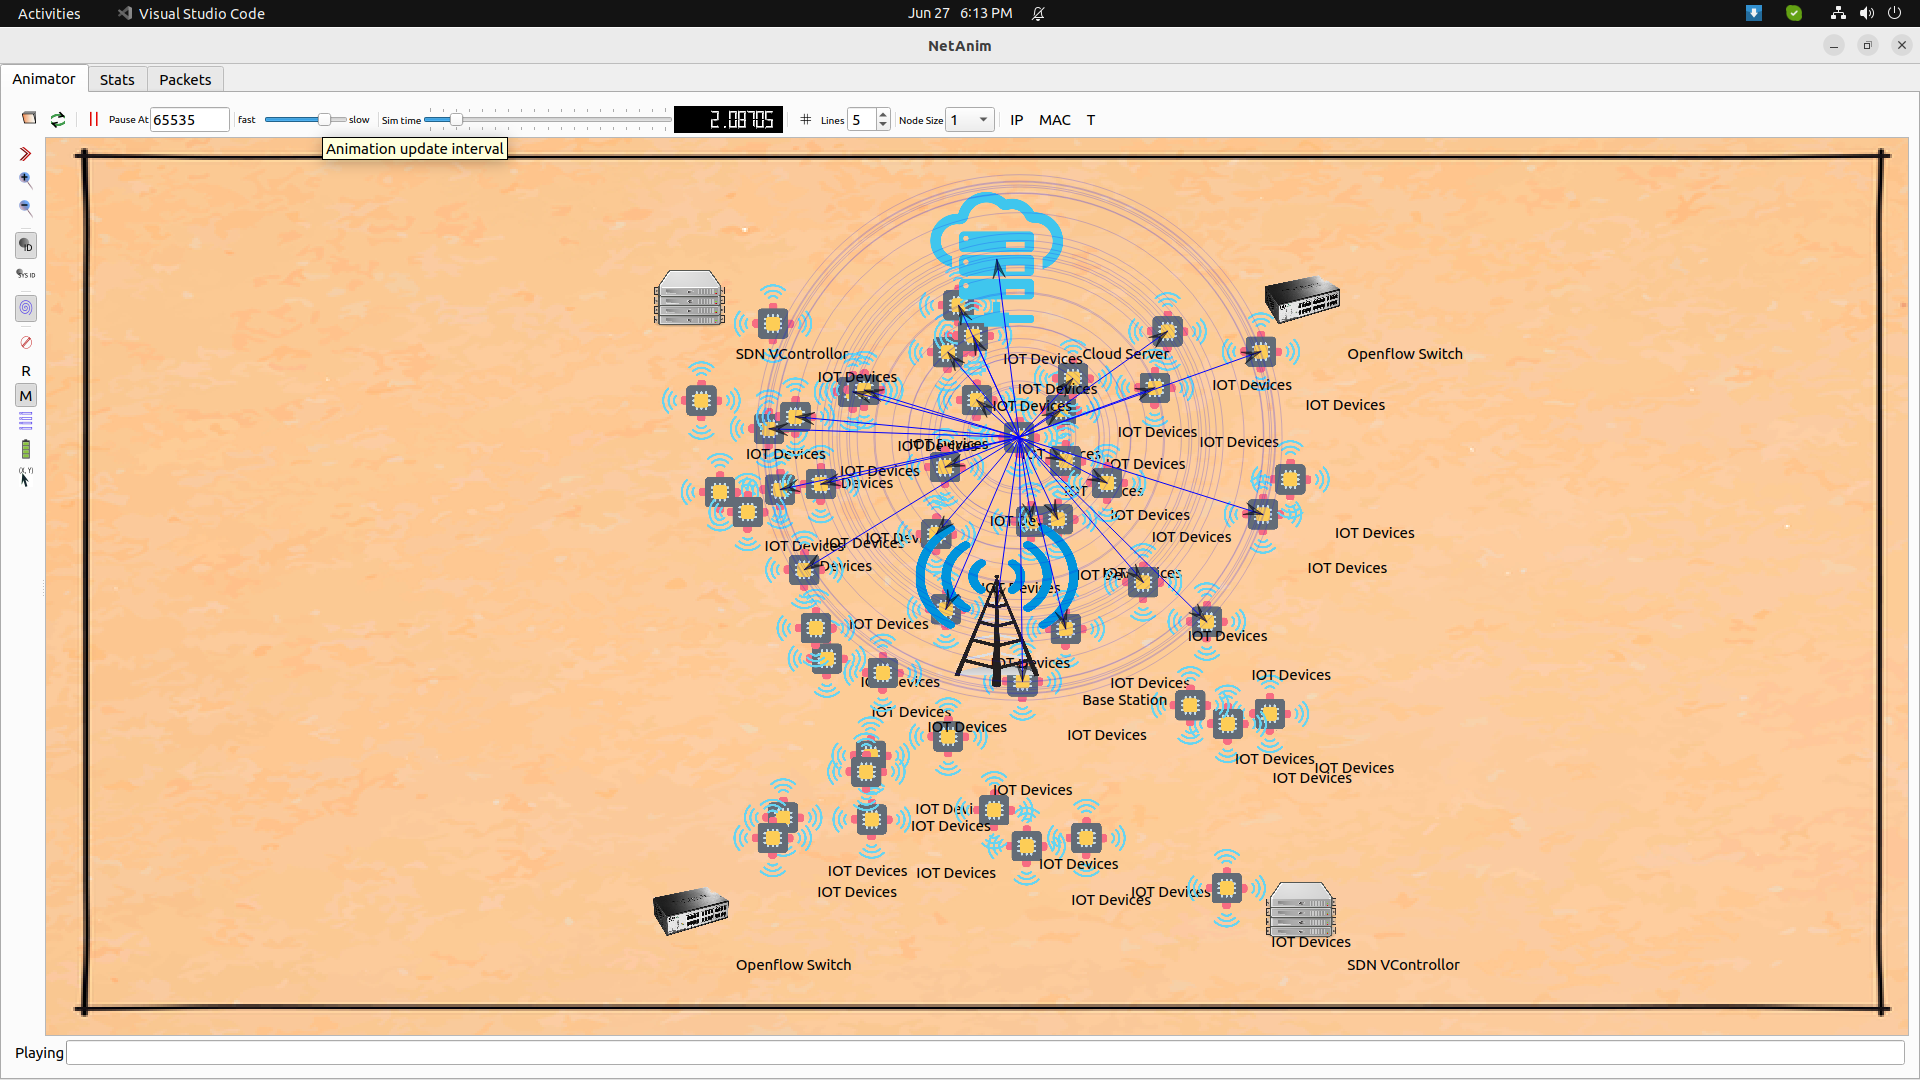
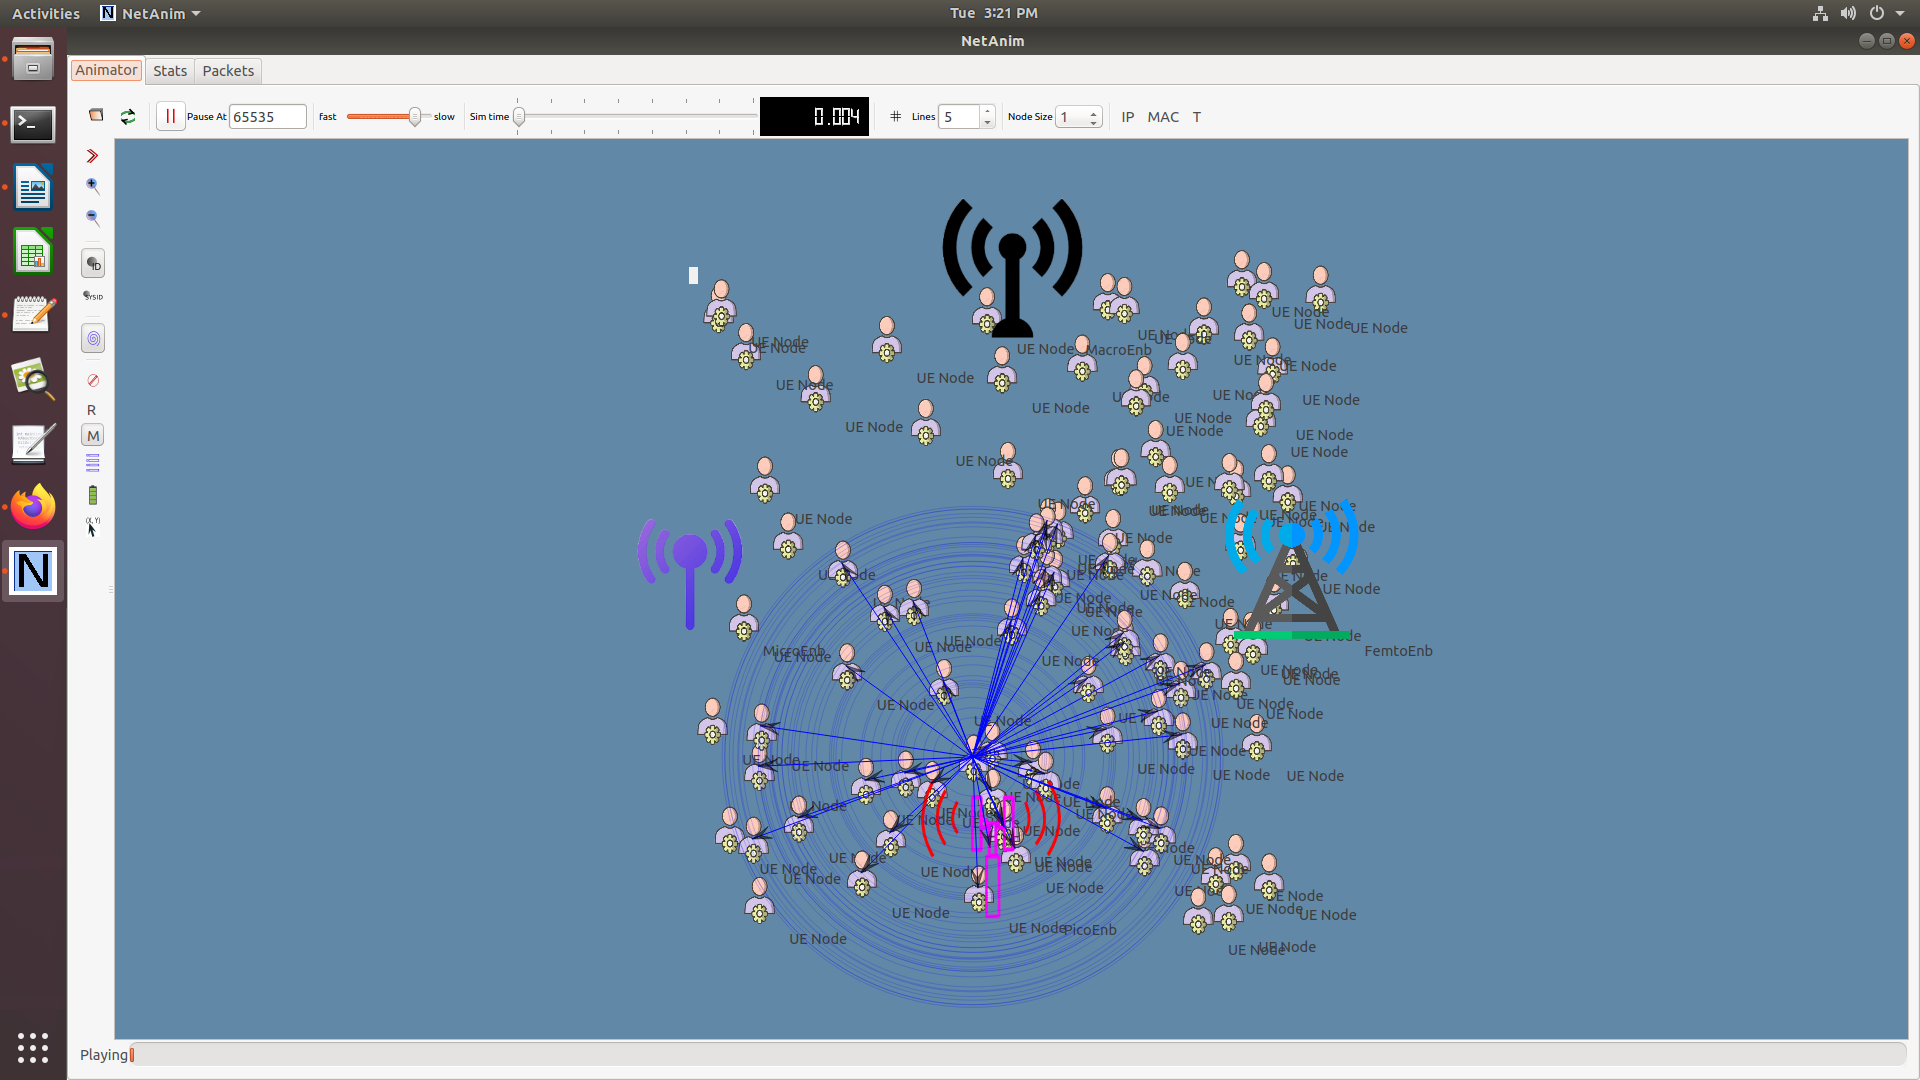
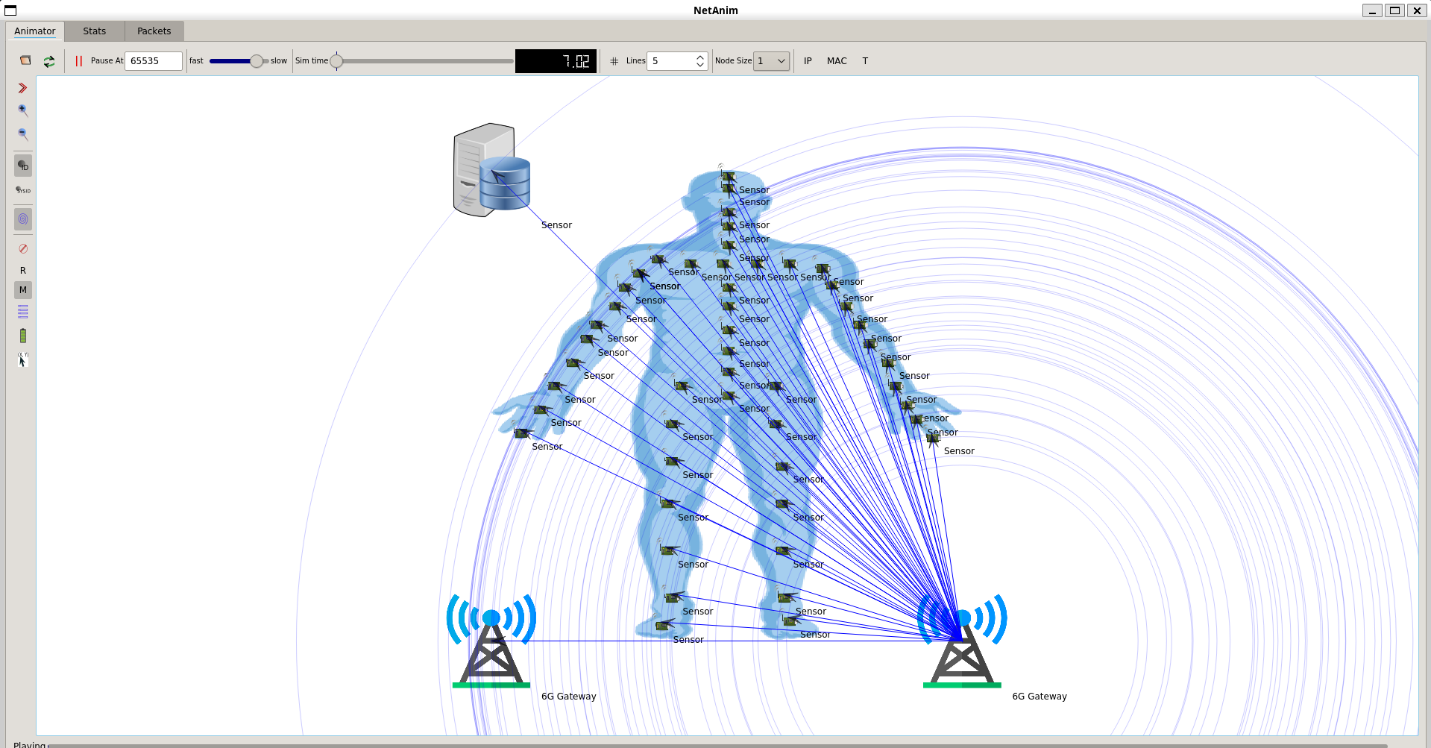
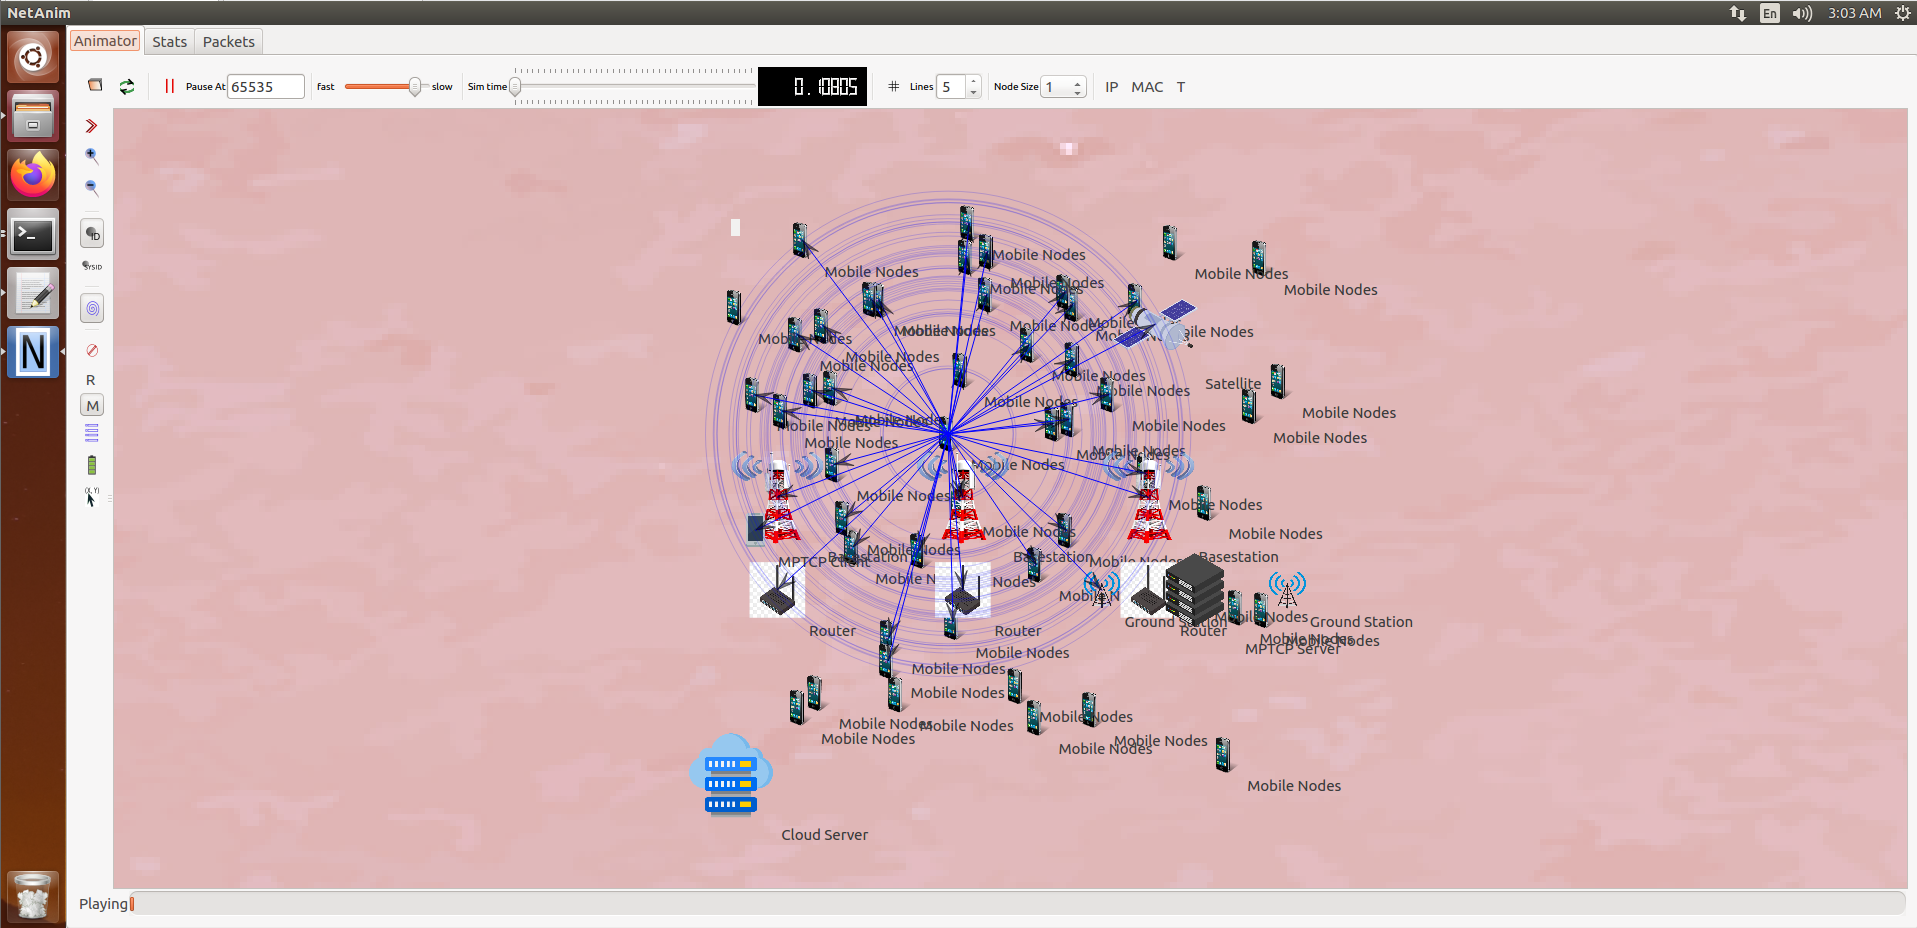
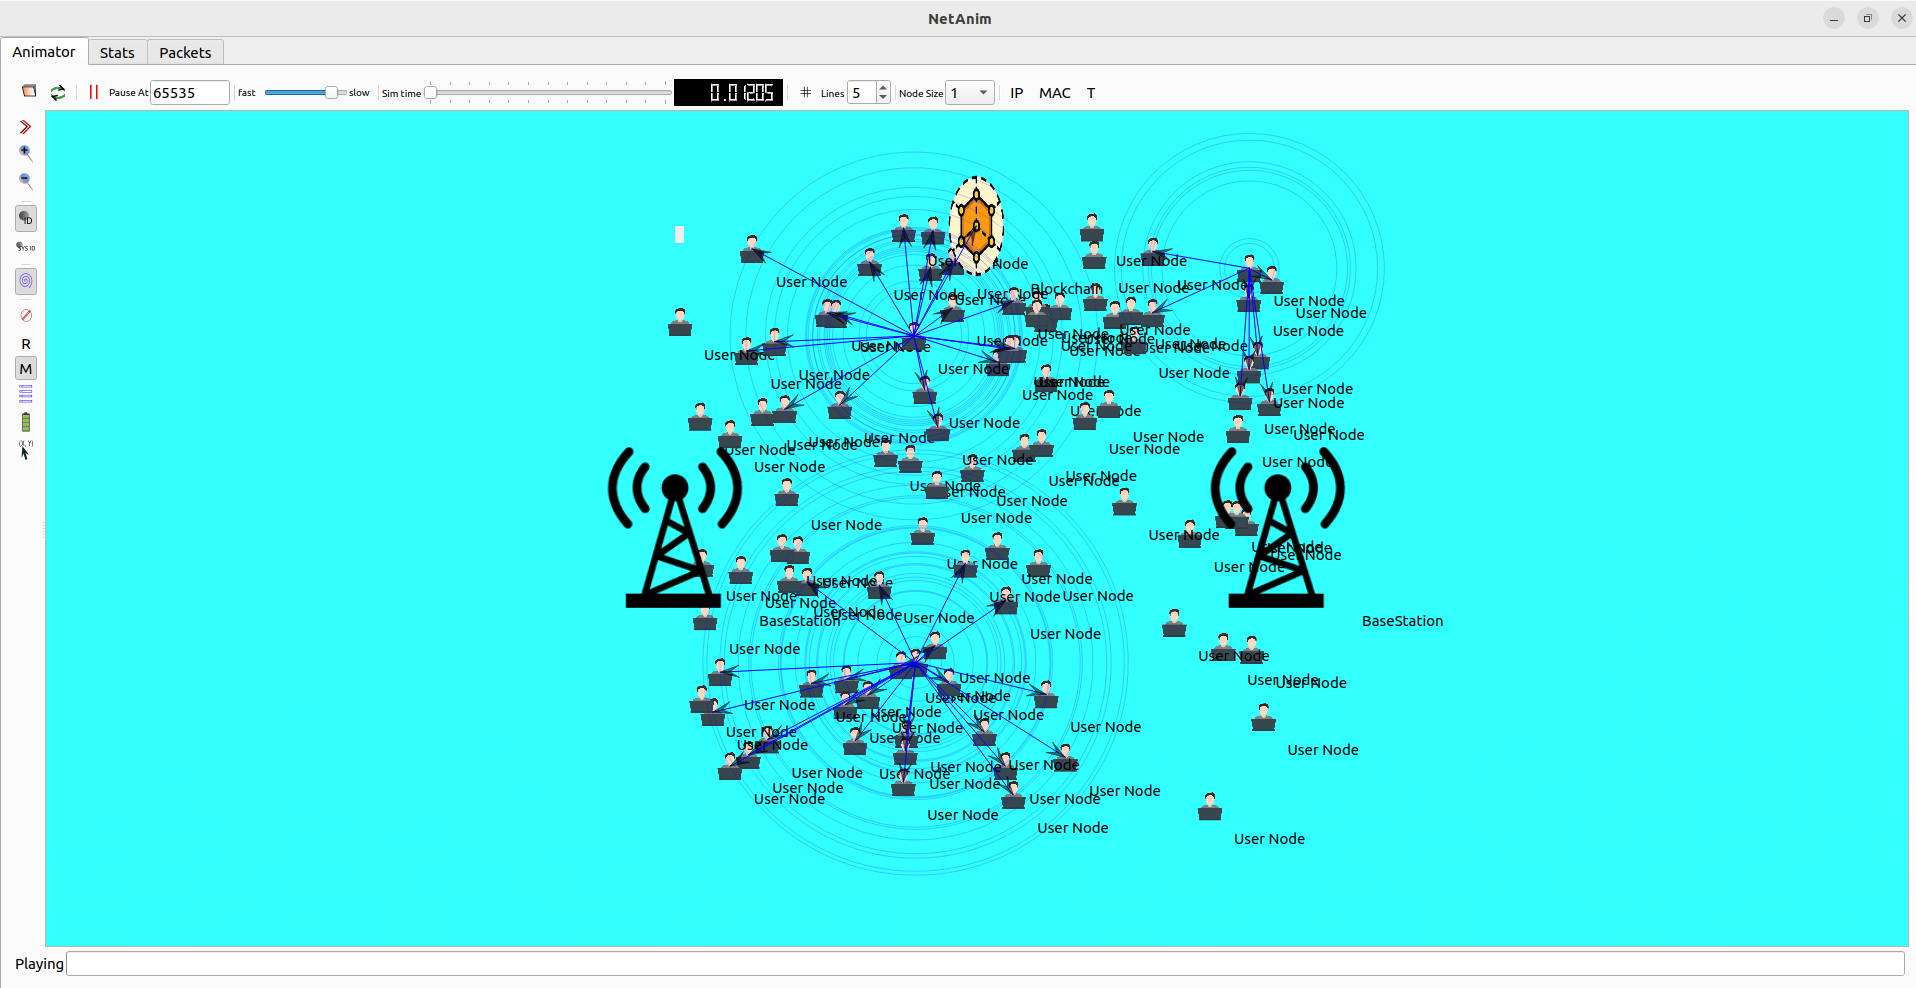
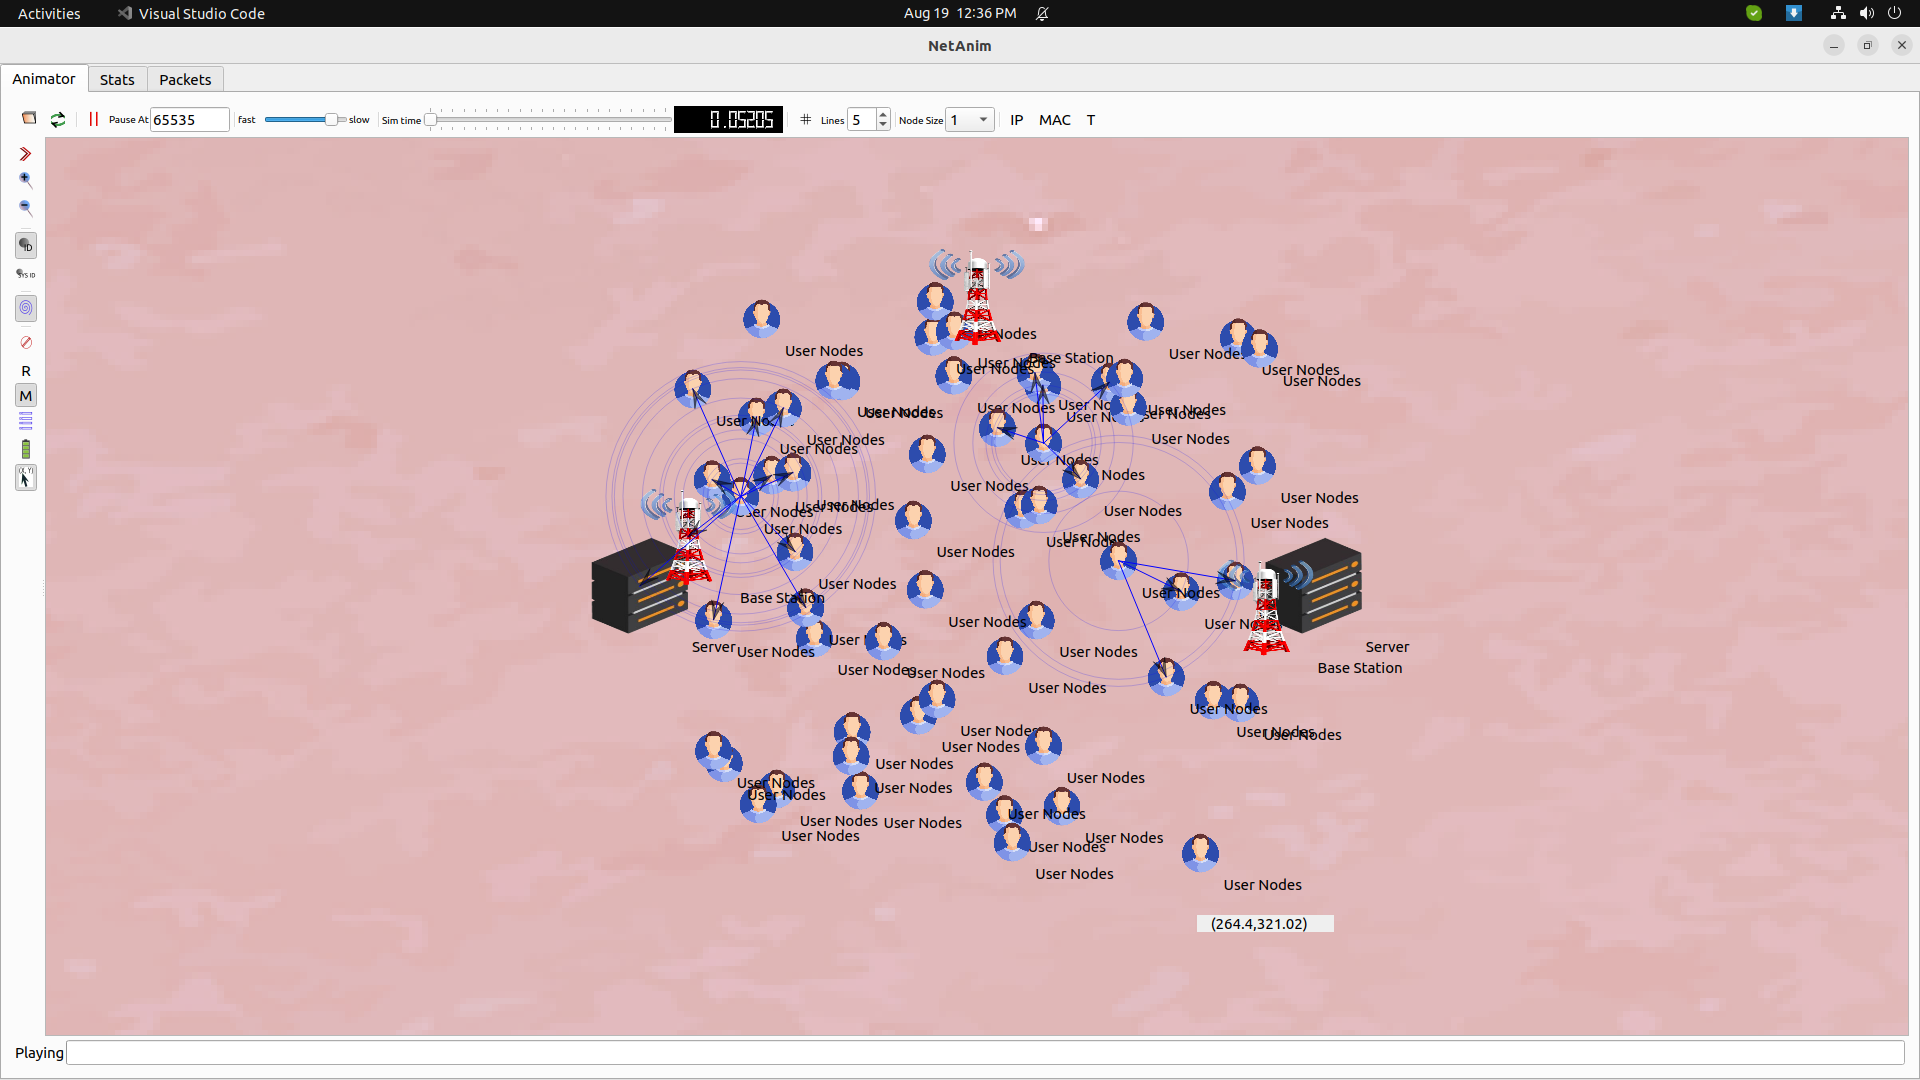
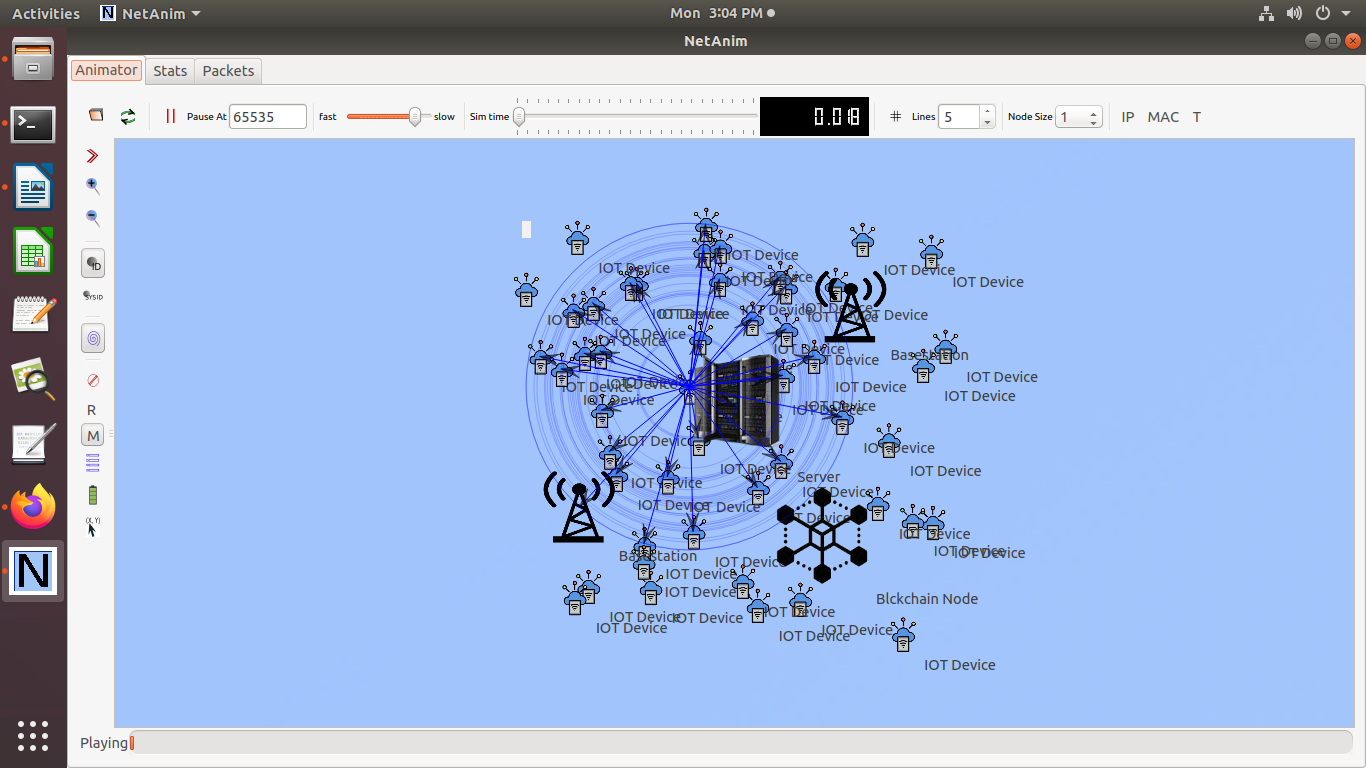
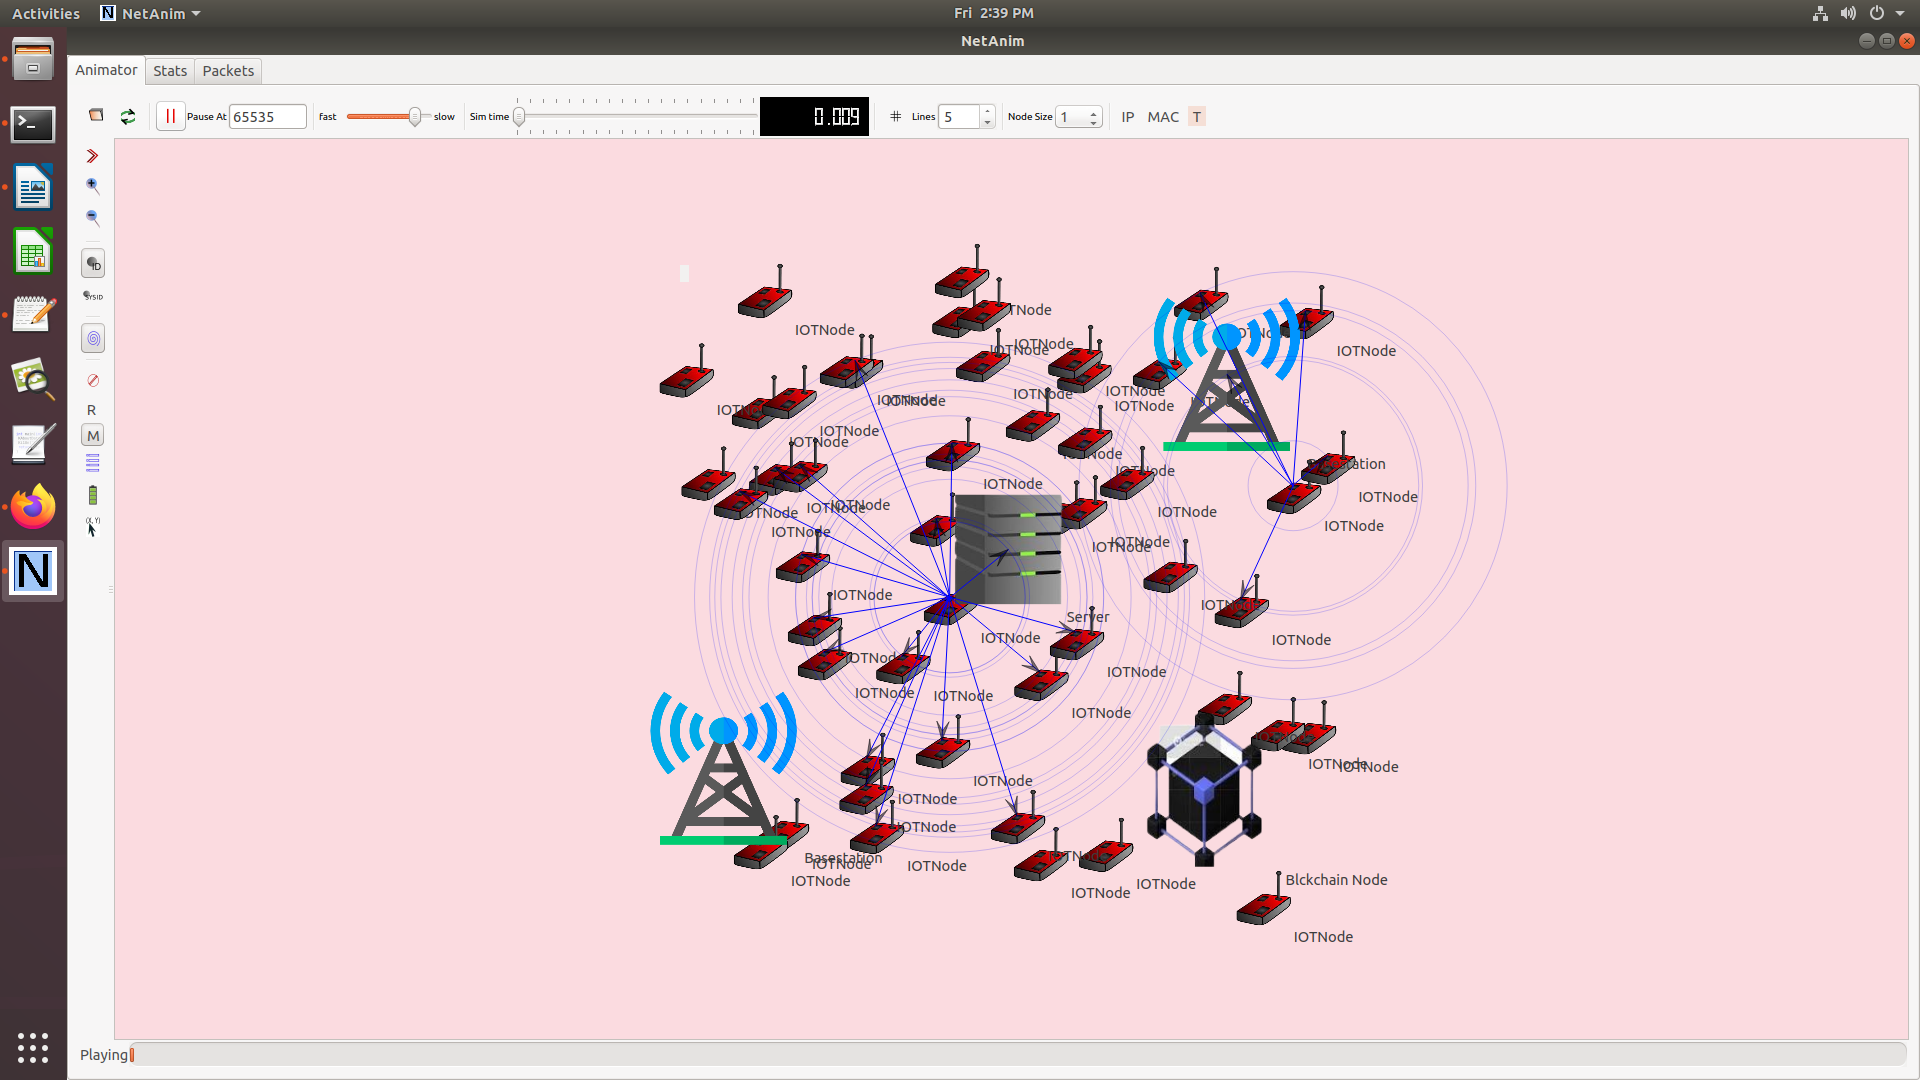
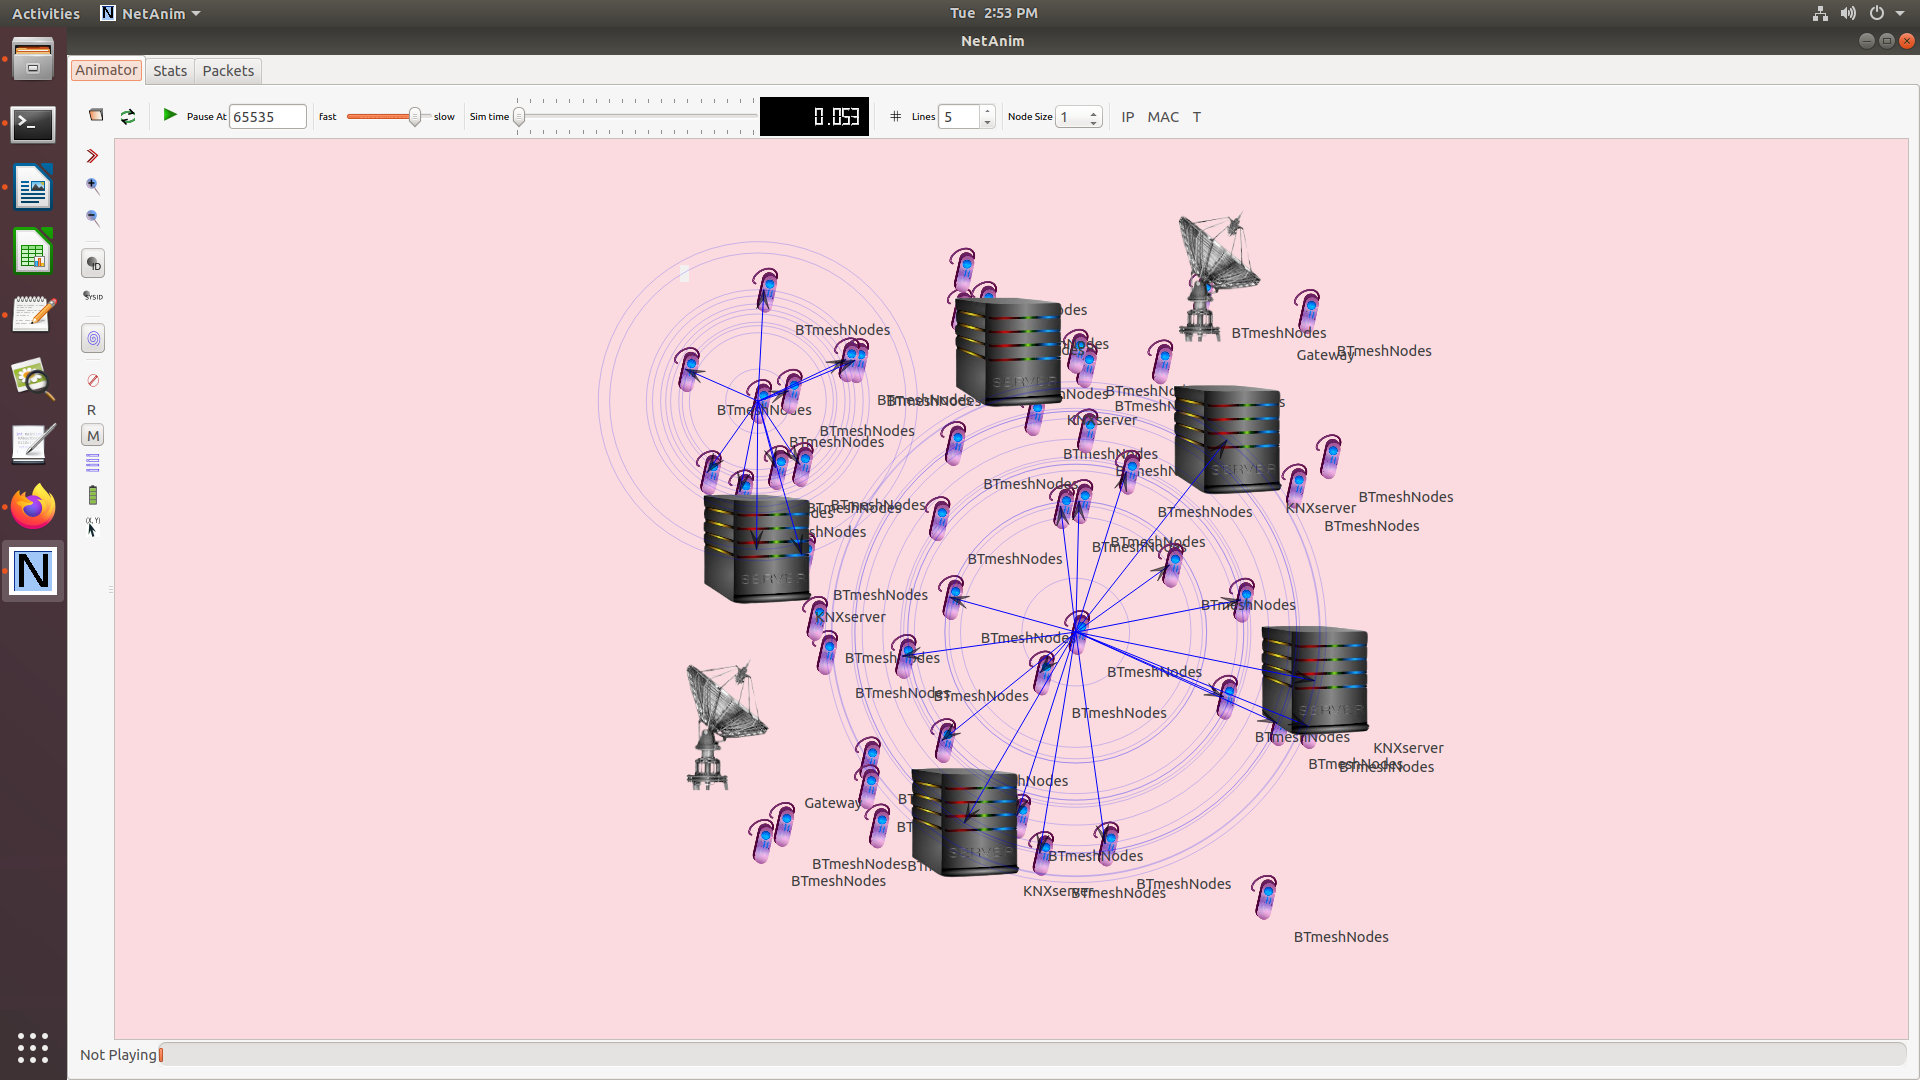
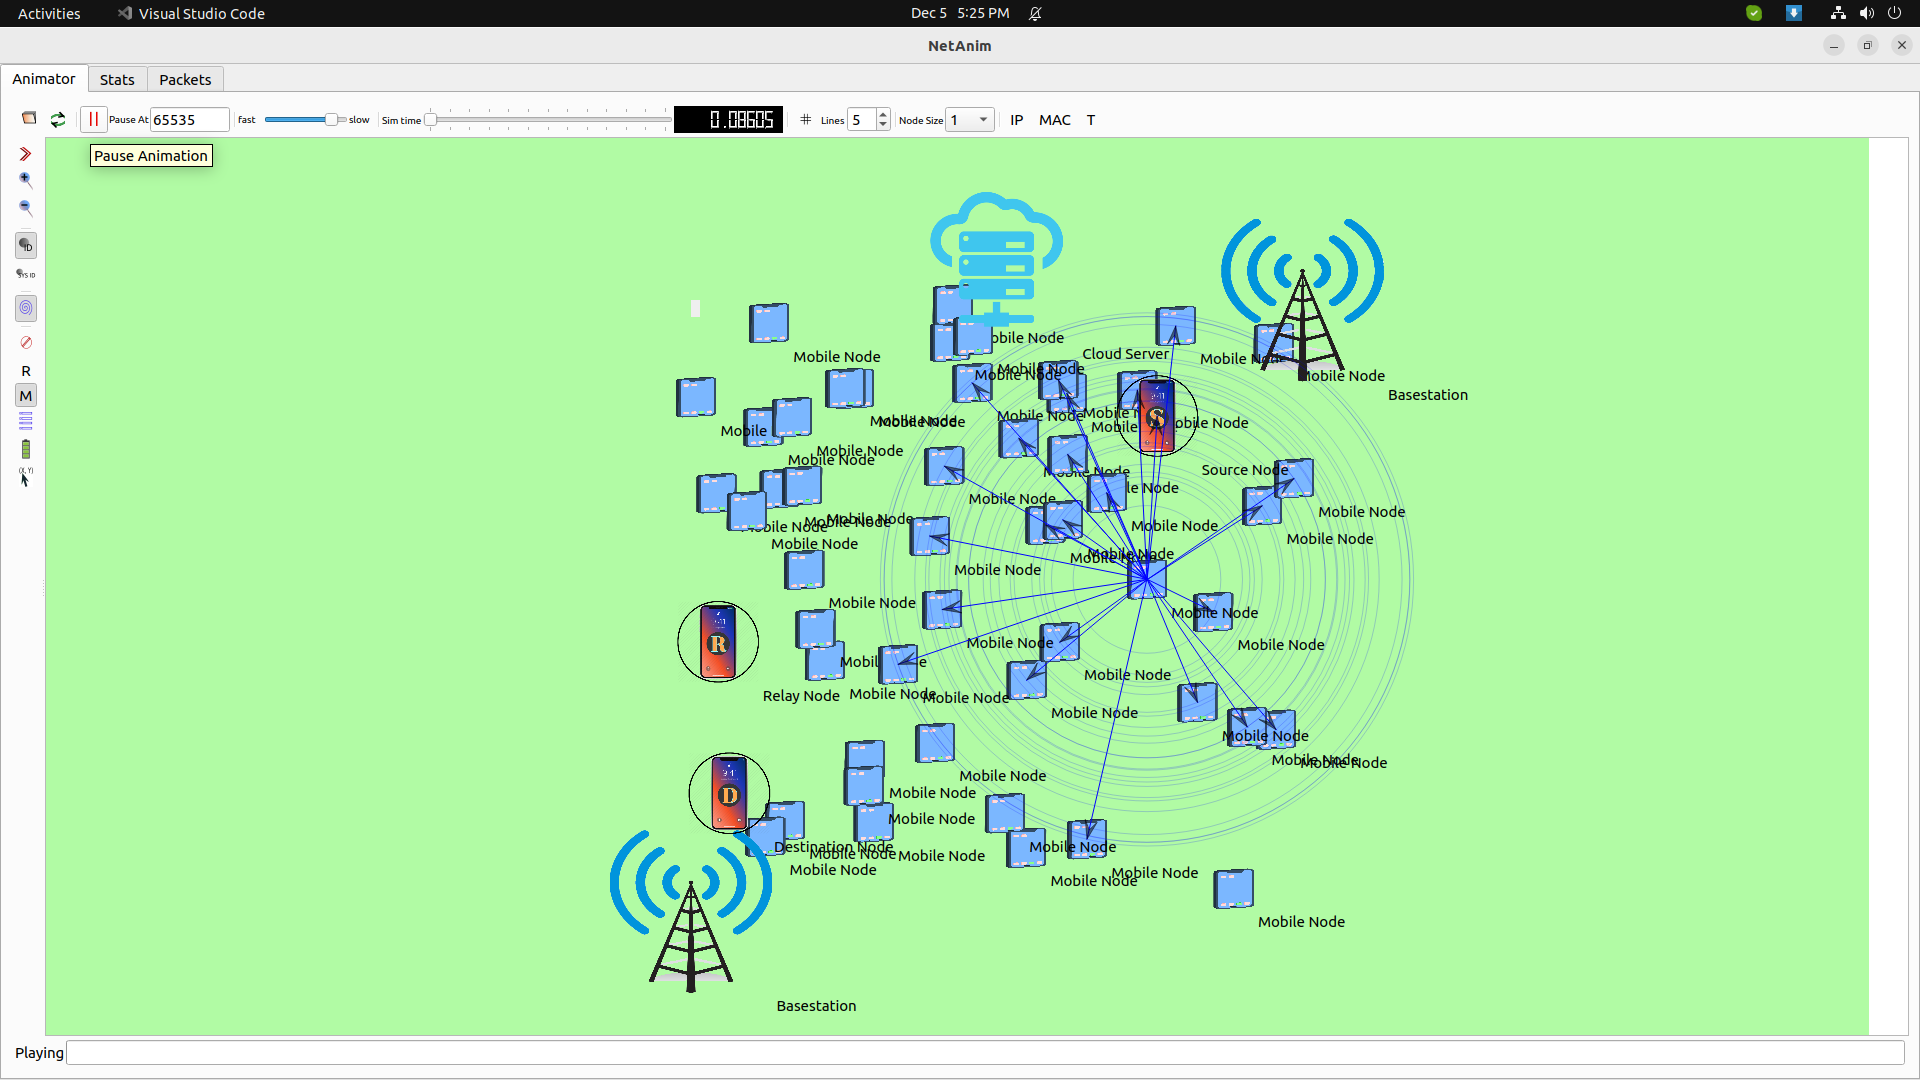
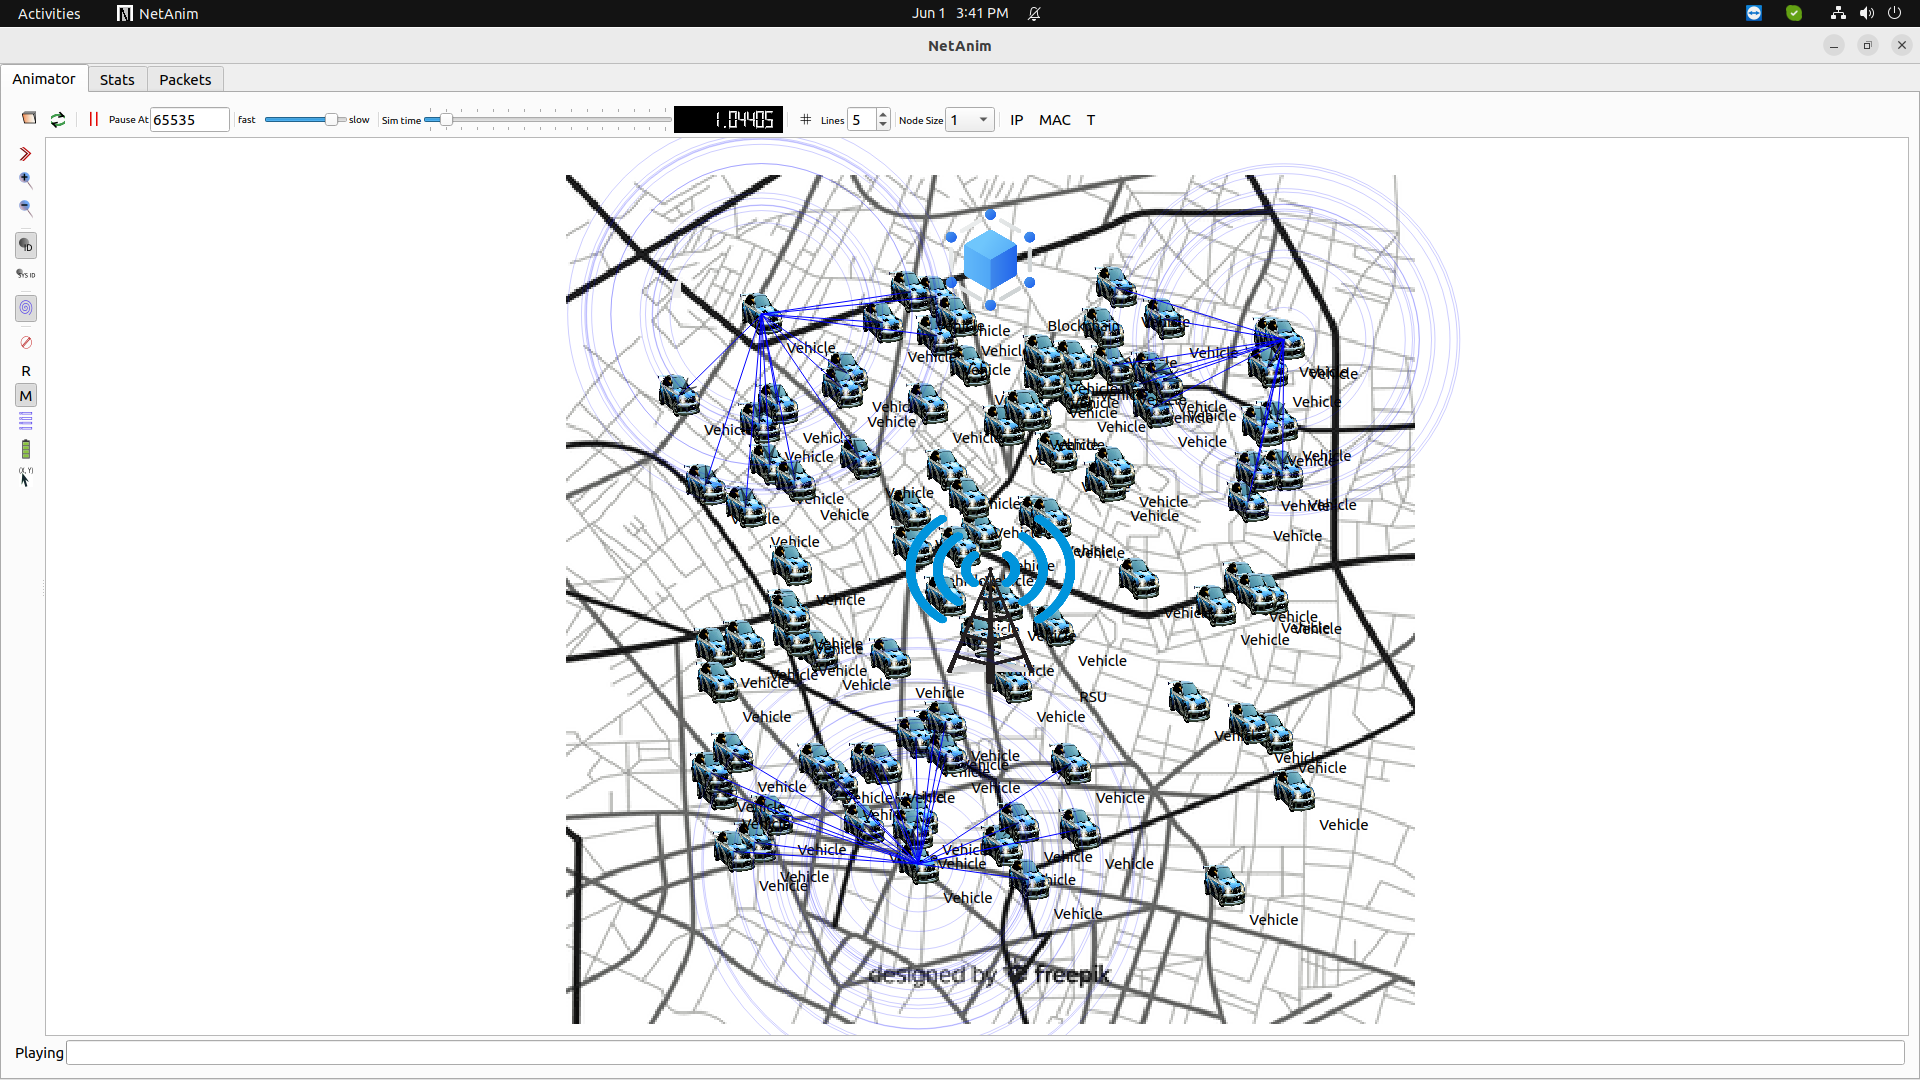
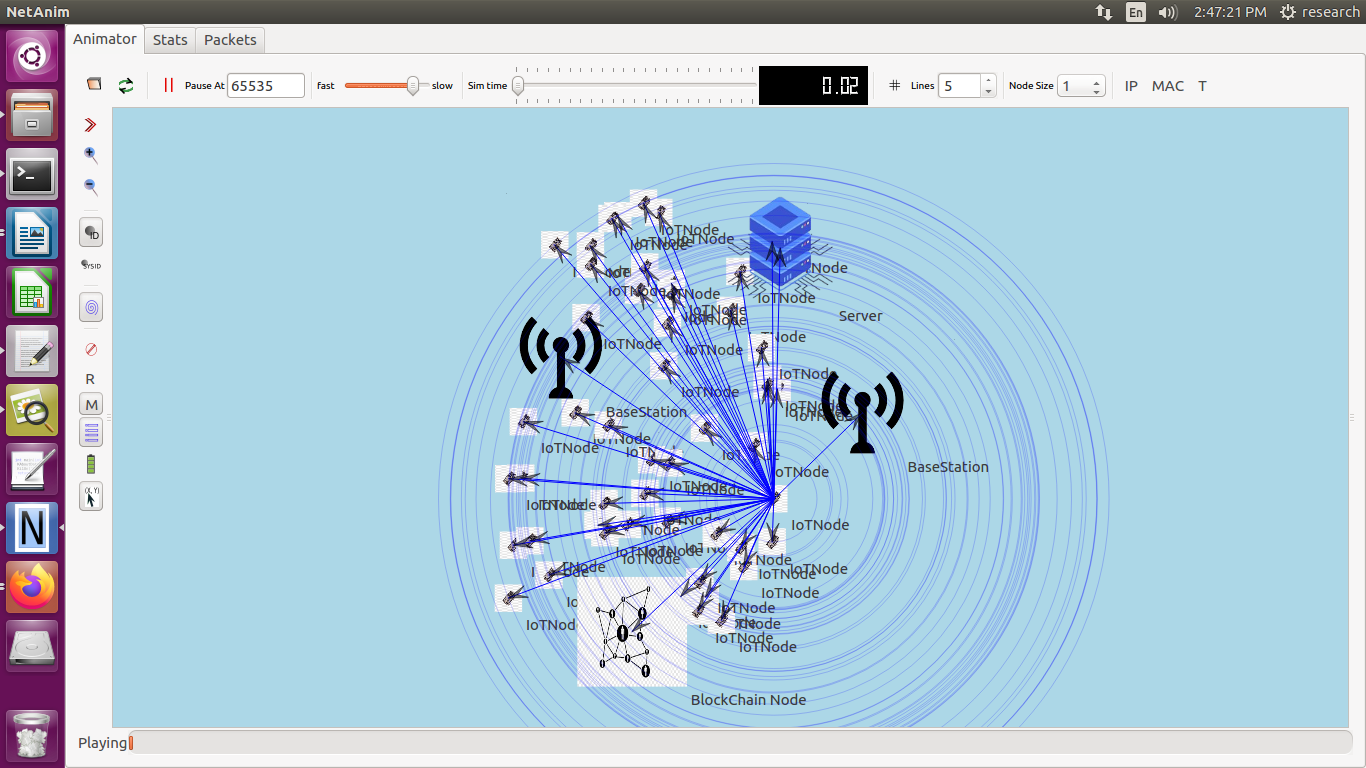
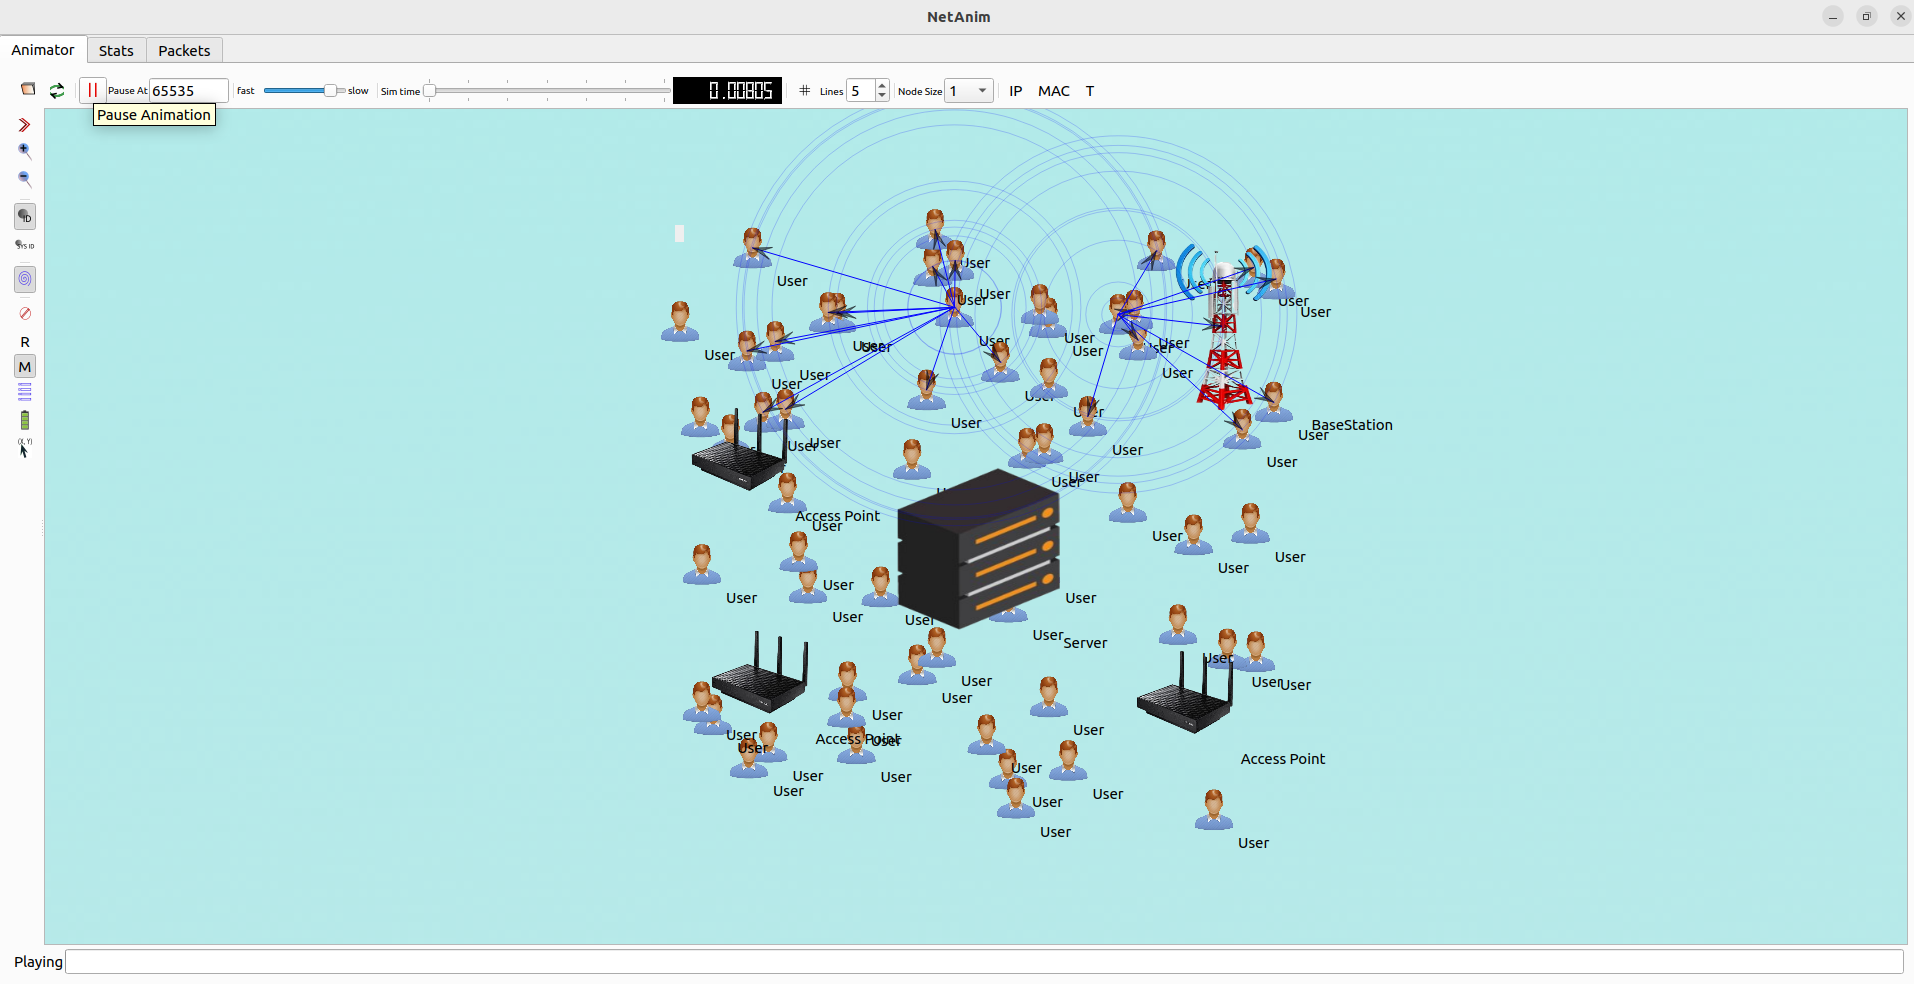
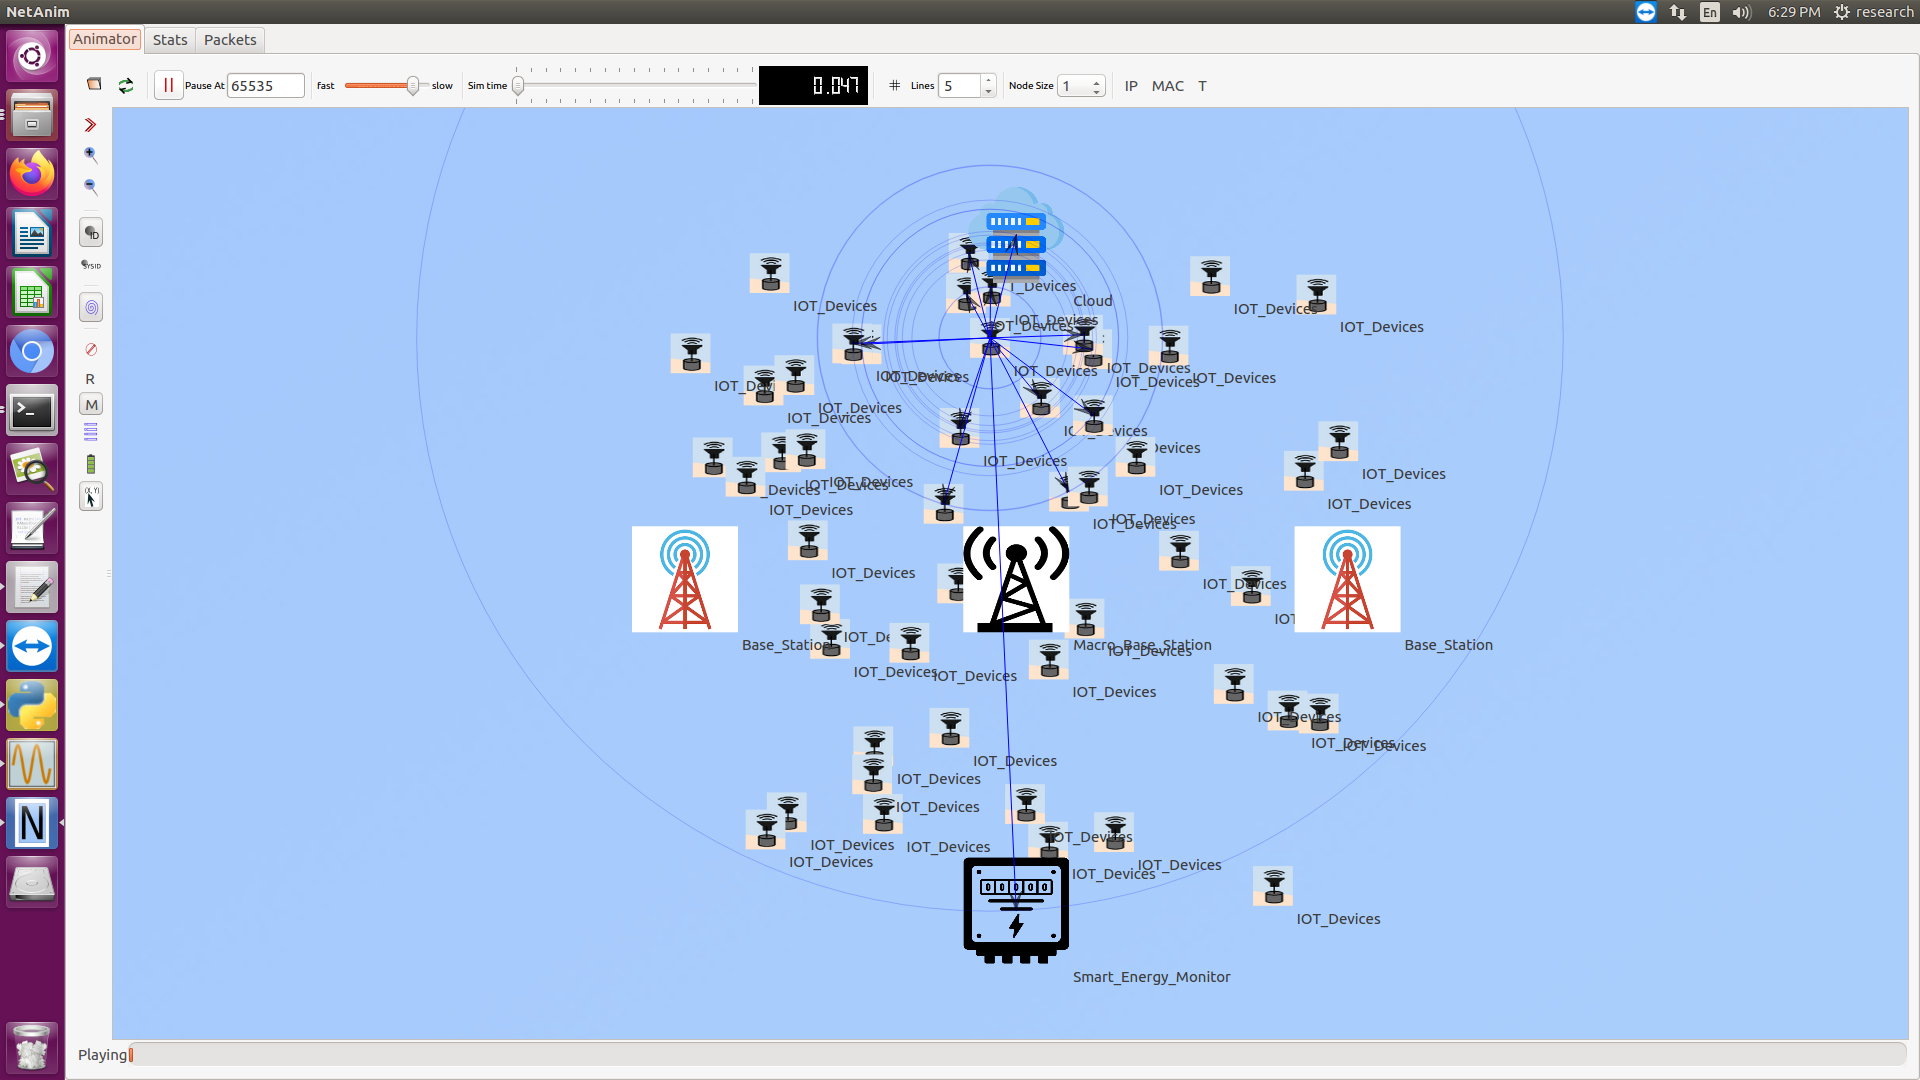
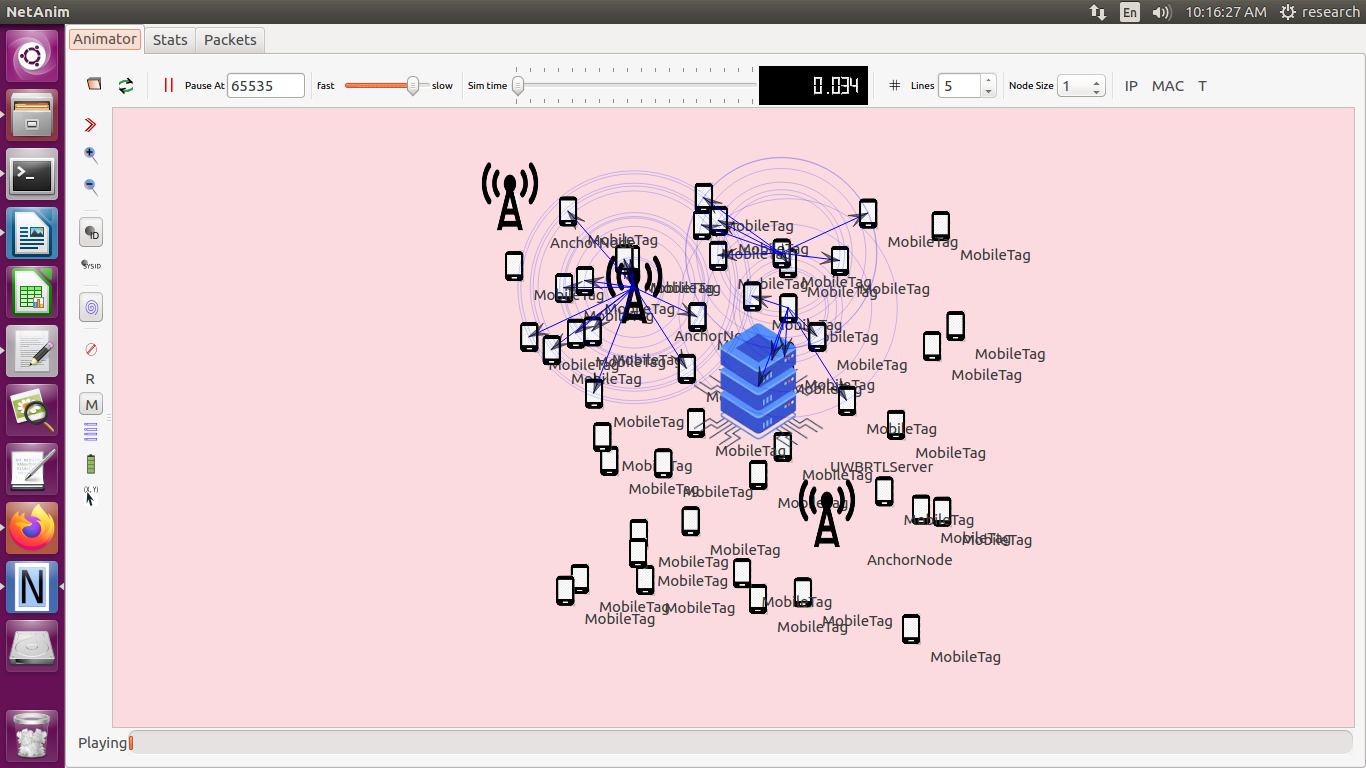
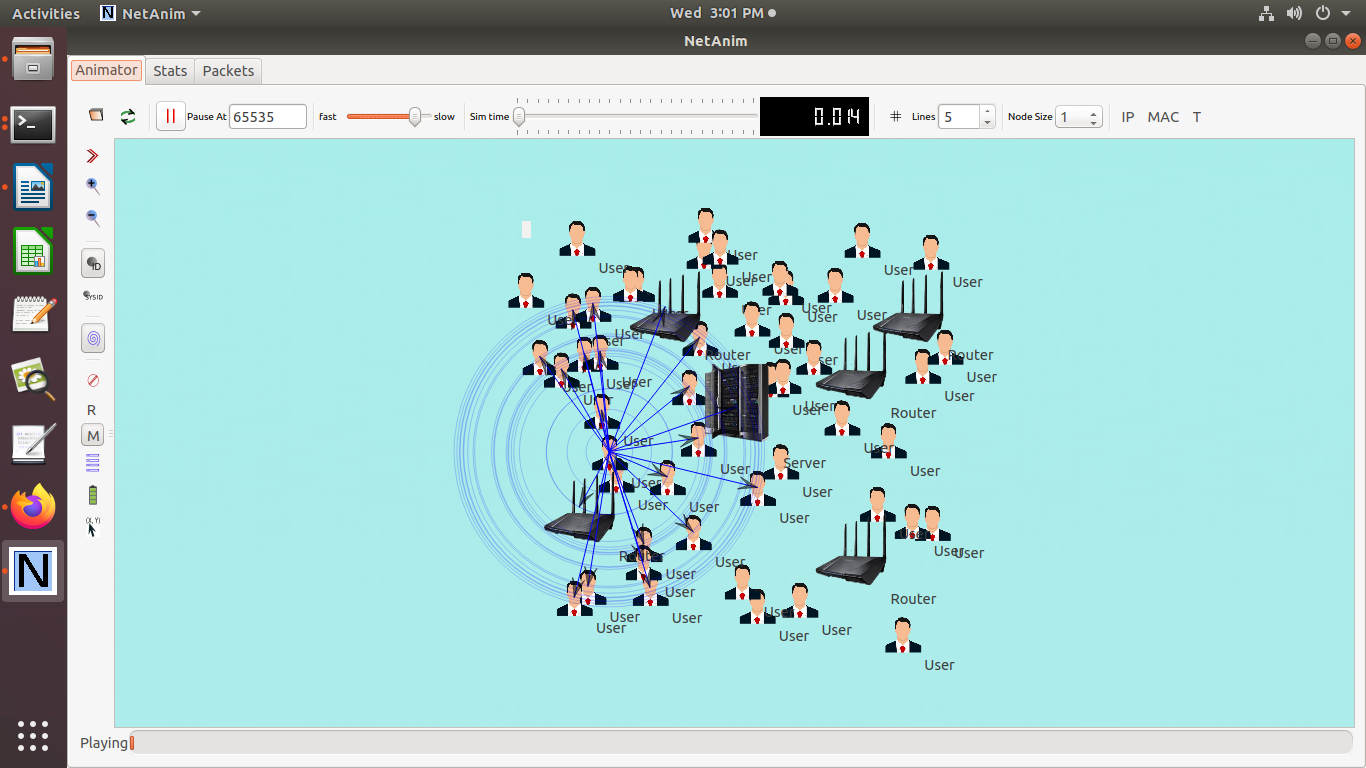
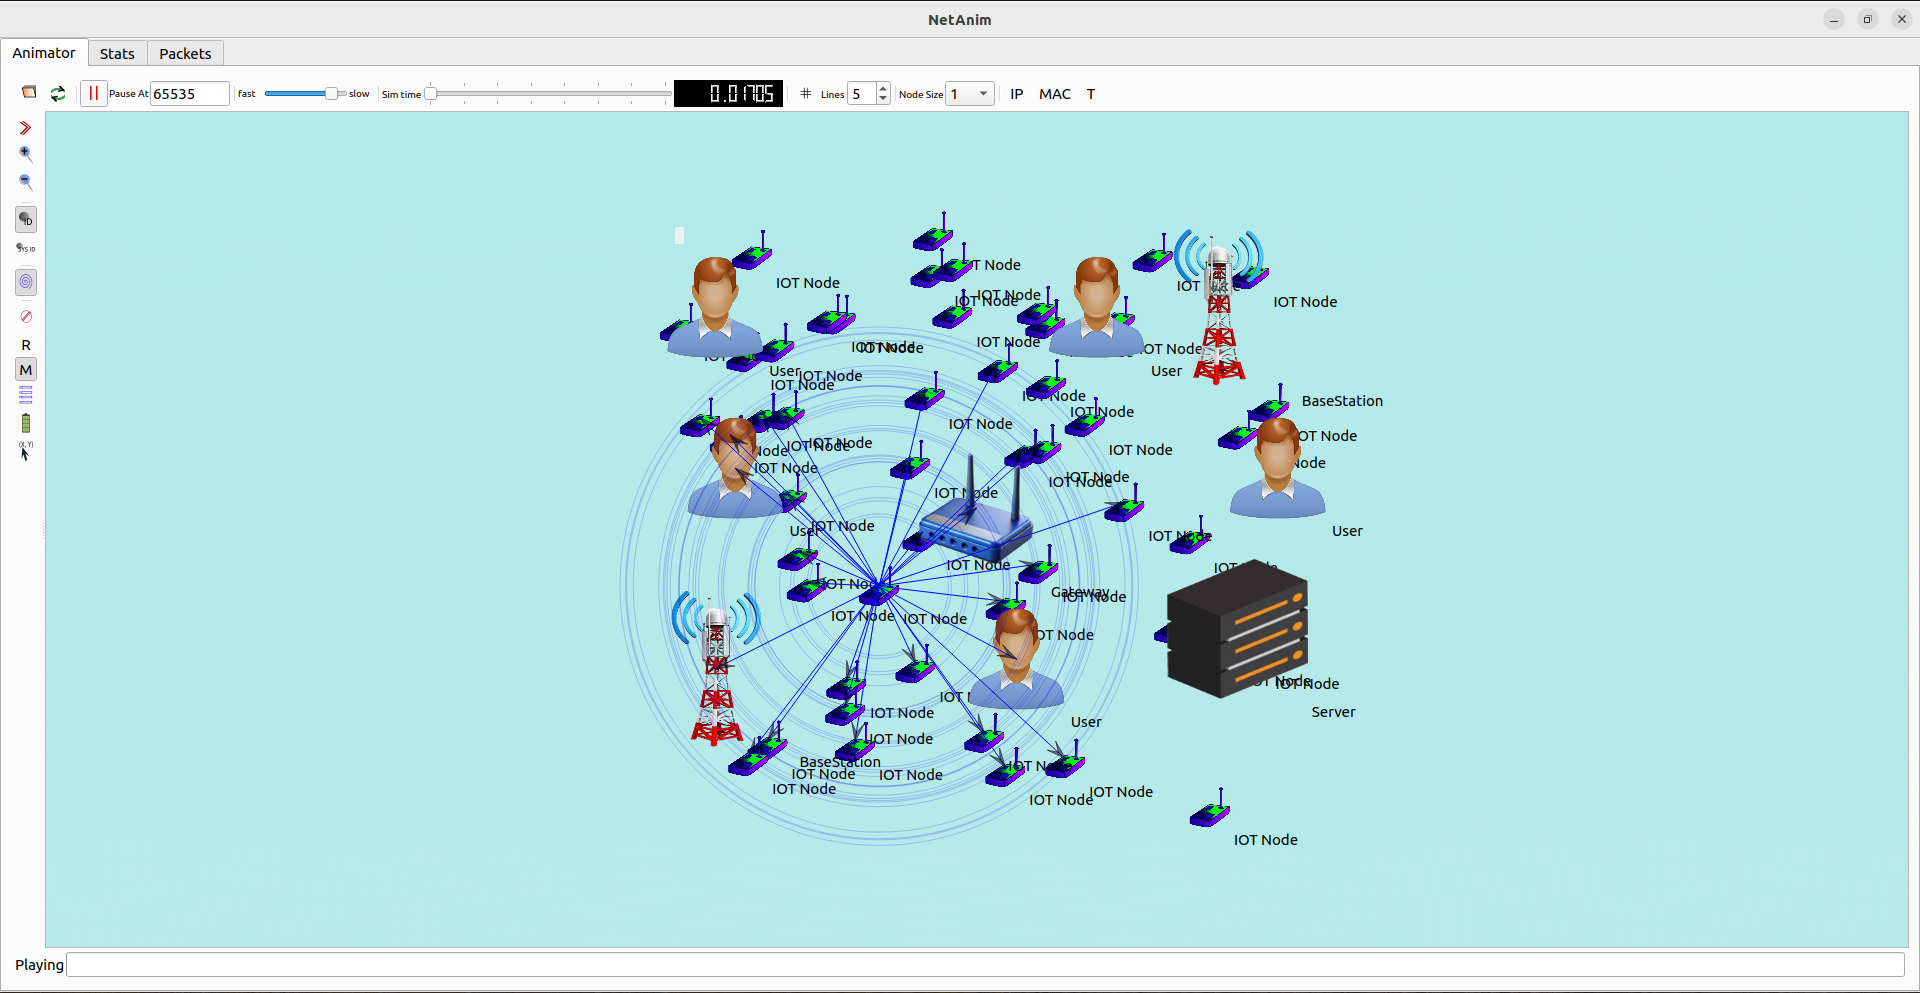
Consequently, the XML file is selected and it is denoted as the auto generator file. The implementation of simulation process generates the file and that is highlighted in the following image.
In sum, we are open to receive all your demands and feedback so feel free to contact us. Further, if you need more details on network simulator 3 processes with Netanim and other services, then communicate with us. We will let you know your requested information instantly.


We Provide
We Provide

 Helping 1M+ Research Scholars
| Research Topics | Project | Paper | Thesis |
|---|---|---|---|
| 3D Underwater WSN | 150 | 499 | 541 |
| Hybrid Beamforming | 110 | 398 | 432 |
| Intelligent Agent WSN | 135 | 412 | 510 |
| Blockchain technology | 121 | 467 | 496 |
| Optical Networks | 149 | 398 | 465 |
| Vehicular sensor Network | 250 | 491 | 534 |
| Industrial IoT | 114 | 378 | 431 |
| Service Discovery | 170 | 419 | 489 |
| Named Data Networking | 121 | 386 | 423 |
| SDN-NDN | 110 | 427 | 498 |
| D2D Communication | 131 | 389 | 425 |
| M2M Communication | 108 | 389 | 411 |
| UWB communication | 124 | 495 | 510 |
| 5G Network Slicing | 137 | 437 | 492 |
| Delay Tolerant Network | 105 | 469 | 533 |
| Multi-Microgrid | 111 | 326 | 379 |
| Content-centric network | 100 | 296 | 304 |
| 5G Beyond networks | 131 | 379 | 409 |
| Cloud-RAN | 127 | 352 | 389 |
| Fog-RAN | 145 | 310 | 378 |
| FANET | 178 | 395 | 400 |
| Cognitive adhoc network | 153 | 325 | 363 |
| Vehicular NDN | 175 | 310 | 425 |
| Multimedia sensor network | 205 | 275 | 315 |
| V2X communication | 151 | 200 | 308 |
| Software-defined WSN | 176 | 248 | 358 |
| 5G | 201 | 289 | 365 |
| Fibre Channel / Cellular / 5G topics | — | — | — |
| Cellular Networks | 185 | 235 | 397 |
| CRN | 204 | 268 | 348 |
| IoT | 163 | 287 | 395 |
| Intrusion Detection system | 110 | 257 | 348 |
| LiFi | 101 | 279 | 386 |
| LTE | 159 | 208 | 345 |
| MANET | 175 | 247 | 395 |
| MIMO | 142 | 298 | 354 |
| Mobile Computing | 114 | 254 | 308 |
| RPL | 189 | 275 | 357 |
| SDN | 109 | 258 | 346 |
| VANET | 152 | 278 | 359 |
| Vertical Handover | 108 | 241 | 367 |
| Wireless Body Area Network | 121 | 198 | 348 |
| Wireless Communication | 178 | 248 | 371 |
| Wireless Sensor Networks | 106 | 213 | 369 |

From Topic selection to Final submission support.
Fix build errors, runtime issues, and simulation crashes.
Create real-time research-based network scenarios.
Improve simulation efficiency and execution time.
Help with result interpretation, graphs, and documentation.
Project explanation for viva, review, and presentations.
Your one-stop solution for NS-3 protocols, routing strategies, and parameter optimization—fully tailored to your research needs.

4.8 rating on Google*
Copyright © 2026 Ns3Simulation, All Rights Reserved