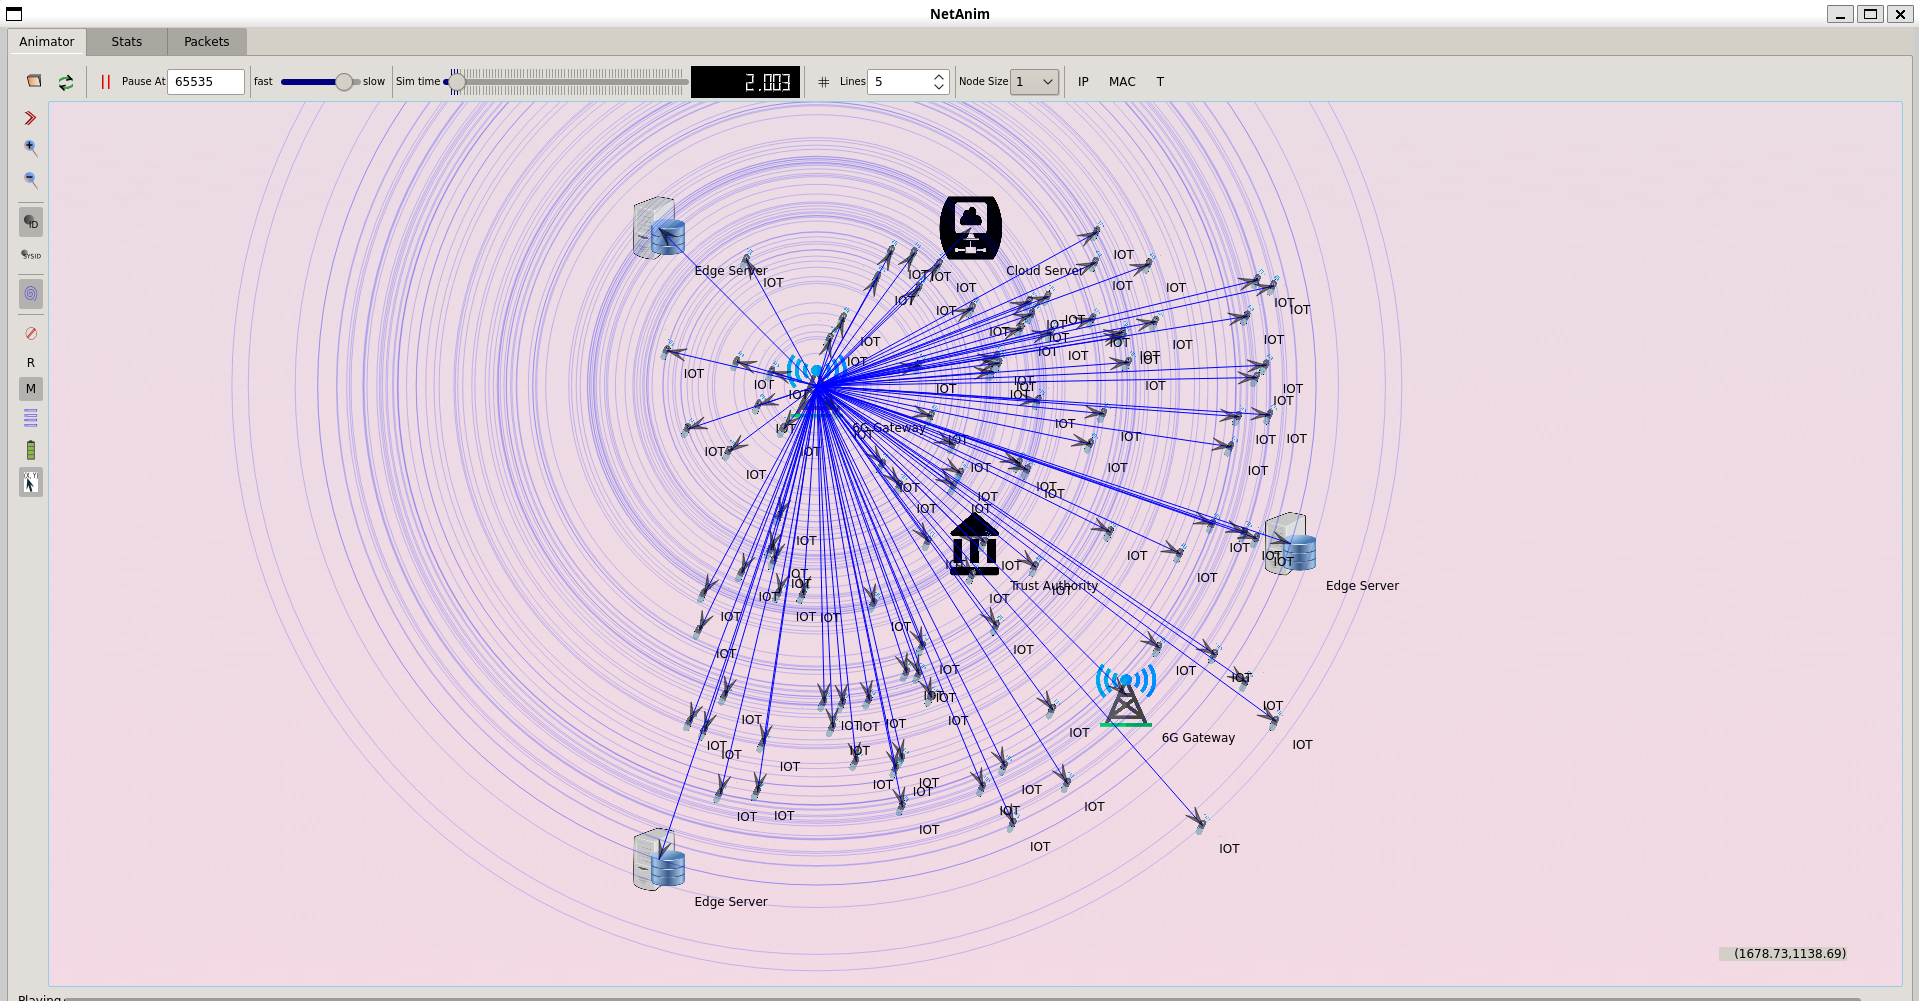
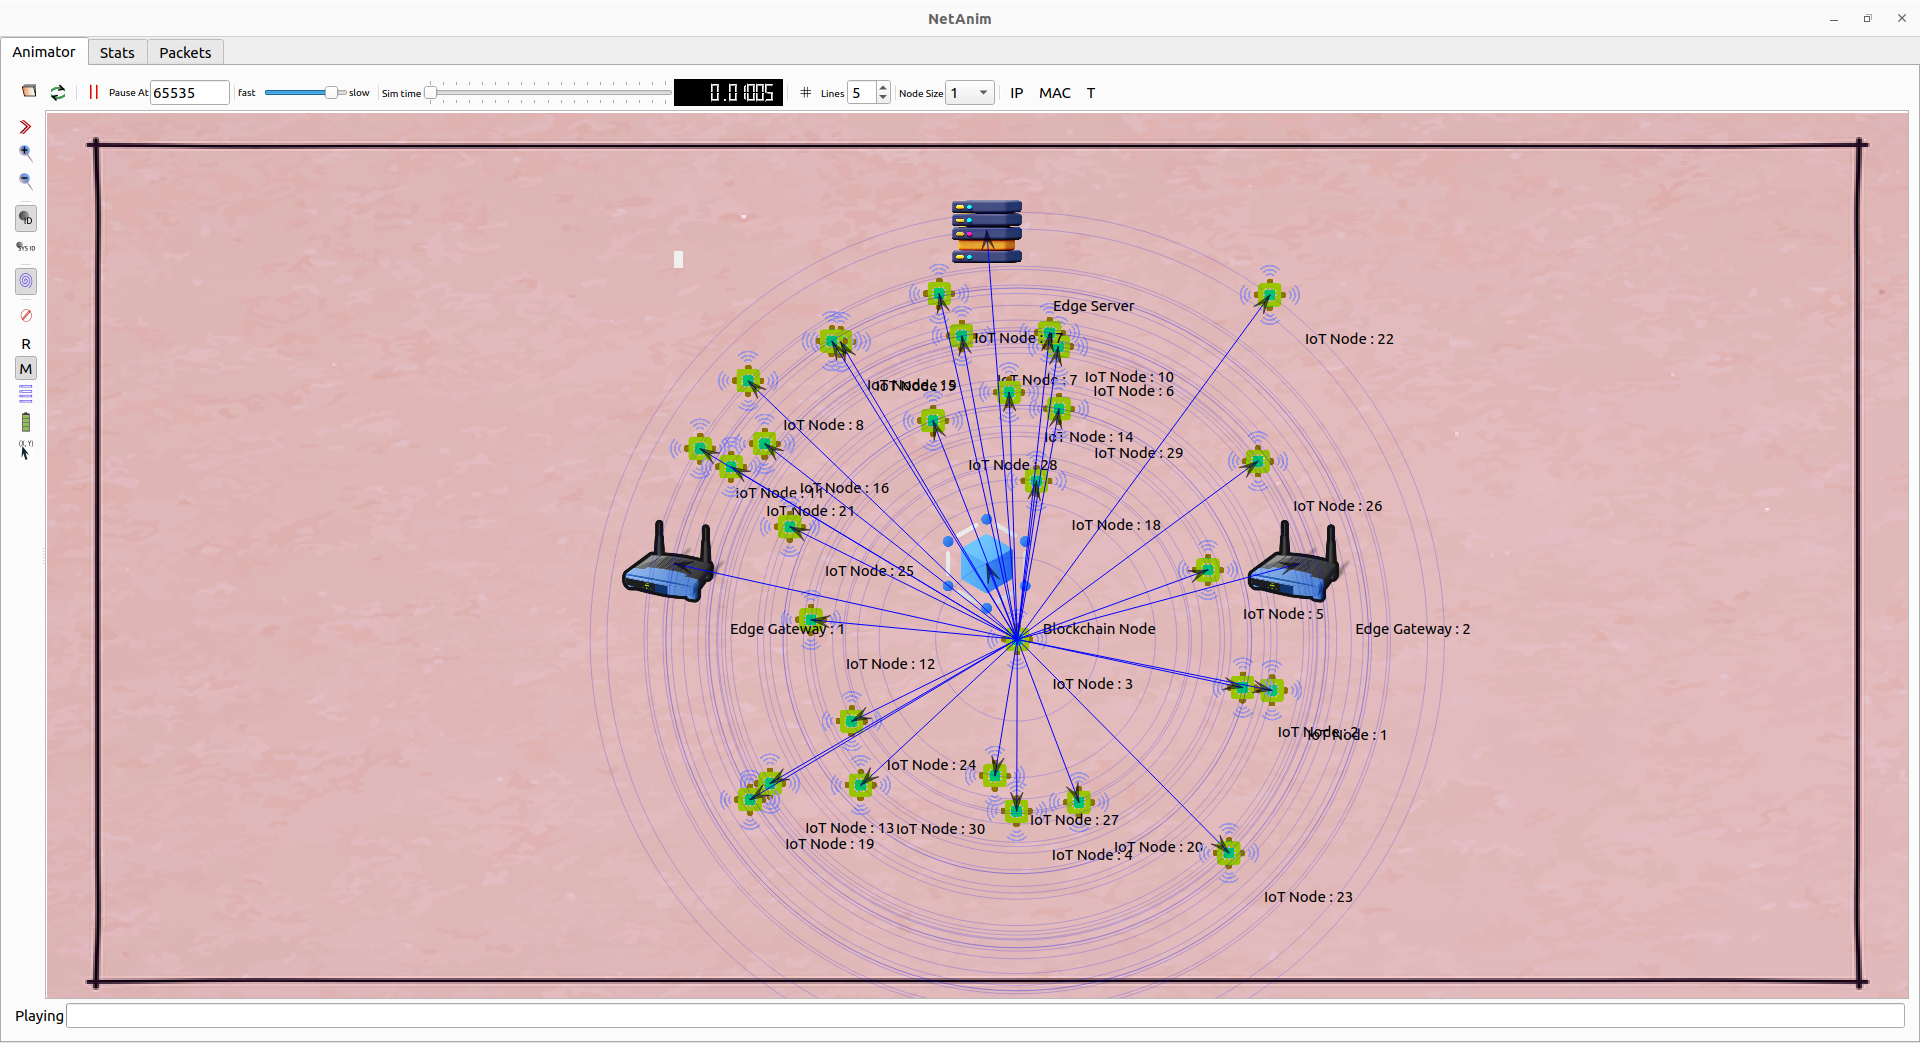
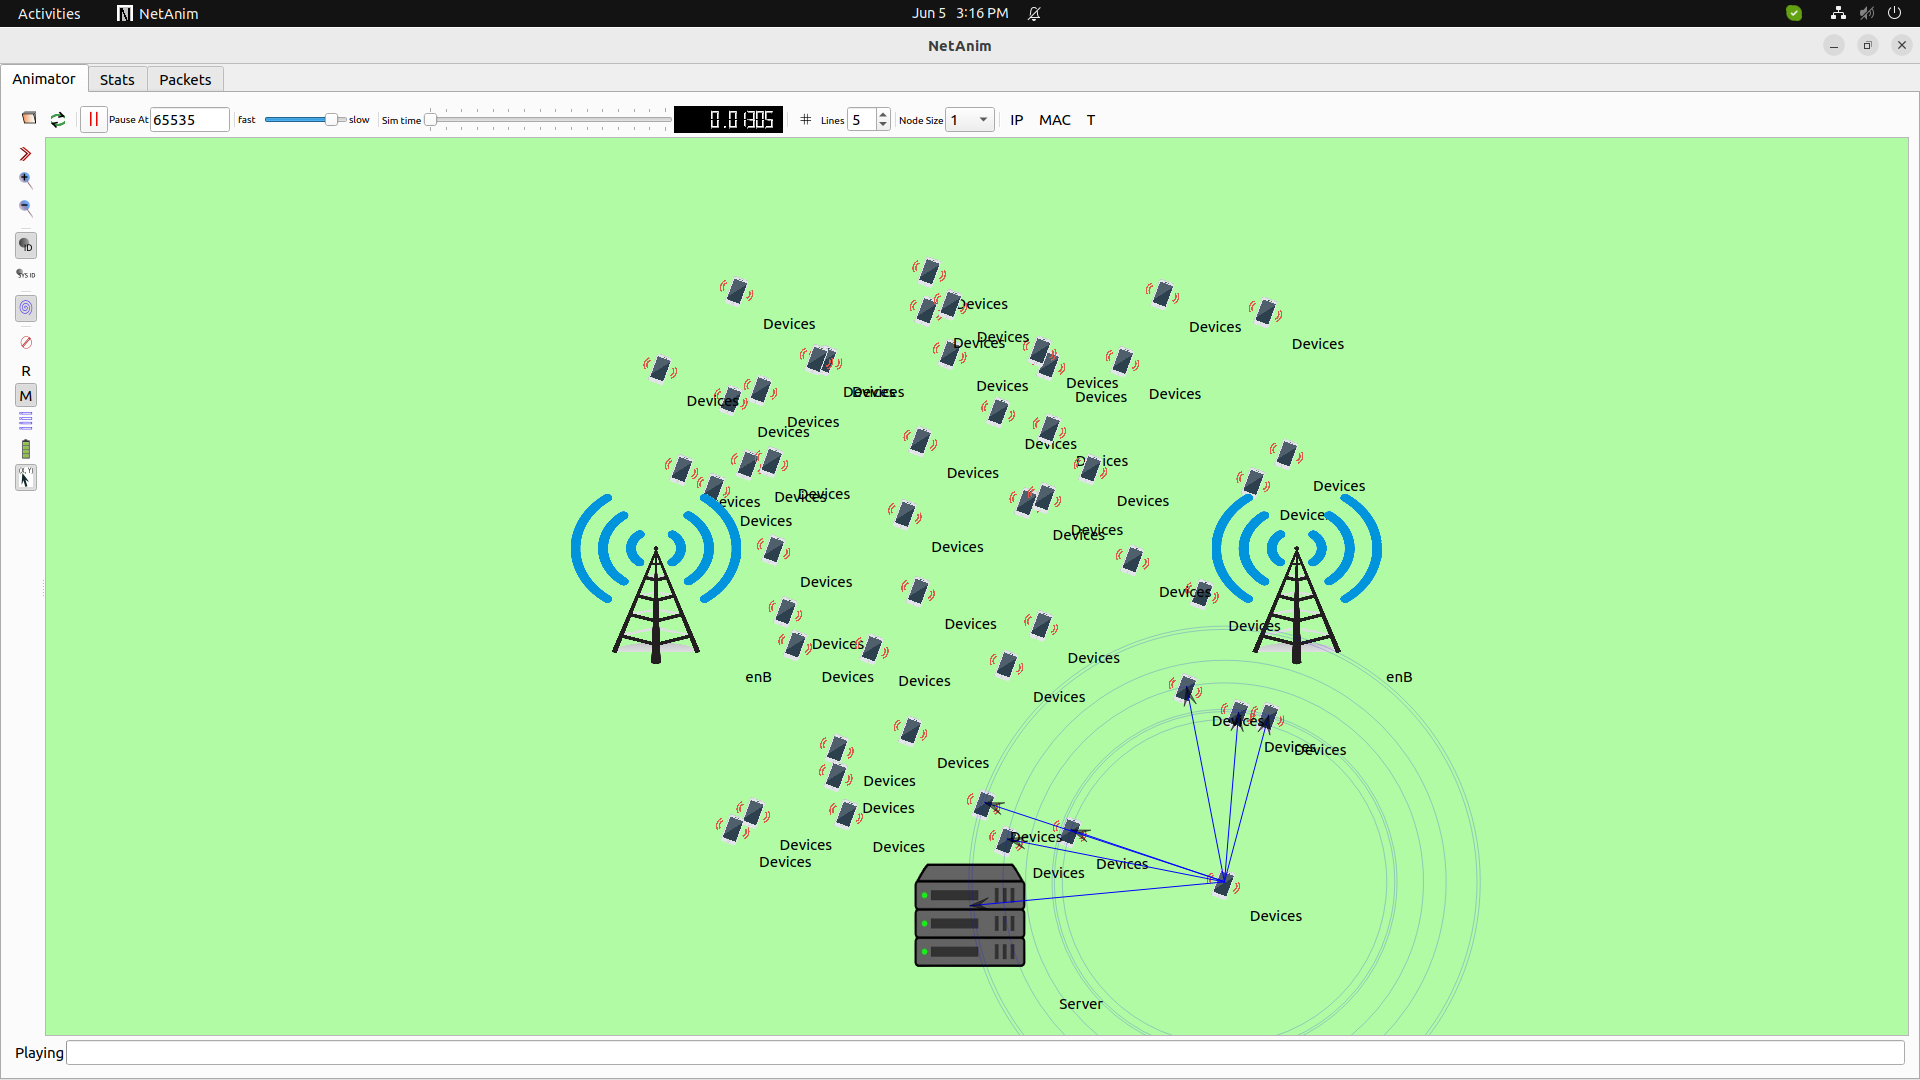
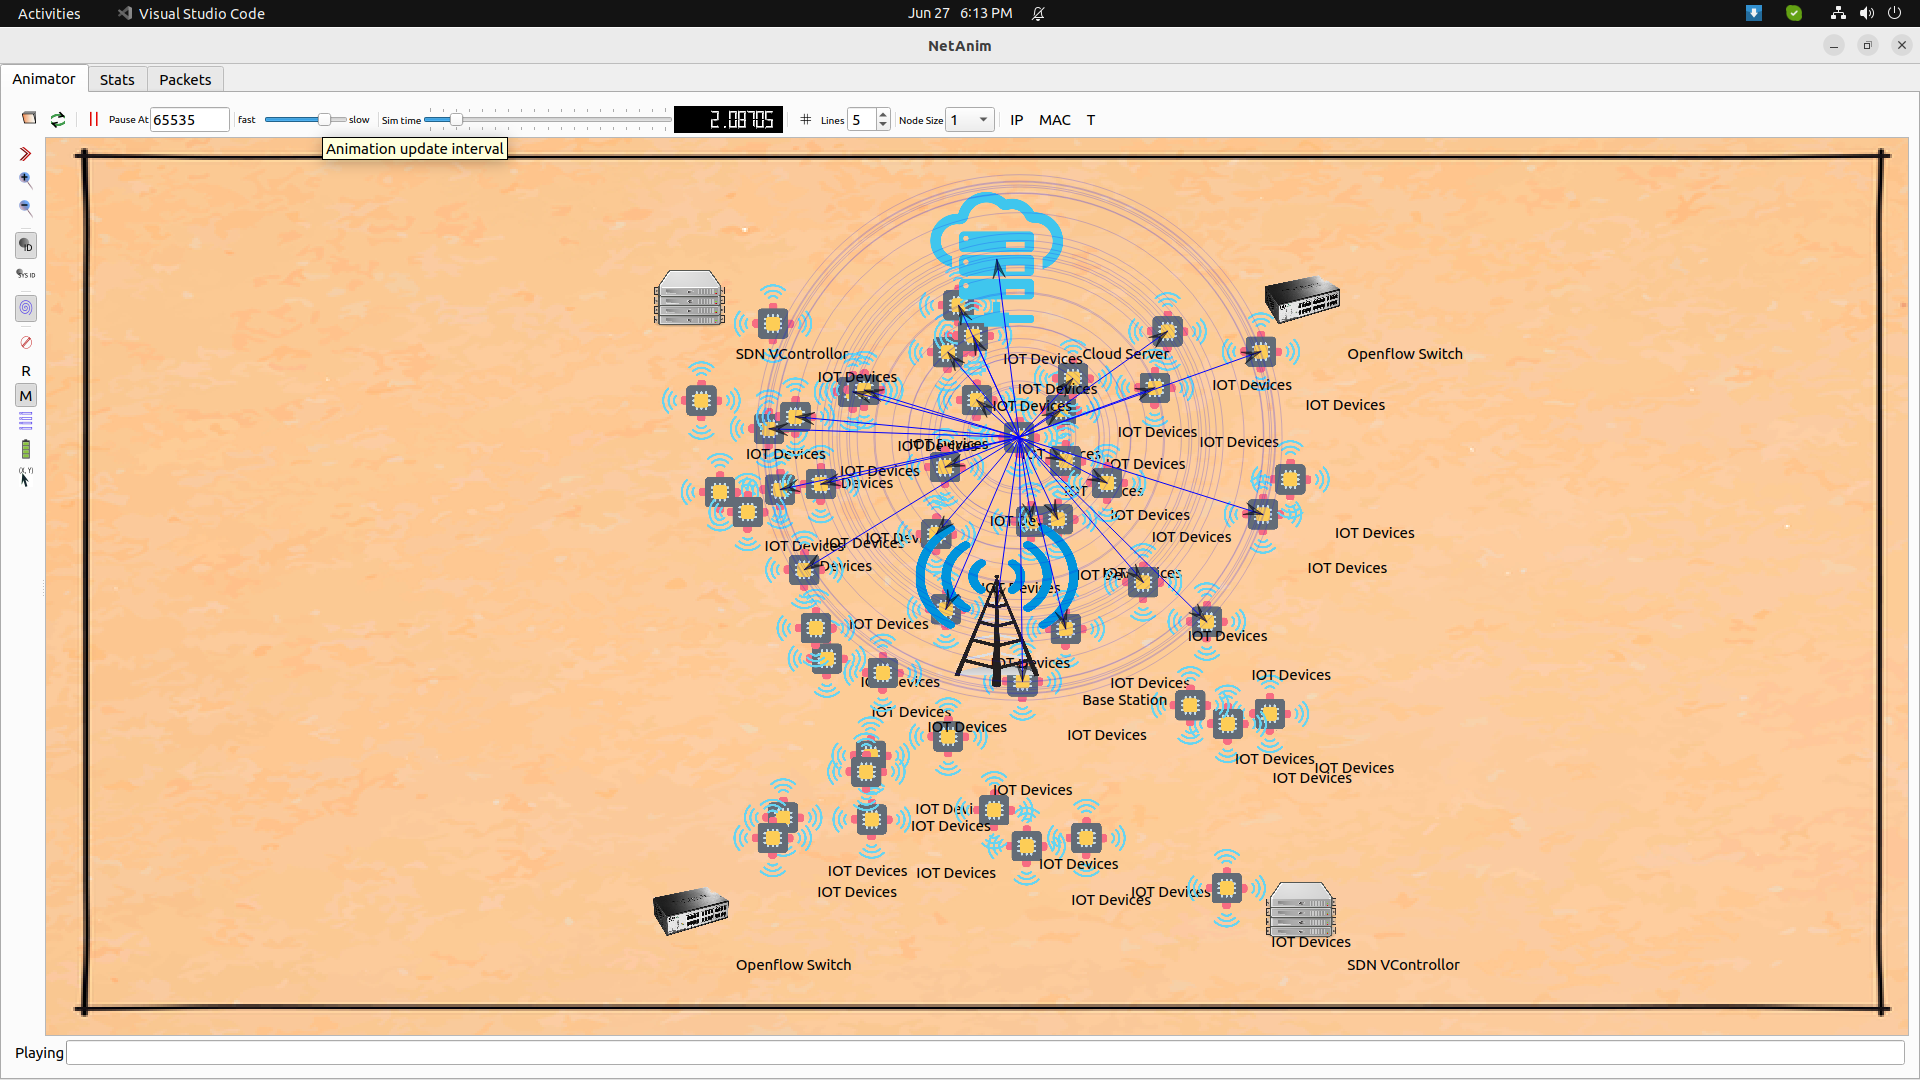
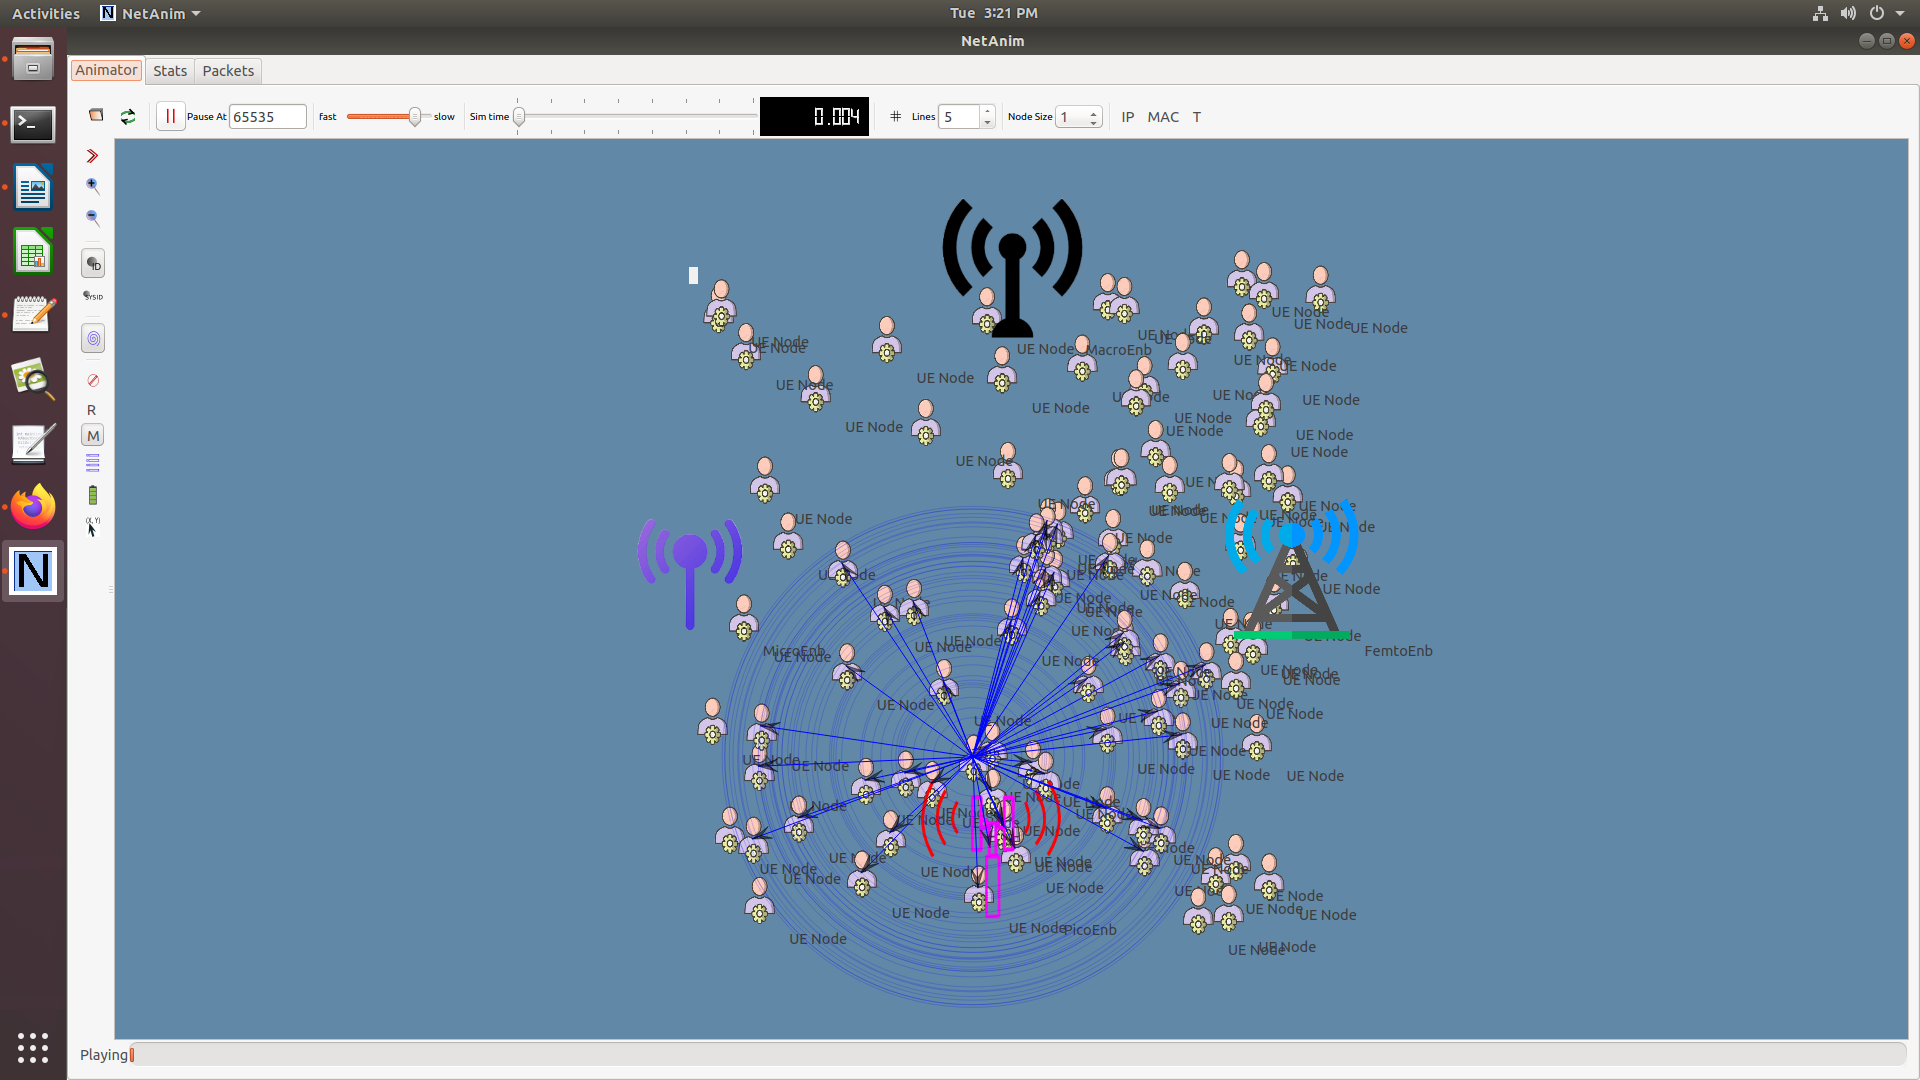
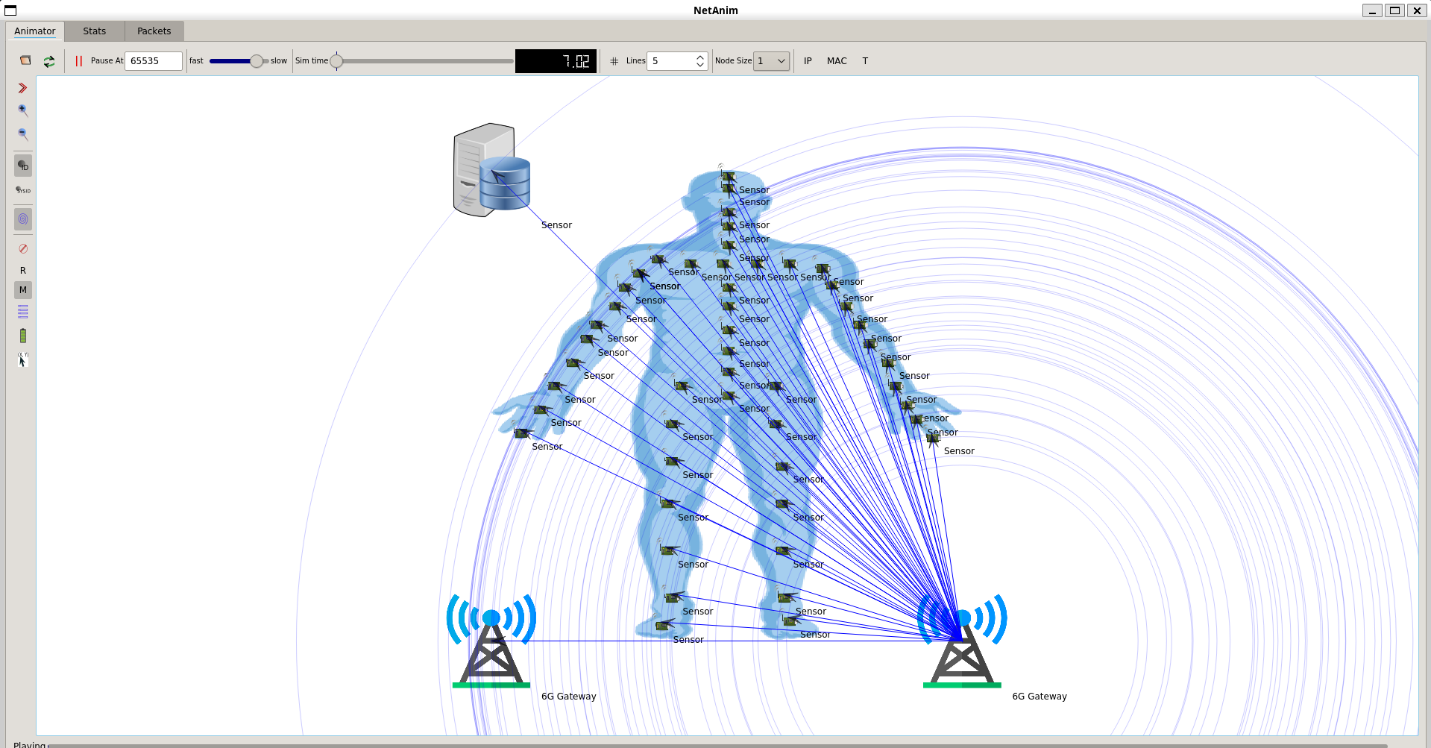
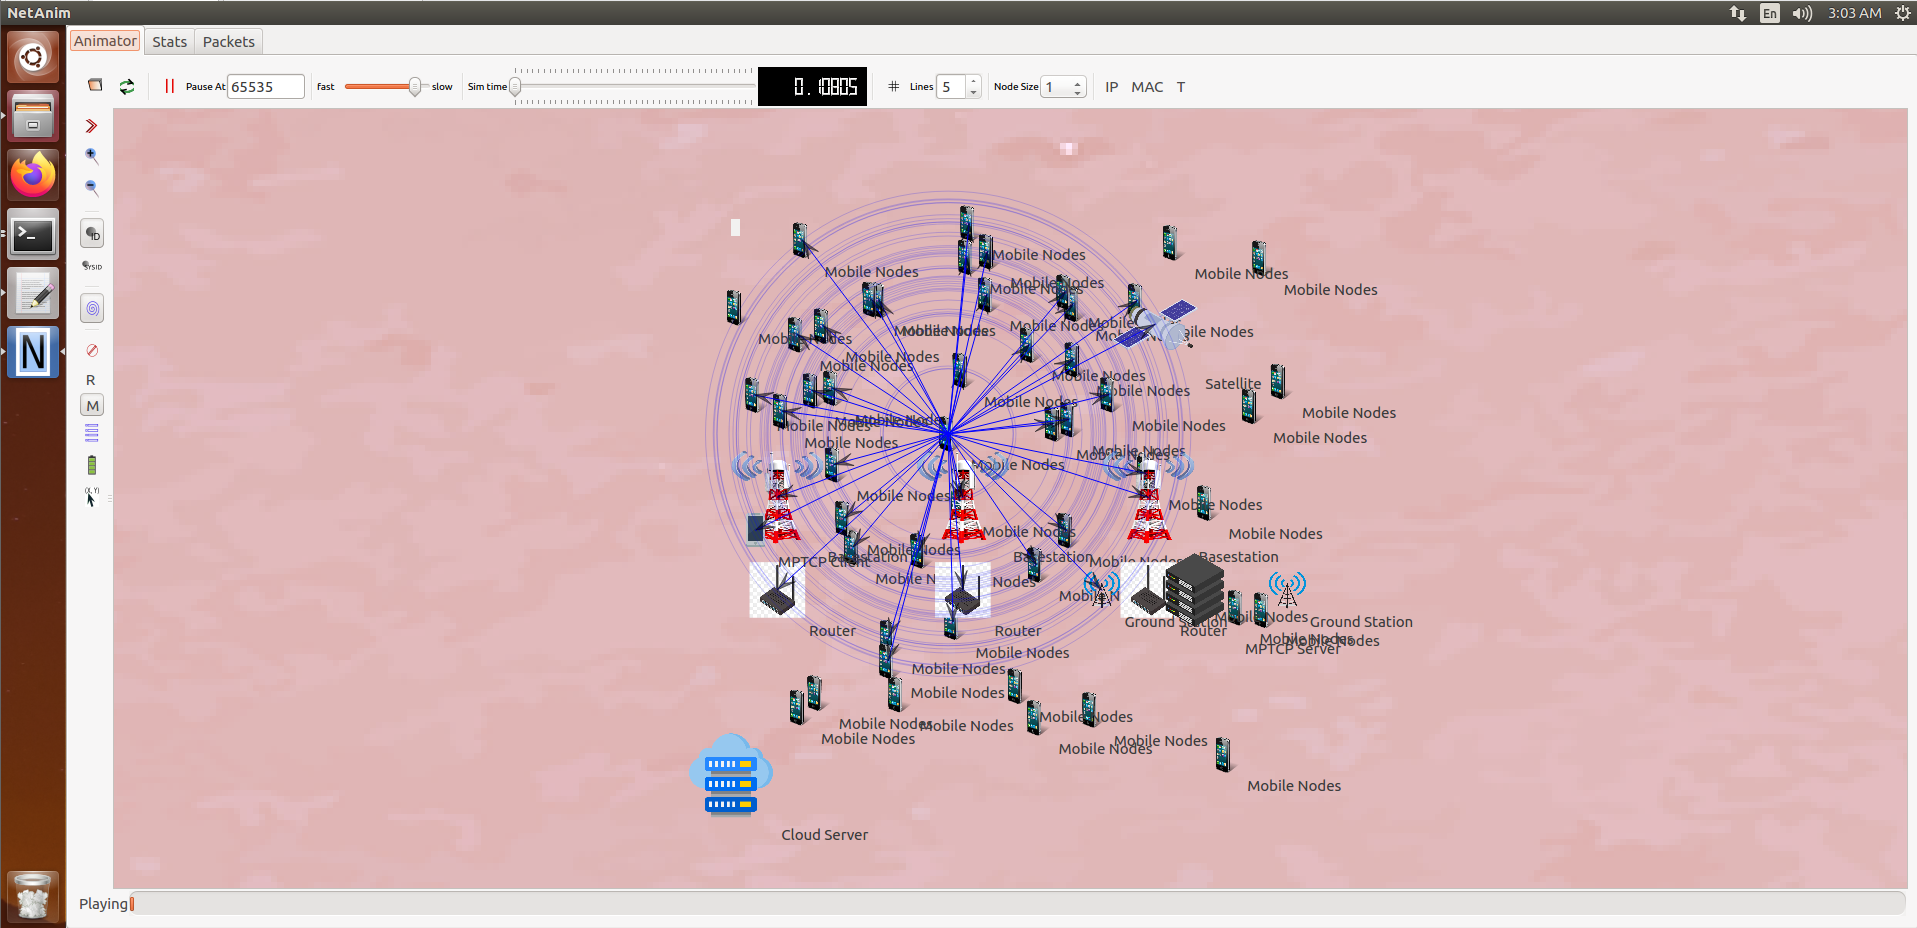
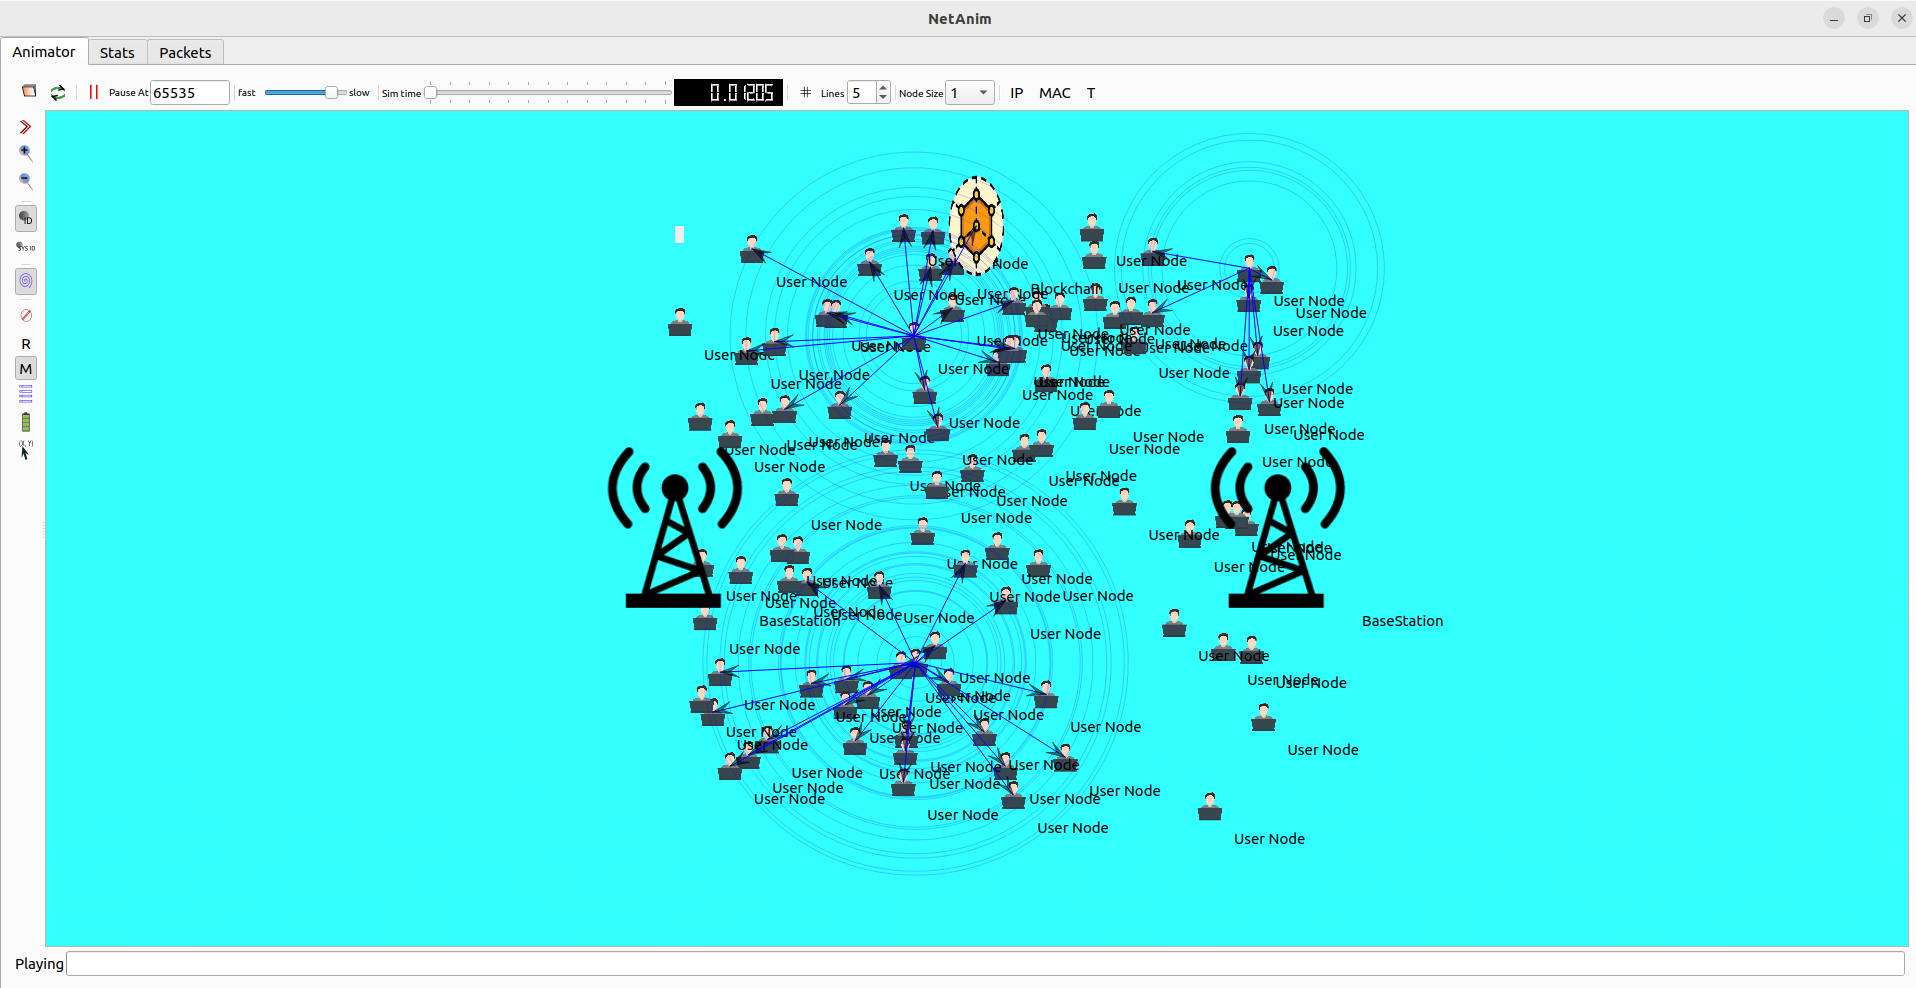
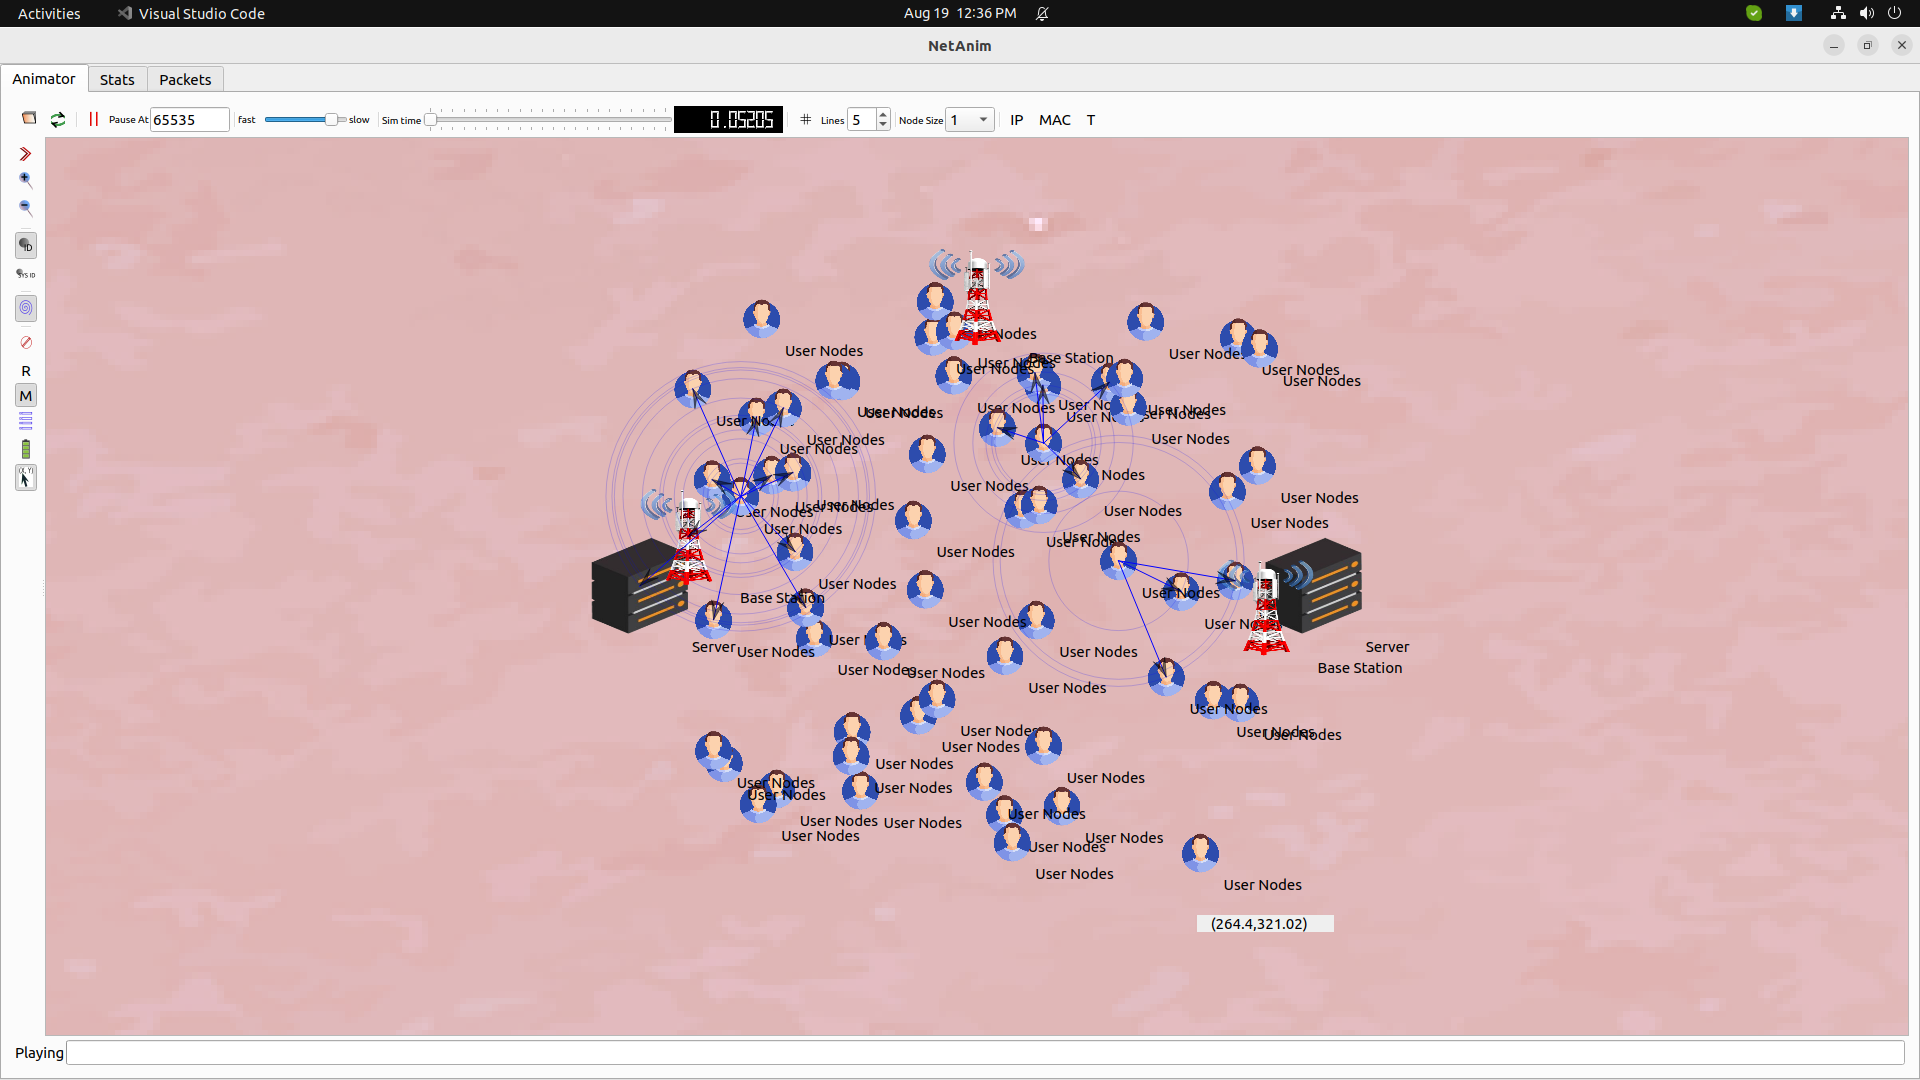
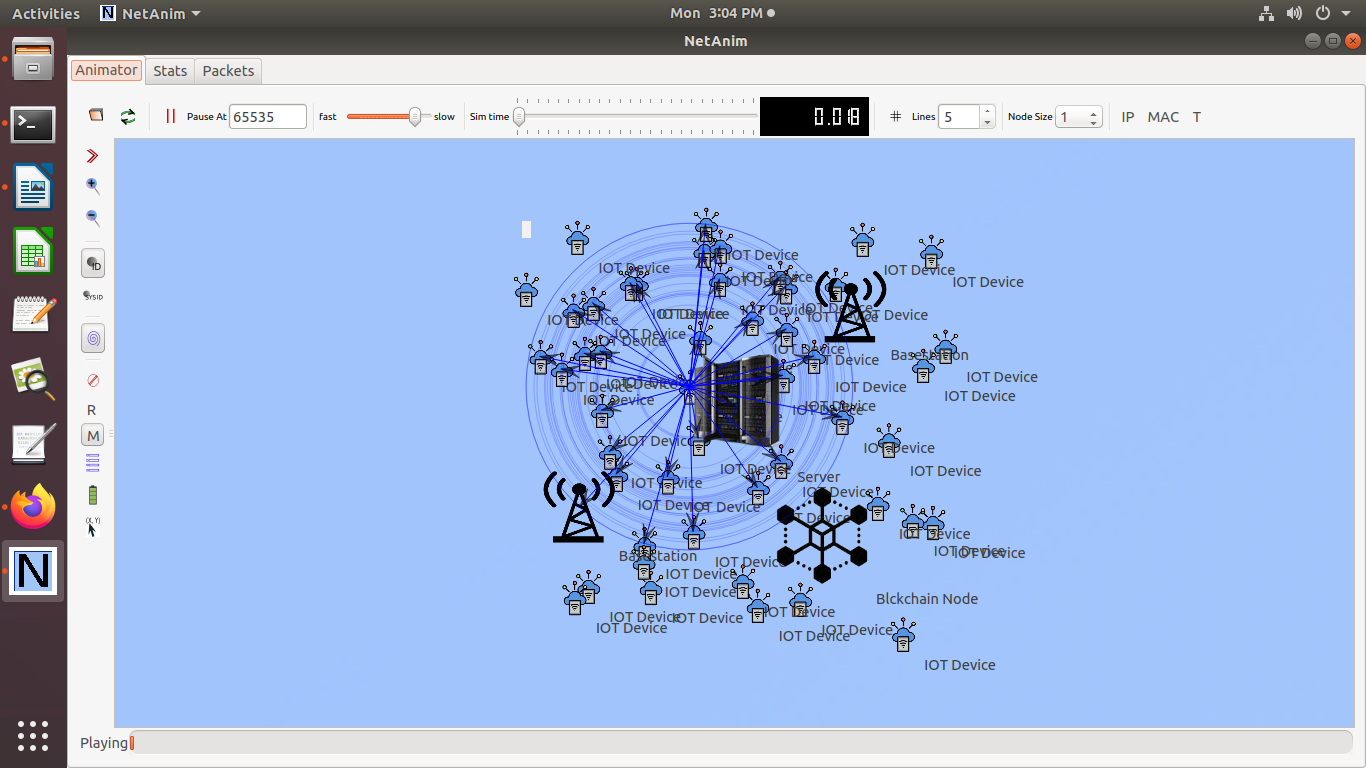
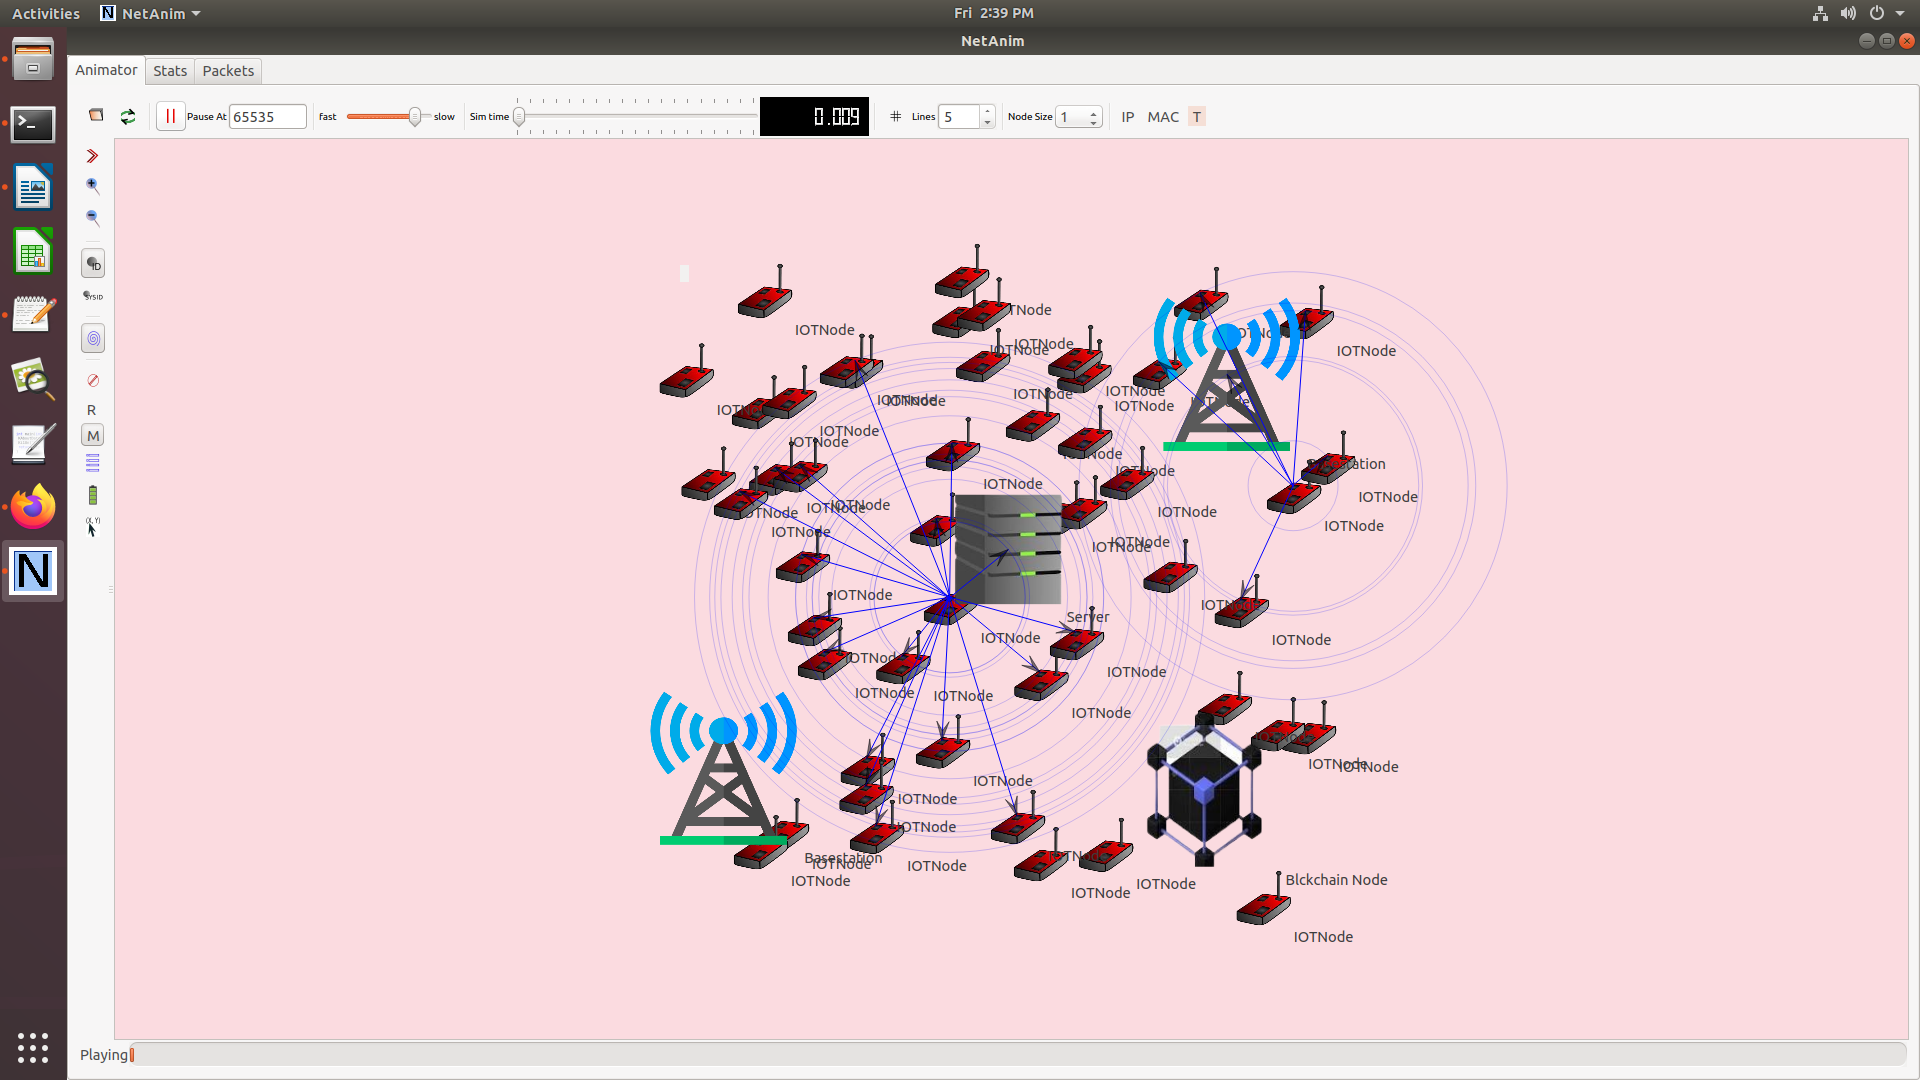
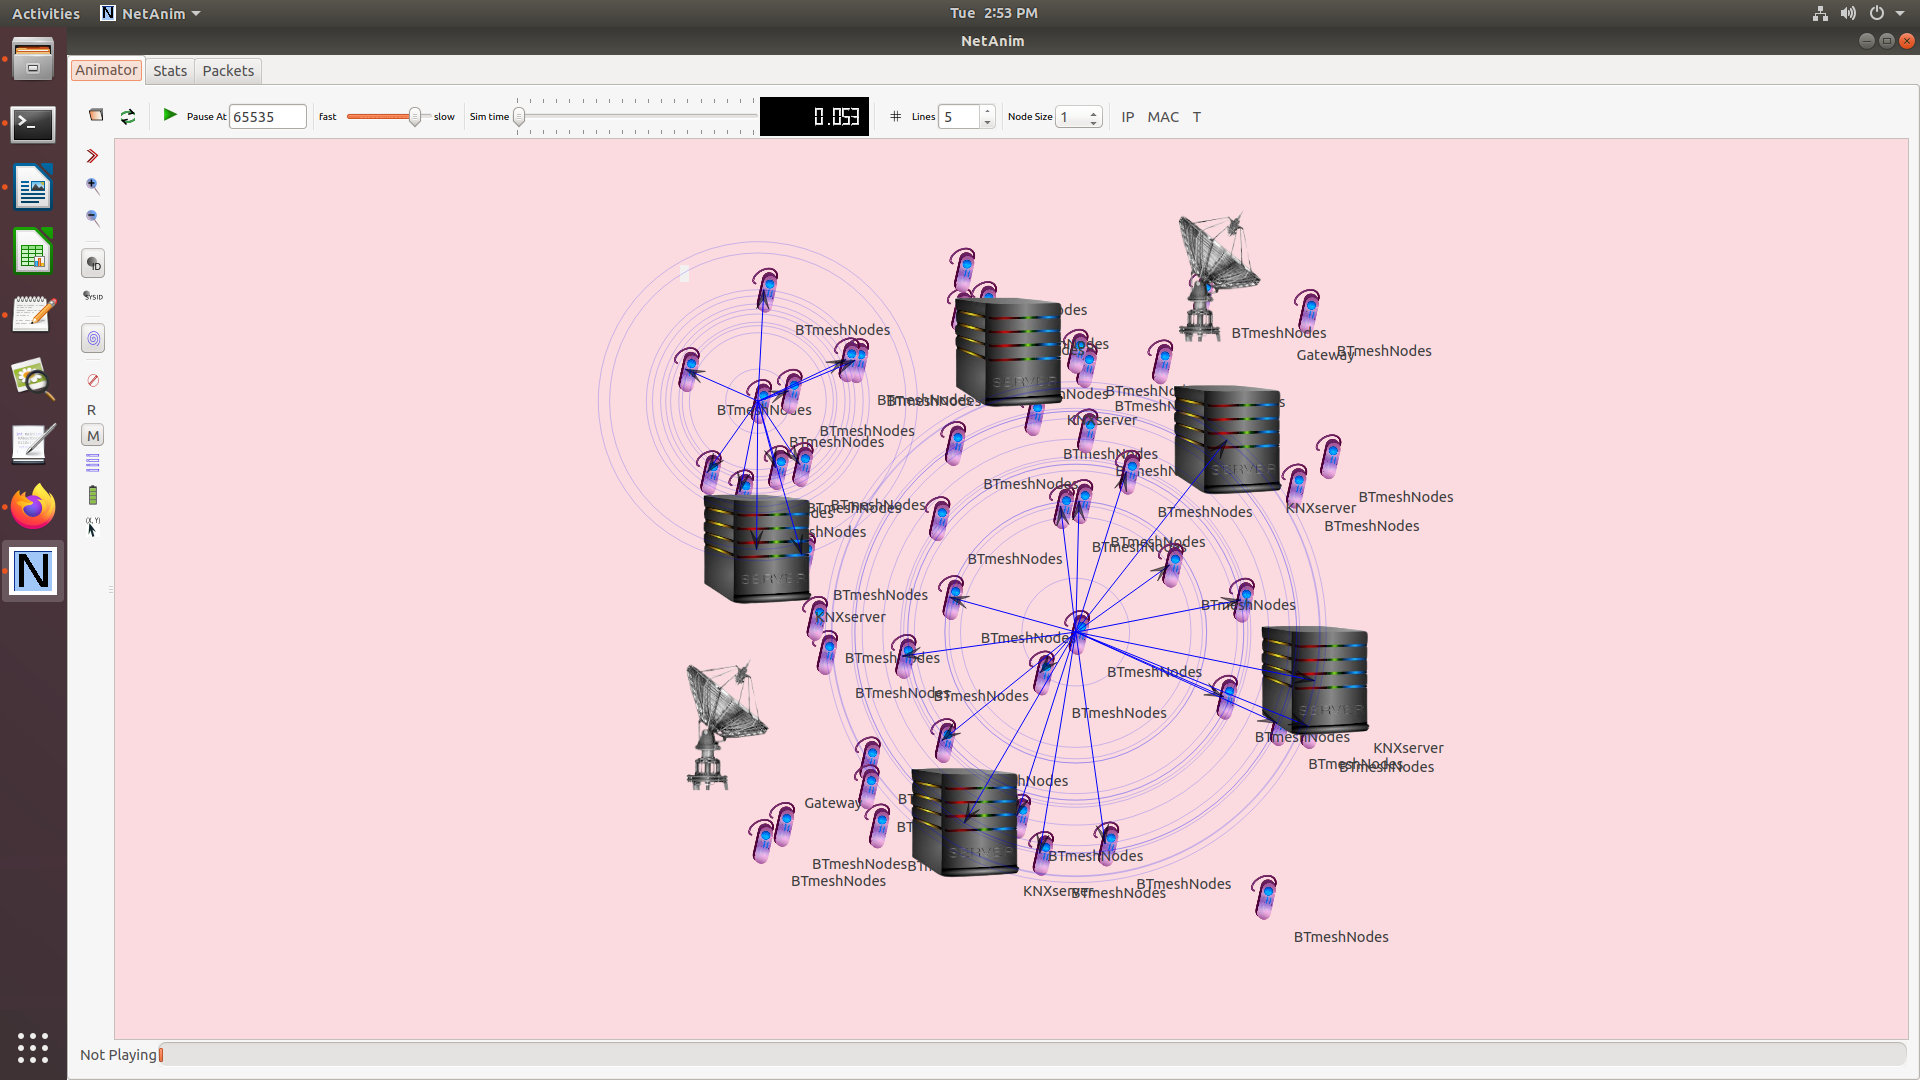
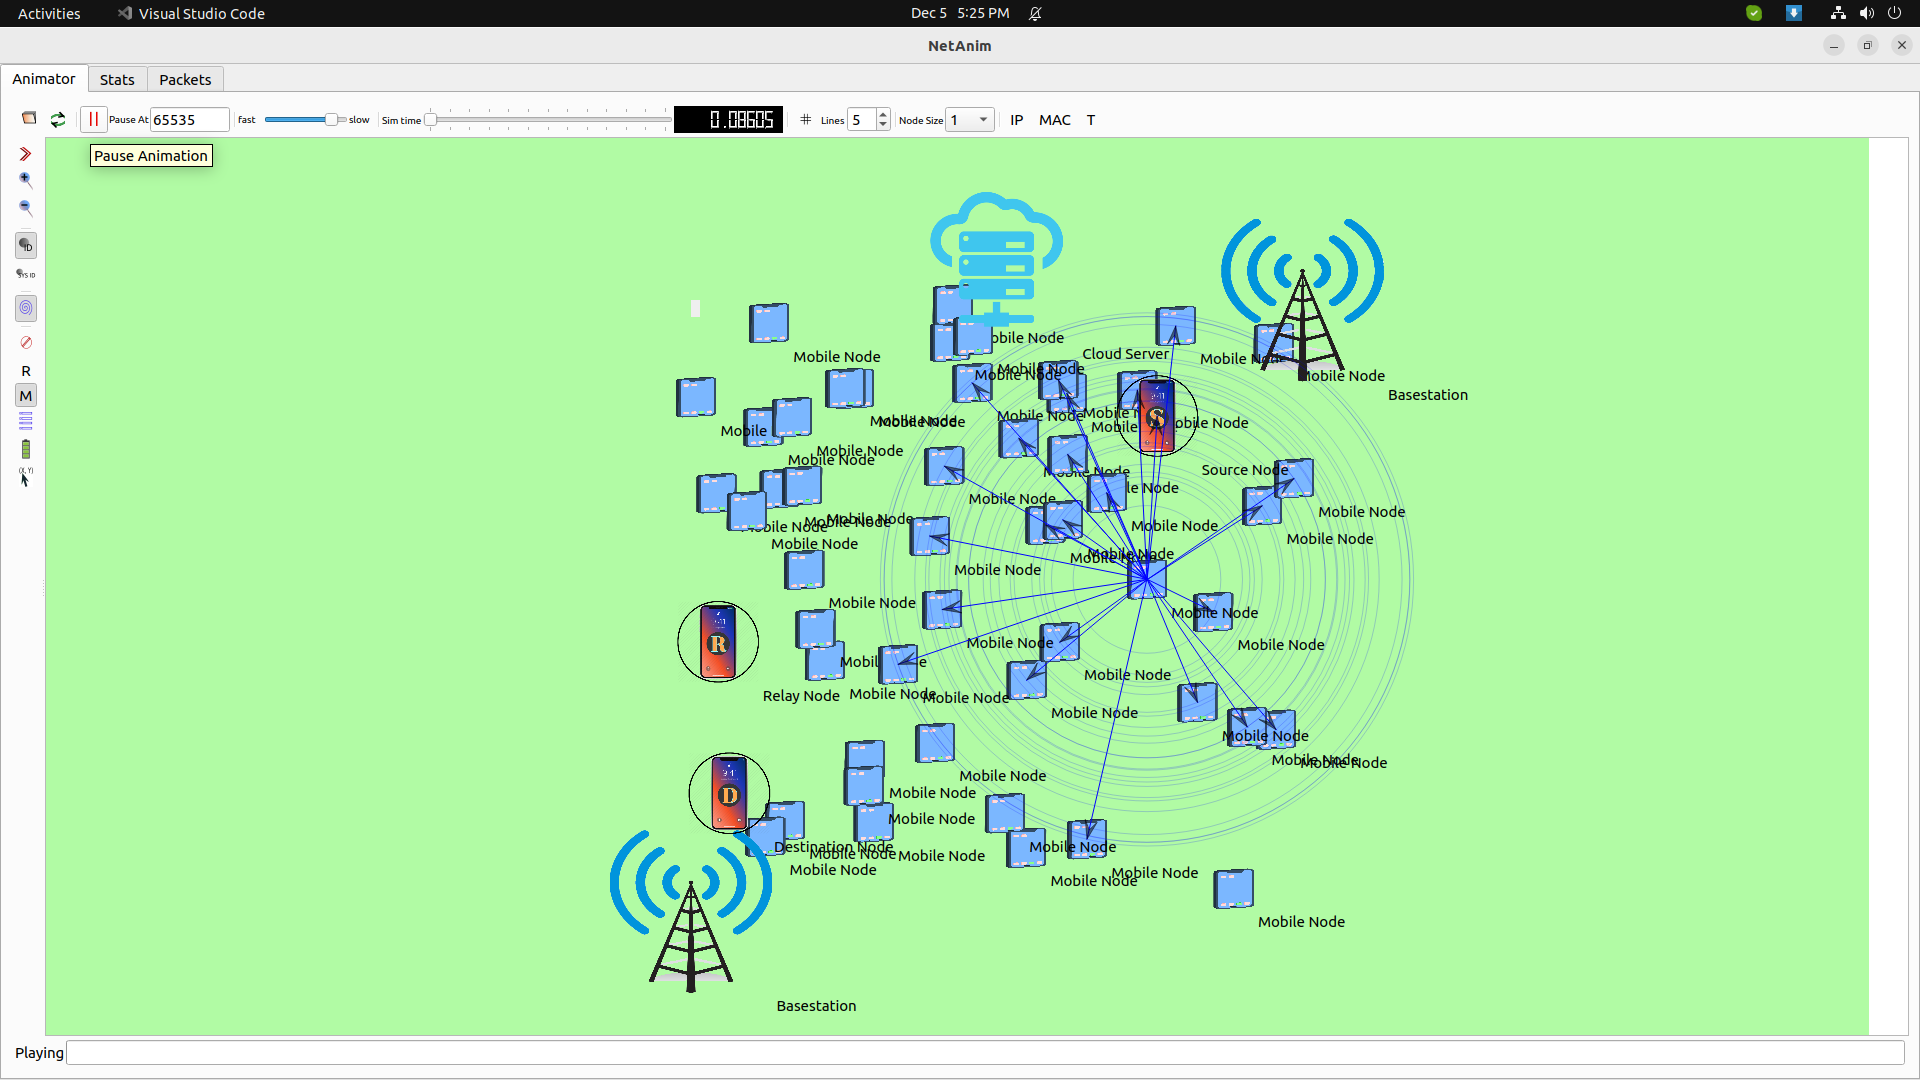
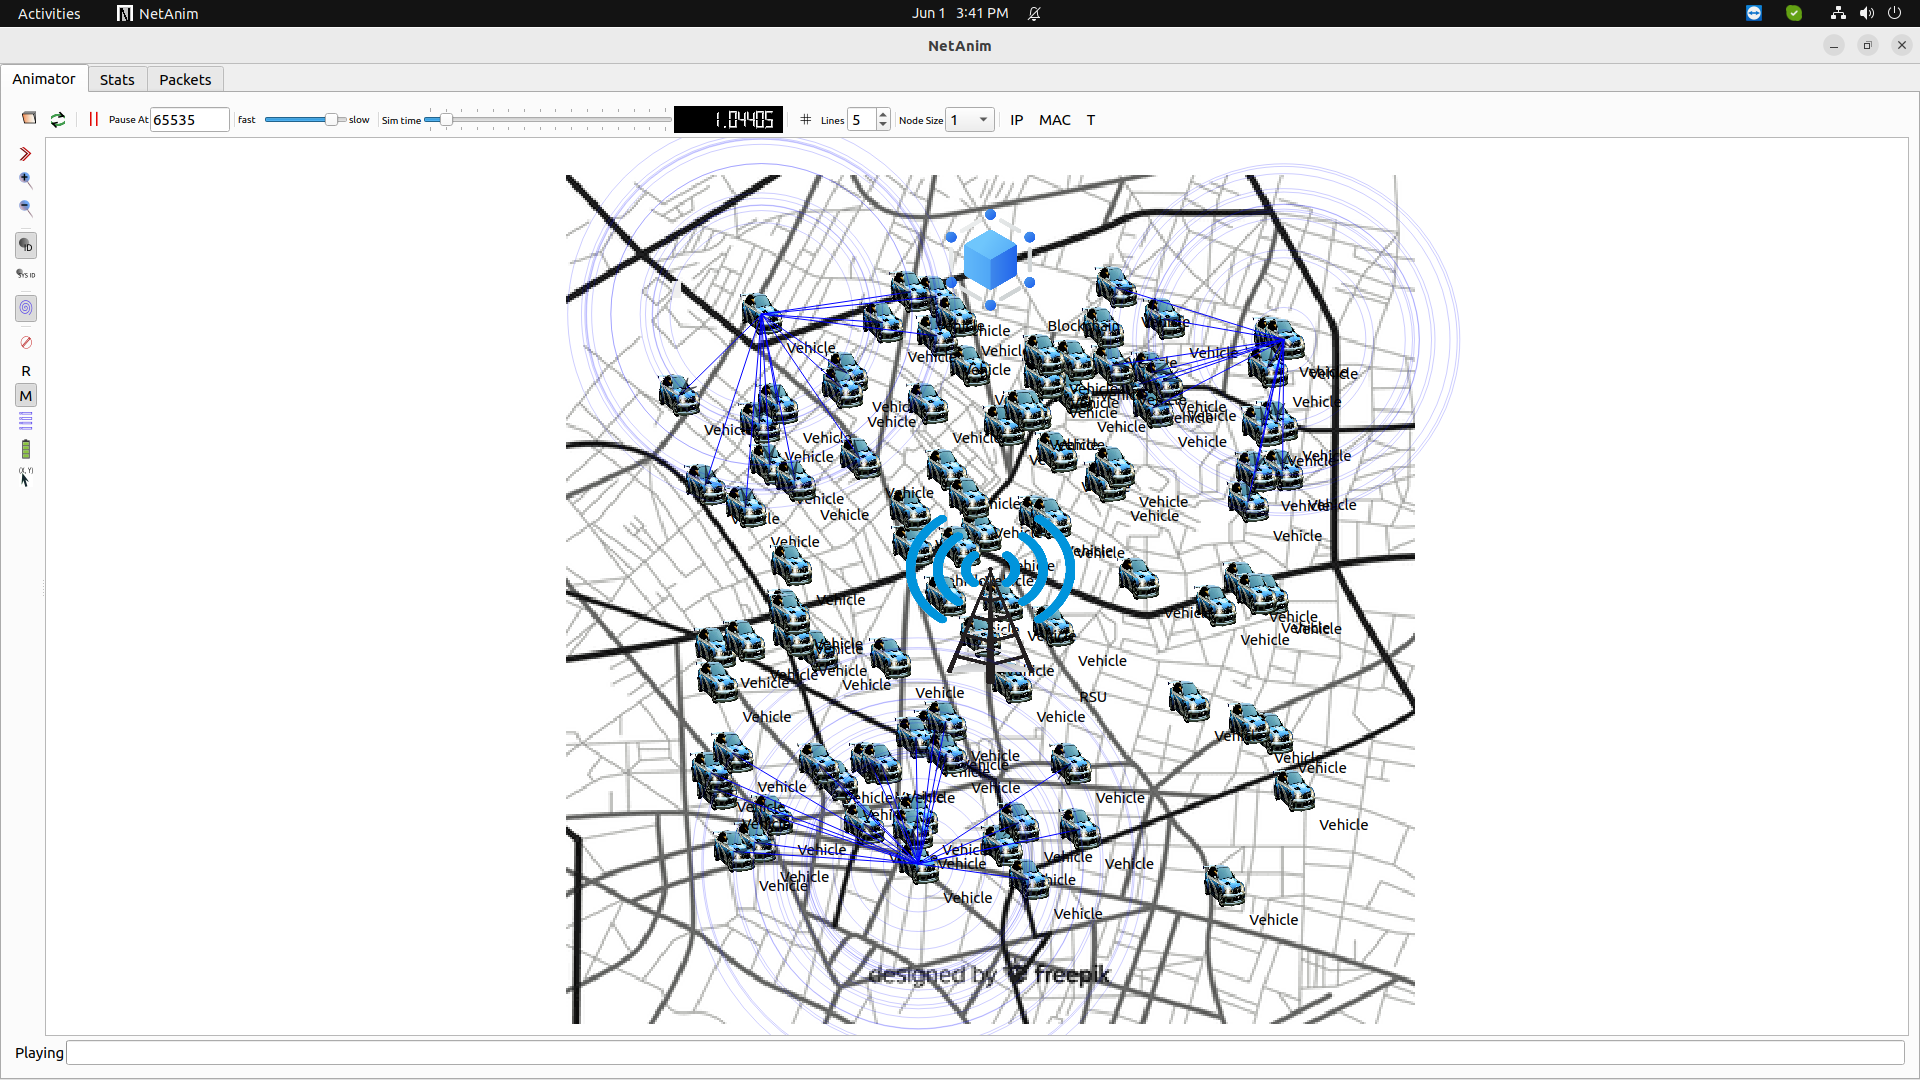
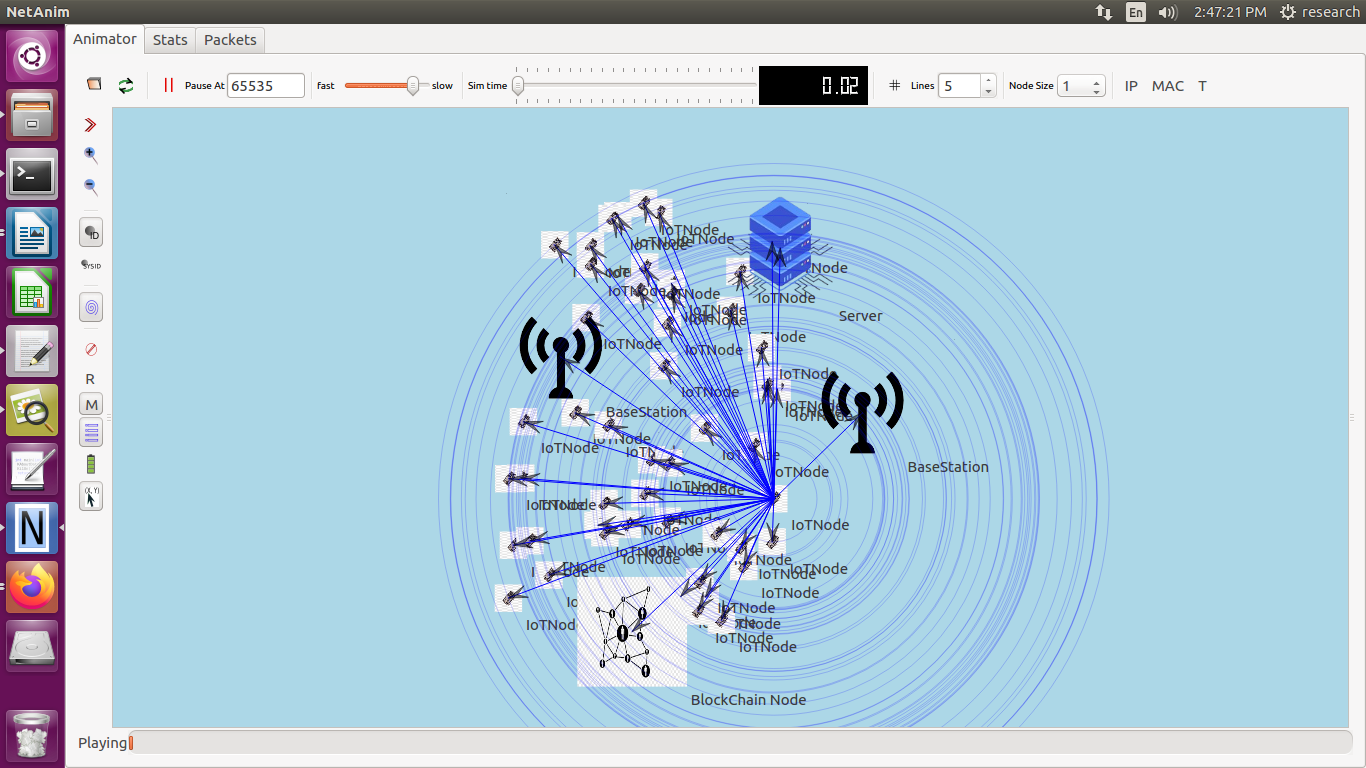
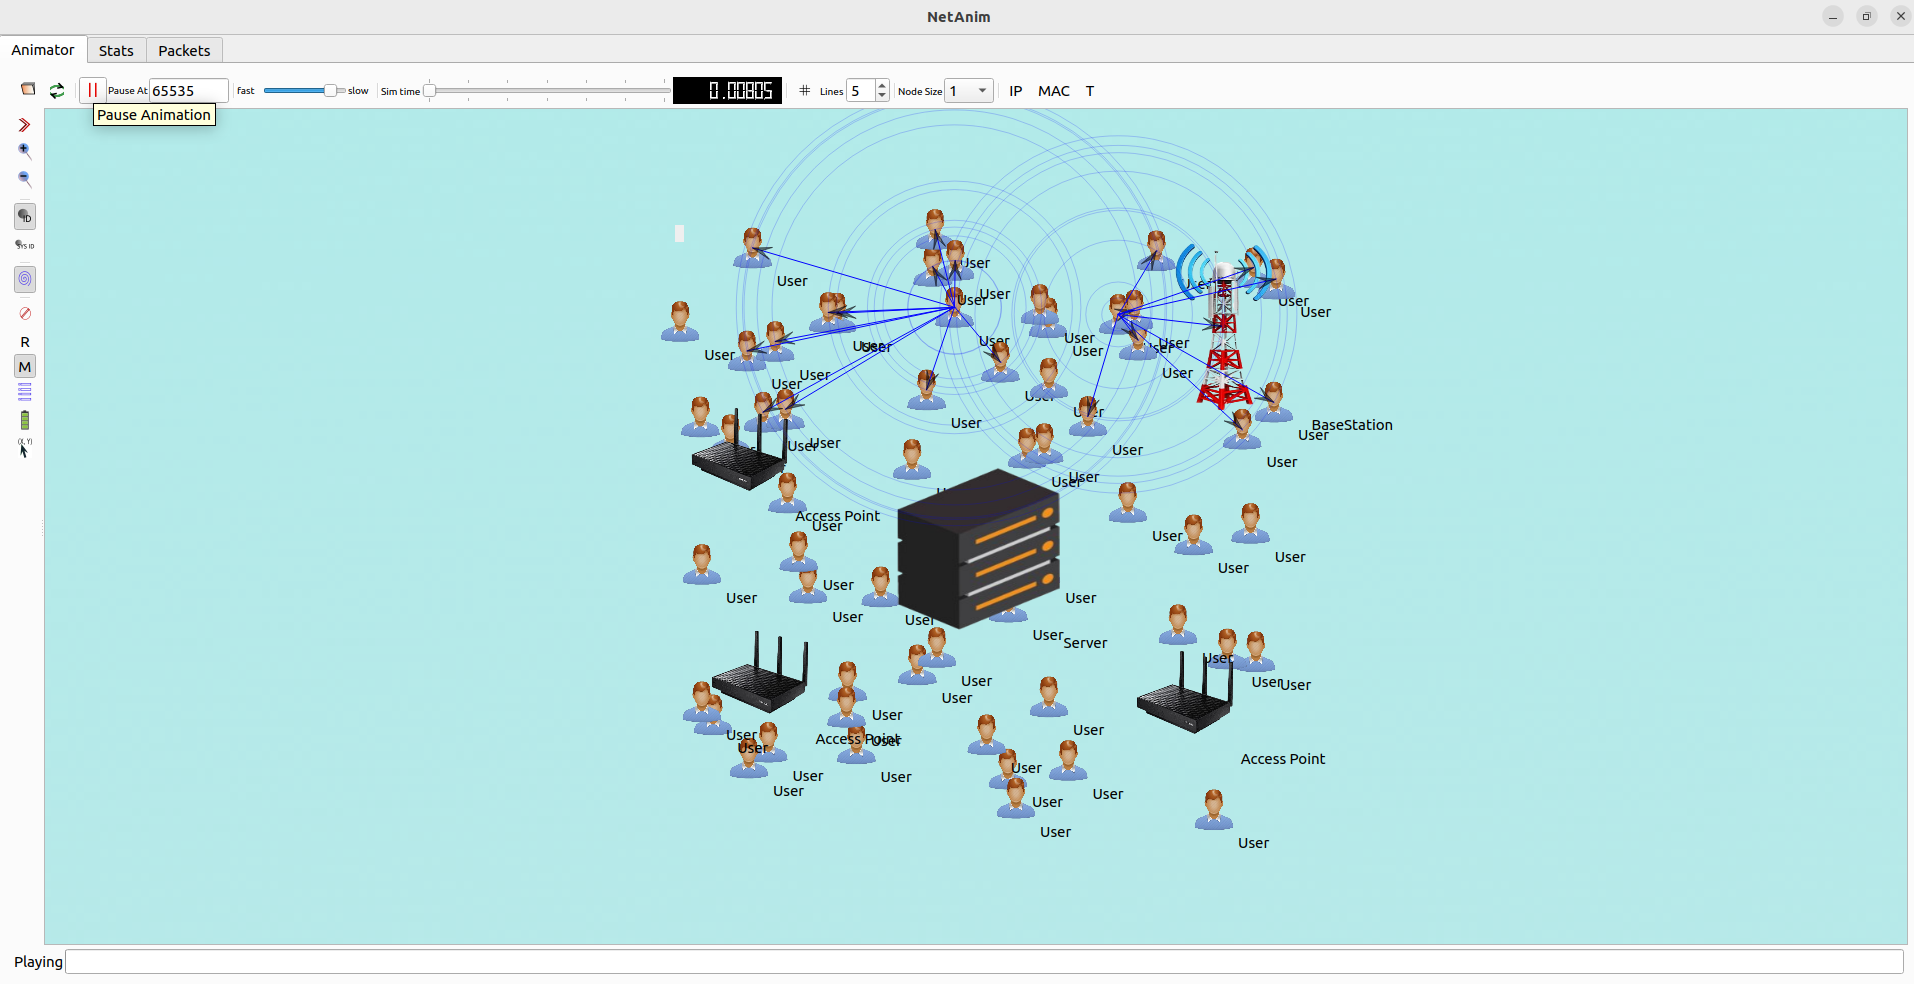
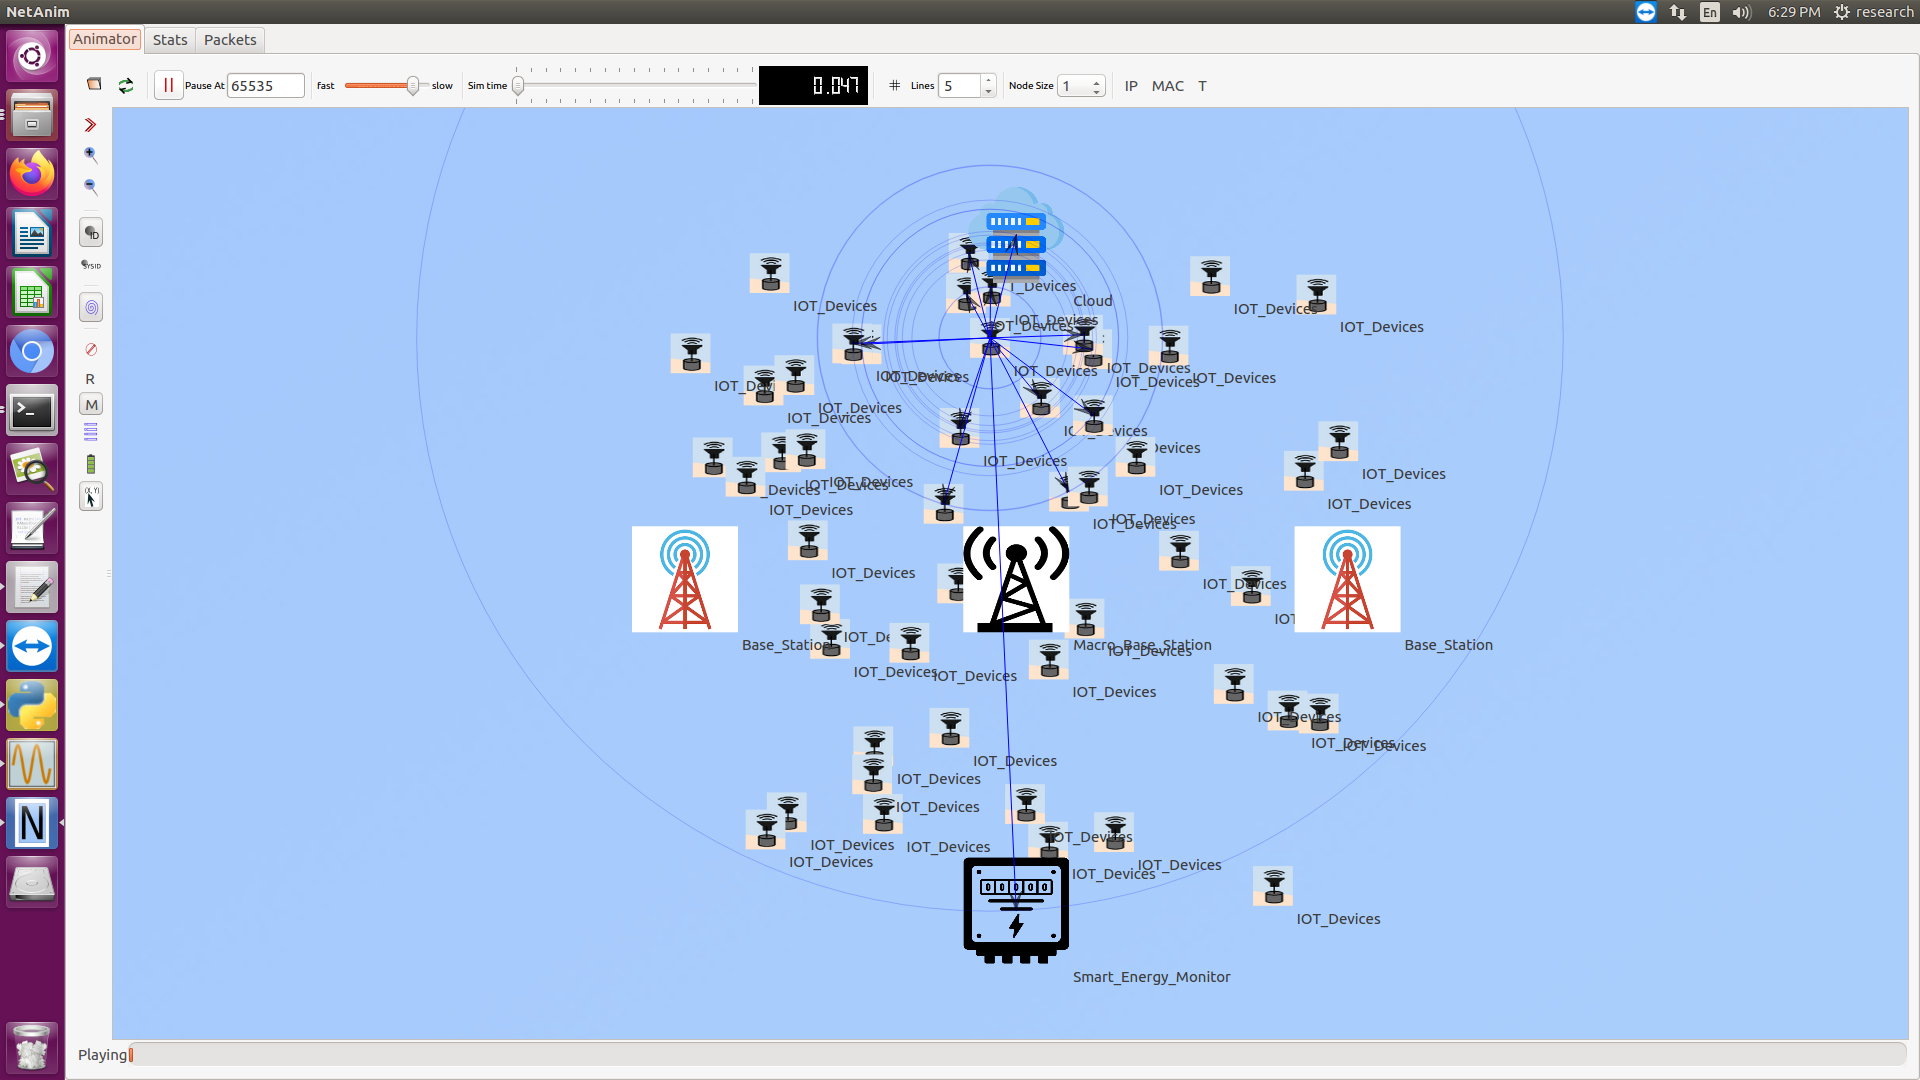
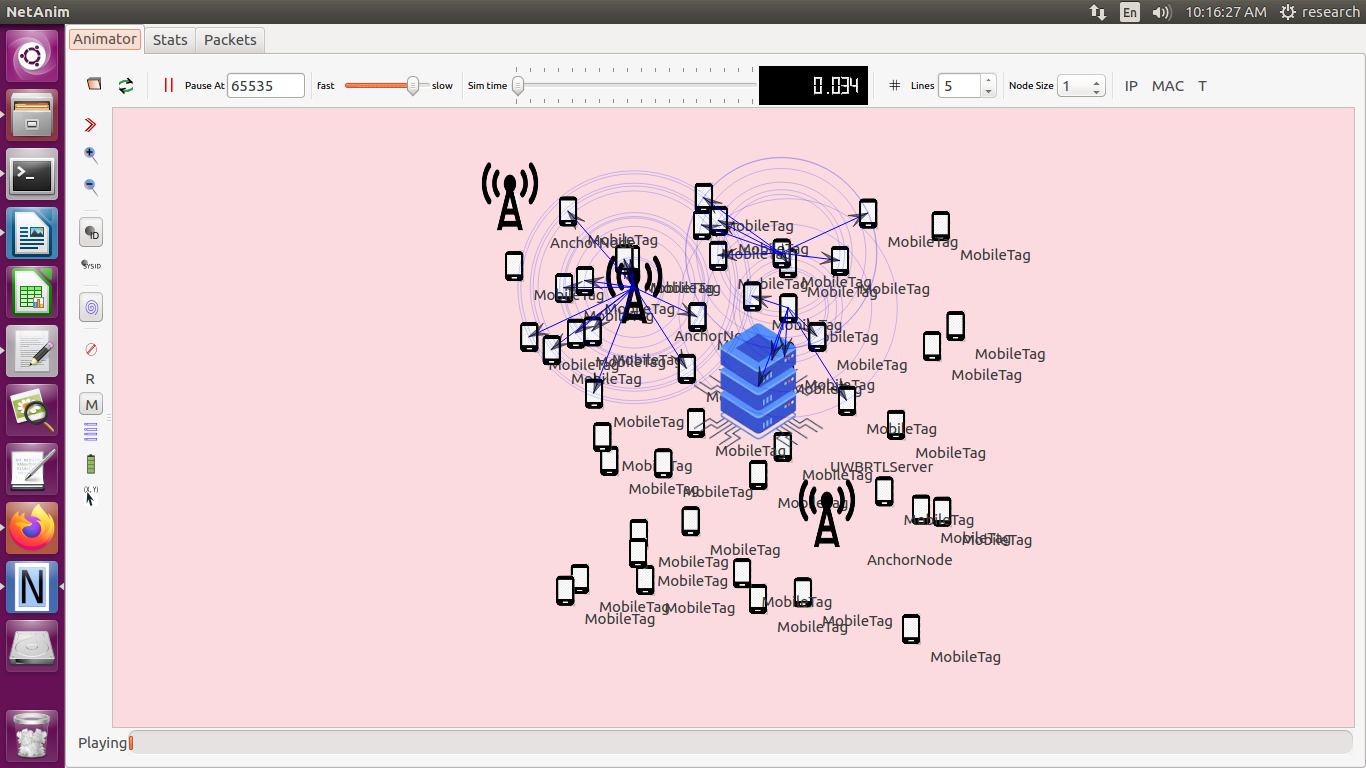
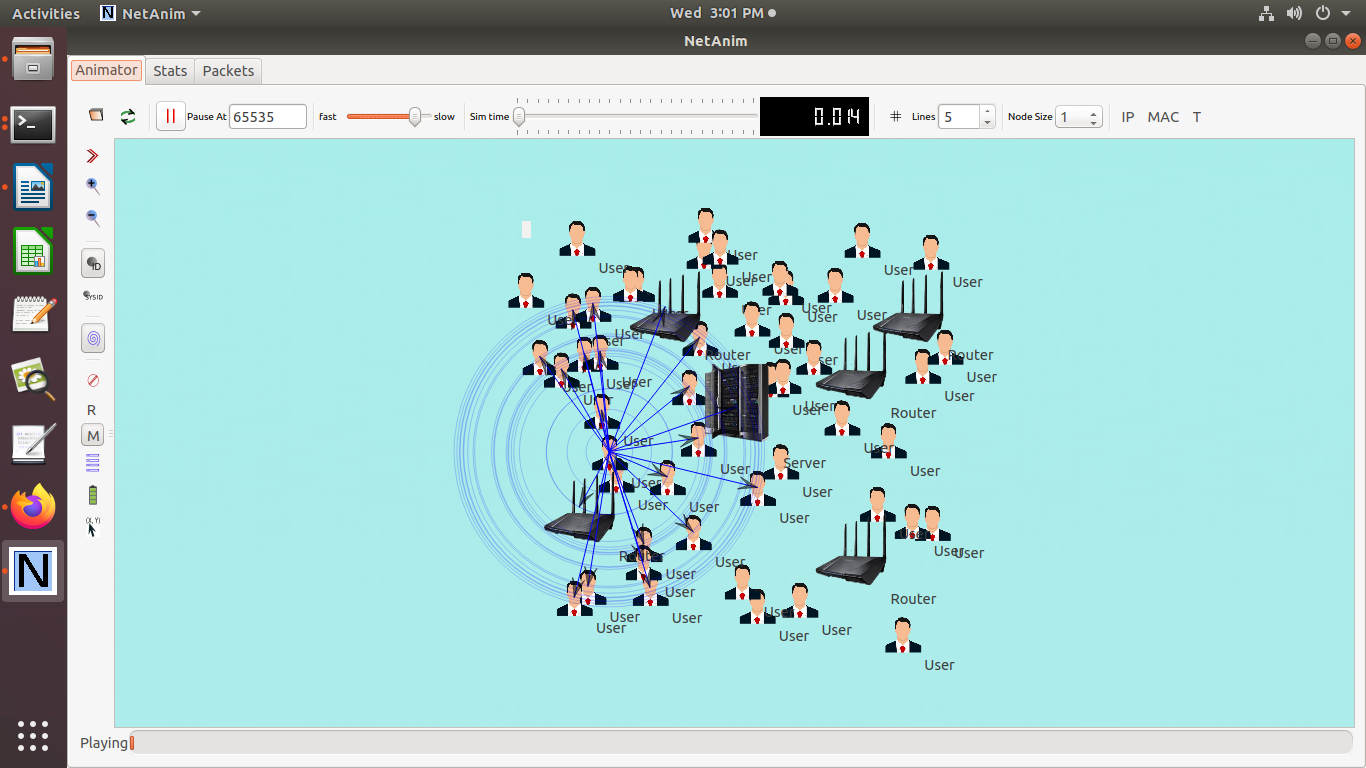
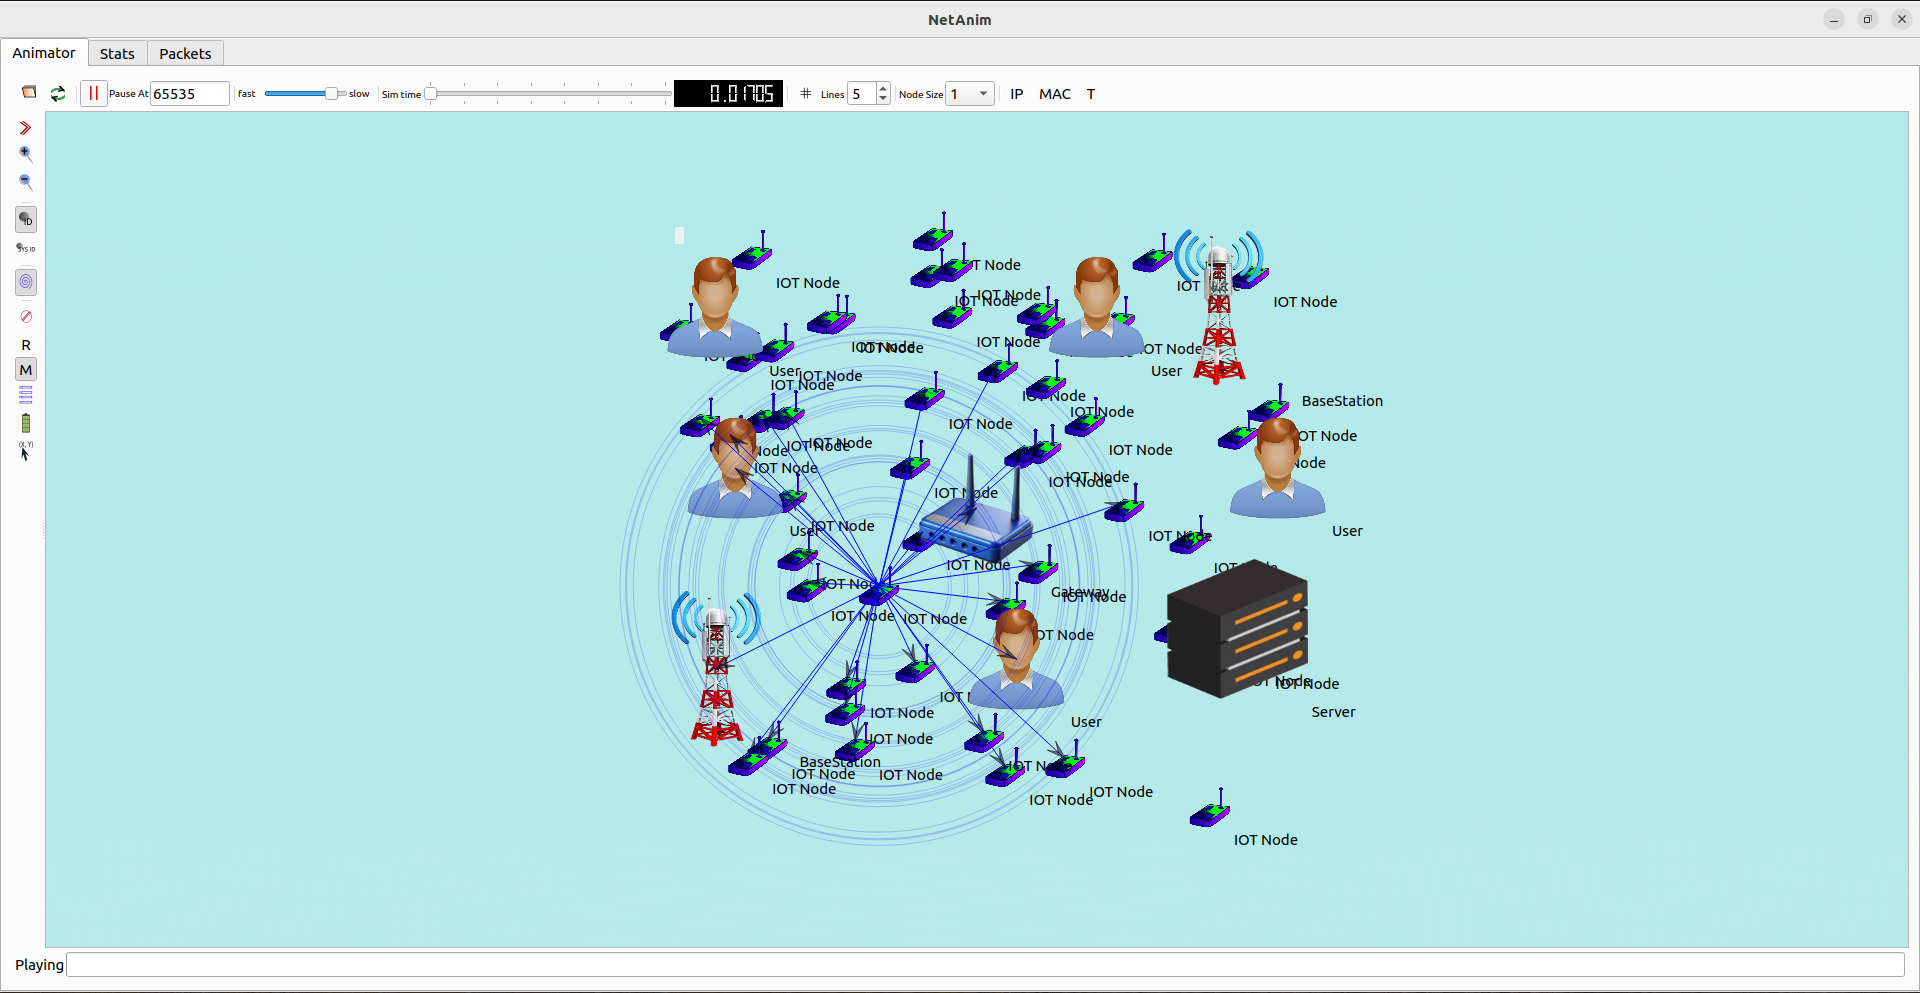
To implement the 6G network in ns-3 contains to simulate the innovative features and technologies estimated in 6G that is awfully high data rates, ultra-low latency, massive device connectivity, and intelligent network management. While ns-3 is first and foremost deliberate for simulating current and past network technologies that we can spread out to discover 6G models by tailoring the previous modules or generating the new ones. All types of modules are worked by us stay in touch with us for more direction.
Here are the step by step procedures to set up a 6G network in ns-3 environment:
Step-by-Step Guide to Implement 6G Networks in ns-3
- Set Up Your Development Environment
- Install ns-3:
- Follow the official ns-3 installation guide.
- Install Required Modules:
- Ensure you have all necessary ns-3 modules installed, such as LTE, Wi-Fi, Internet, and Mobility modules.
- Identify 6G Features to Simulate
In 6G networks are estimated to include numerous advanced features:
- Terahertz Communication: Ultra-high frequency bands for higher data rates.
- Massive MIMO: Multiple-input multiple-output technologies for improved throughput.
- AI/ML for Network Management: Intelligent algorithms for dynamic resource allocation.
- Ultra-Reliable Low Latency Communication (URLLC): For applications requiring low latency.
- Device-to-Device (D2D) Communication: Direct communication between devices without a base station.
- Create a Custom 6G Simulation Script
At the present we provide the basic sample script to simulate certain features of 6G networks using ns-3 that concentrate on ultra-high data rates and low latency.
#include “ns3/core-module.h”
#include “ns3/network-module.h”
#include “ns3/internet-module.h”
#include “ns3/mobility-module.h”
#include “ns3/applications-module.h”
#include “ns3/wifi-module.h”
#include “ns3/point-to-point-module.h”
#include “ns3/flow-monitor-module.h”
using namespace ns3;
NS_LOG_COMPONENT_DEFINE (“6GExample”);
int main (int argc, char *argv[])
{
// Set simulation parameters
double simTime = 10.0; // Simulation time in seconds
uint32_t numNodes = 10;
double distance = 50.0; // Distance between nodes
CommandLine cmd;
cmd.AddValue(“simTime”, “Simulation time”, simTime);
cmd.AddValue(“numNodes”, “Number of nodes”, numNodes);
cmd.Parse(argc, argv);
// Create nodes
NodeContainer nodes;
nodes.Create(numNodes);
// Set up Wi-Fi (Terahertz band simulation)
WifiHelper wifi;
wifi.SetStandard(WIFI_PHY_STANDARD_80211ad); // Simulating high-frequency band
YansWifiChannelHelper wifiChannel = YansWifiChannelHelper::Default();
YansWifiPhyHelper wifiPhy = YansWifiPhyHelper::Default();
wifiPhy.SetChannel(wifiChannel.Create());
WifiMacHelper wifiMac;
wifiMac.SetType(“ns3::AdhocWifiMac”);
NetDeviceContainer devices;
devices = wifi.Install(wifiPhy, wifiMac, nodes);
// Install the Internet stack on all nodes
InternetStackHelper stack;
stack.Install(nodes);
// Assign IP addresses to devices
Ipv4AddressHelper address;
address.SetBase(“10.1.1.0”, “255.255.255.0”);
Ipv4InterfaceContainer interfaces = address.Assign(devices);
// Set up mobility
MobilityHelper mobility;
mobility.SetPositionAllocator(“ns3::GridPositionAllocator”,
“MinX”, DoubleValue(0.0),
“MinY”, DoubleValue(0.0),
“DeltaX”, DoubleValue(distance),
“DeltaY”, DoubleValue(distance),
“GridWidth”, UintegerValue(5),
“LayoutType”, StringValue(“RowFirst”));
mobility.SetMobilityModel(“ns3::ConstantPositionMobilityModel”);
mobility.Install(nodes);
// Create applications
uint16_t port = 9;
// Install a UDP echo server on the first node
UdpEchoServerHelper echoServer(port);
ApplicationContainer serverApp = echoServer.Install(nodes.Get(0));
serverApp.Start(Seconds(1.0));
serverApp.Stop(Seconds(simTime));
// Install a UDP echo client on the last node
UdpEchoClientHelper echoClient(interfaces.GetAddress(0), port);
echoClient.SetAttribute(“MaxPackets”, UintegerValue(1000));
echoClient.SetAttribute(“Interval”, TimeValue(Seconds(0.01))); // 100 packets per second
echoClient.SetAttribute(“PacketSize”, UintegerValue(1024));
ApplicationContainer clientApp = echoClient.Install(nodes.Get(numNodes – 1));
clientApp.Start(Seconds(2.0));
clientApp.Stop(Seconds(simTime));
// Enable Flow Monitor
FlowMonitorHelper flowmon;
Ptr<FlowMonitor> monitor = flowmon.InstallAll();
// Enable tracing
wifiPhy.EnablePcap(“6g-example”, devices.Get(0));
// Run the simulation
Simulator::Stop(Seconds(simTime));
Simulator::Run();
// Print flow monitor statistics
monitor->SerializeToXmlFile(“6g-flowmon.xml”, true, true);
Simulator::Destroy();
return 0;
}
Explanation of the Script
On the spot we provide the description for the script;
- Include Necessary Headers:
- Include headers for ns-3 core, network, internet, wifi, mobility, applications, and flow monitor modules.
- Set Simulation Parameters:
- Define the simulation time, number of nodes, and distance between nodes.
- Create Nodes:
- Create nodes using NodeContainer.
- Set Up Wi-Fi:
- Configure the Wi-Fi network to simulate high-frequency bands (e.g., 802.11ad for 60 GHz).
- Install Internet Stack:
- Install the Internet stack on all nodes using InternetStackHelper.
- Assign IP Addresses:
- Assign IP addresses to the devices using Ipv4AddressHelper.
- Set Up Mobility:
- Define the mobility models for the nodes using MobilityHelper.
- Create Applications:
- Install a UDP echo server on the first node and a UDP echo client on the last node to simulate high-frequency, low-latency communication.
- Enable Flow Monitor:
- Install and configure the Flow Monitor to collect and analyze network performance statistics.
- Enable Tracing:
- Enable pcap tracing to capture packet traces for analysis.
- Run the Simulation:
- Set the simulation stop time, run the simulation, print flow monitor statistics, and clean up using Simulator::Stop, Simulator::Run, and Simulator::Destroy.
Further Enhancements
Here are the future improvements for the 6G network that are
- Massive MIMO Simulation:
- Implement and simulate massive MIMO systems to improve throughput and capacity.
- AI/ML for Network Management:
- Integrate AI/ML algorithms for dynamic resource allocation and network management.
- Ultra-Reliable Low Latency Communication (URLLC):
- Simulate URLLC scenarios with stringent latency requirements.
- Device-to-Device (D2D) Communication:
- Implement D2D communication protocols to enable direct communication between devices.
- Network Performance Metrics:
- Collect and analyze additional performance metrics such as throughput, latency, packet delivery ratio, and energy consumption.
- Security and Privacy:
- Implement and evaluate security and privacy mechanisms in the 6G network.
Gain information about the 6G network in ns-3 environment and additionally we provide and support all kinds of simulation on 6G network.


