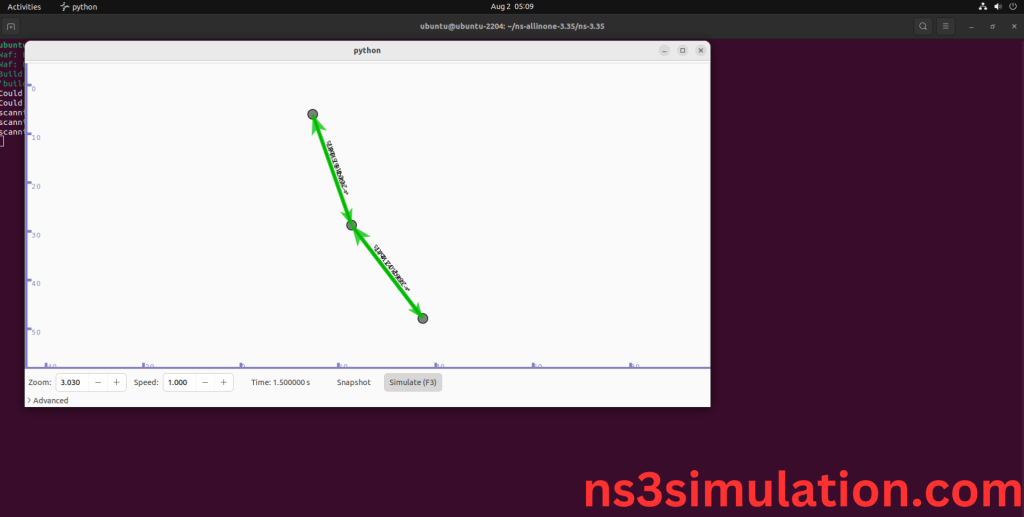
To Import TCP-HEADER.H Packages in NS3 we have shared the steps below, if you face any difficulties then reach us out. The TcpHeader class has methods to set and get different TCP header fields, including sequence numbers, acknowledgment numbers, flags like SYN, ACK, and FIN, window size, and checksums. It allows for serialization and deserialization, which helps in building and reading the TCP header correctly during network simulations. This class is important for studying and modeling TCP behavior, such as starting connections, transferring data, and managing congestion in NS-3. Knowing tcp-header.h is vital for developers working on TCP simulations, as it offers the necessary tools to handle and modify TCP segments efficiently. We have the necessary tools to work with and manage TCP segments. Here is the installation guide for tcp-header.h.
PRE-REQUISITES:
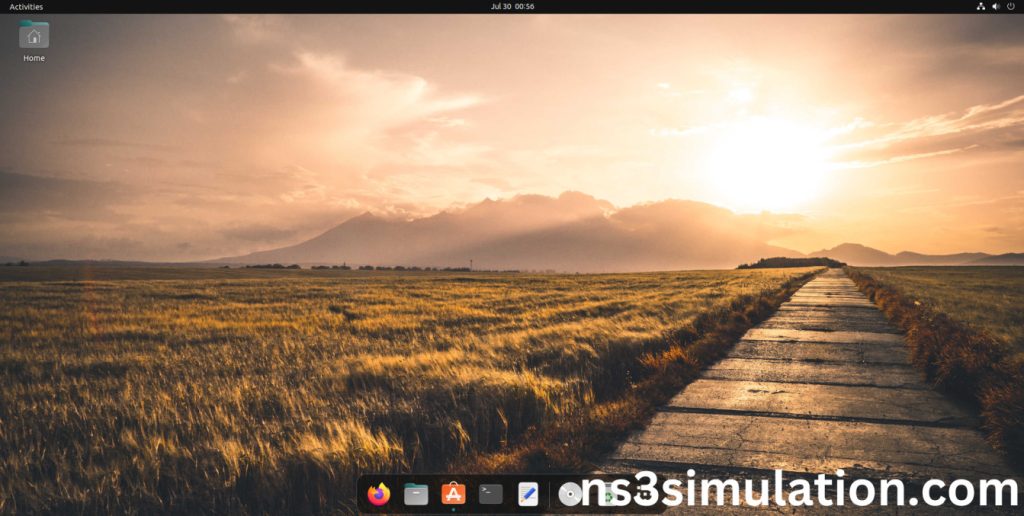
- Fresh installation of Ubuntu 22.04 LTS:
Screenshot:
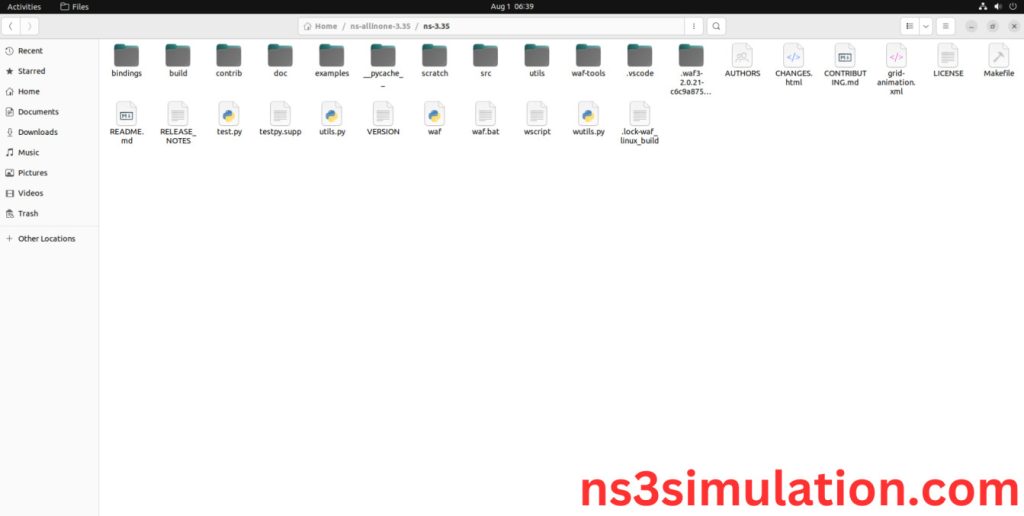
2.NS-3.35 Installation:
Screenshot:
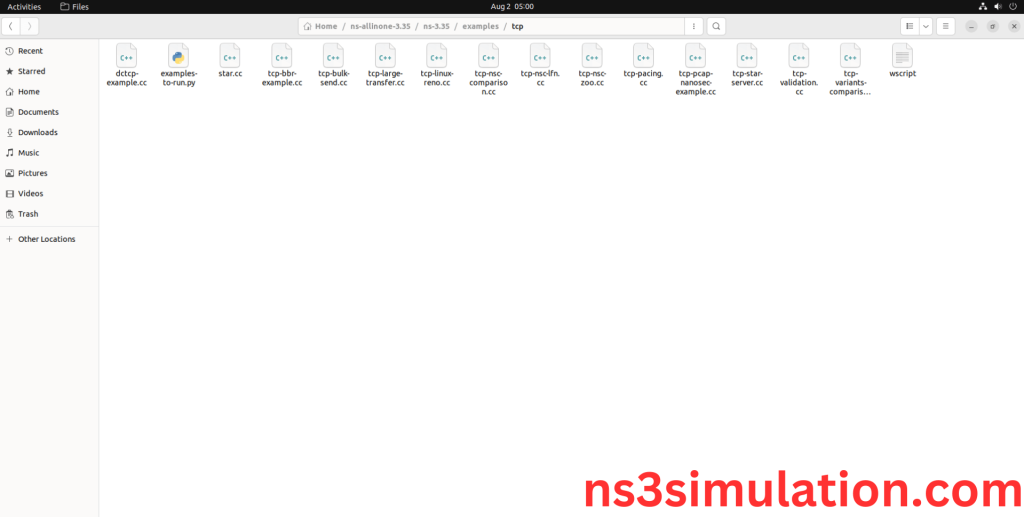
HEADER FILE VERIFICATION:
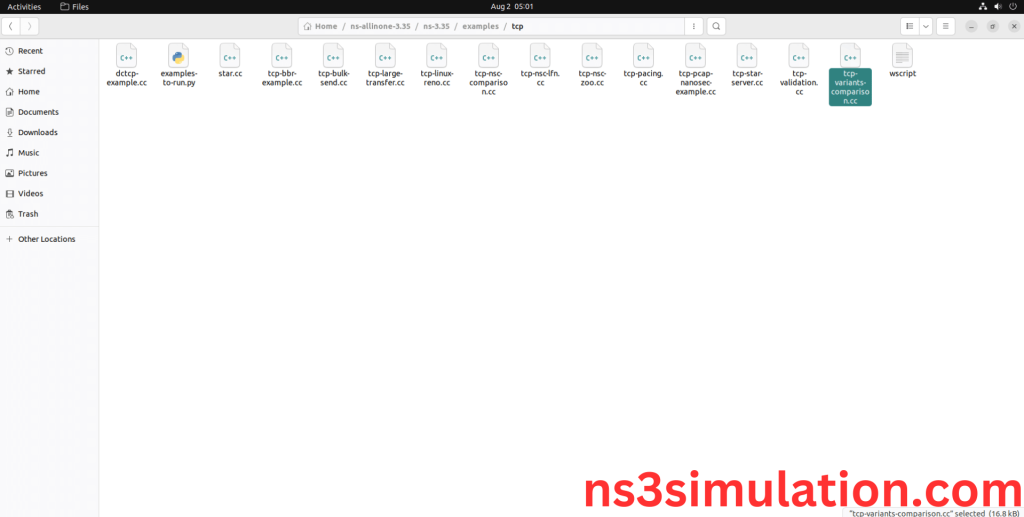
- Locate to the ns3/examples/tcp folder:
Screenshot:
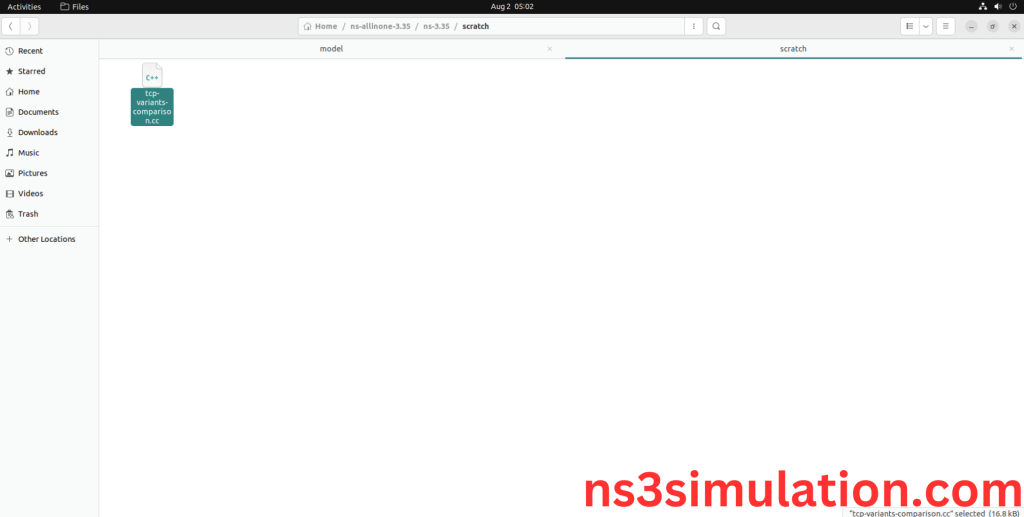
2.Copy the tcp-variants-comparison.cc file to scratch folder:
Next we need to copy the tcp-variants-comparison.cc file from examples/tcp folder to the ns3/scratch folder.
Screenshot:
Next we need to paste the tcp-variants-comparison.cc file to the ns3/scratch folder.
Screenshot:
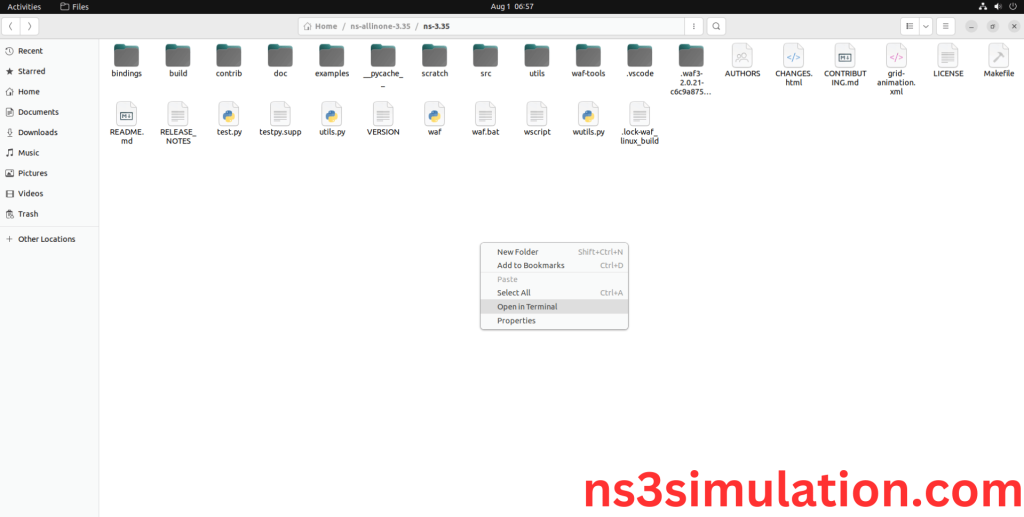
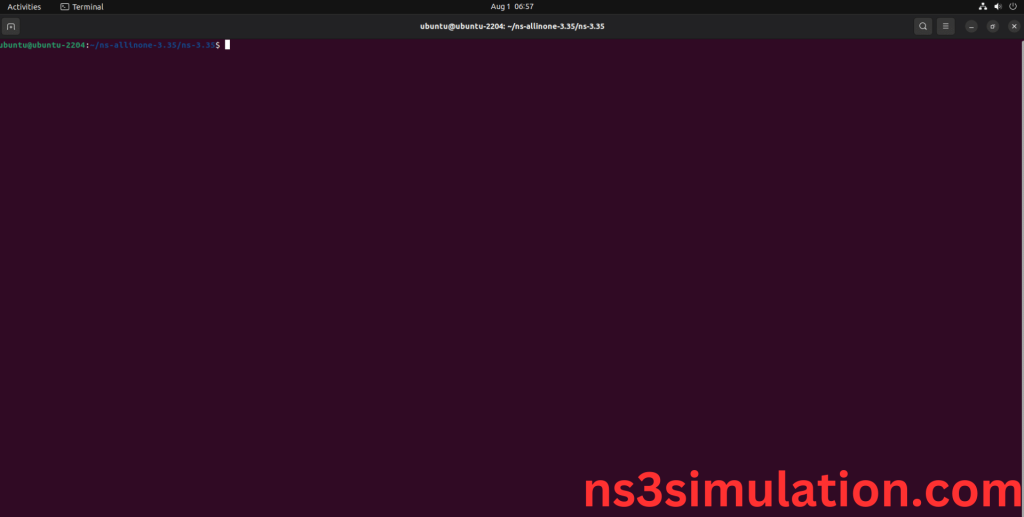
3.Open the Terminal:
Next, we need to launch the terminal by right clicking the mouse in the ns3 location.
Screenshot:
Screenshot:
4.NS-3.35 Configuration && Building Process:
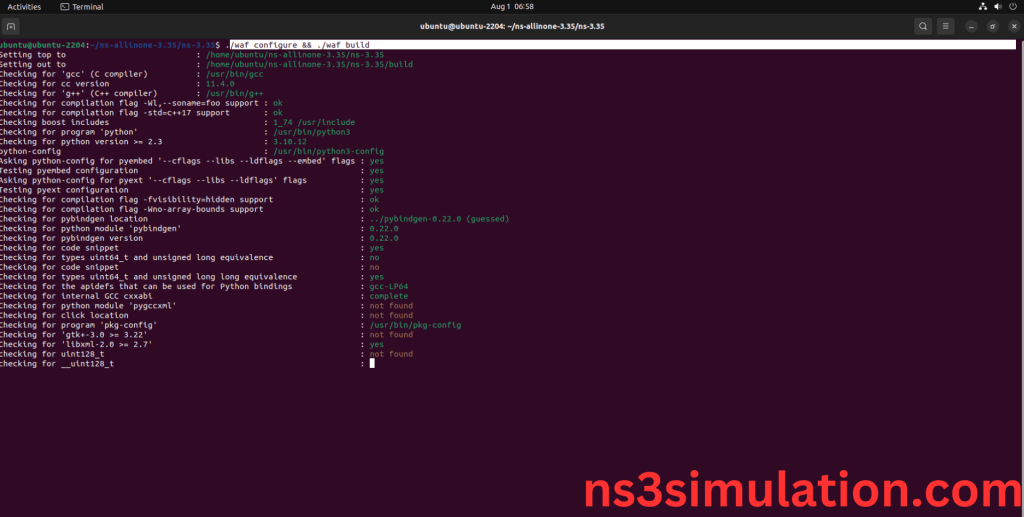
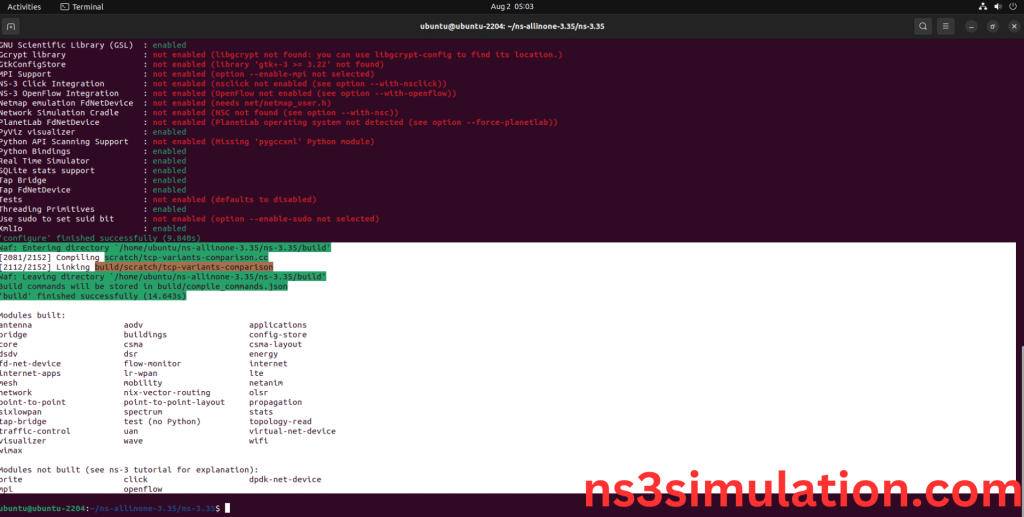
Next, we need to configure and build the ns3 folder to make the copied files to the scratch need to store in configuration.
Command: “./waf configure && ./waf build”
Screenshot:
Screenshot:
5.Importing Tcp-header.h:
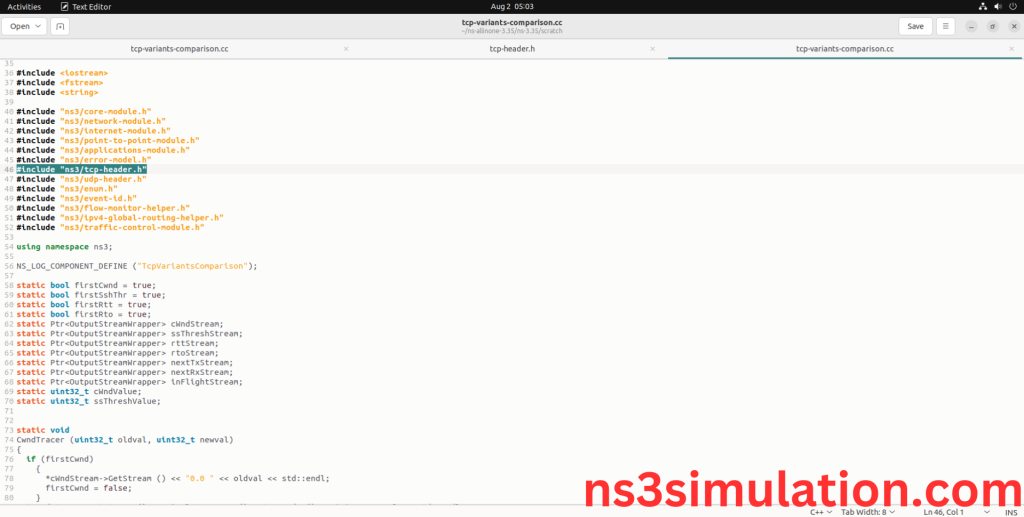
Here we imported the Tcp-header.h header file in this example program.
Screenshot:
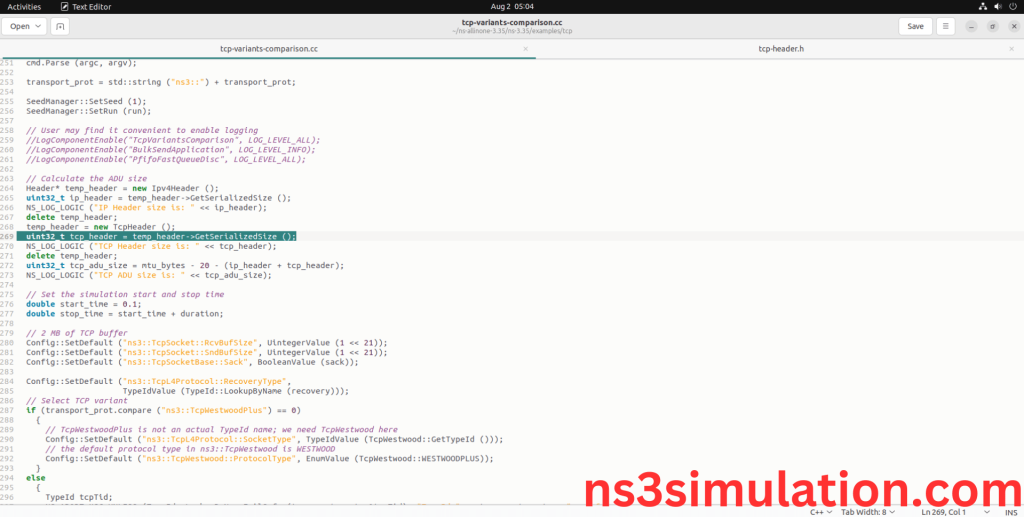
Here we highlighted the code line that GetSerializedSize() class which is the part of the Tcp-header.h that we will show class file that used in this code via network folder.
Screenshot:
Screenshot:
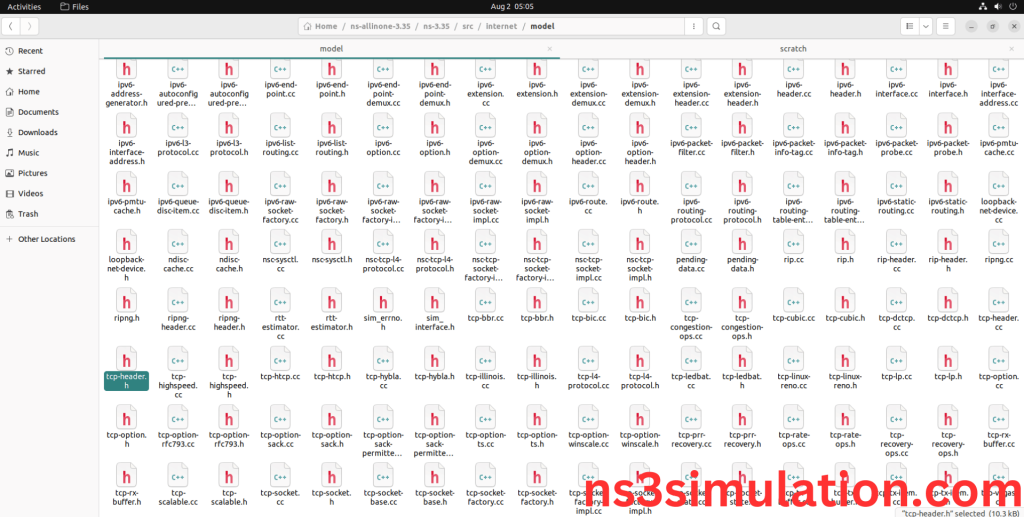
Here we will show the header file by opening Tcp-header.h file to show the class imported from the Tcp-header.h in the example code.
Screenshot:
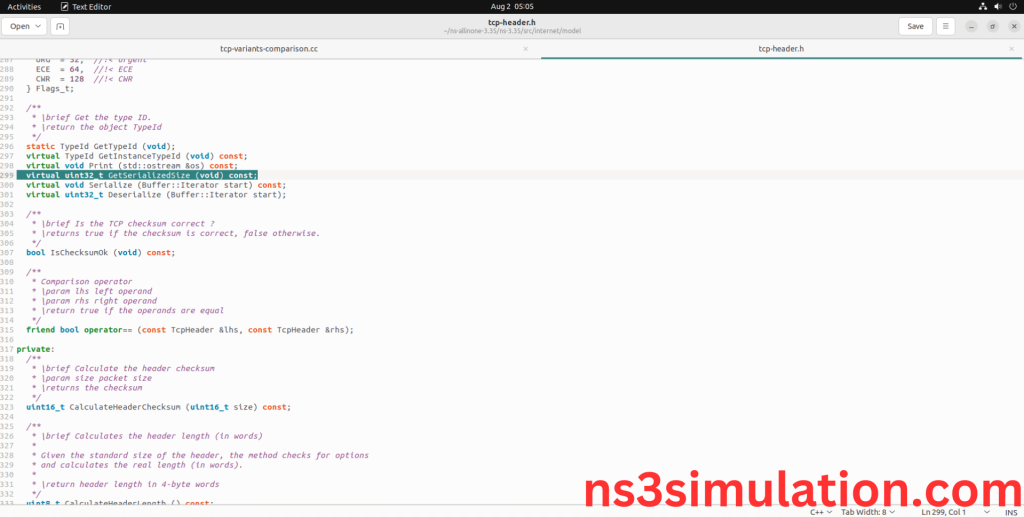
6.Executing the Example Packet Program:
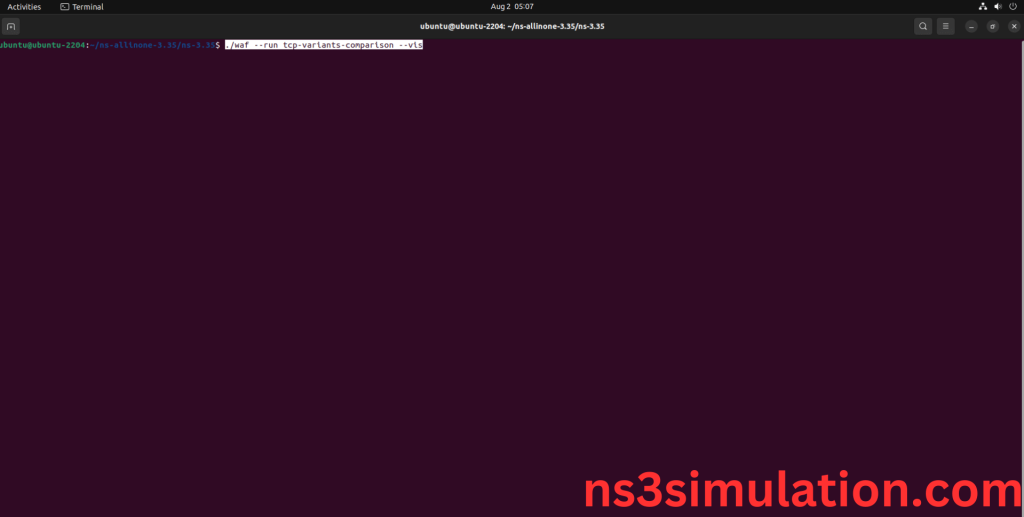
Then we need to run the Example Packet program to view output of the program.
Command: “./waf –run tcp-variants-comparison”
Screenshot:
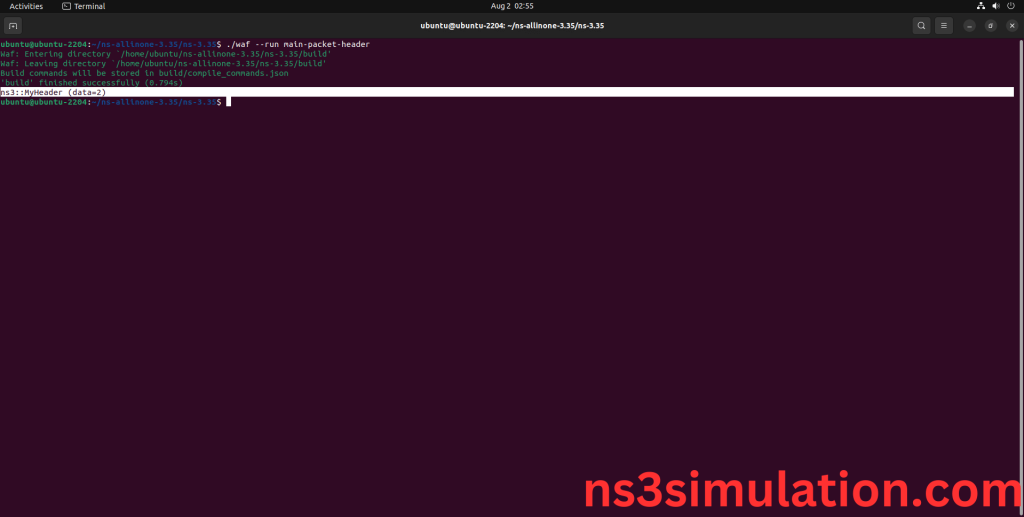
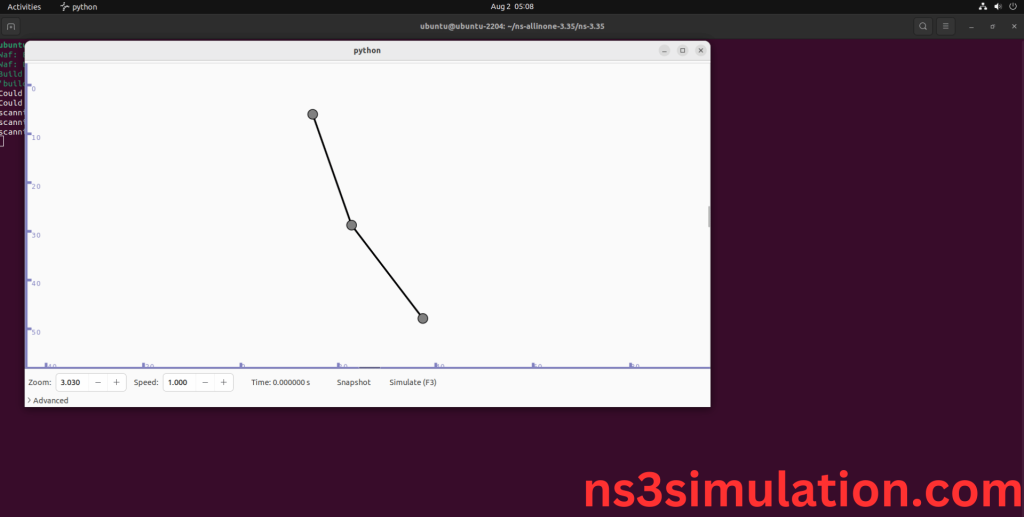
Here we shown the output of the example Packet program by using Tcp-header.h.
Screenshot:
Screenshot:
Screenshot:
