As the general process, we have to proceed with the configuration of ns3 with the PyViz because it includes the utilization of Gtk+ and GooCanvas for the GUI part. So, the API based on ns3 is accessible directly over the python bindings.
Configure Ns3 with Python
Initially, we have to configure the ns3 along with the PyViz to create the GUI process through the below mentioned commands.
sudo ./waf configure –with-pybindgen=/path/to/pybindgen-0.14
In addition, our research professionals have highlighted some sample codes with the functions of PyViz.
- Start and stop simulation
ns3::Visualizer::Run()

 for (int i = 0; i < nbSS; i++)

    {

      ss[i] = 0;

      SSPosition[i] = 0;

      SSPosAllocator[i] = 0;

    }

  bs = 0;

  Simulator::Destroy ();

  NS_LOG_INFO ("Done.");
- Scheduler type configuration
switch (schedType)

    {

    case 0:

      scheduler =
WimaxHelper::SCHED_TYPE_SIMPLE;
      break;

    case 1:

      scheduler =
WimaxHelper::SCHED_TYPE_MBQOS;

      break;

    case 2:

      scheduler =
WimaxHelper::SCHED_TYPE_RTPS;

      break;

    default:

      scheduler =
WimaxHelper::SCHED_TYPE_SIMPLE;

    }
- Include header file
#include "ns3/core-module.h"

#include "ns3/network-module.h"

#include "ns3/applications-module.h"

#include "ns3/mobility-module.h"

#include "ns3/config-store-module.h"

#include "ns3/wimax-module.h"

#include "ns3/csma-module.h"

#include

#include "ns3/global-route-manager.h"

#include "ns3/mobility-module.h"

#include "ns3/internet-module.h"

#include "ns3/vector.h"

#include "ns3/visualizer.h";
Execute PyViz based Main File
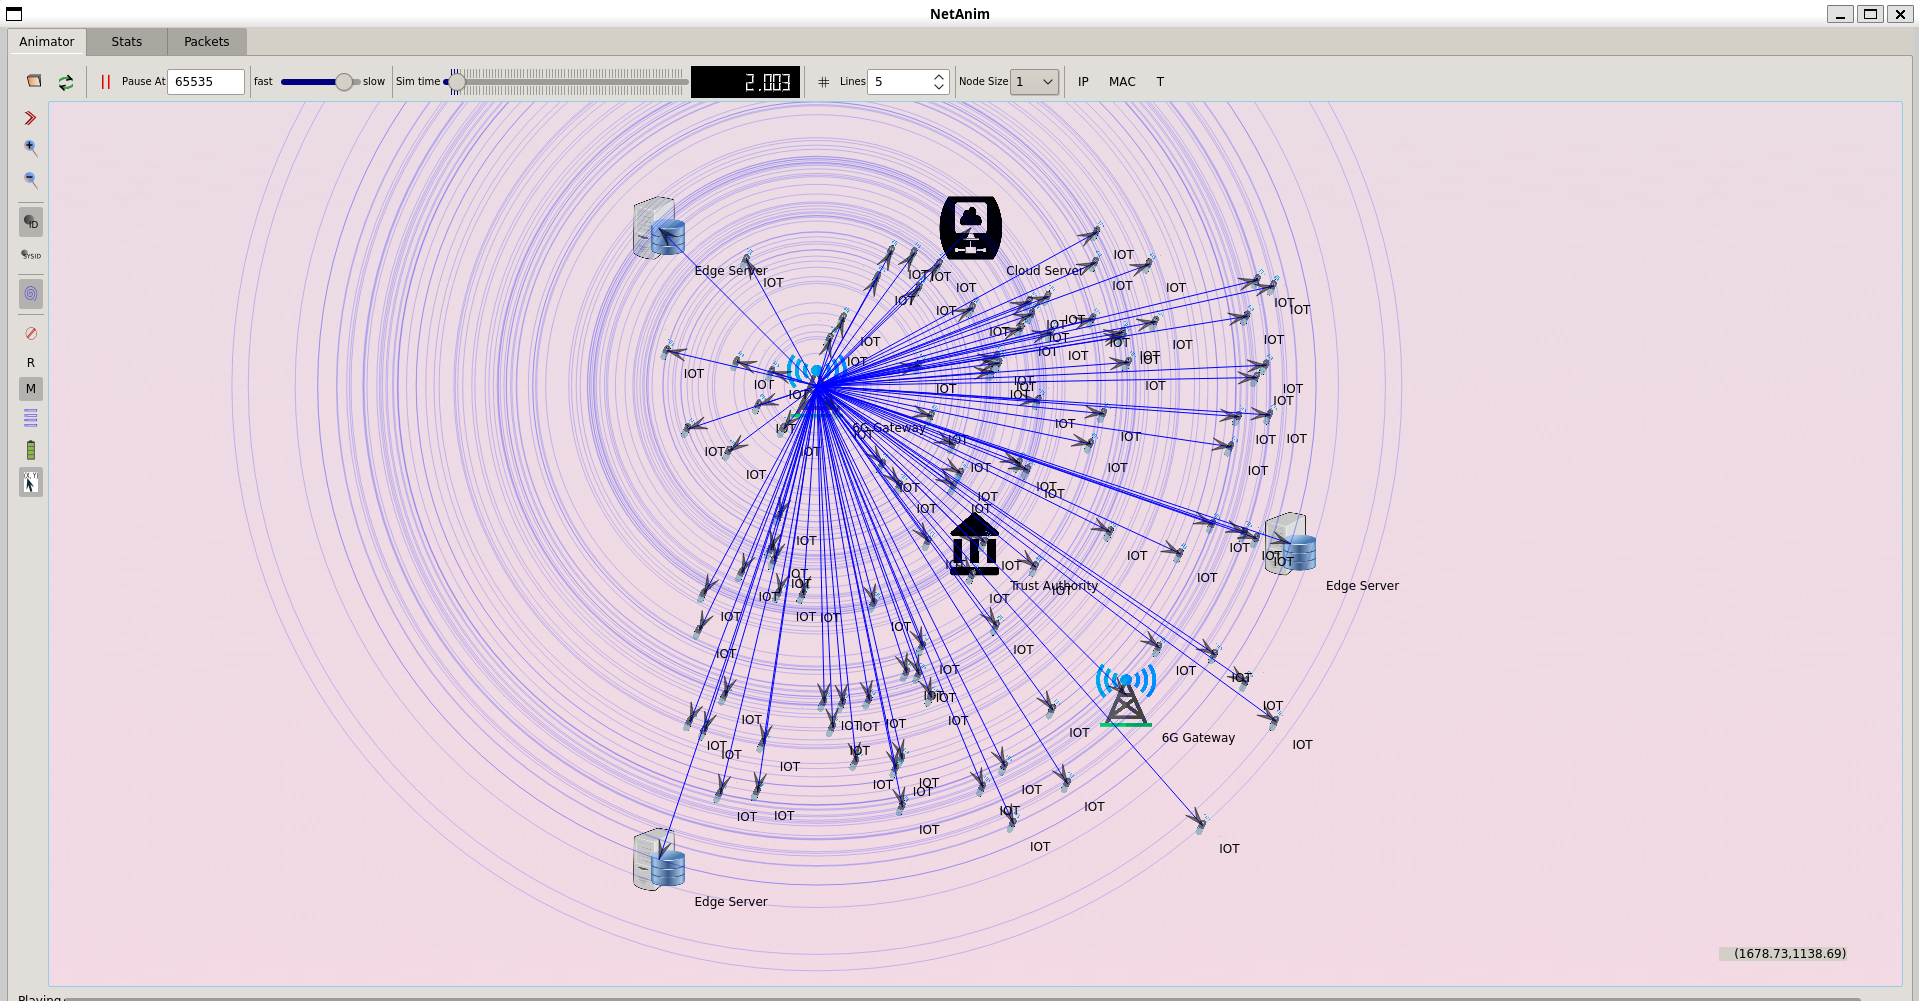
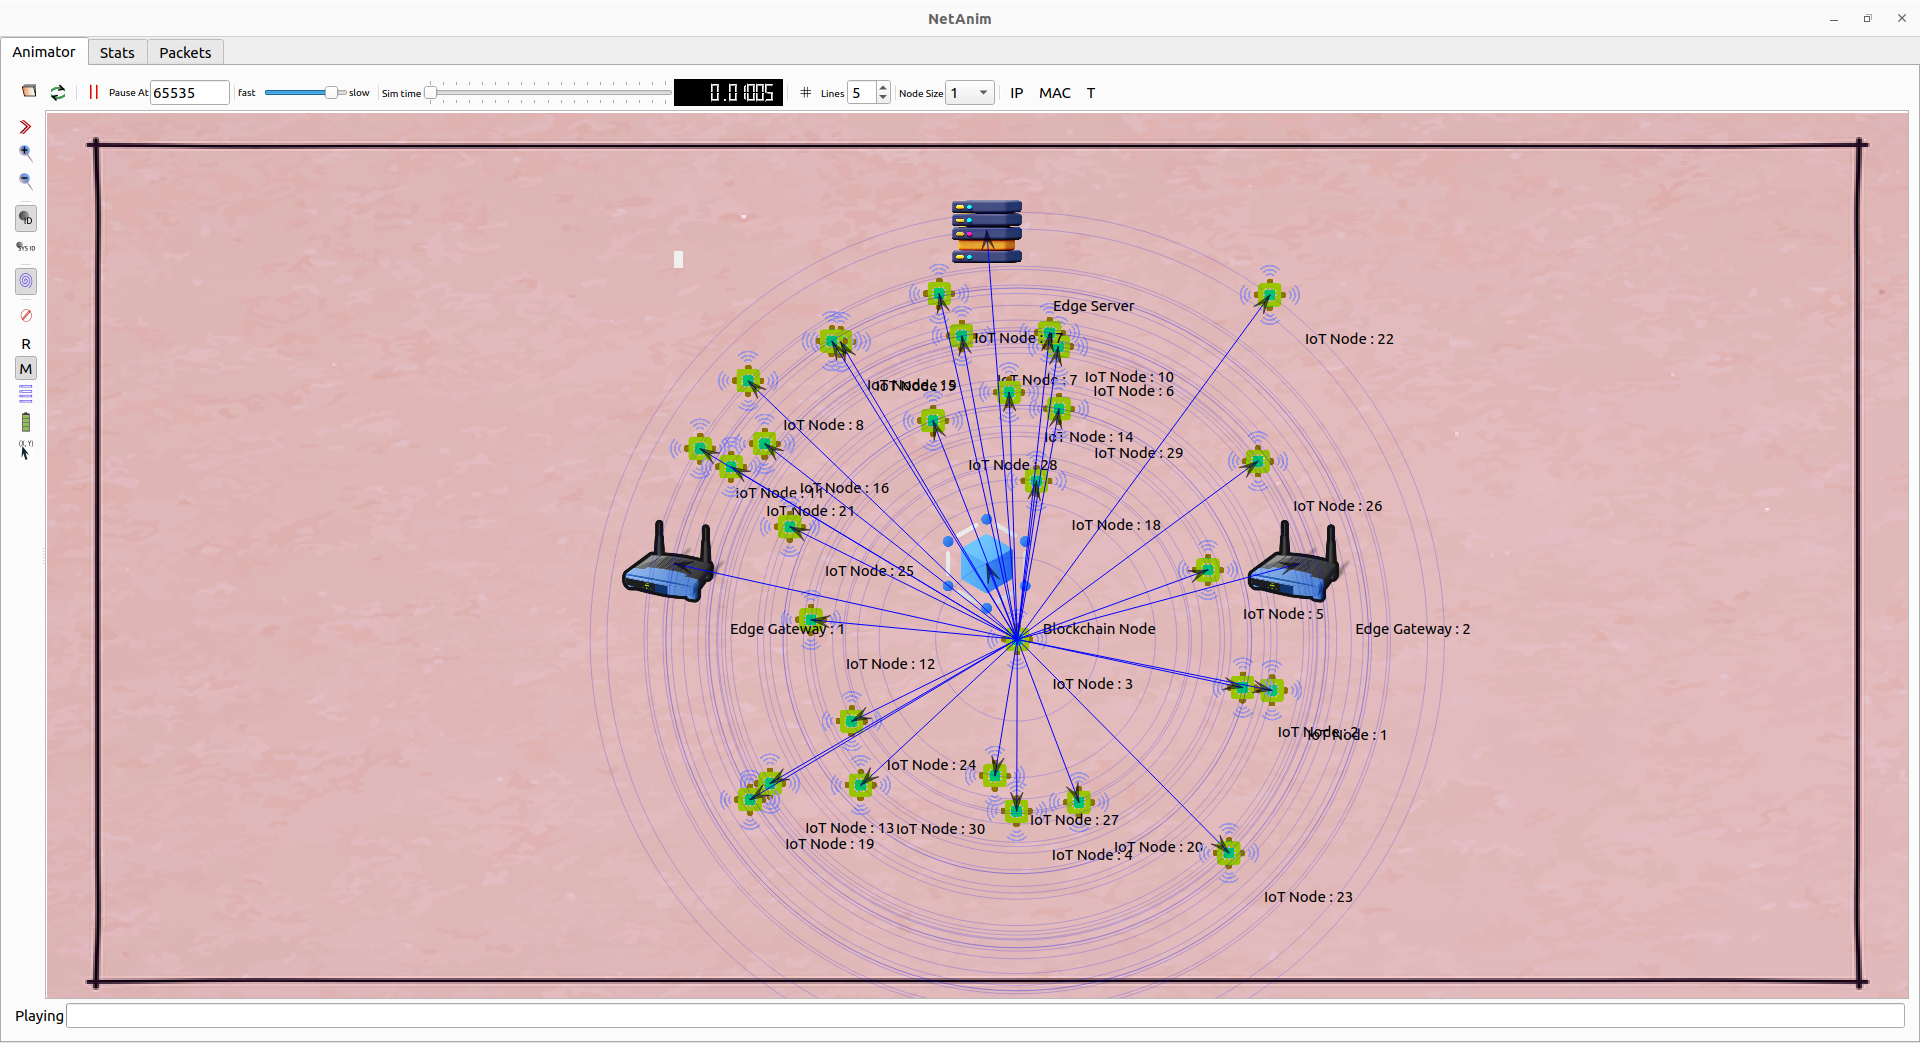
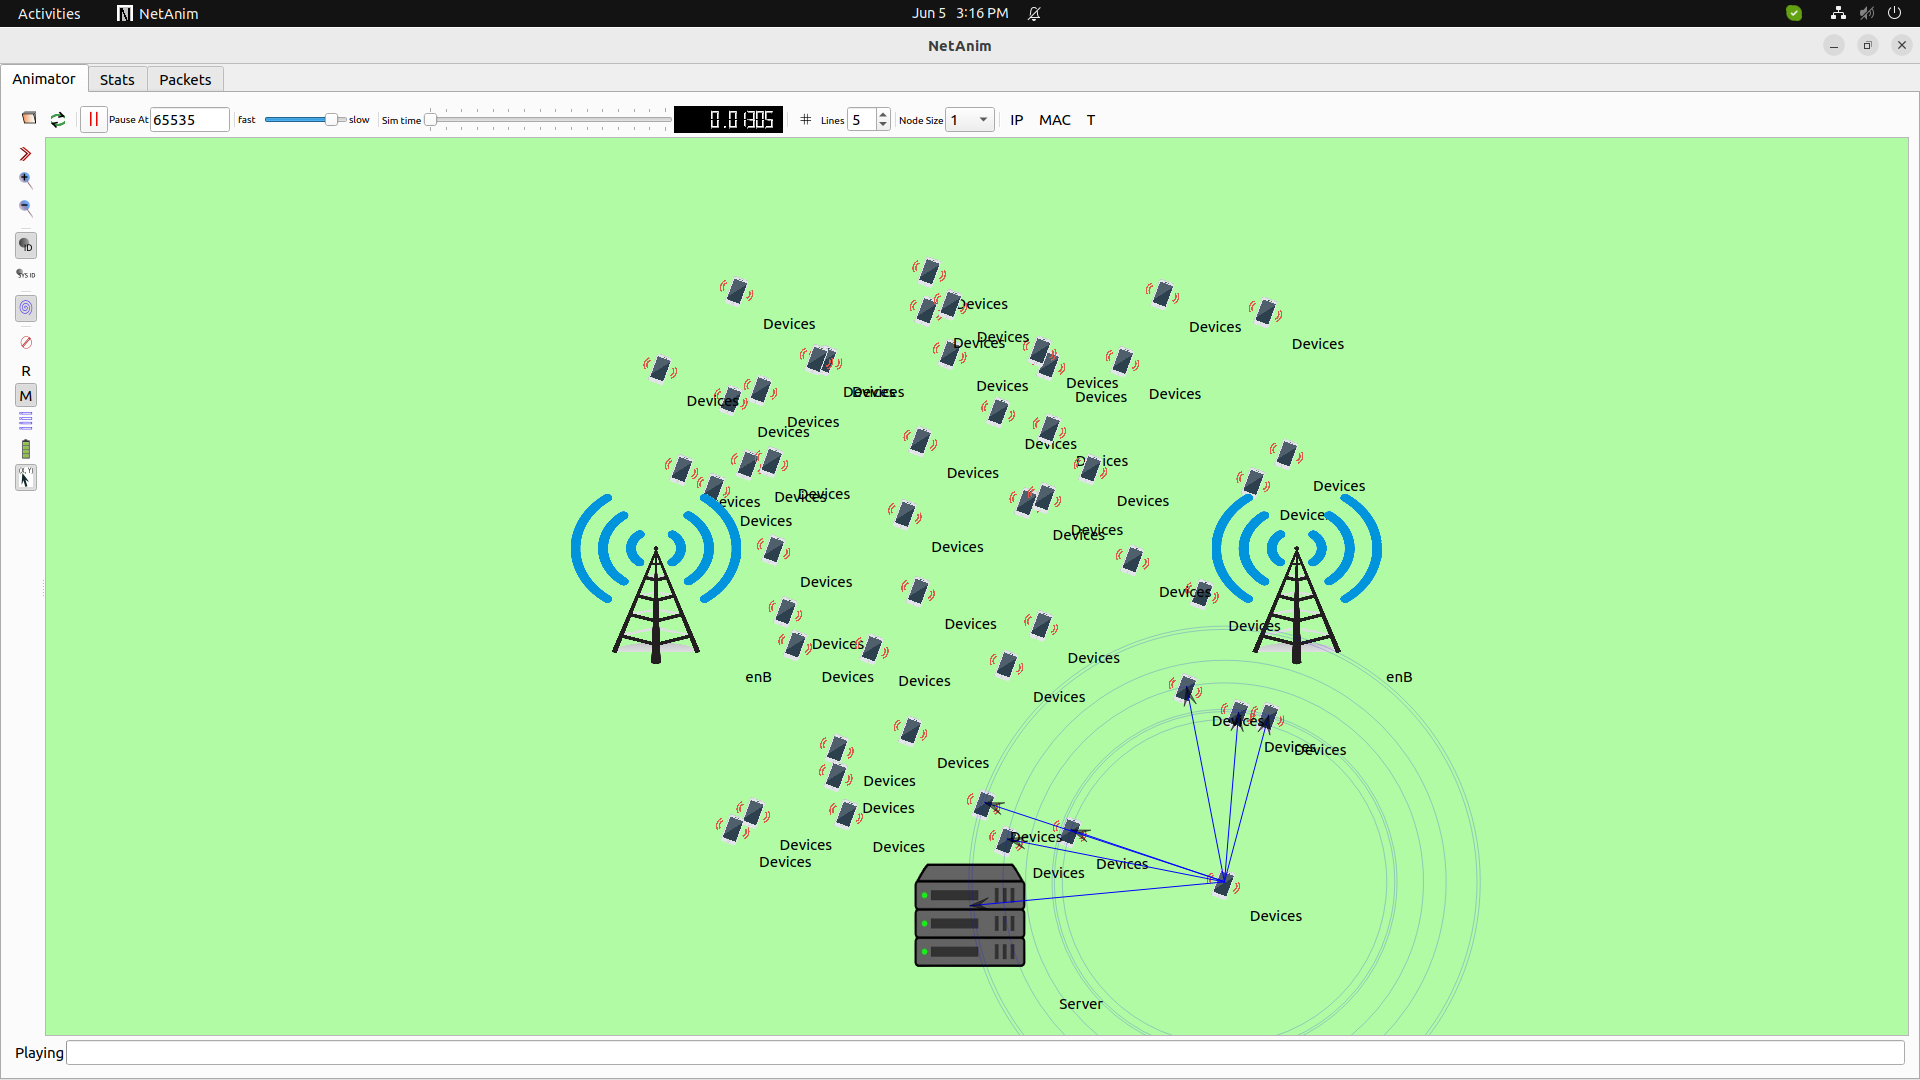
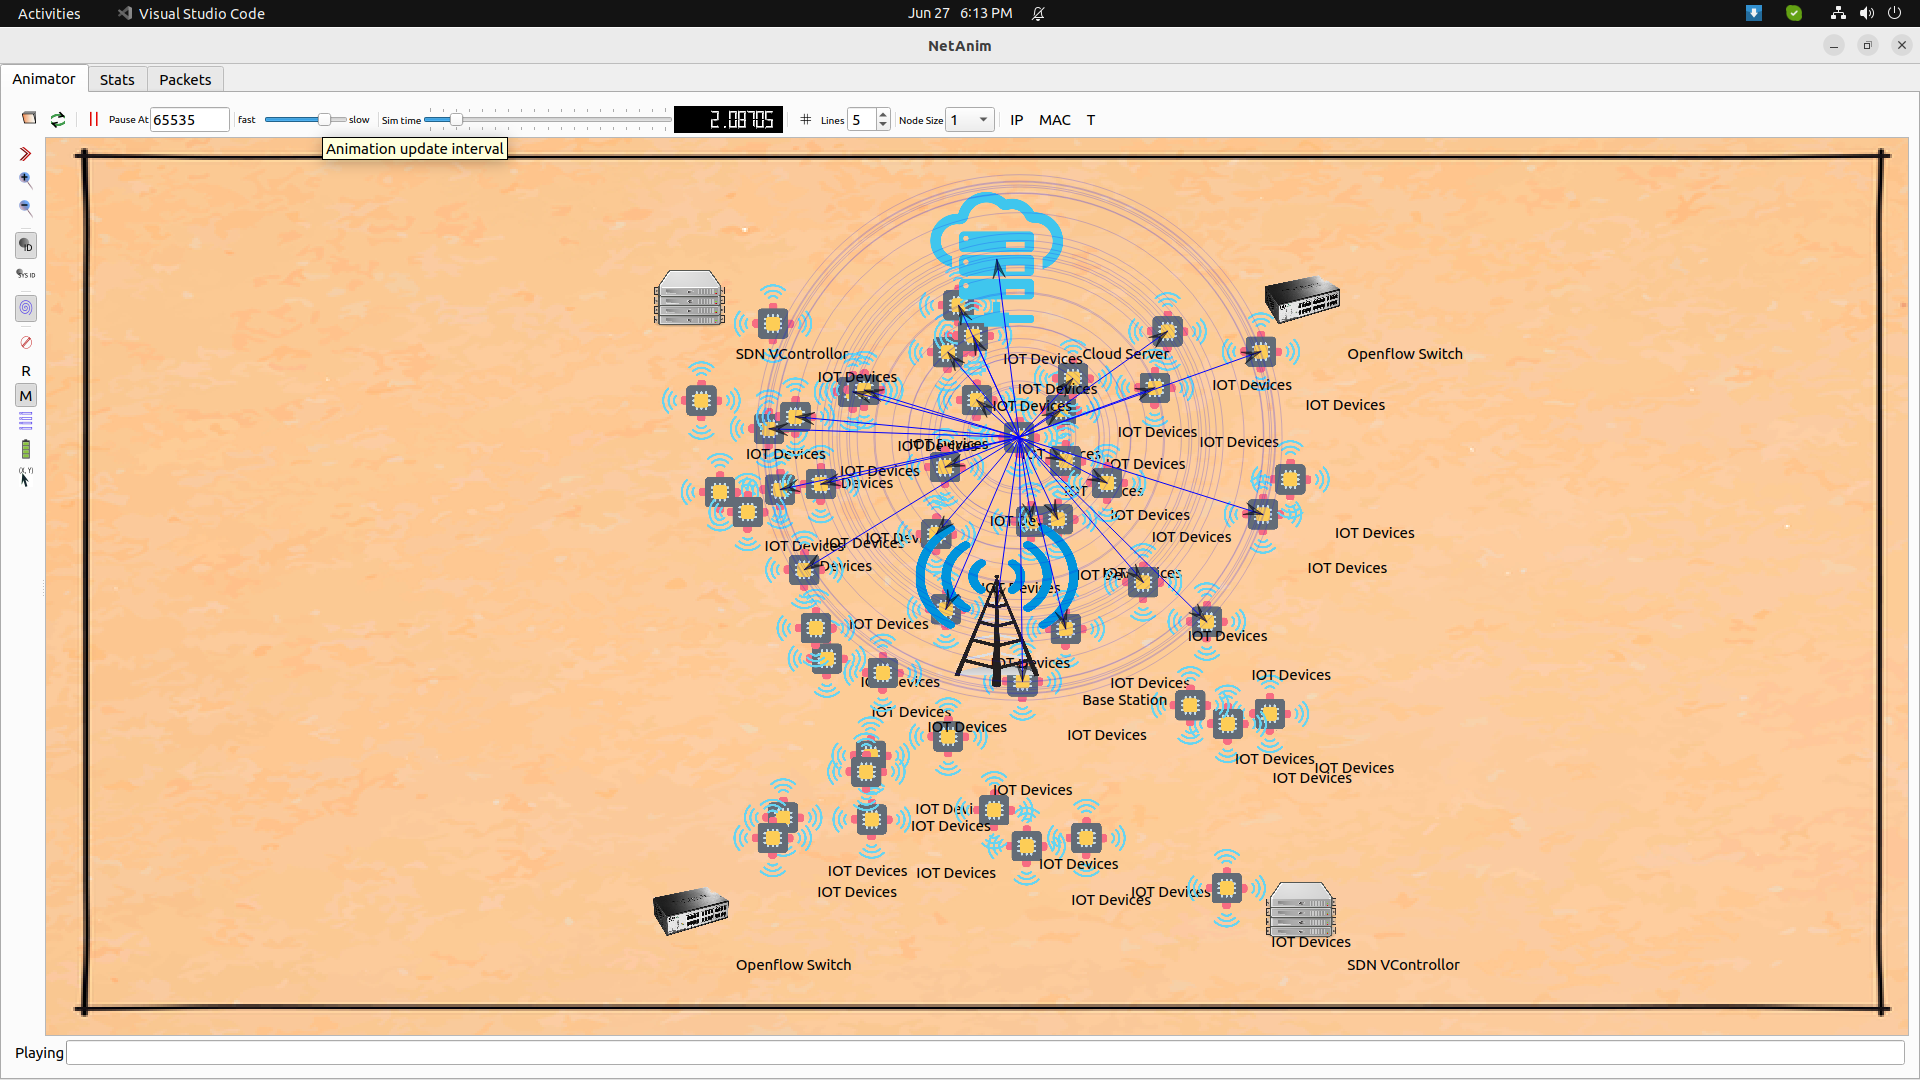
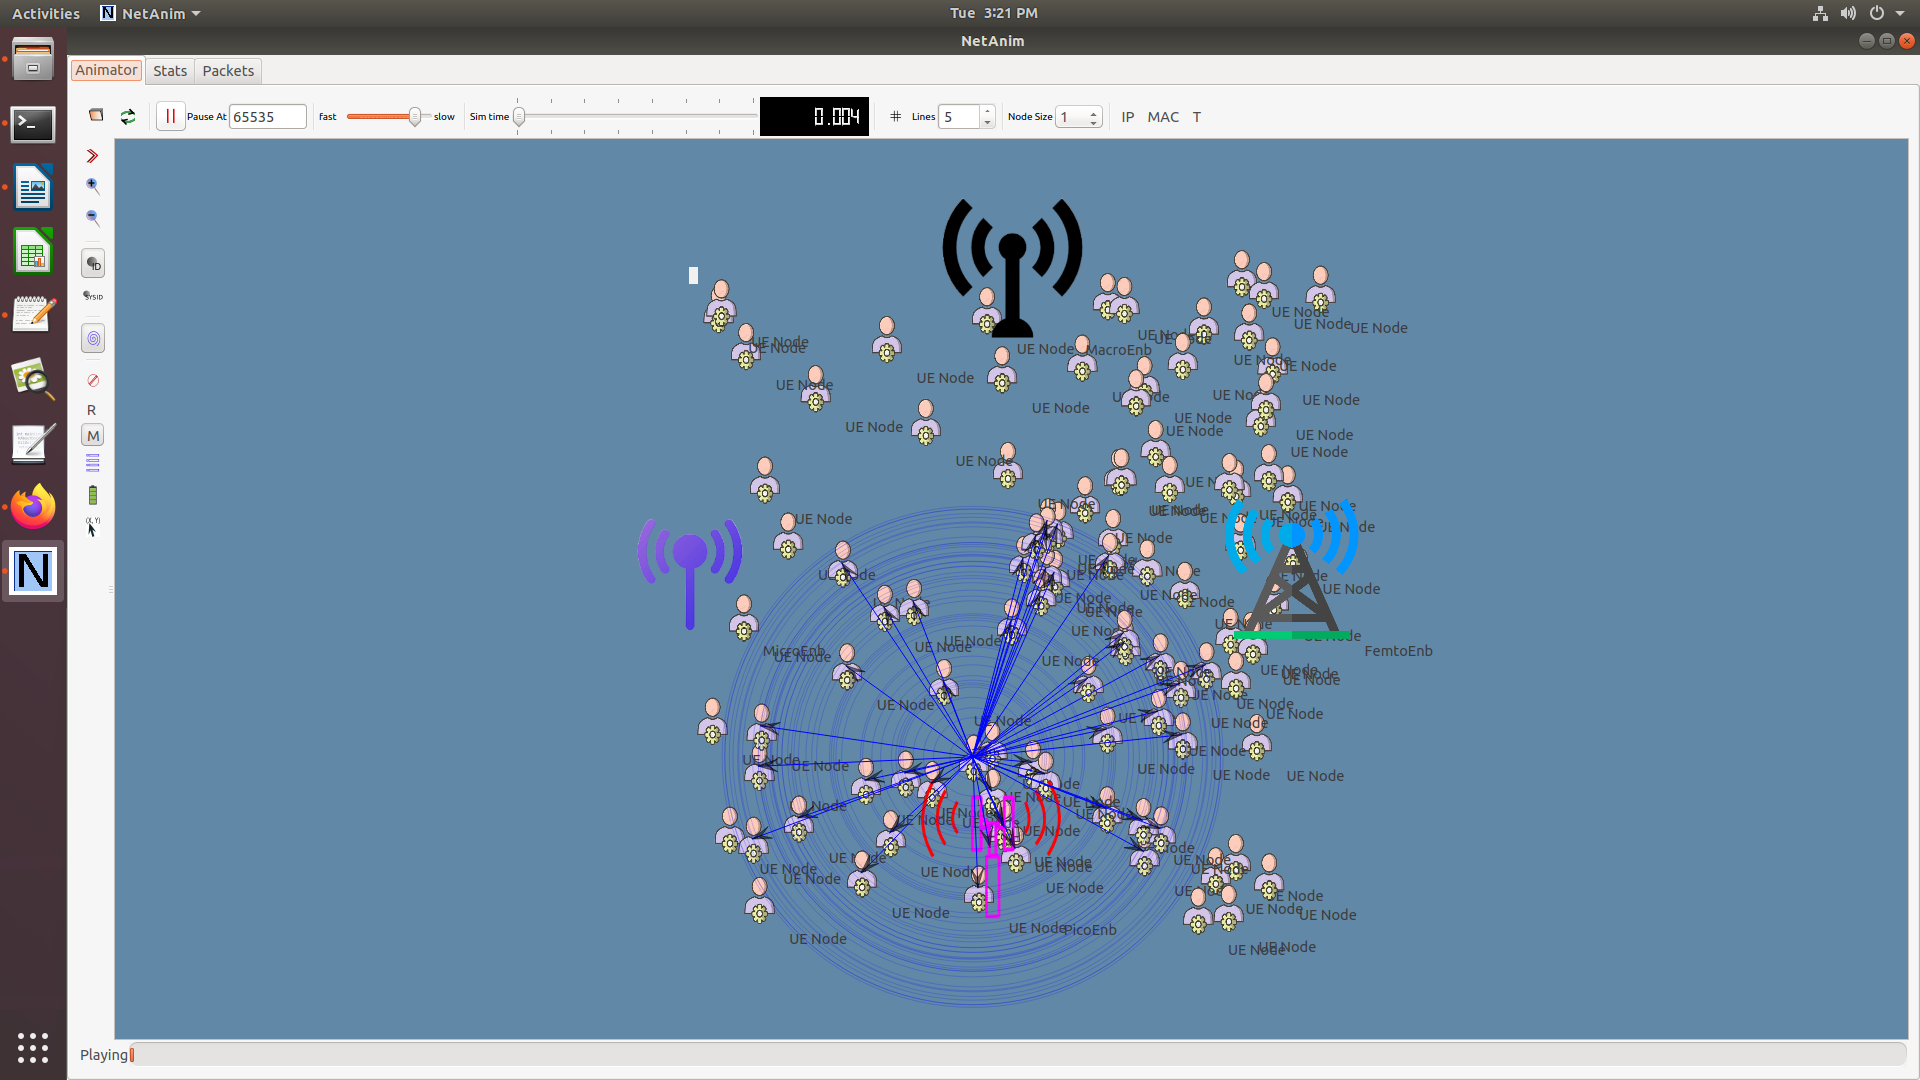
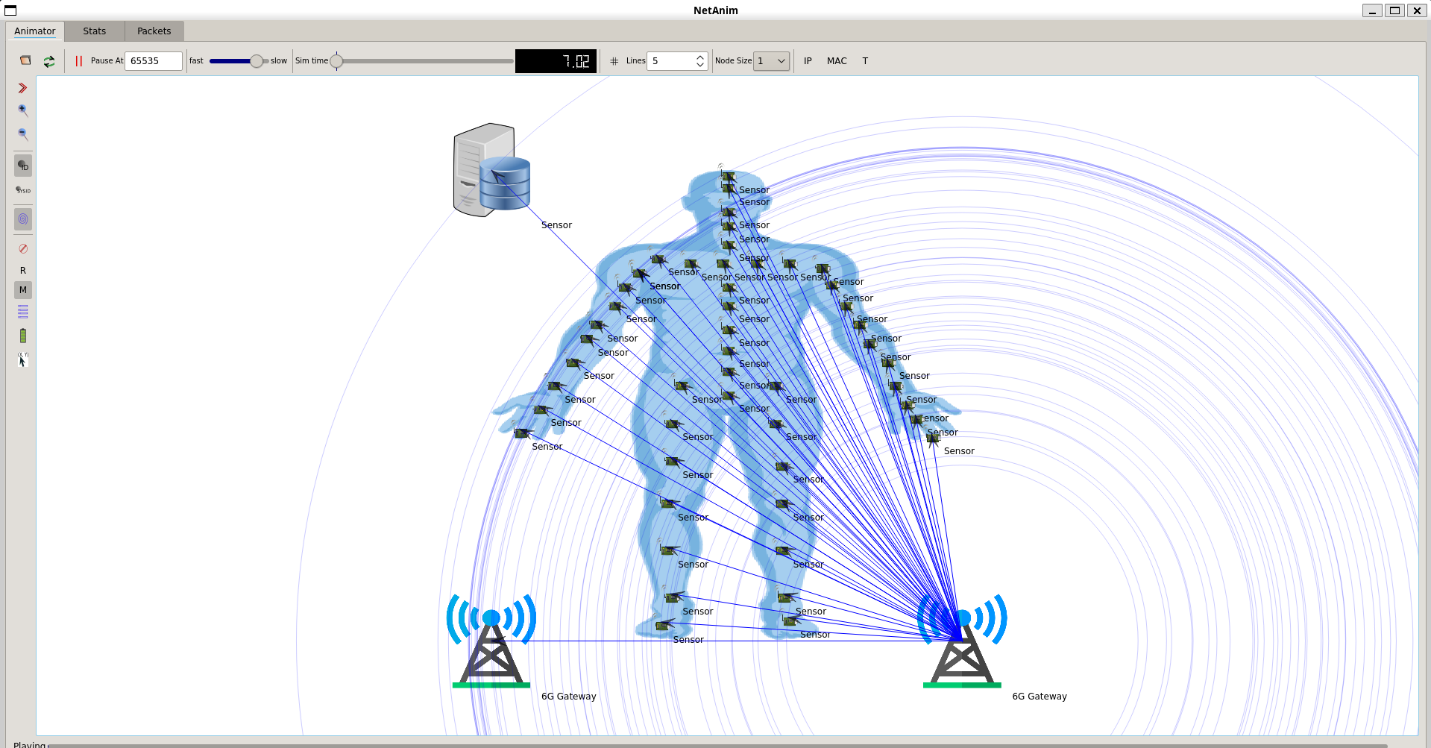
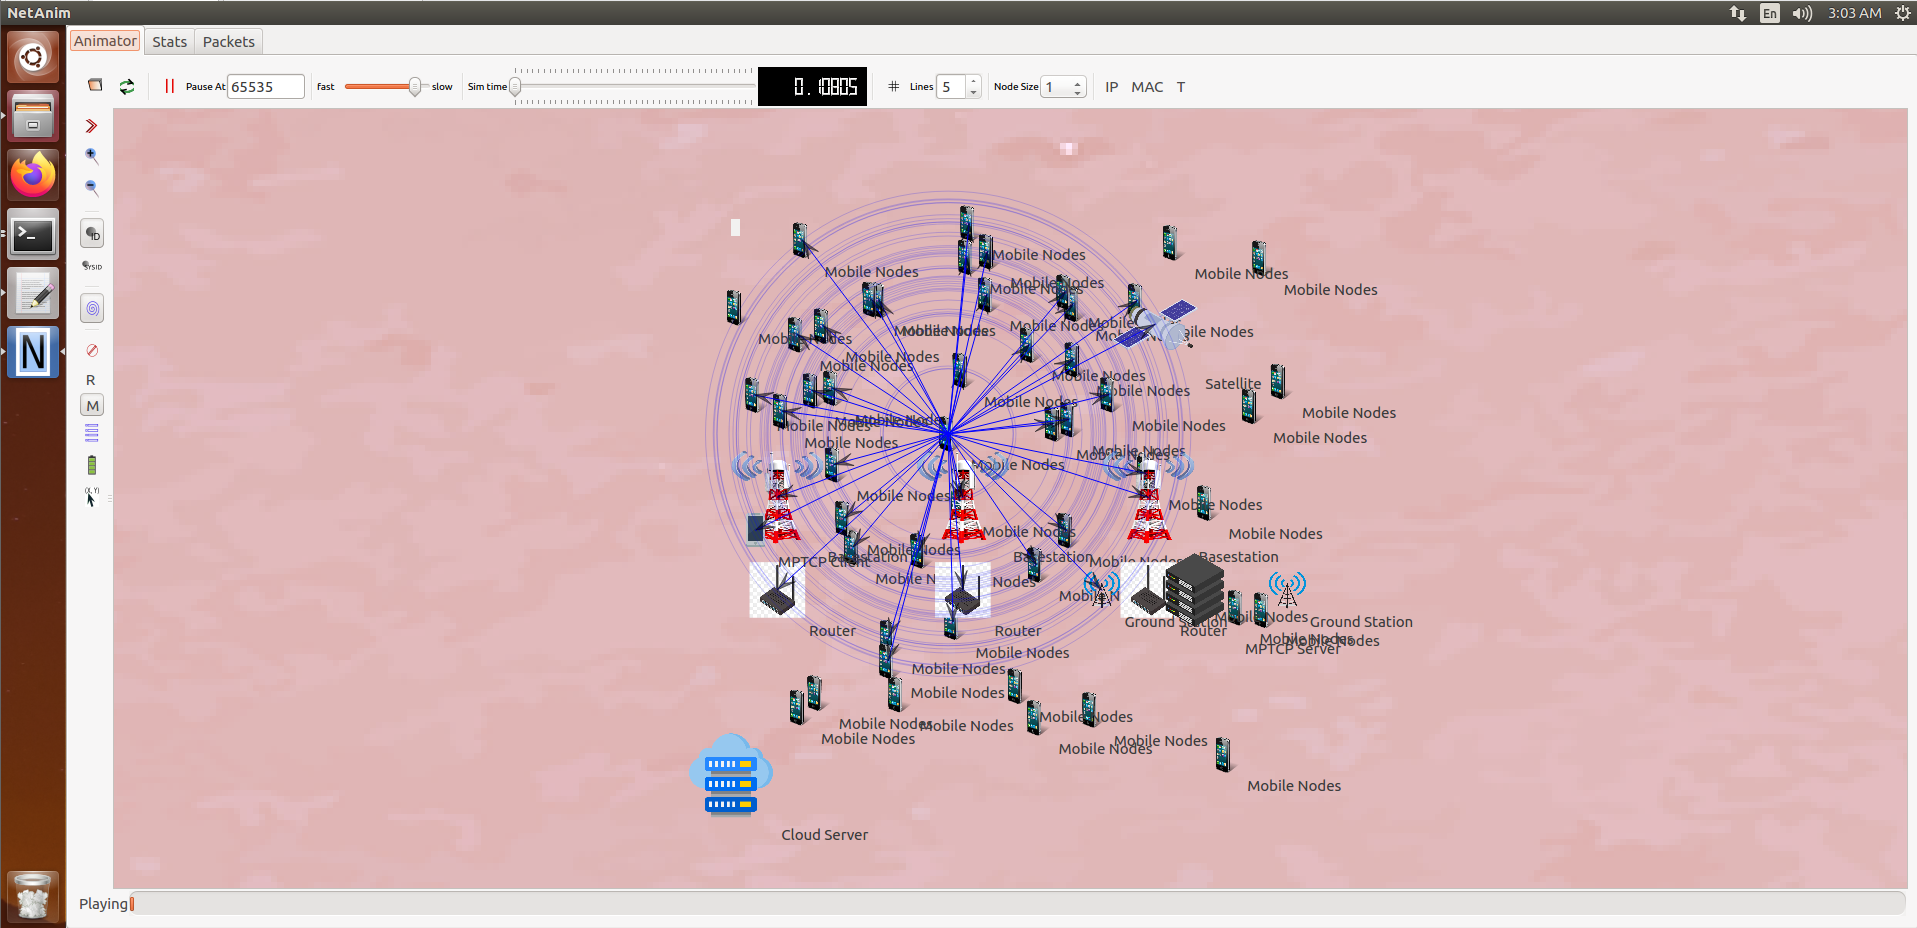
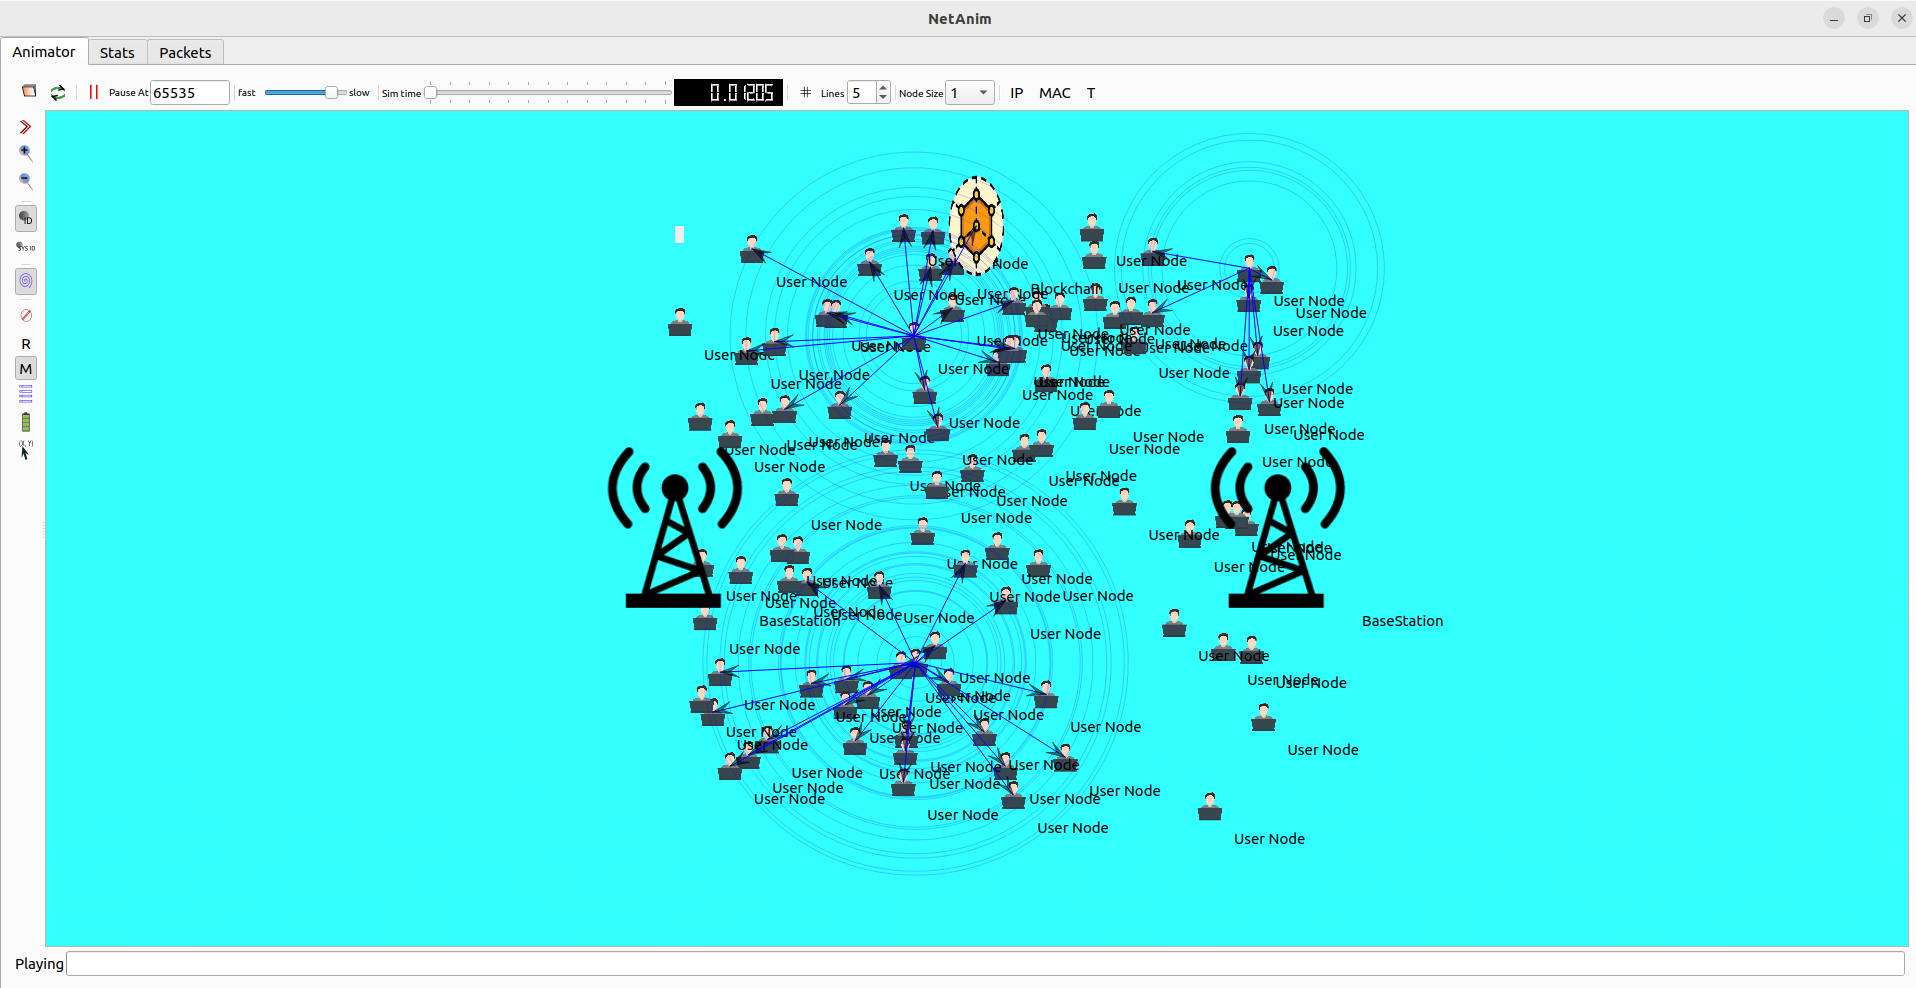
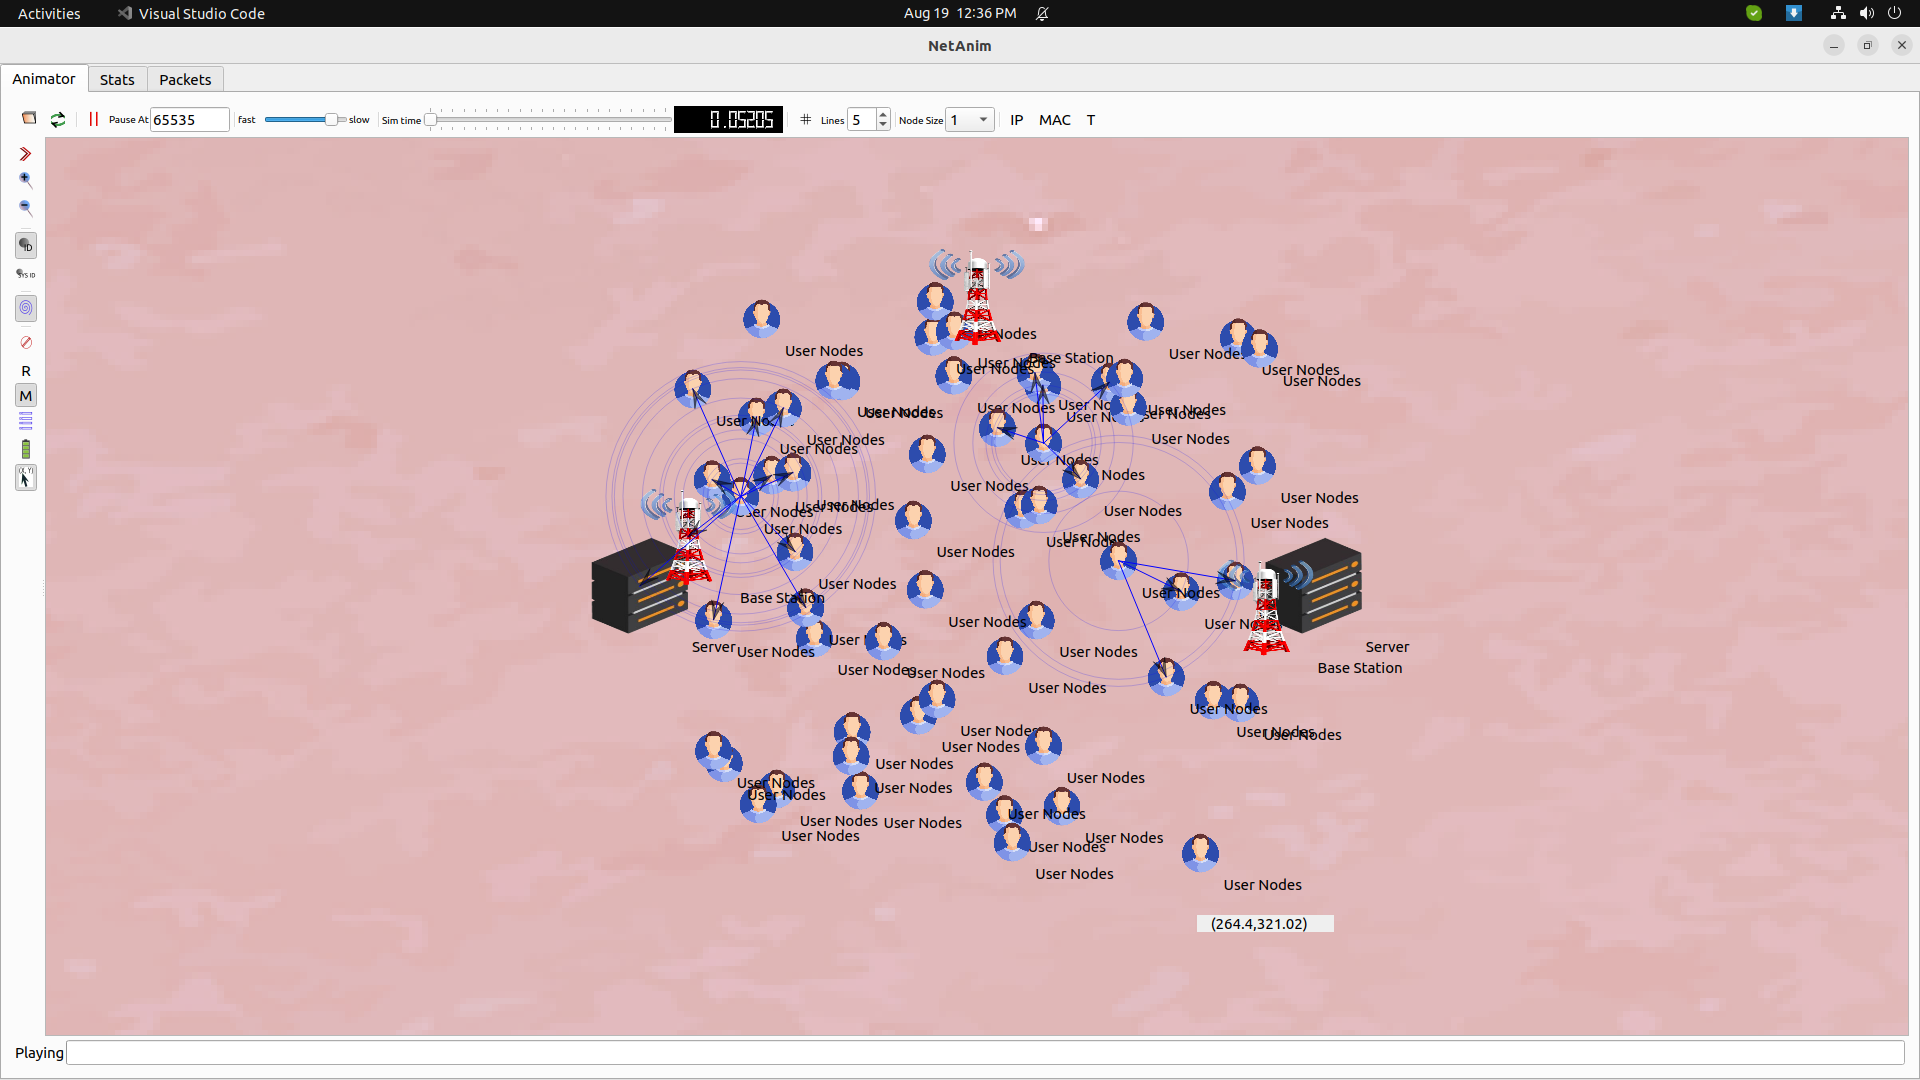
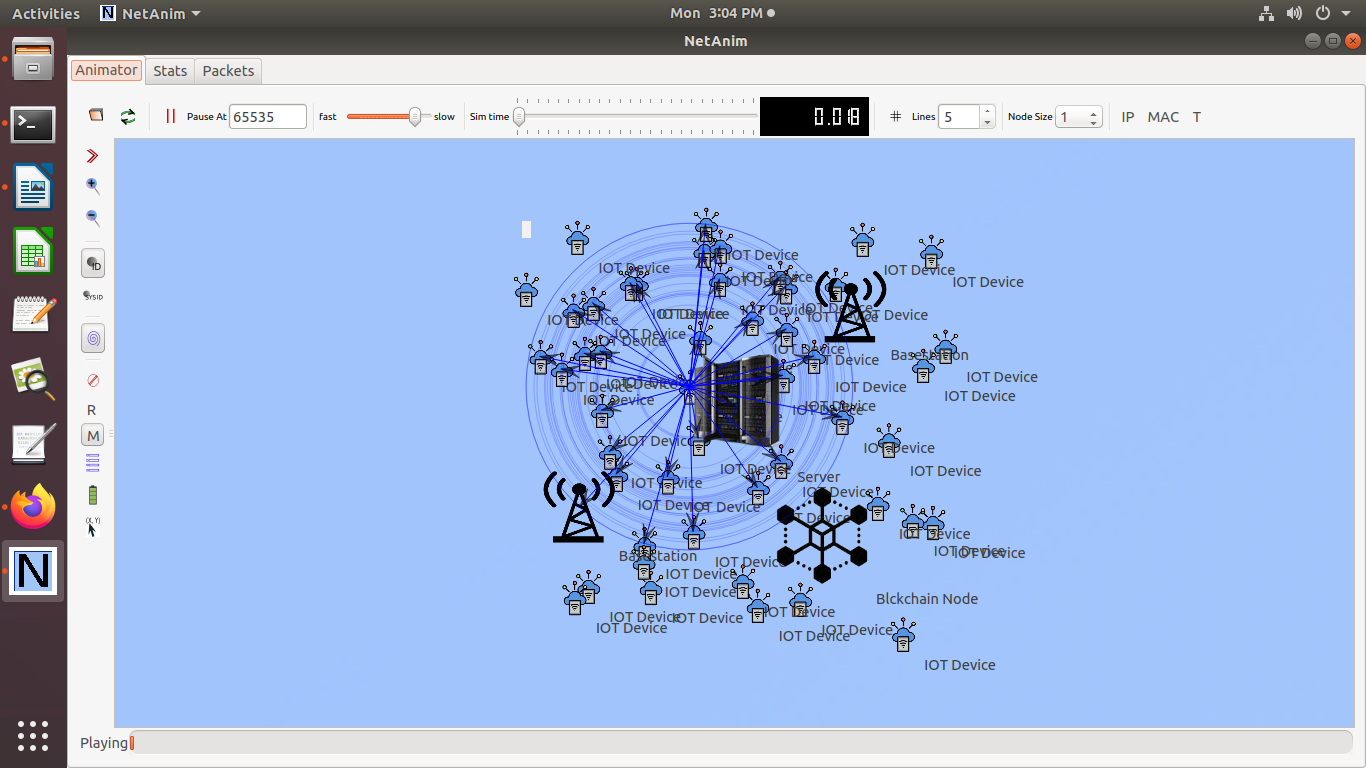
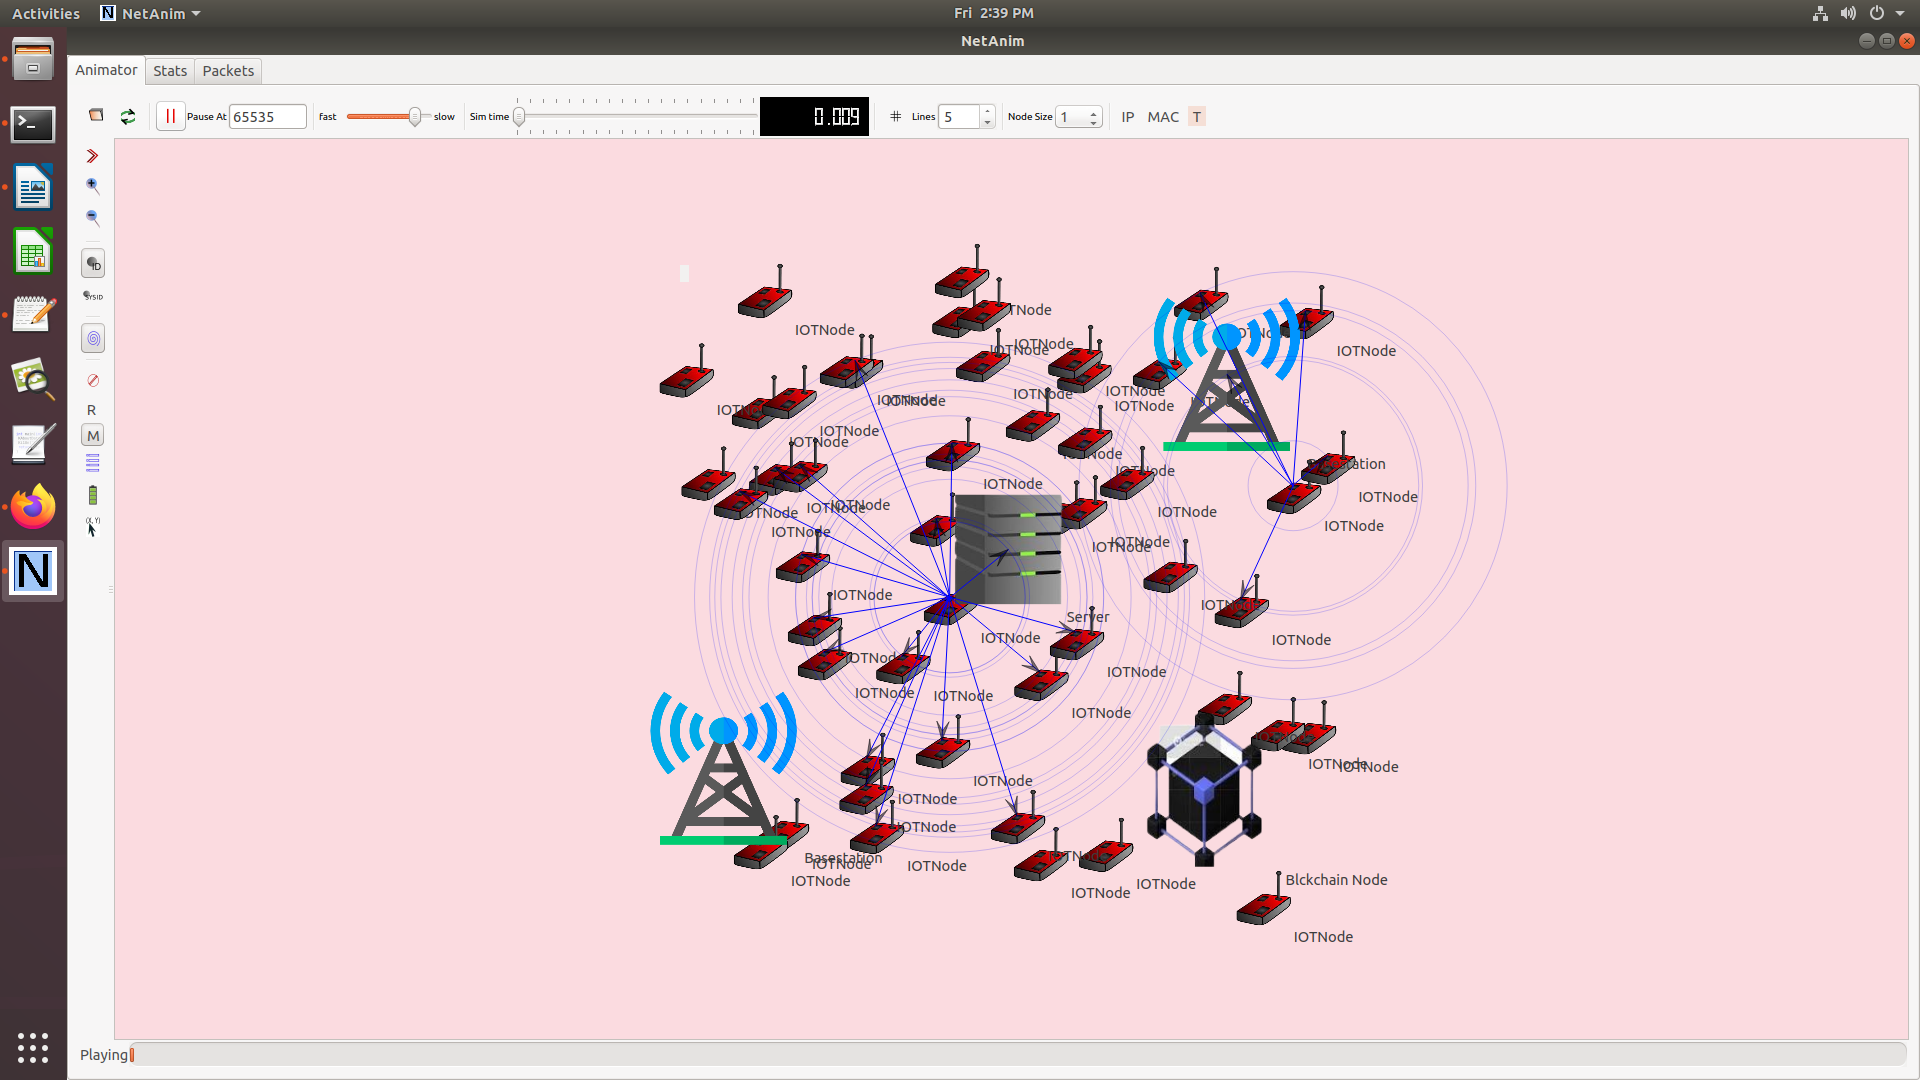
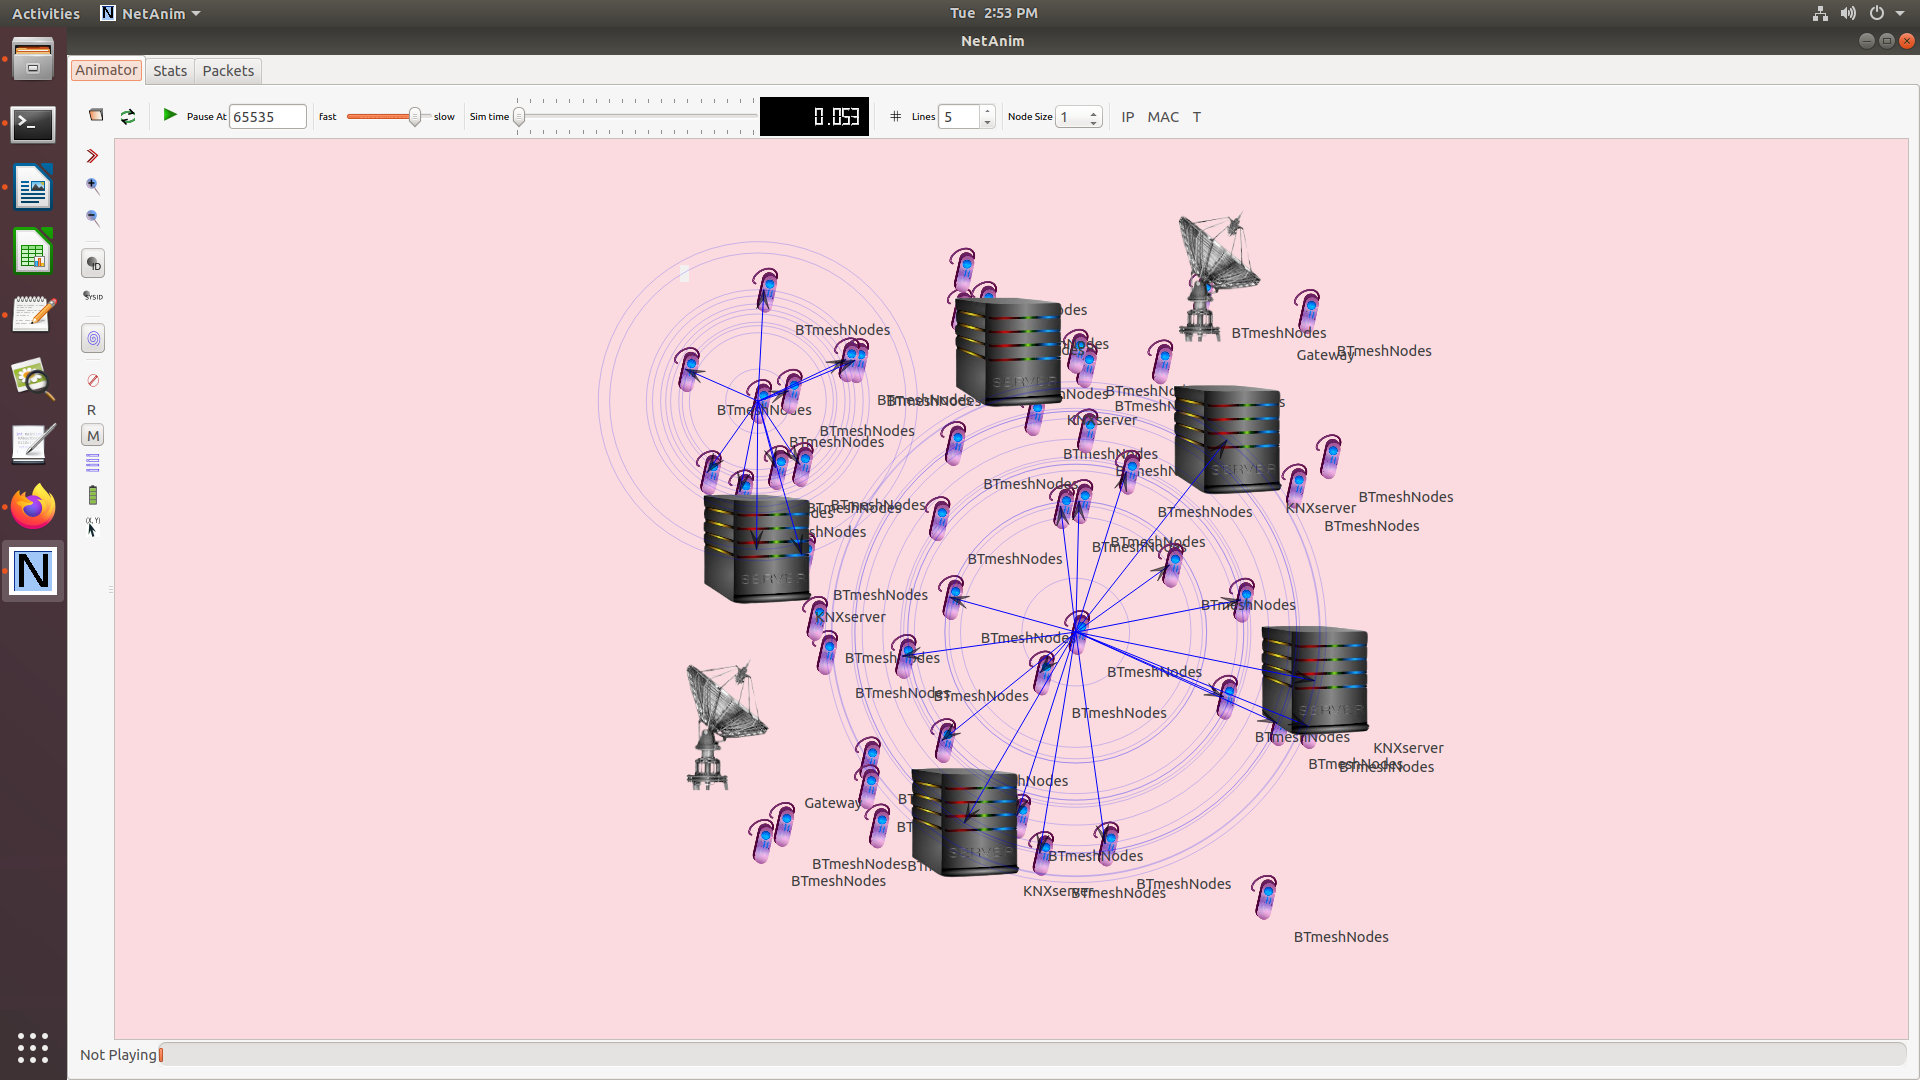
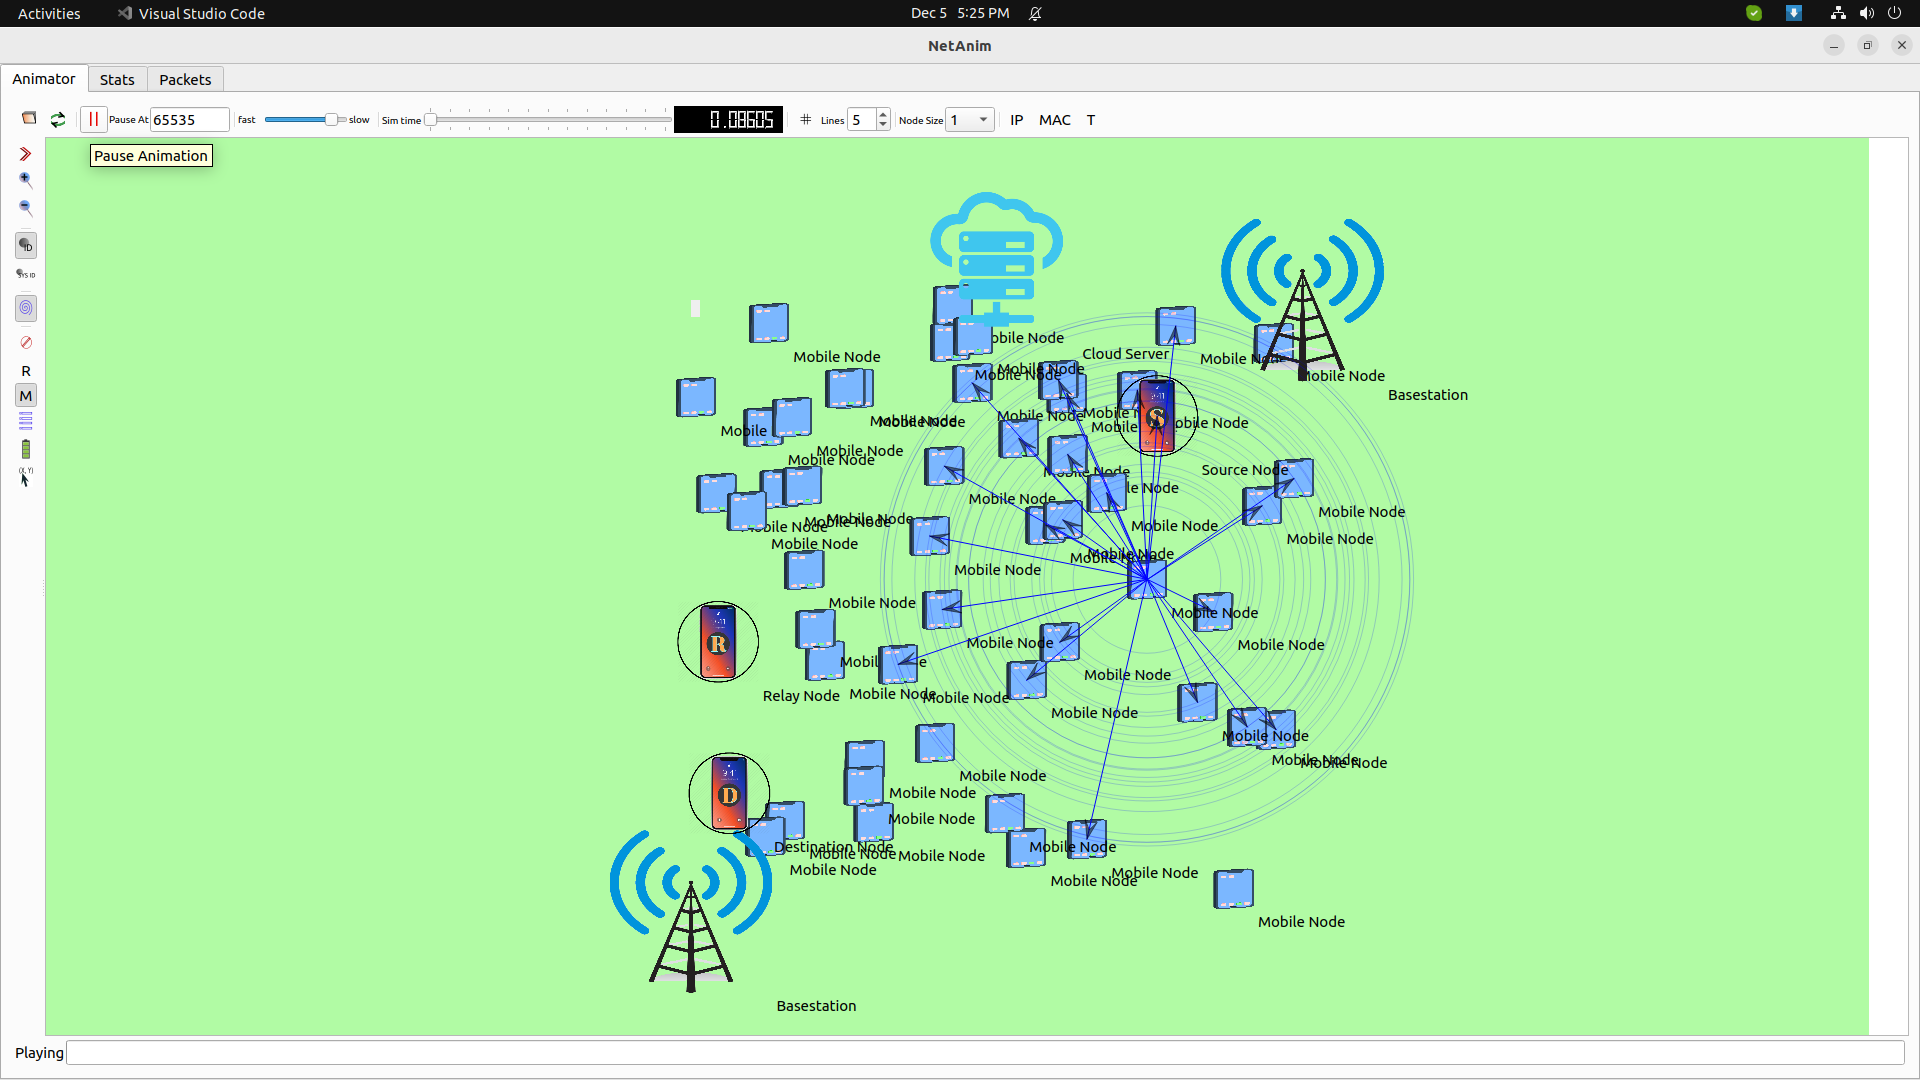
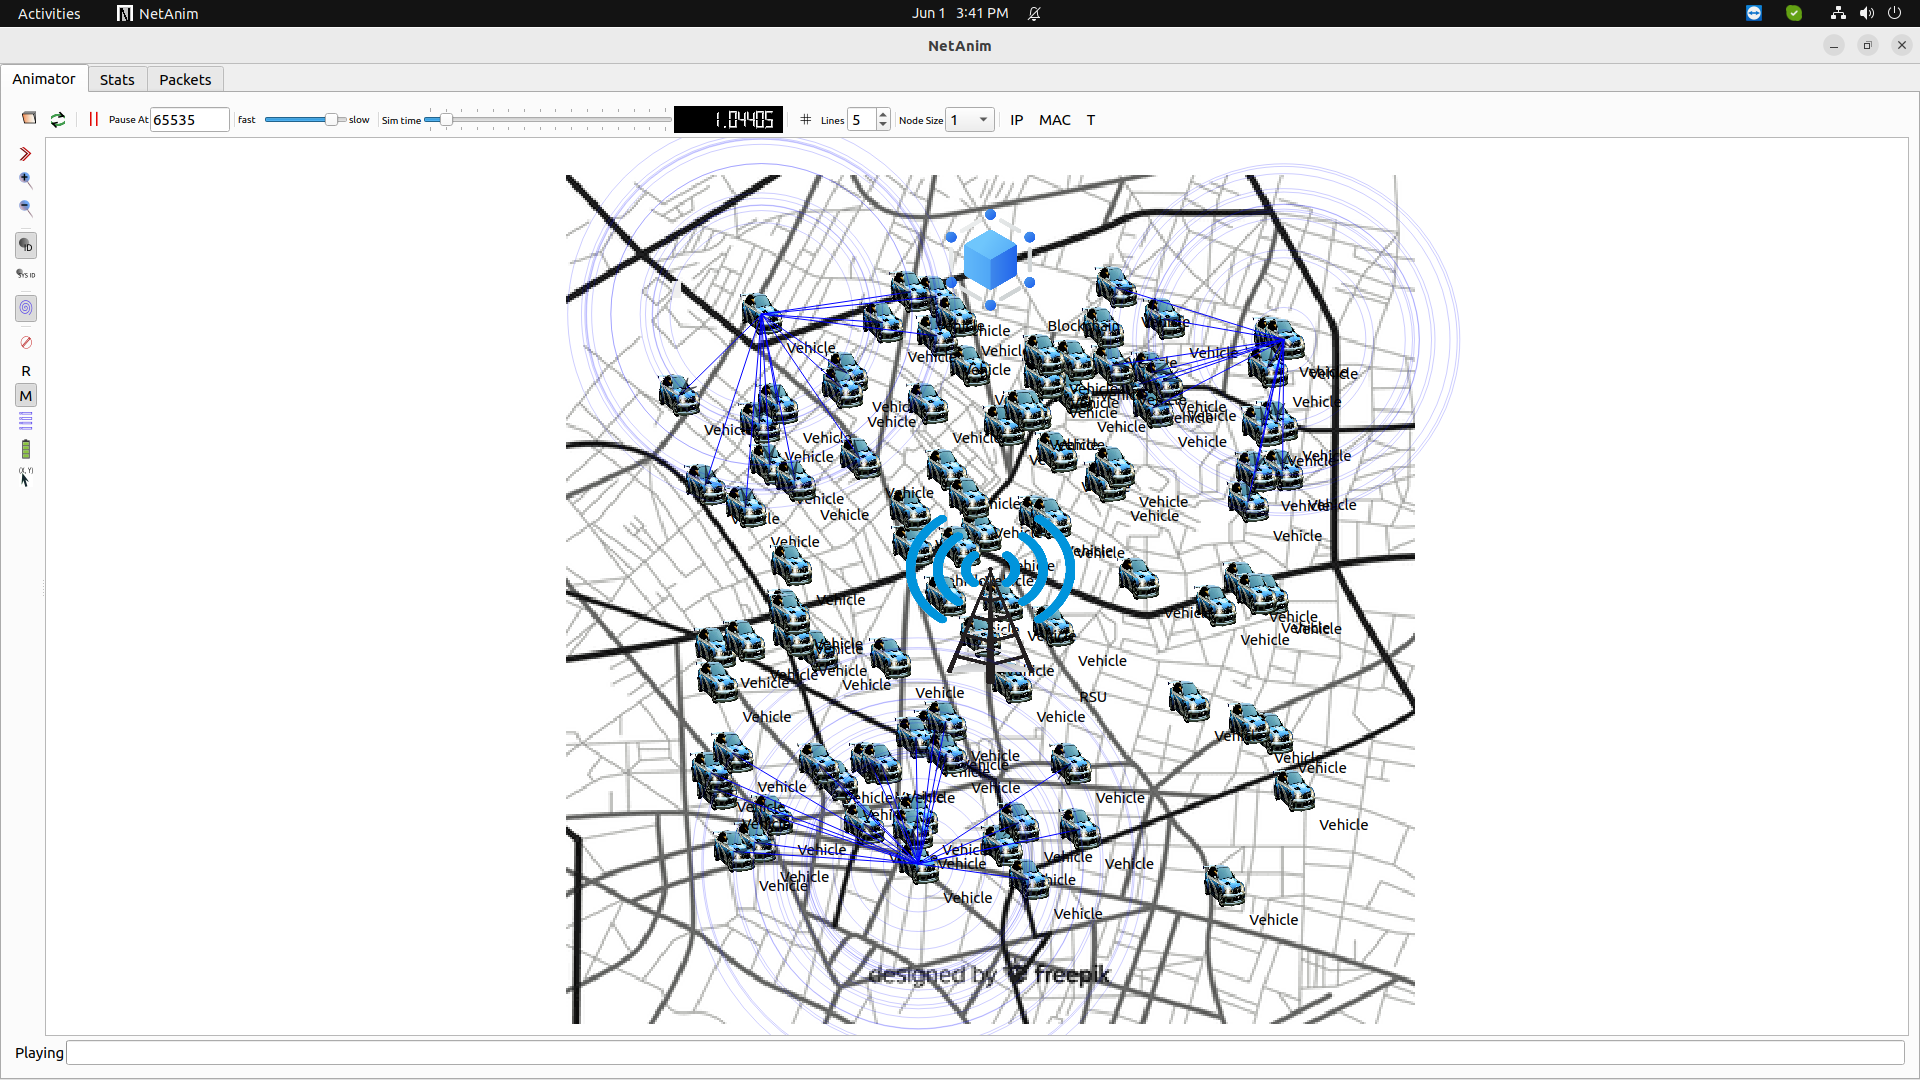
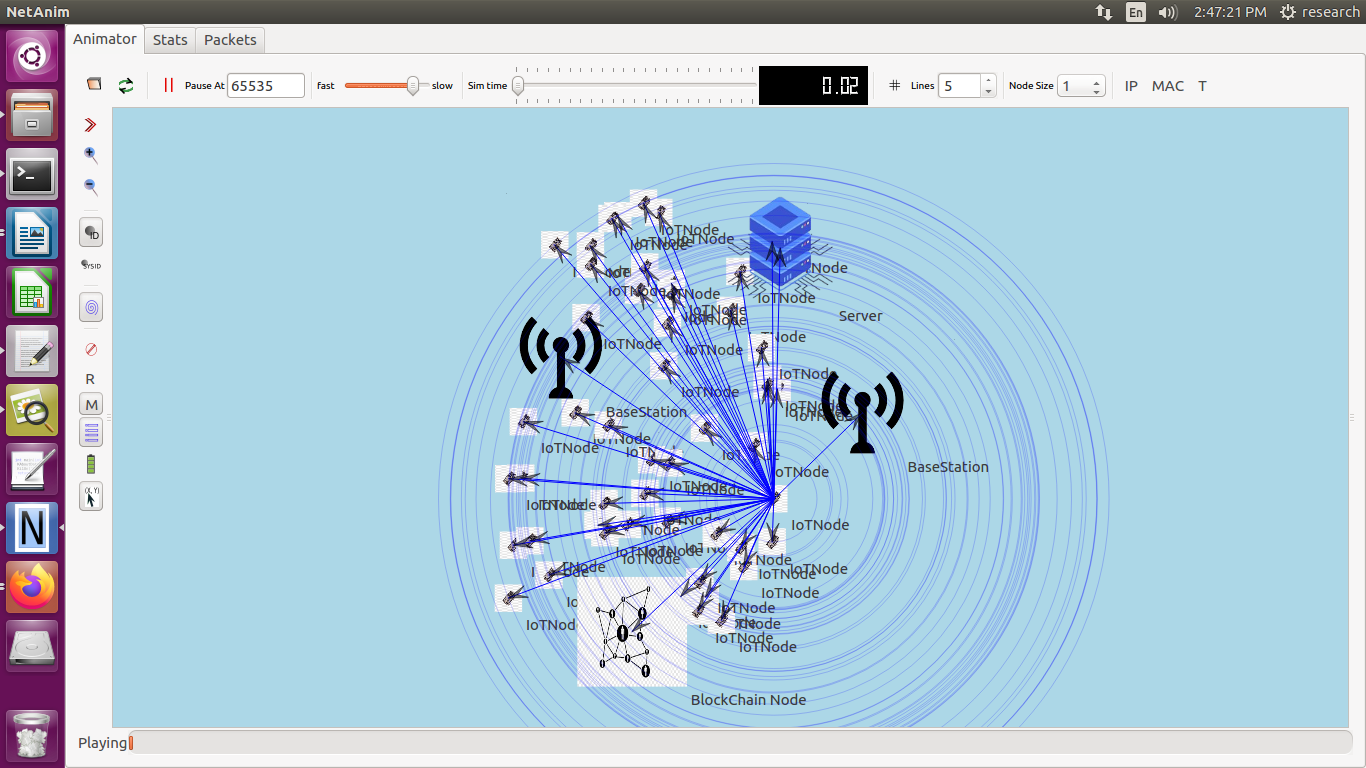
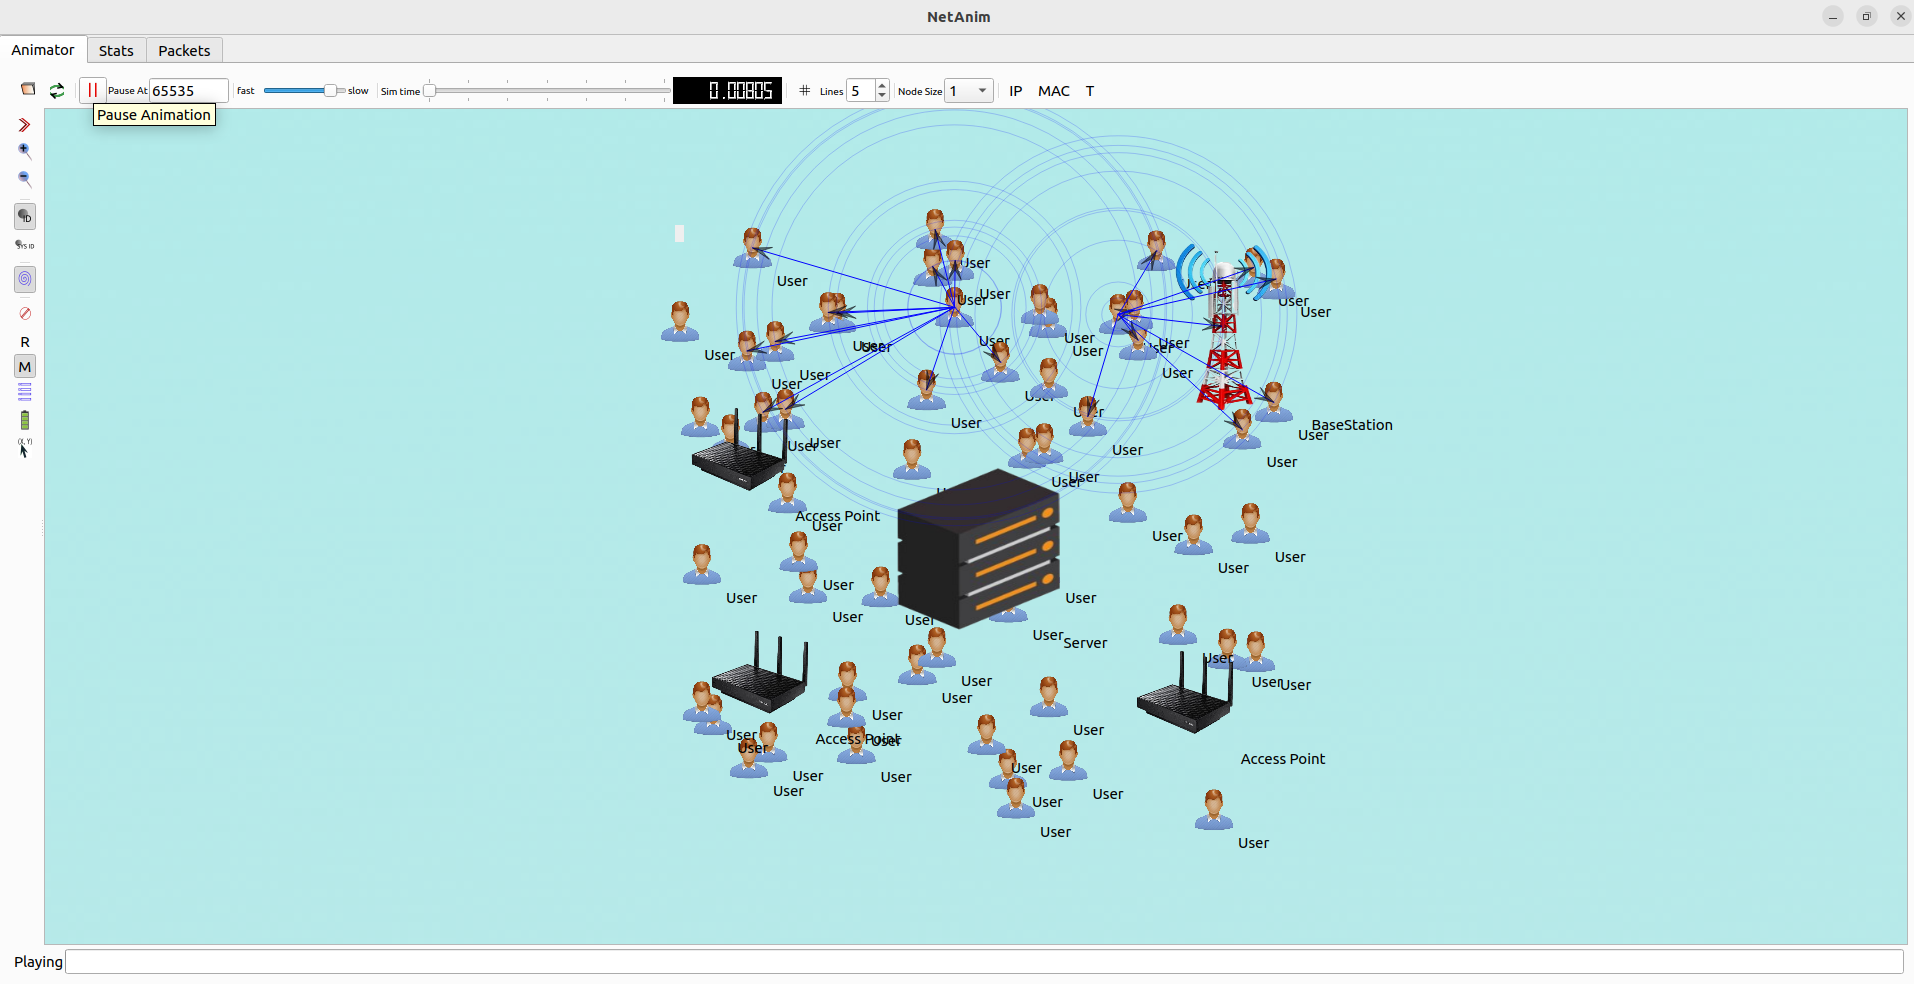
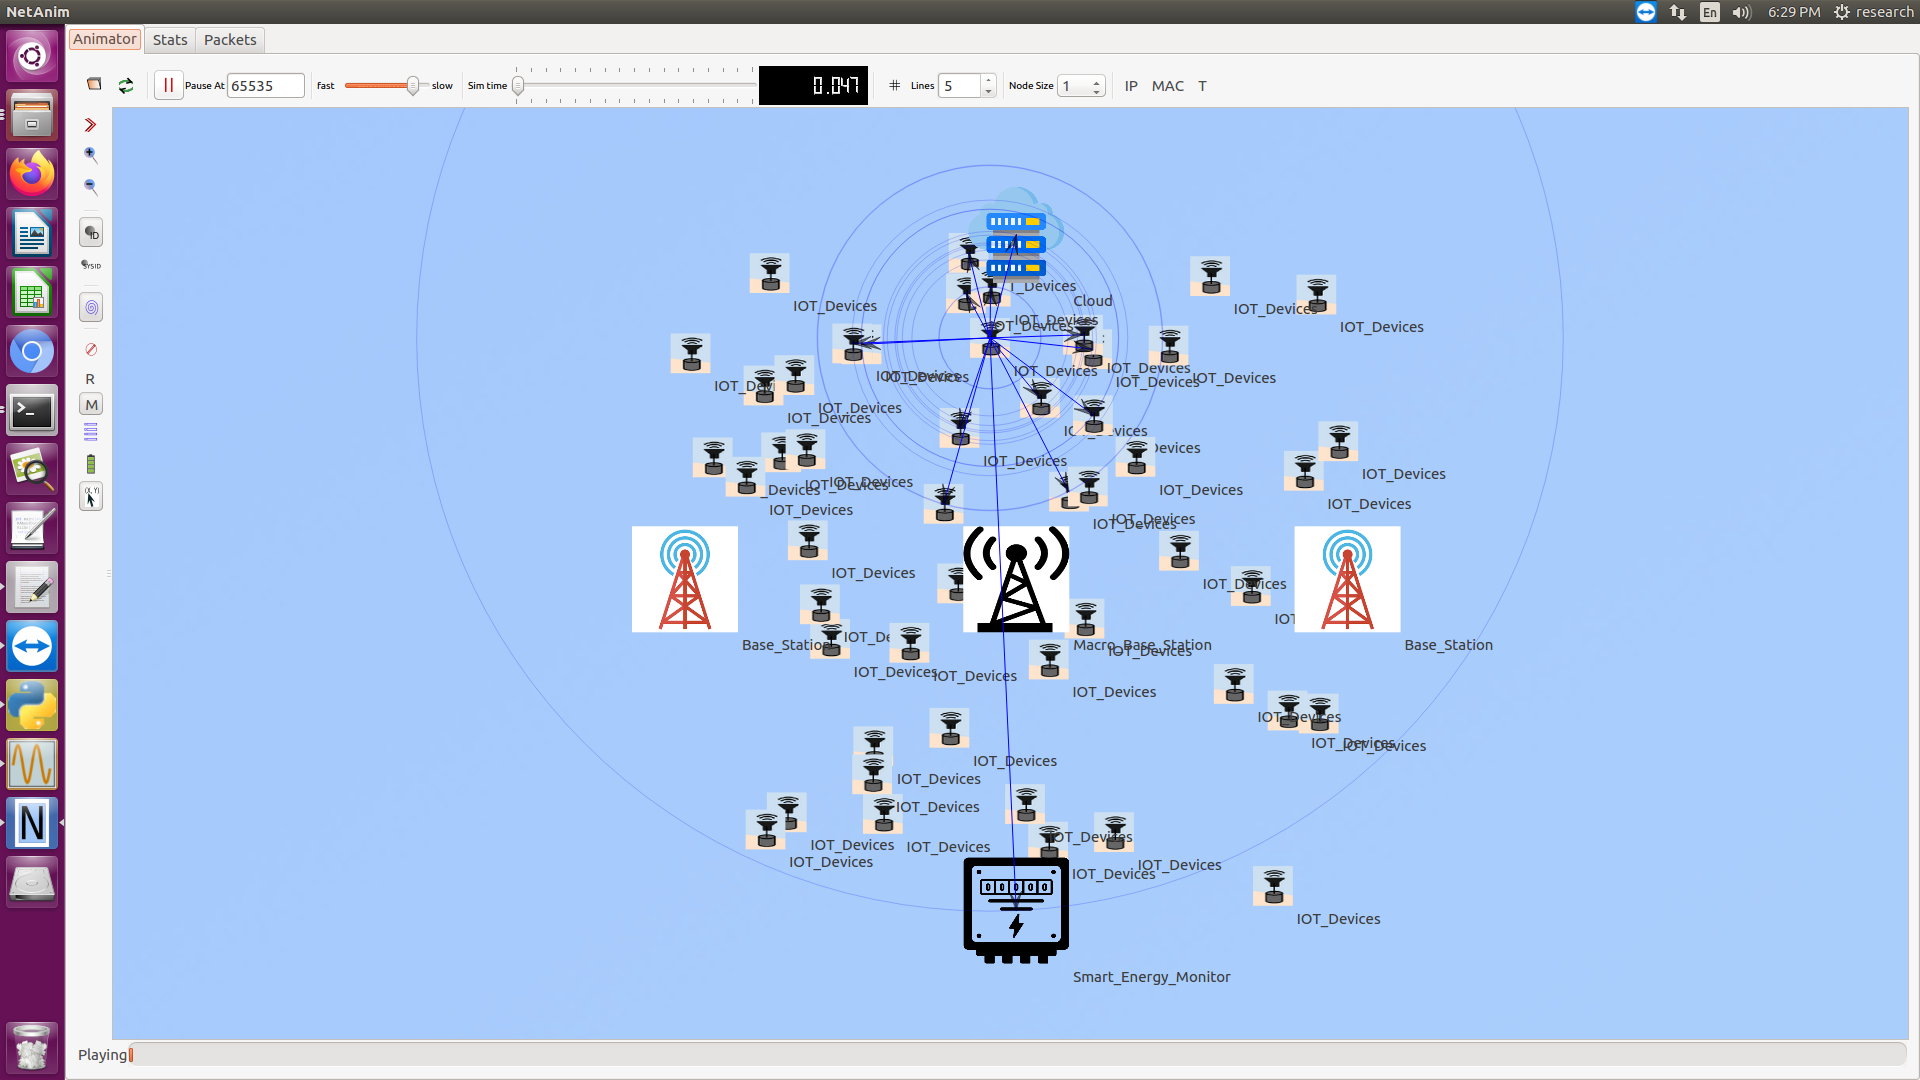
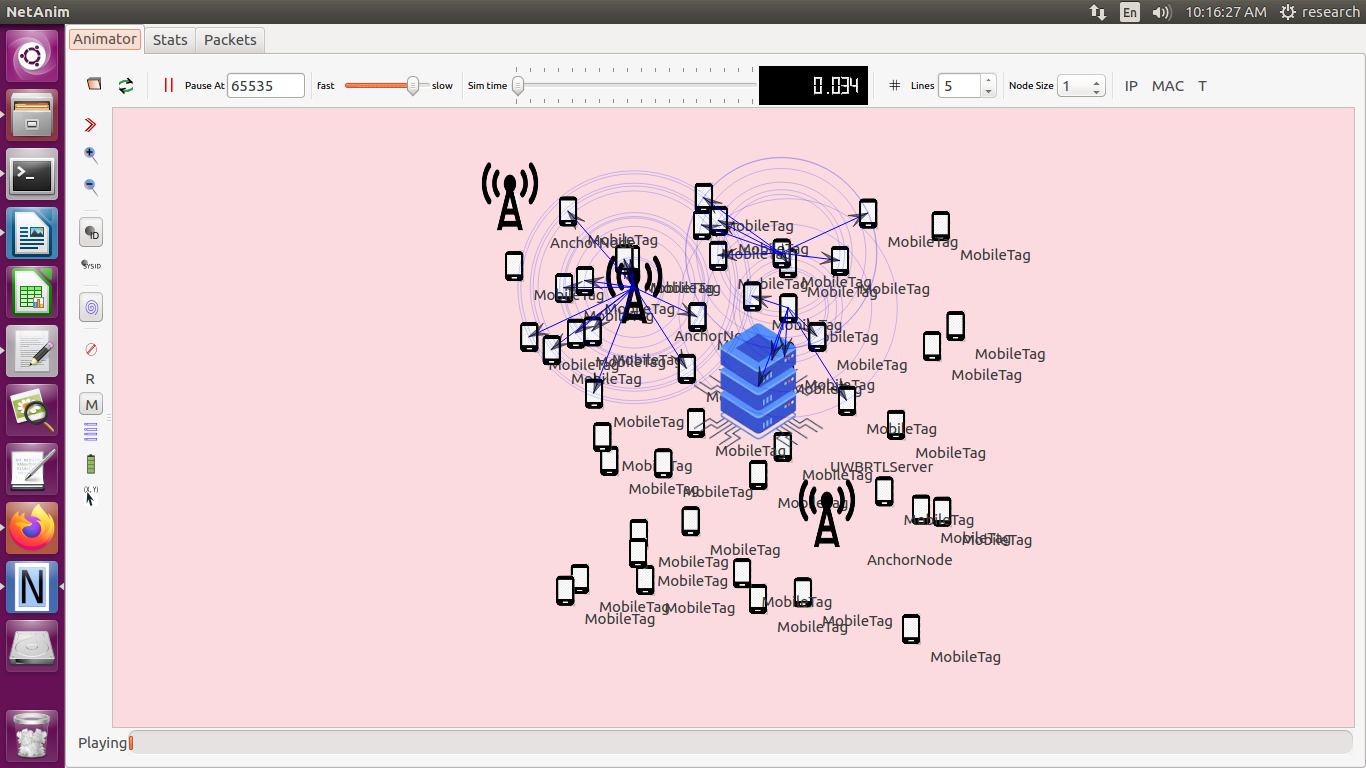
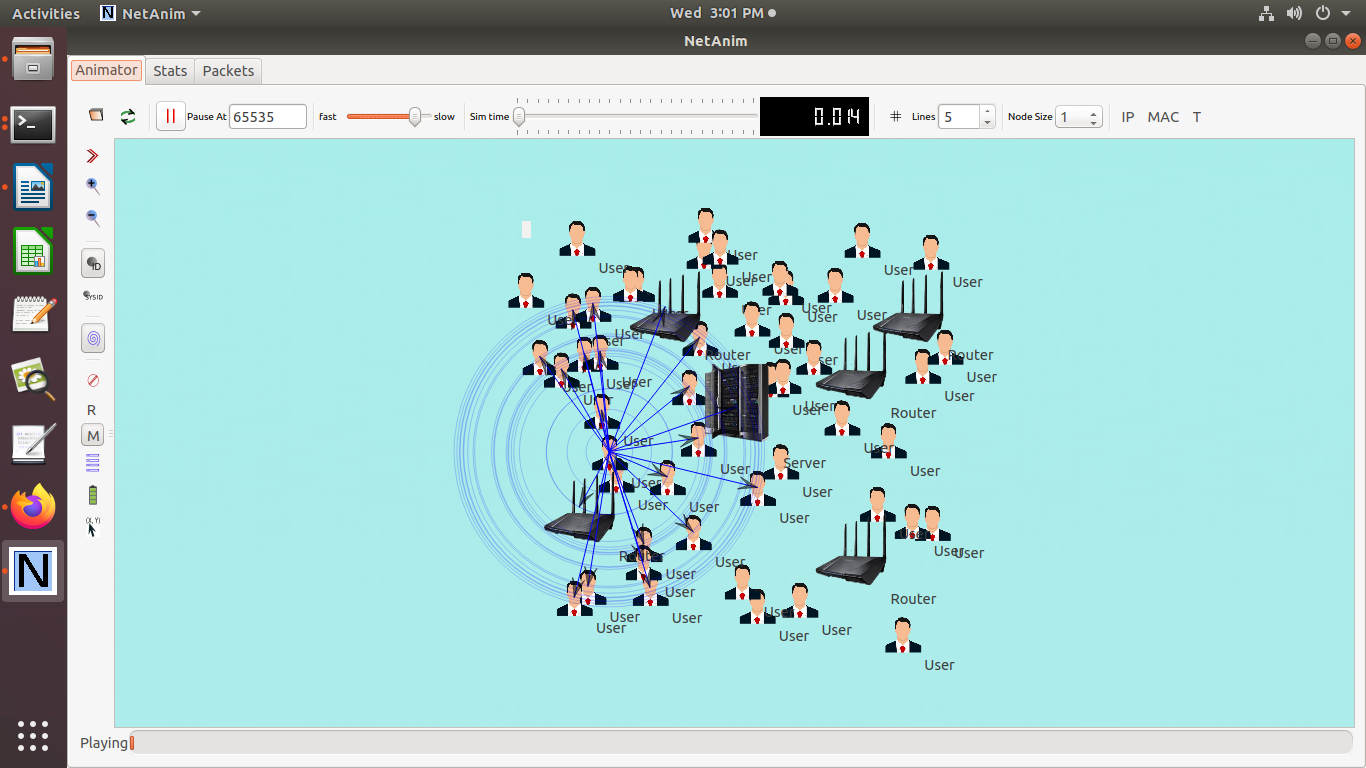
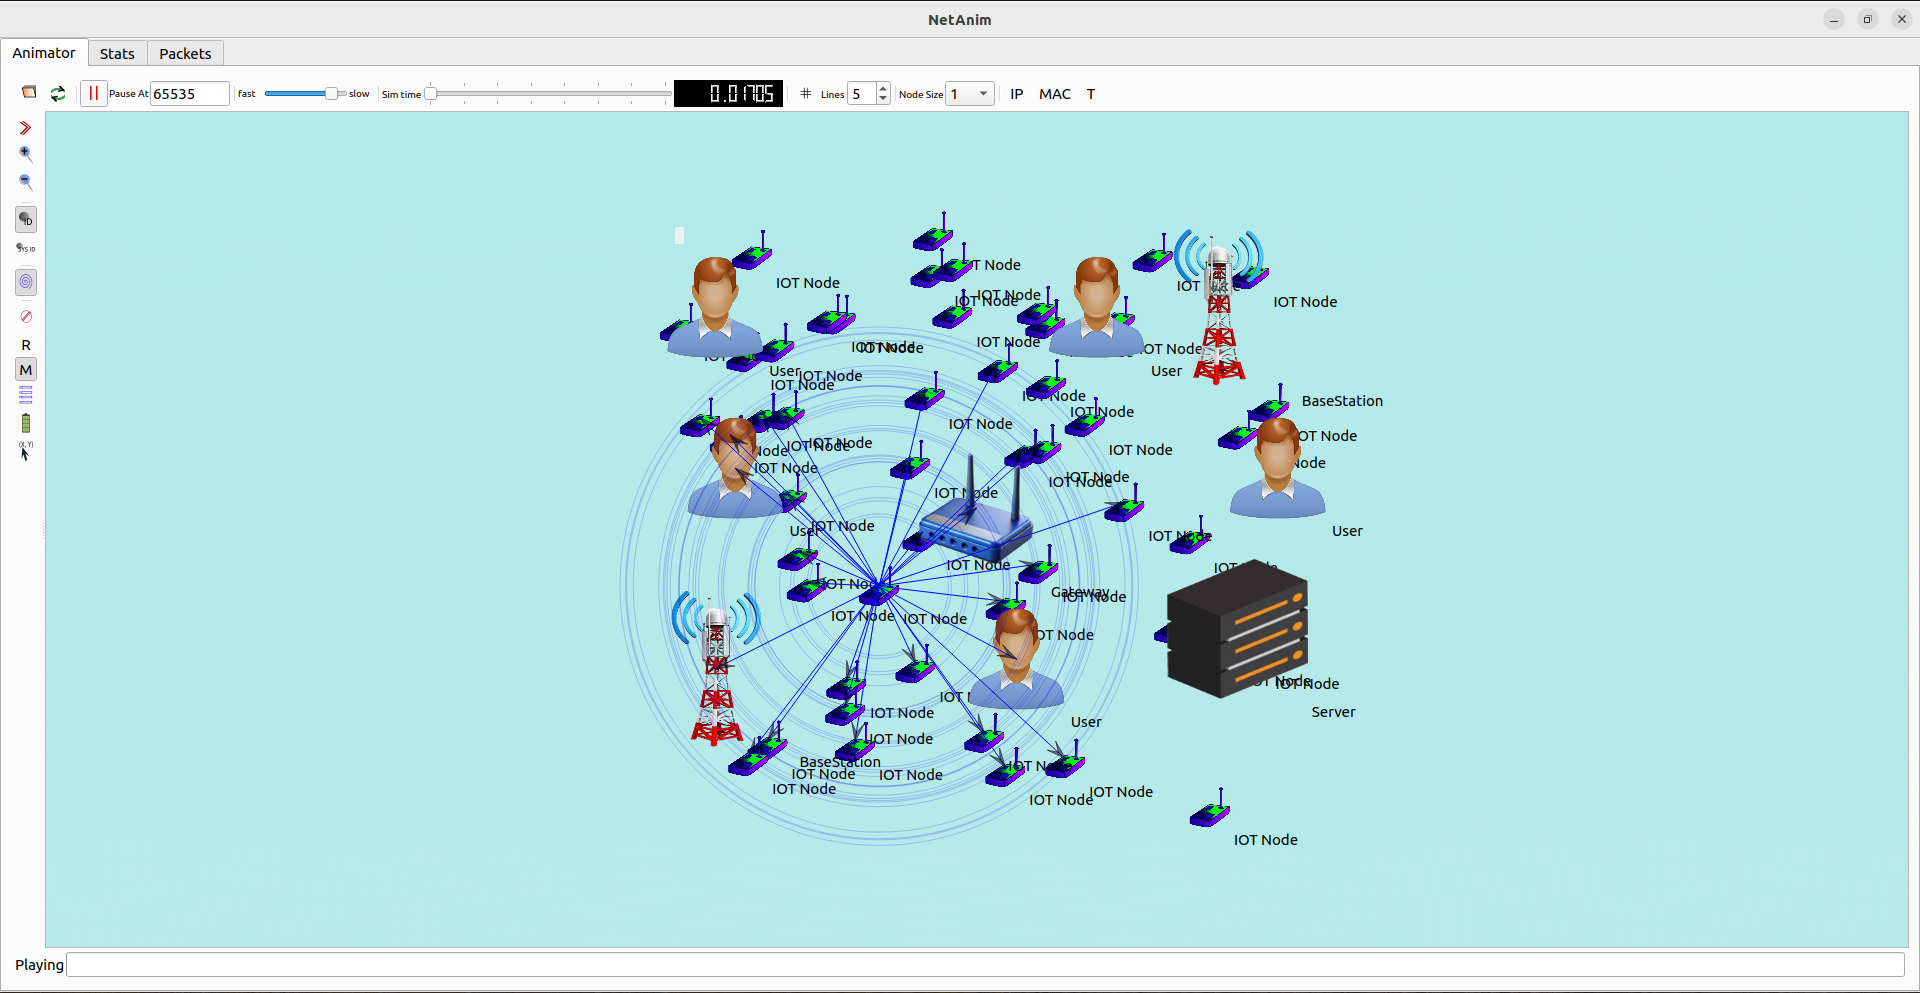
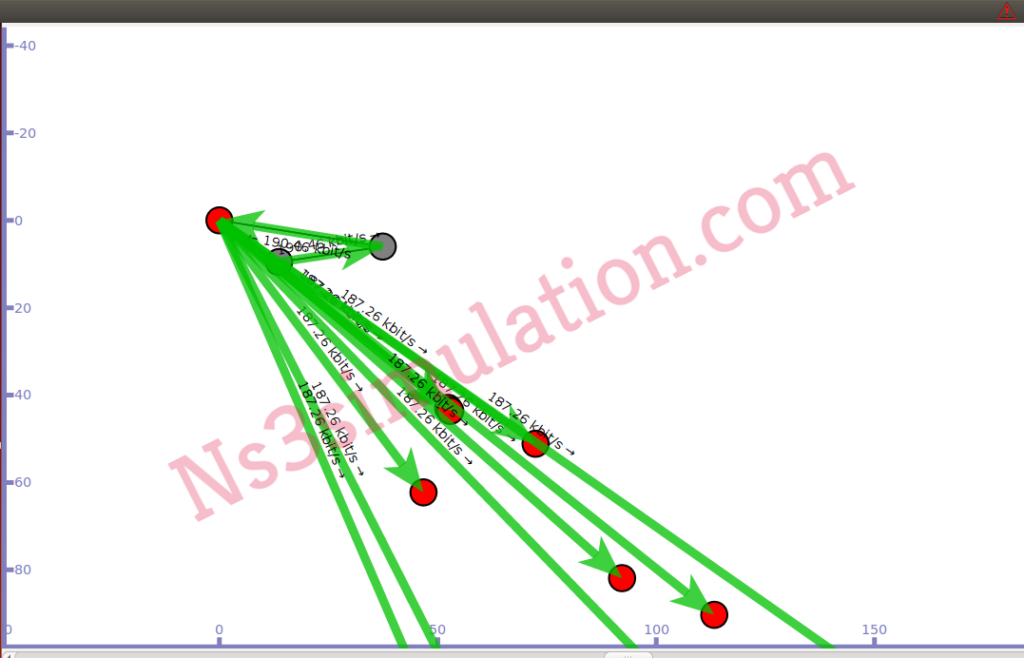
Then, we have to implement the main file based on PyViz through the execution of the highlighted commands. Additionally, we have highlighted the result that is acquired through execution of commands.
cd  /home/research/ns-allinone-3.28/ns-3.28

sudo ./waf --run PyVizMain --vis

If you are looking for reliable and trustworthy research guidance in ns3 in addition with the implementation process, then reach us and team up with our research experts for the best results.