As the matter of fact, we can easily verify the installation process of ns3 on Ubuntu by our own. Through this article, our research professionals have enlisted required process of ns3 installation.
Step: 1 Install Ns-3.26
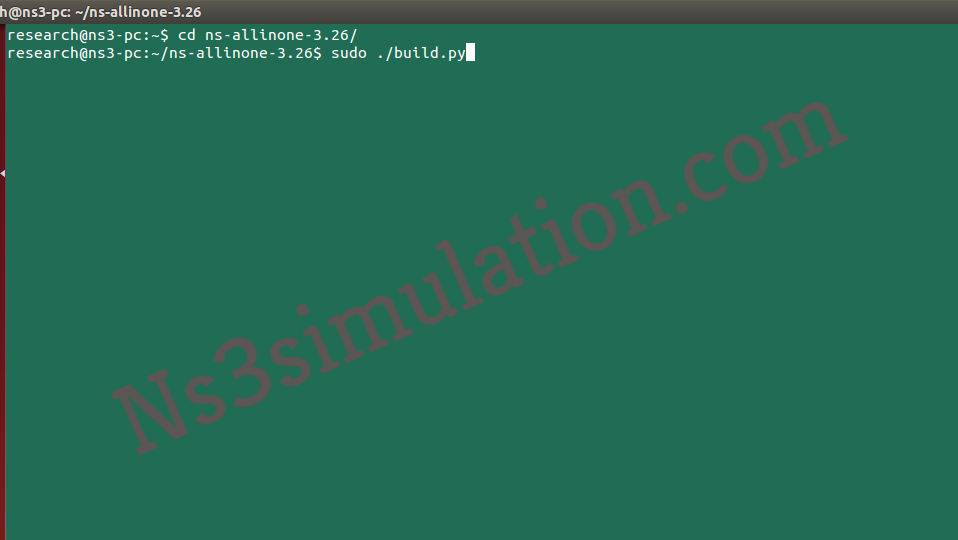
The ns-allinone-3.26.tar.bz2 package is deployed to install the NS-3.26 tool along with the utilization of the below mentioned command.
./build.py
Step: 2 Configure Ns-3.26
Next, we have to change the location of the ns-allinone installation in the Ubuntu terminal through using the following command.
cd ns-allinone-3.26/ns-3.26.
sudo ./waf configure
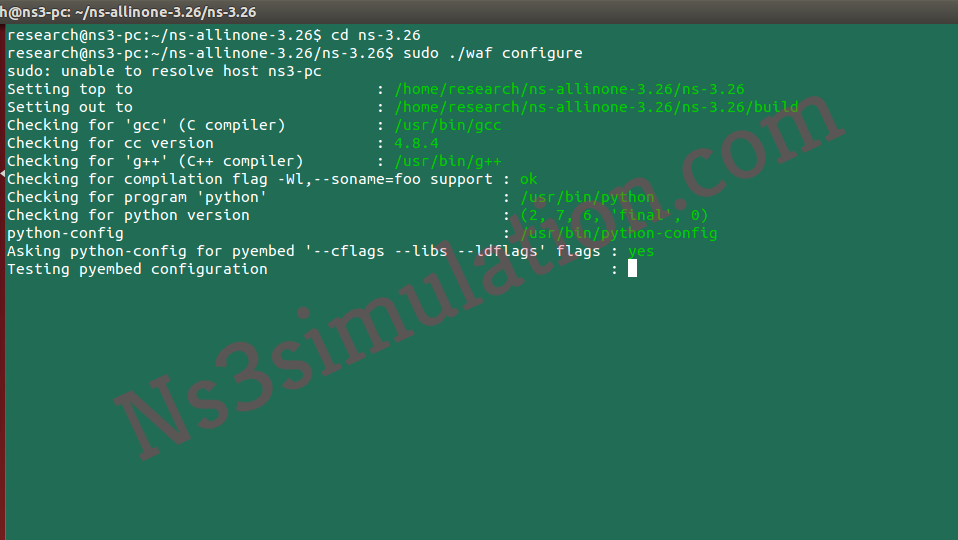
Here, we have shared a screenshot which depicts the result that is acquired through the configuration command.
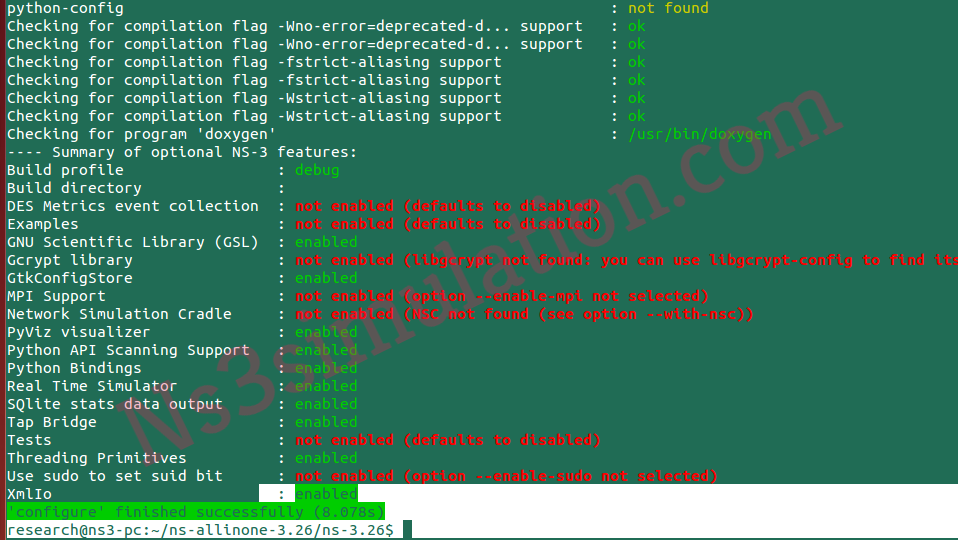
Step: 3 Install Ns-3.26
We have to execute the following command to install the network simulator in the Ubuntu.
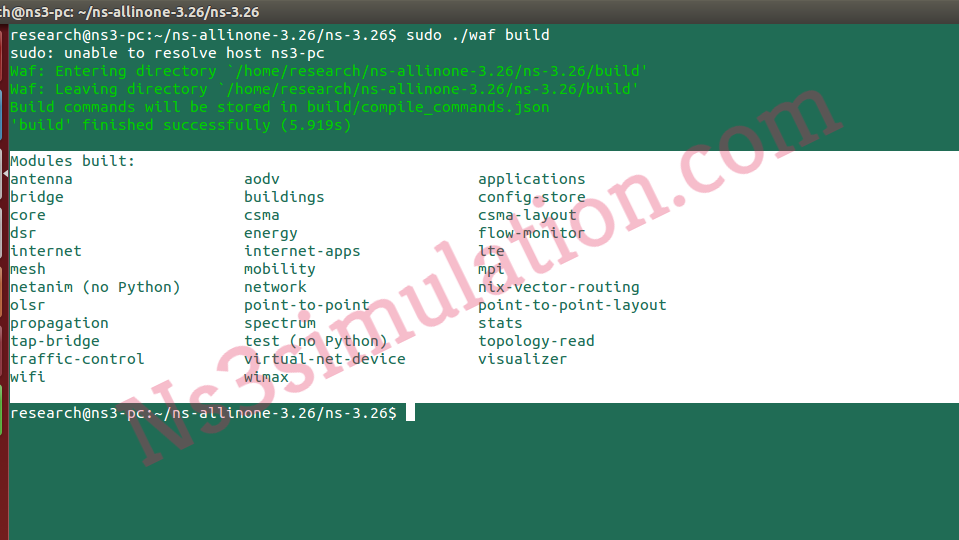
sudo ./waf build
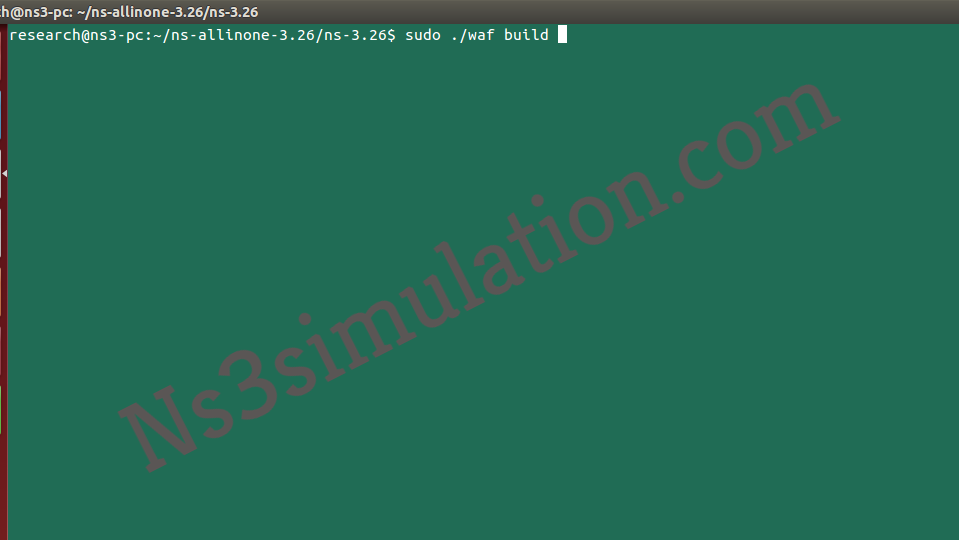
The below mentioned screen is about the completion of installation process.
Step: 4 Verify Installation
Here, we have to verify the process of installation through the execution of following command.
sudo ./waf

Step: 5 Installed Version
Finally, we have to check and view the installed version of ns-3.26 and it is located in /home/research/ns-allinone-3.26/ns-3.26/VERSION.txt file.

Our research team is specialized in various research services and they are functional for the development of research progressions. So, reach us to acquire more.
