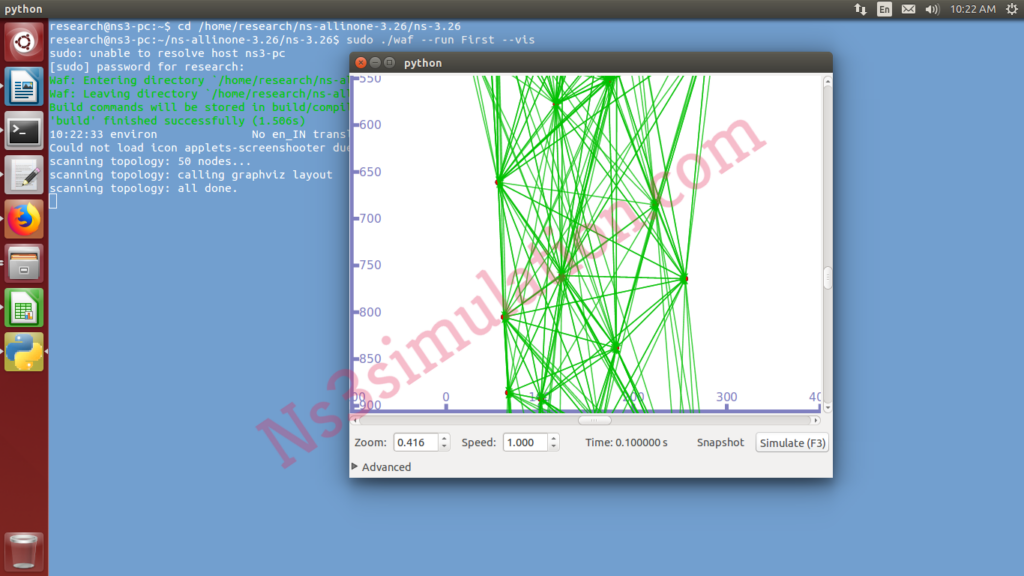
In general, we have illustrated the essential steps that are functional to run the first CC in network simulator 3.
Stage: I
In the initial stage, we have to install the network simulator packages through the implementation of the following commands.
sudo ./waf build
Stage: II
In addition, we have to perform the simulation through the file creation and that is stored in the scratch folder along with the file extension .cc. Our research professionals have enlisted some sample code for your reference.
- WiFi configuration
WifiHelper wifi;
  wifi.SetStandard (WIFI_PHY_STANDARD_80211b);

  YansWifiPhyHelper wifiPhy =  YansWifiPhyHelper::Default ();

  YansWifiChannelHelper wifiChannel;

  wifiChannel.SetPropagationDelay ("ns3::ConstantSpeedPropagationDelayModel");

  wifiChannel.AddPropagationLoss ("ns3::FriisPropagationLossModel");

  wifiPhy.SetChannel (wifiChannel.Create ());
- Application configuration
Config::SetDefault  ("ns3::OnOffApplication::PacketSize",StringValue ("64"));

Config::SetDefault ("ns3::OnOffApplication::DataRate",  StringValue (rate));

Config::SetDefault ("ns3::WifiRemoteStationManager::NonUnicastMode",StringValue (phyMode));
- Header file initialization
#include <iostream>
#include “ns3/core-module.h”
#include “ns3/network-module.h”
#include “ns3/internet-module.h”
#include “ns3/mobility-module.h”
#include “ns3/wifi-module.h”
#include “ns3/aodv-module.h”
Stage: III
Then, we have to implement the below mentioned commands to execute the first .cc file.
sudo ./waf –run First –vis


If you do still have any quarrels in the above mentioned processes, you can approach us whenever you like. As well as we are hoping the best initiations from you.
