Let’s discuss about the required processes to verify the installed network simulator 3 packages in Ubuntu.
Phase: I
Initially, we have to download the ns3 packages through the implementation of the below mentioned commands in the Ubuntu terminal window.
wget -c https://www.nsnam.org/releases/ns-allinone-3.33.tar.bz2
Following that, we have to execute the commands to extract the tar.bz2 which are downloaded from the ns3 server,
tar -xvjf ns-allinone-3.33.tar.bz2
Then, the below mentioned commands are deployed to install the packages based on ns-3.33.
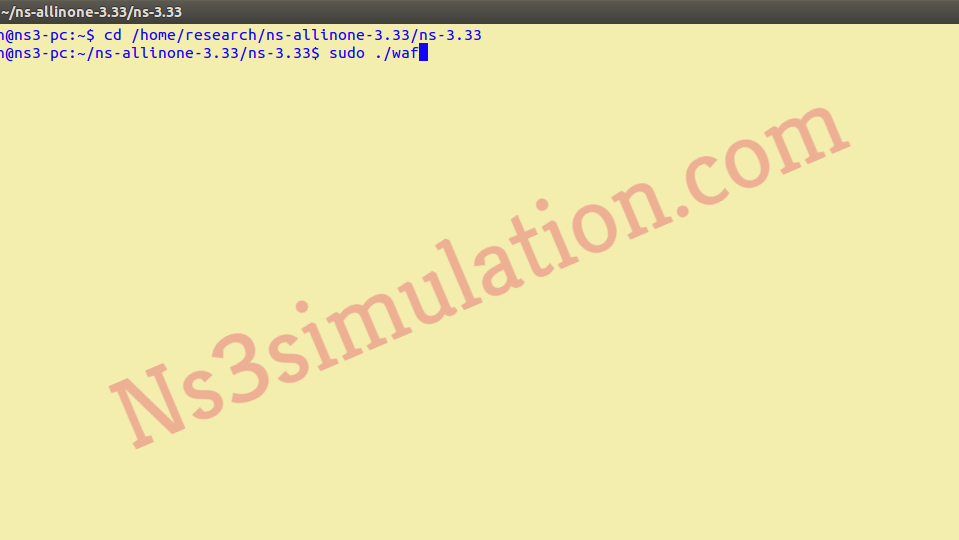
cd ns-allinone-3.33/ns-3.33/
./waf configure –enable-examples
./waf

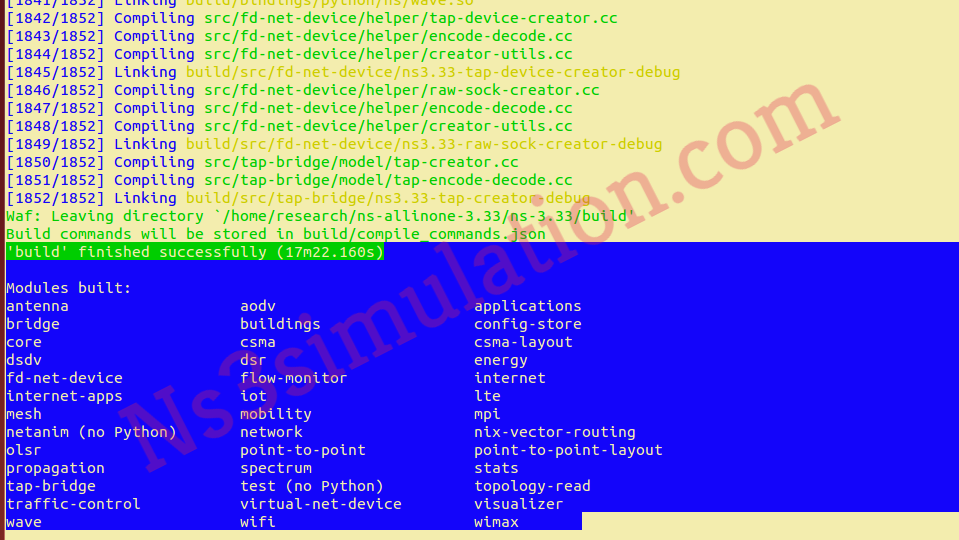
Additionally, we have specified the result that is acquired through the waf command in the following.

Phase: II
Consequently, we have to test the ns3 packages that are installed through the running test.py in the ns directory along with the utilization of the below mentioned commands. Additionally, we have highlighted the acquired results through the implementation of the test.py command.
./test.py


Phase: III
The installed version is stored as the text tile in the location namely,
/home/research/ns-allinone-3.33/ns-3.33/VERSION.txt
Through this process, we can check the ns3 is installed or not in the Ubuntu terminal.

Eventually, we hope that you have acquired the appropriate steps to verify the installation process over this article. Towards the end, we just wanted to say one thing that we are ready to assist you at any time.
