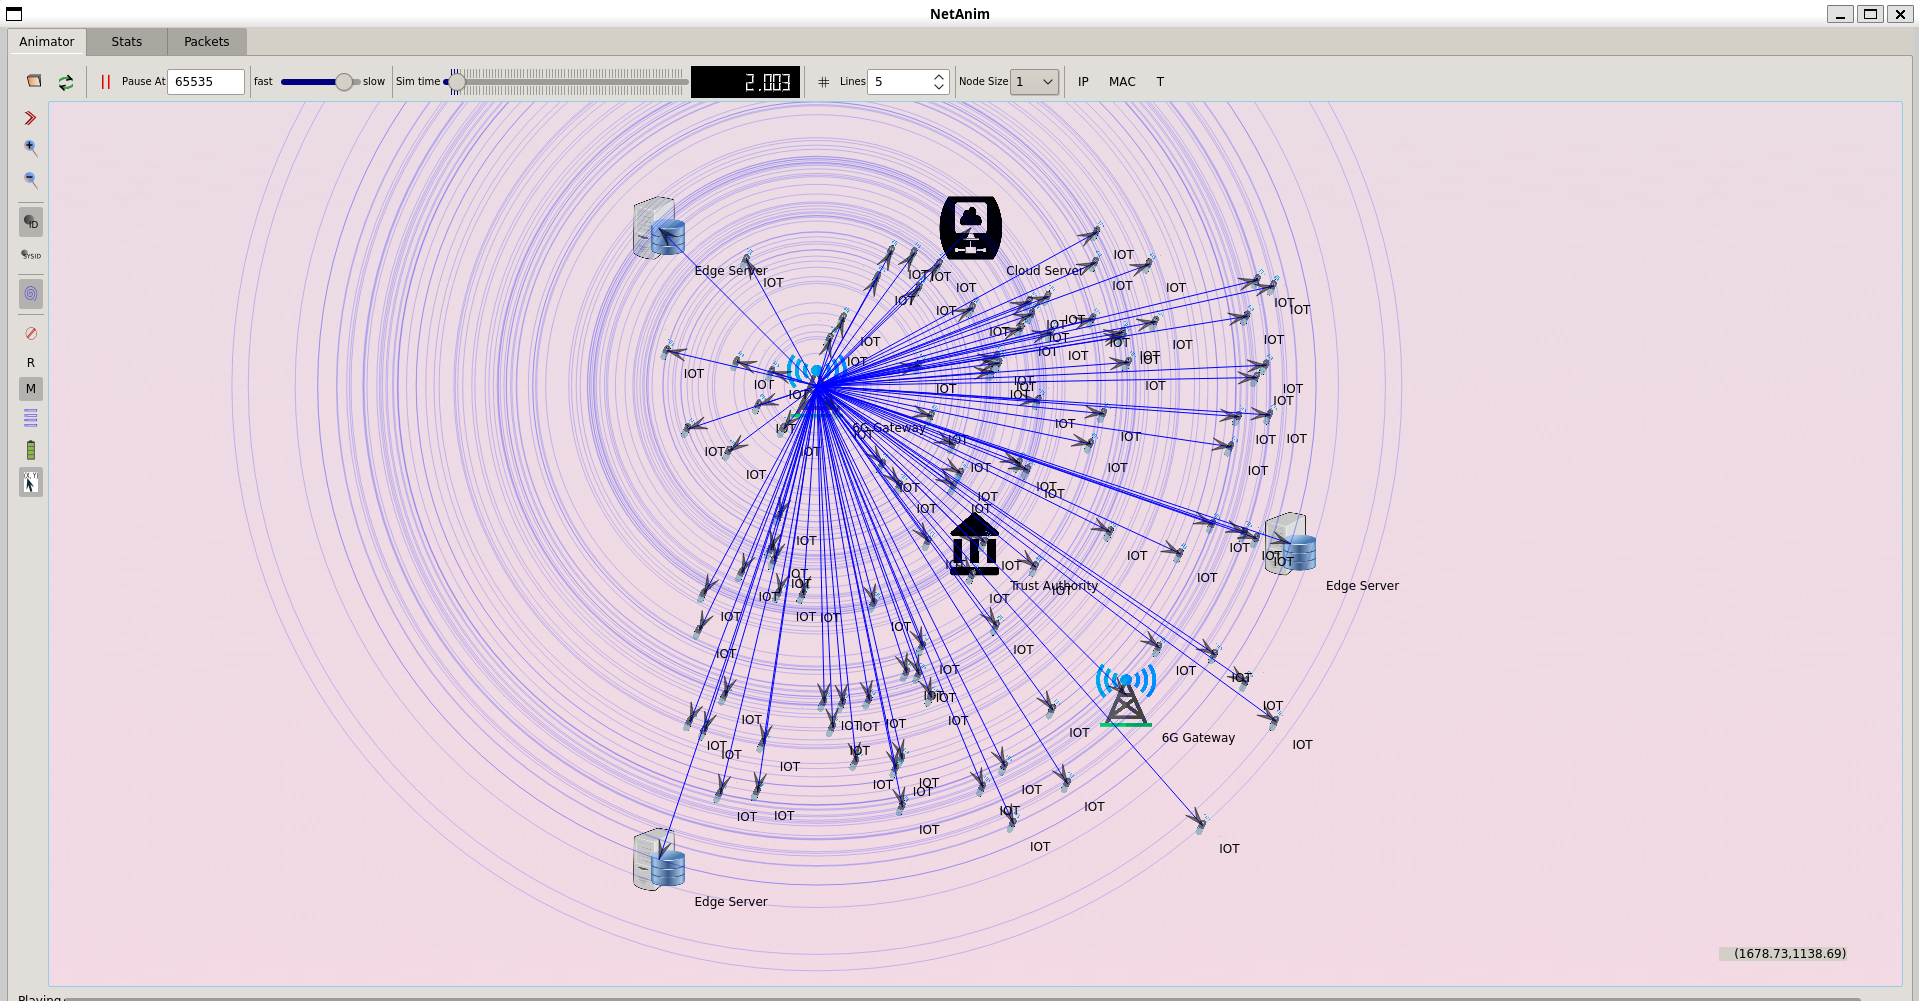
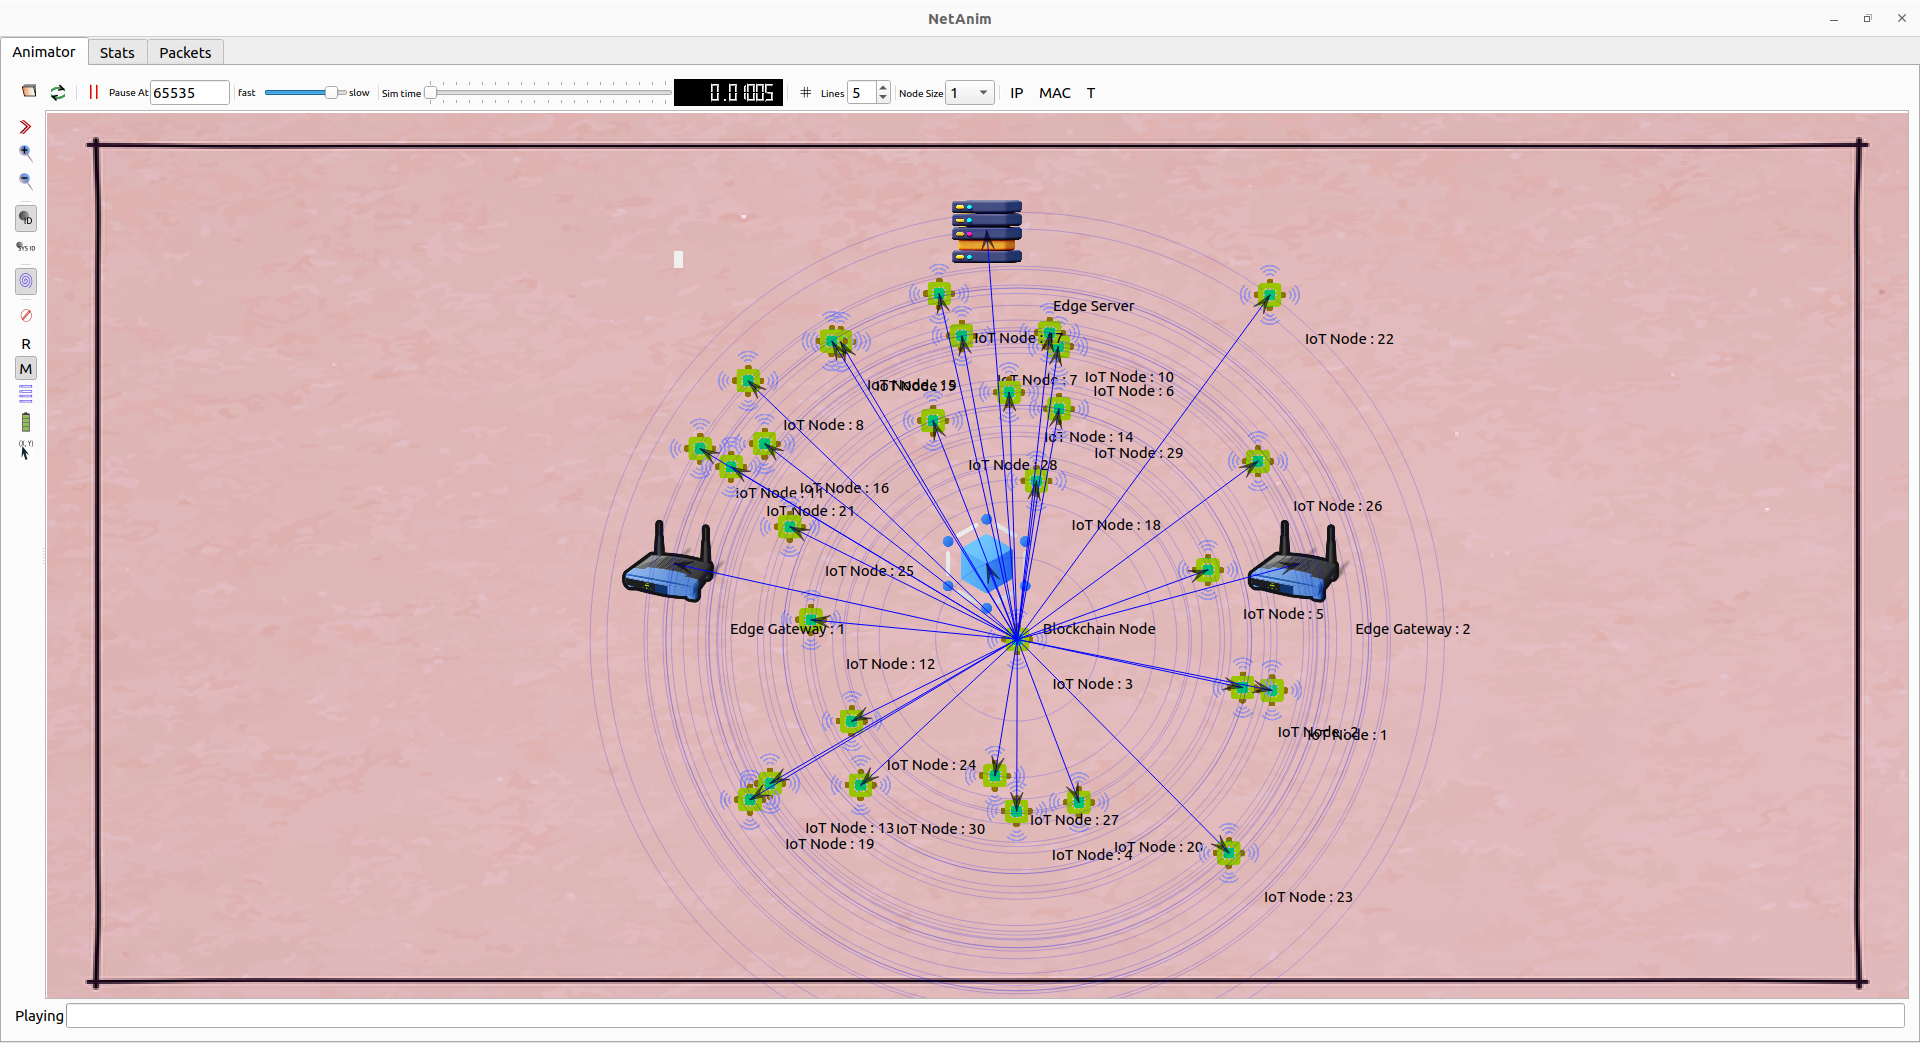
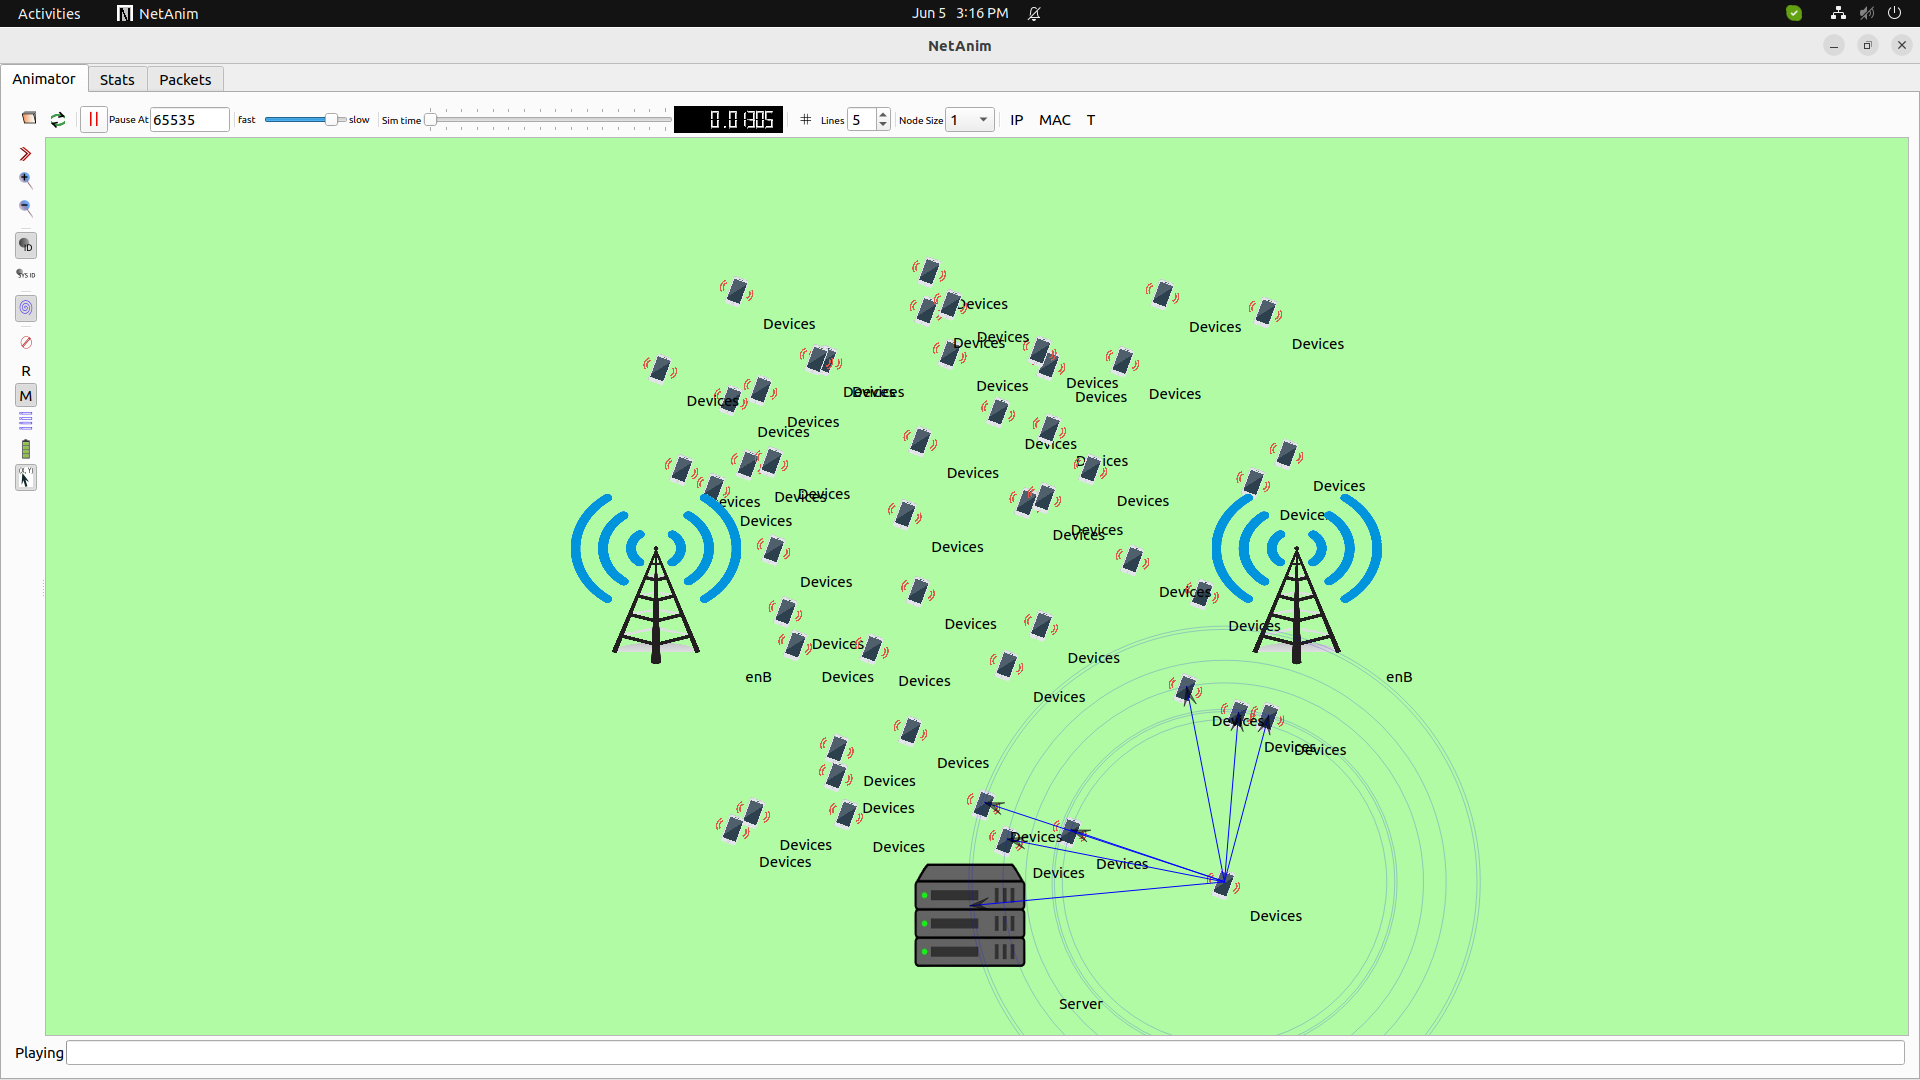
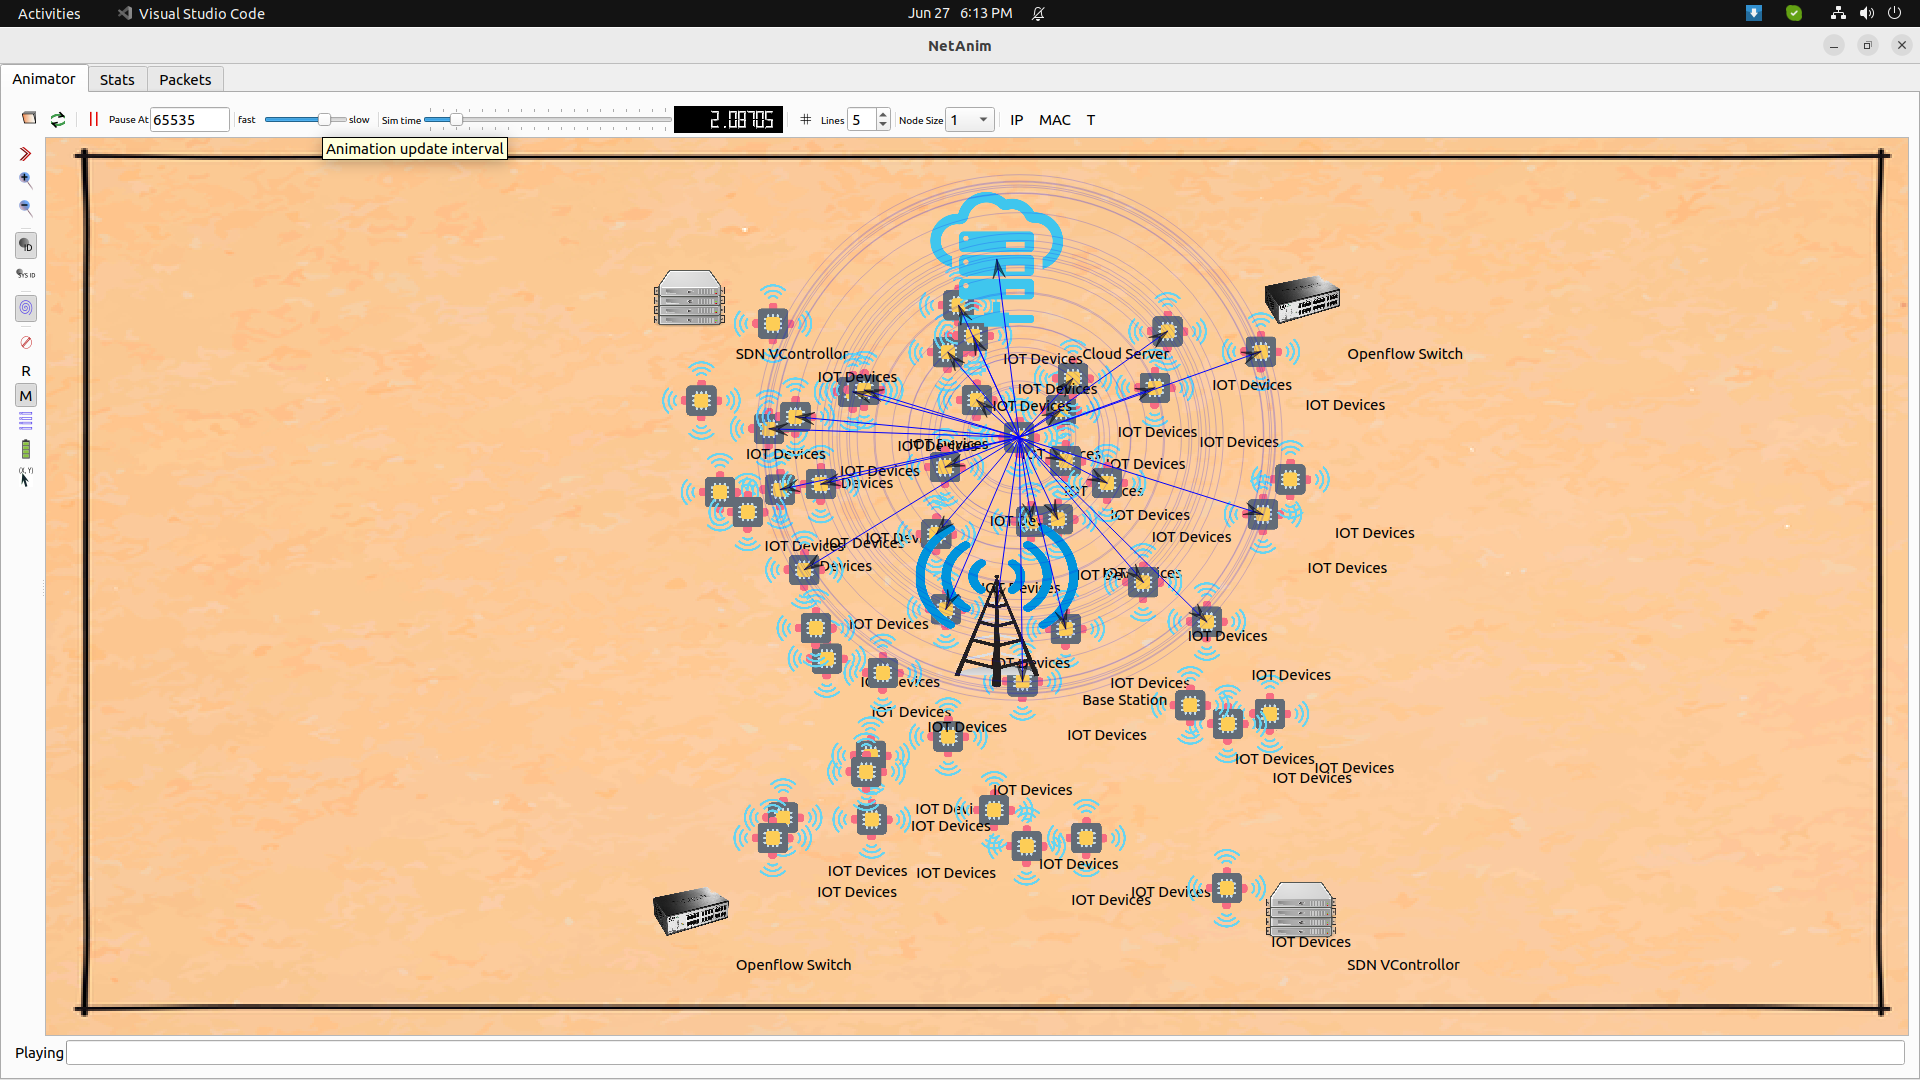
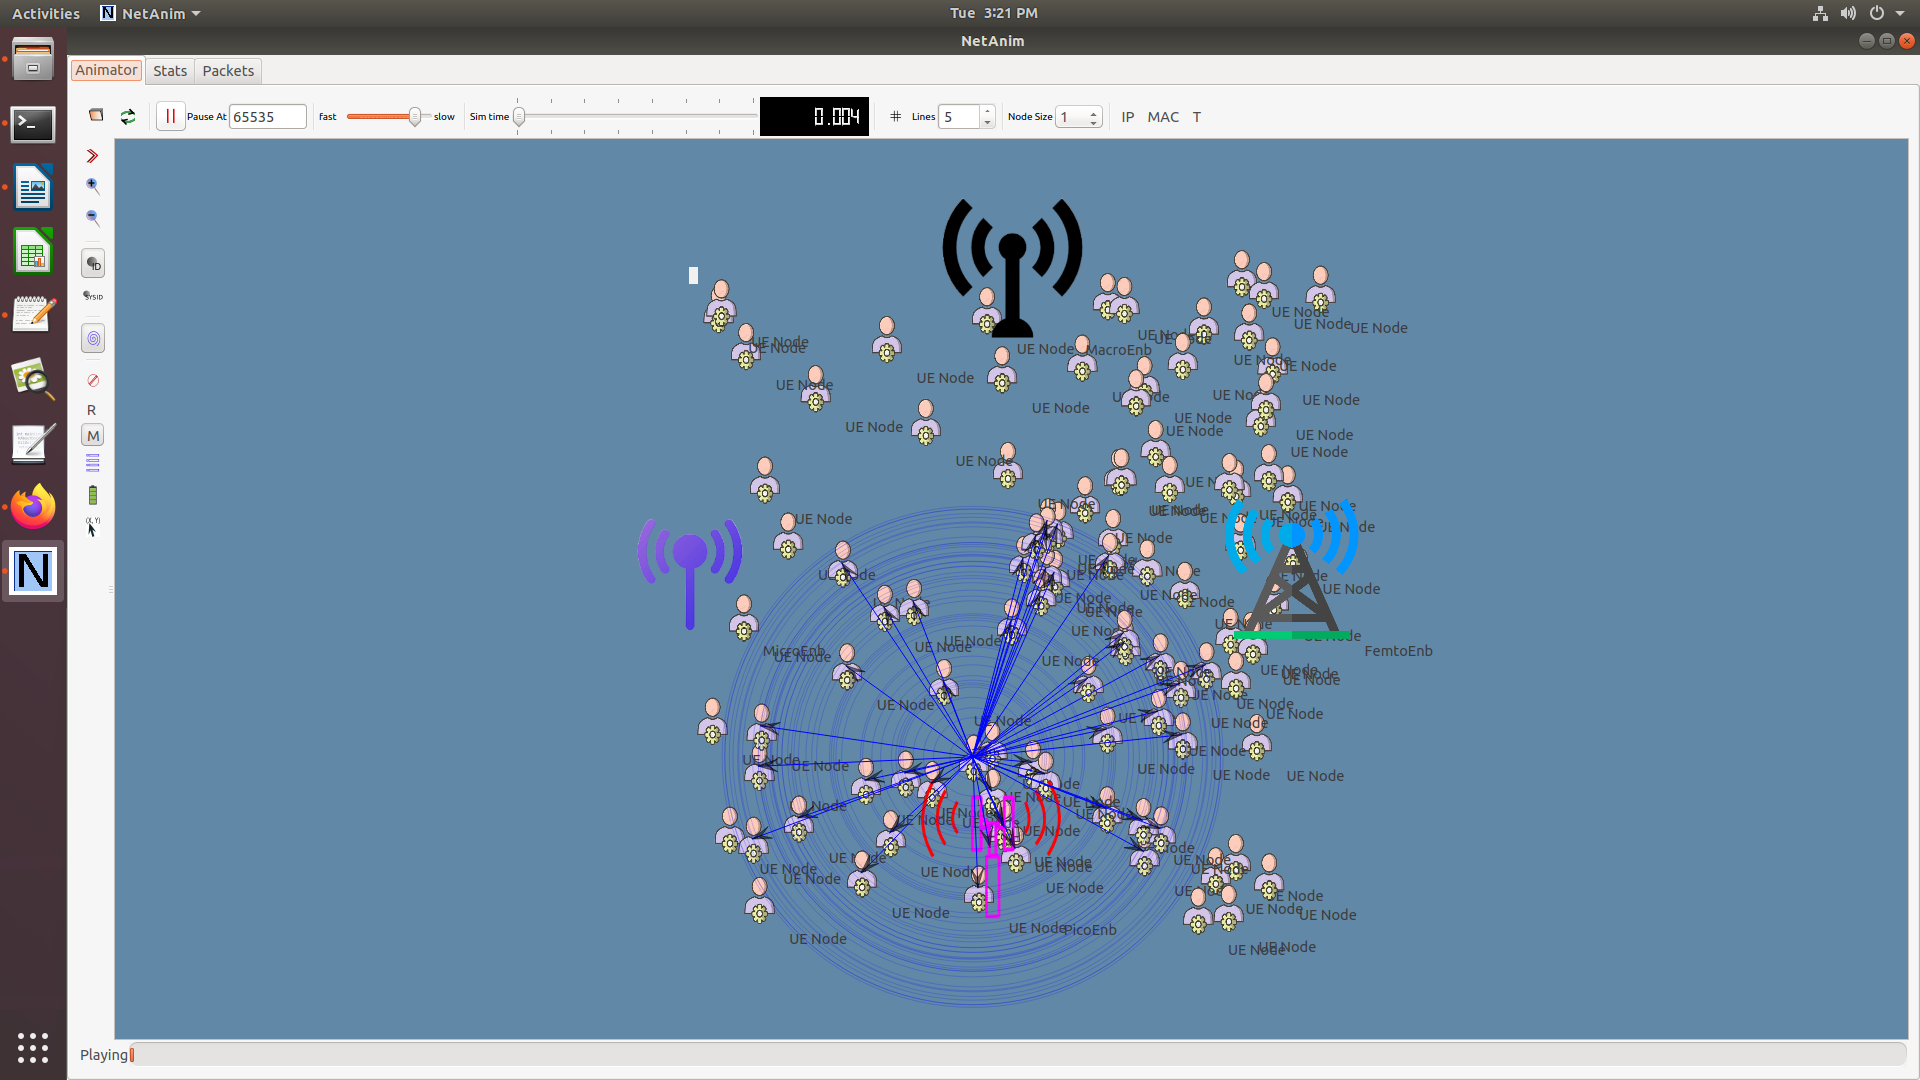
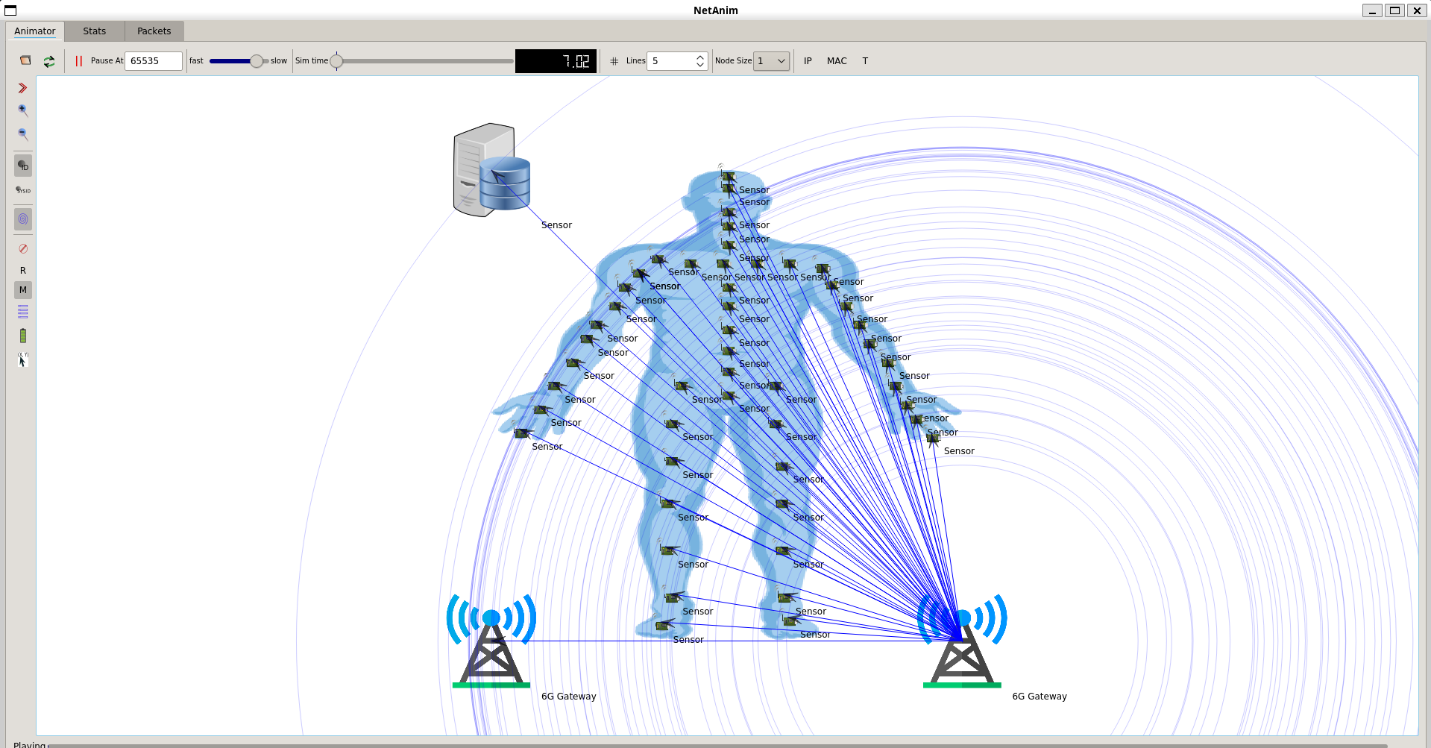
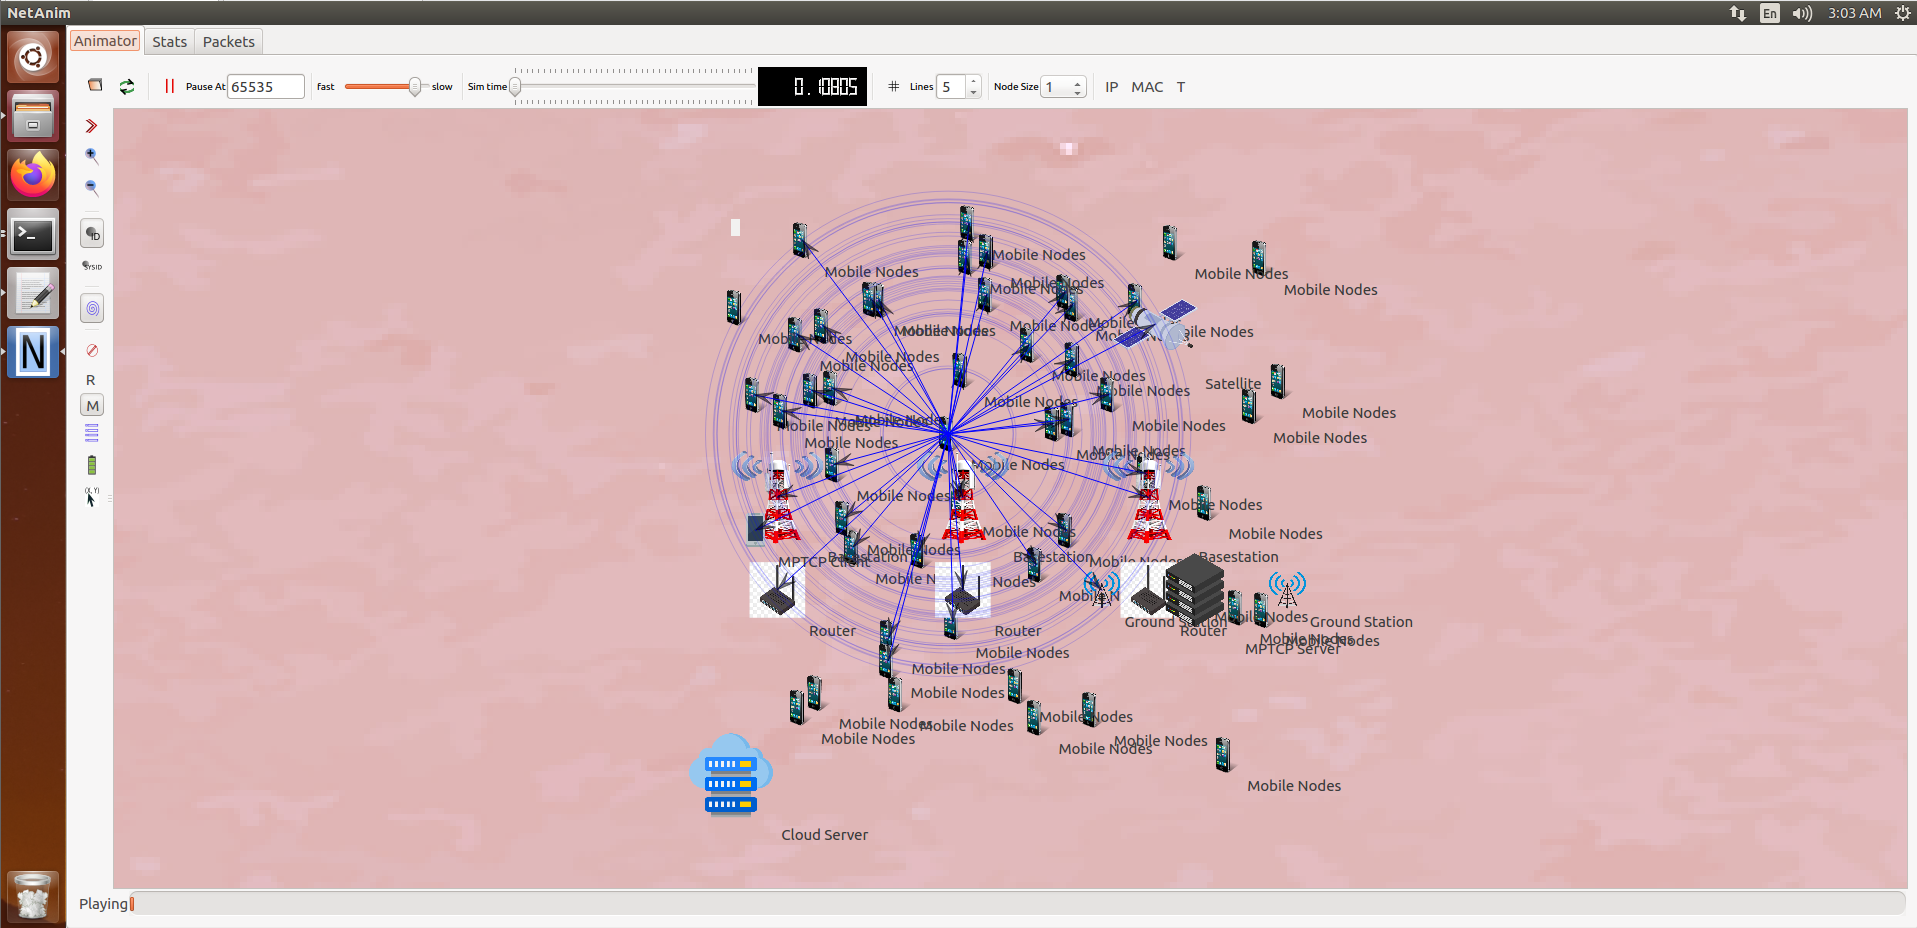
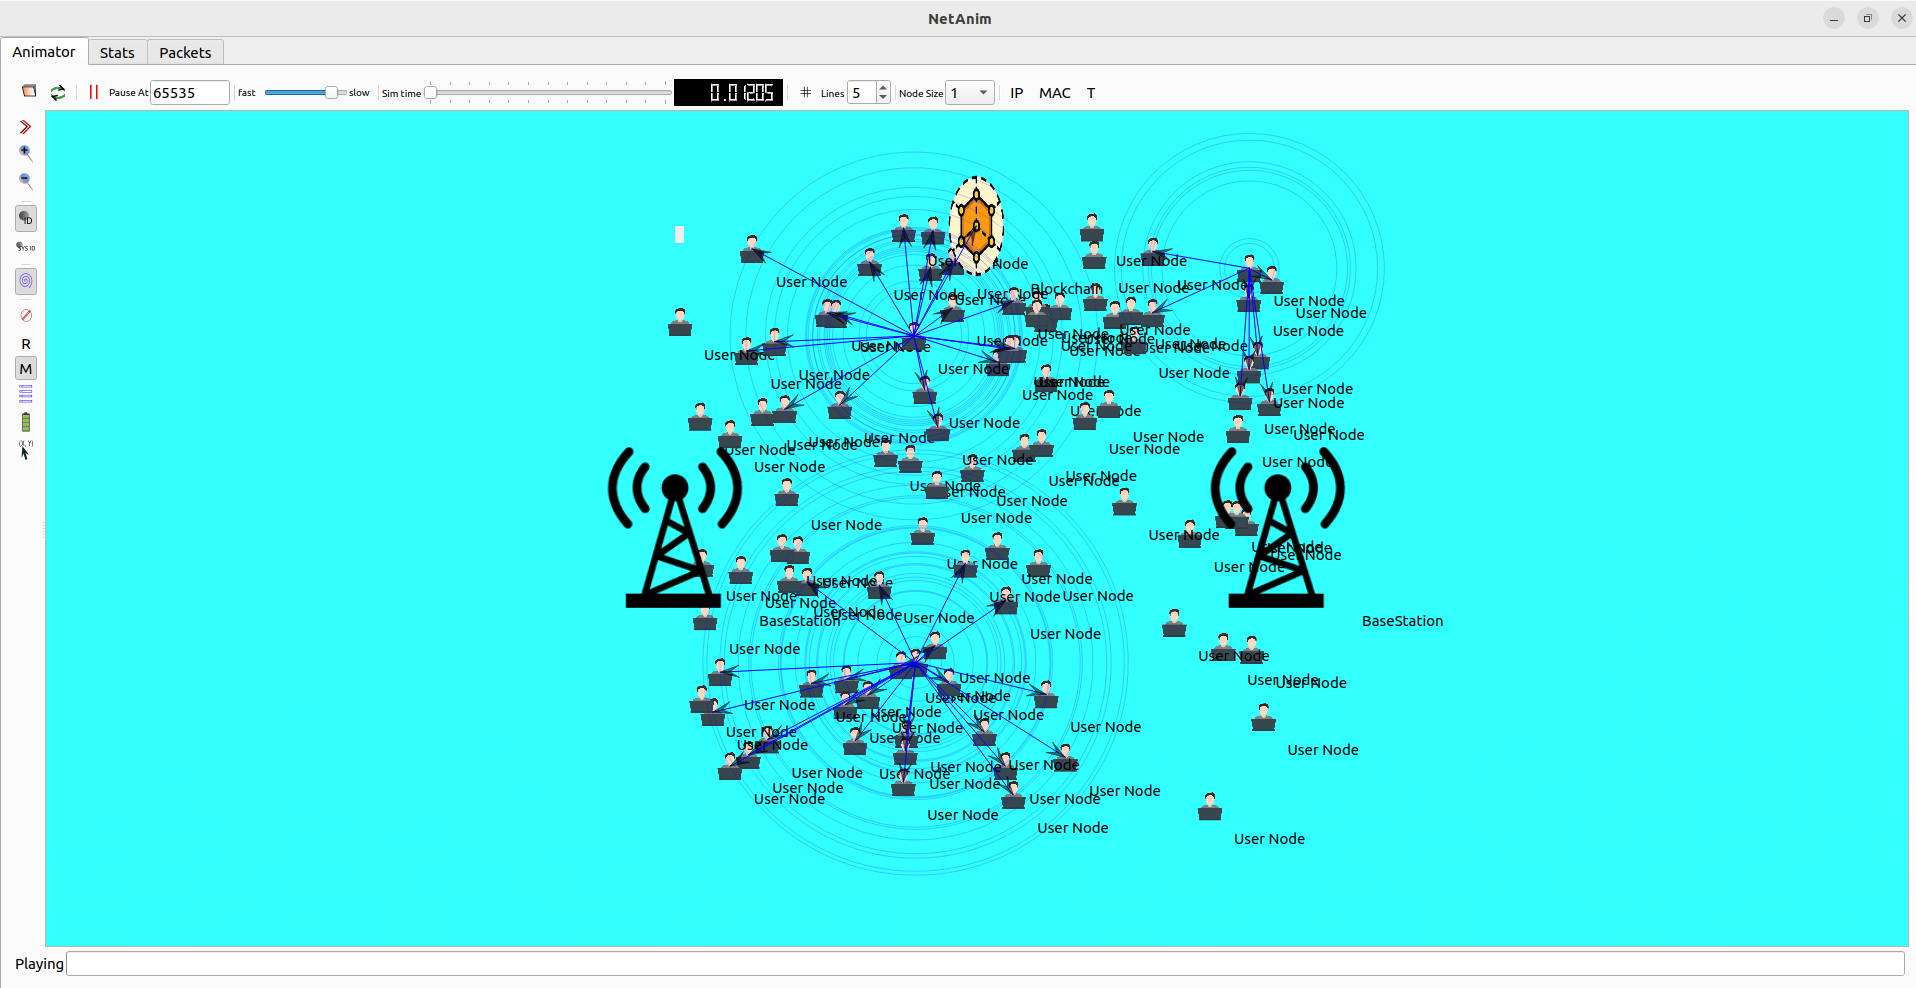
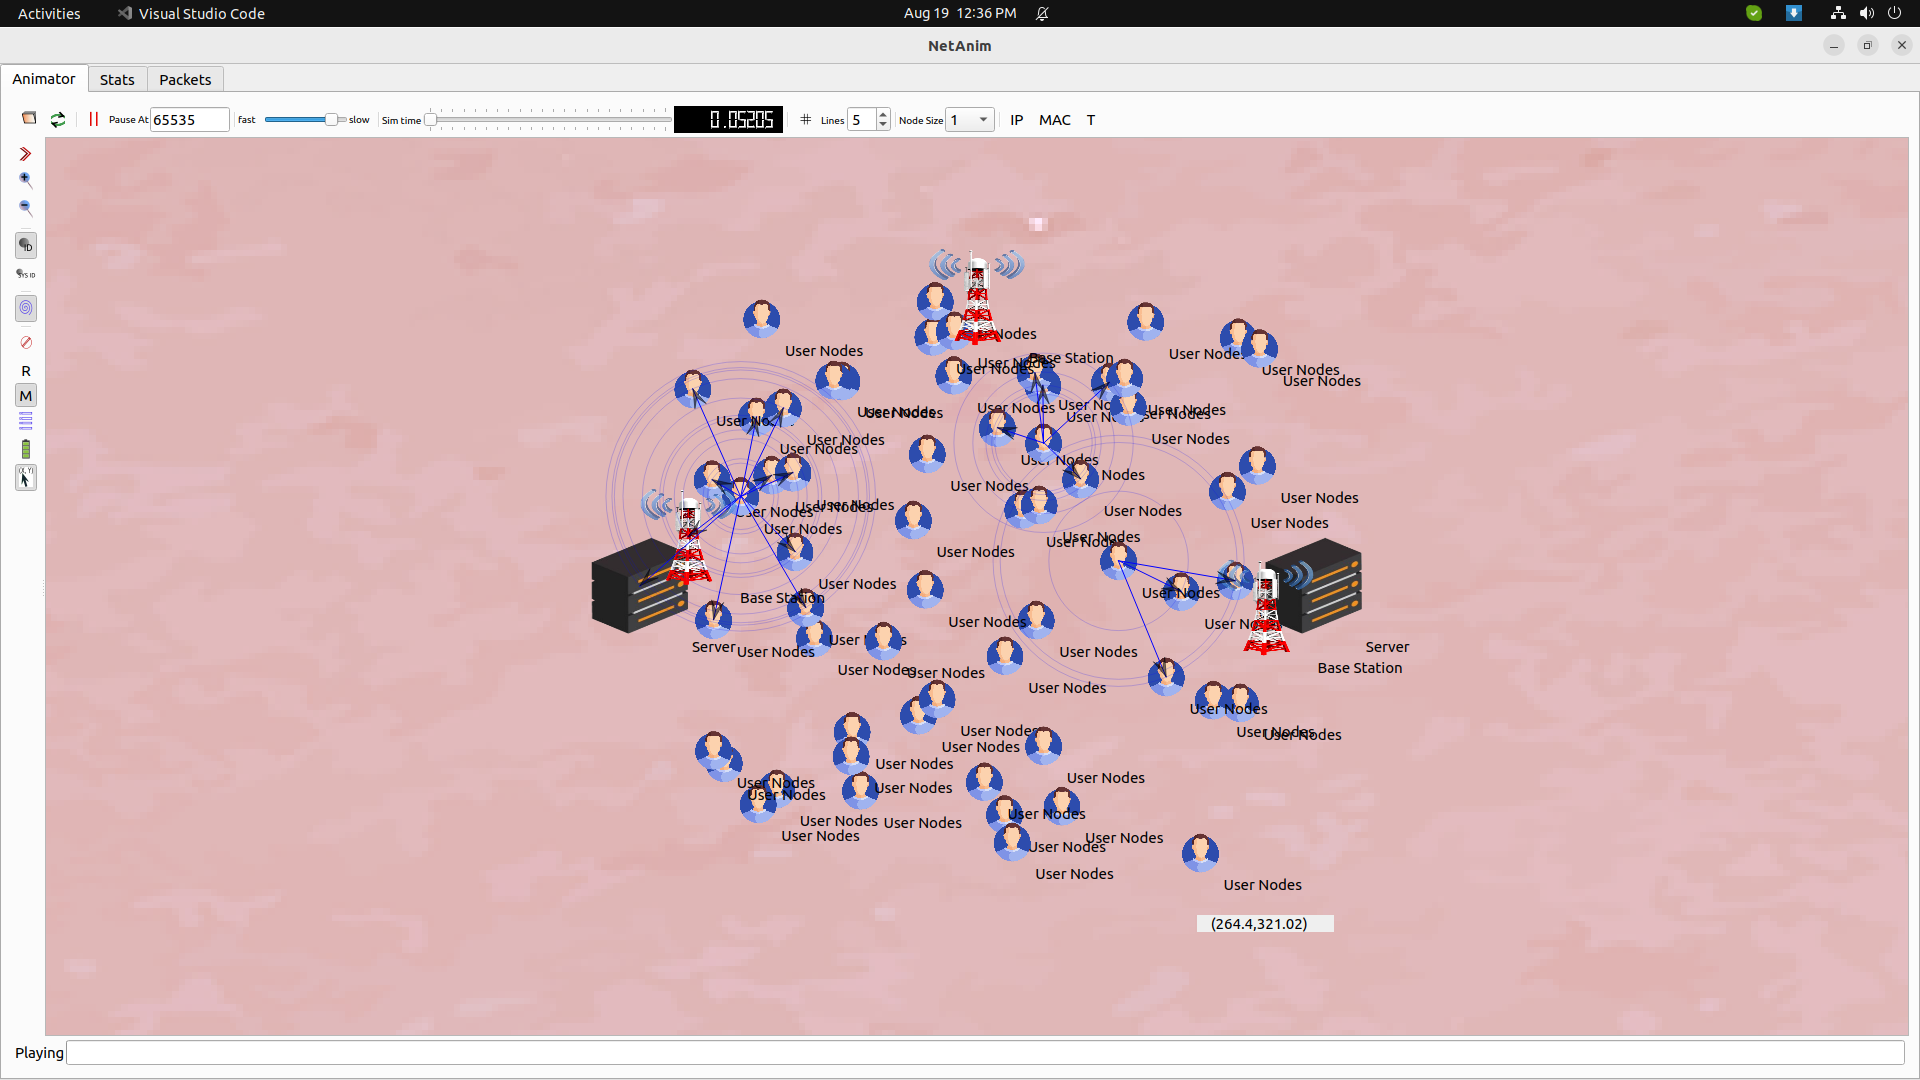
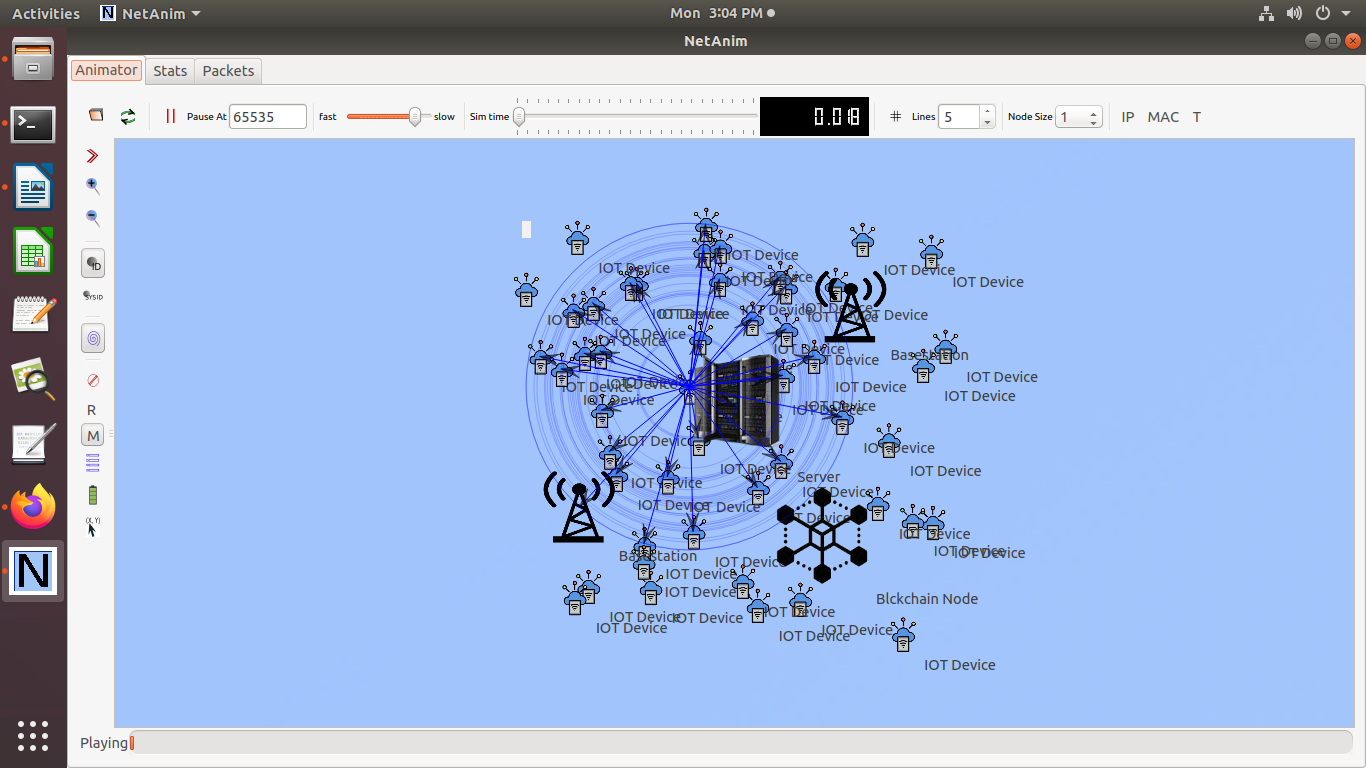
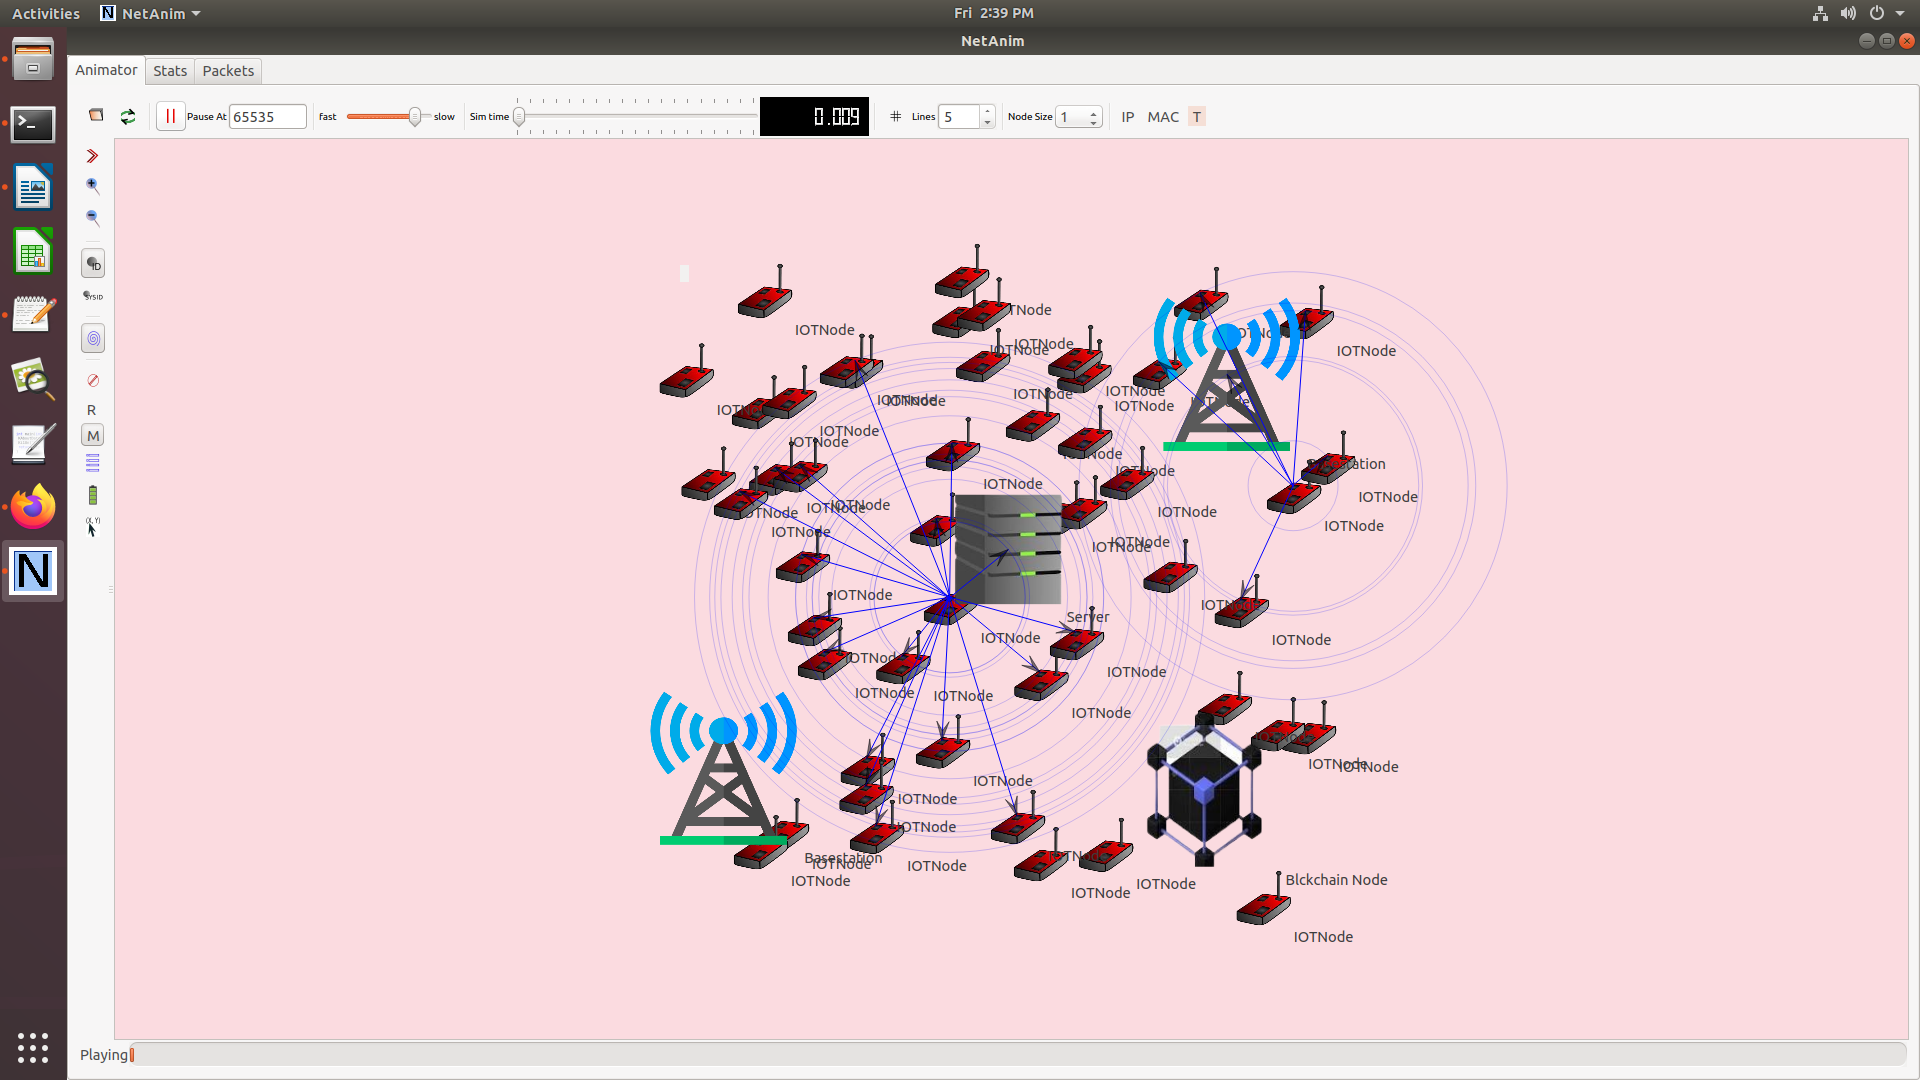
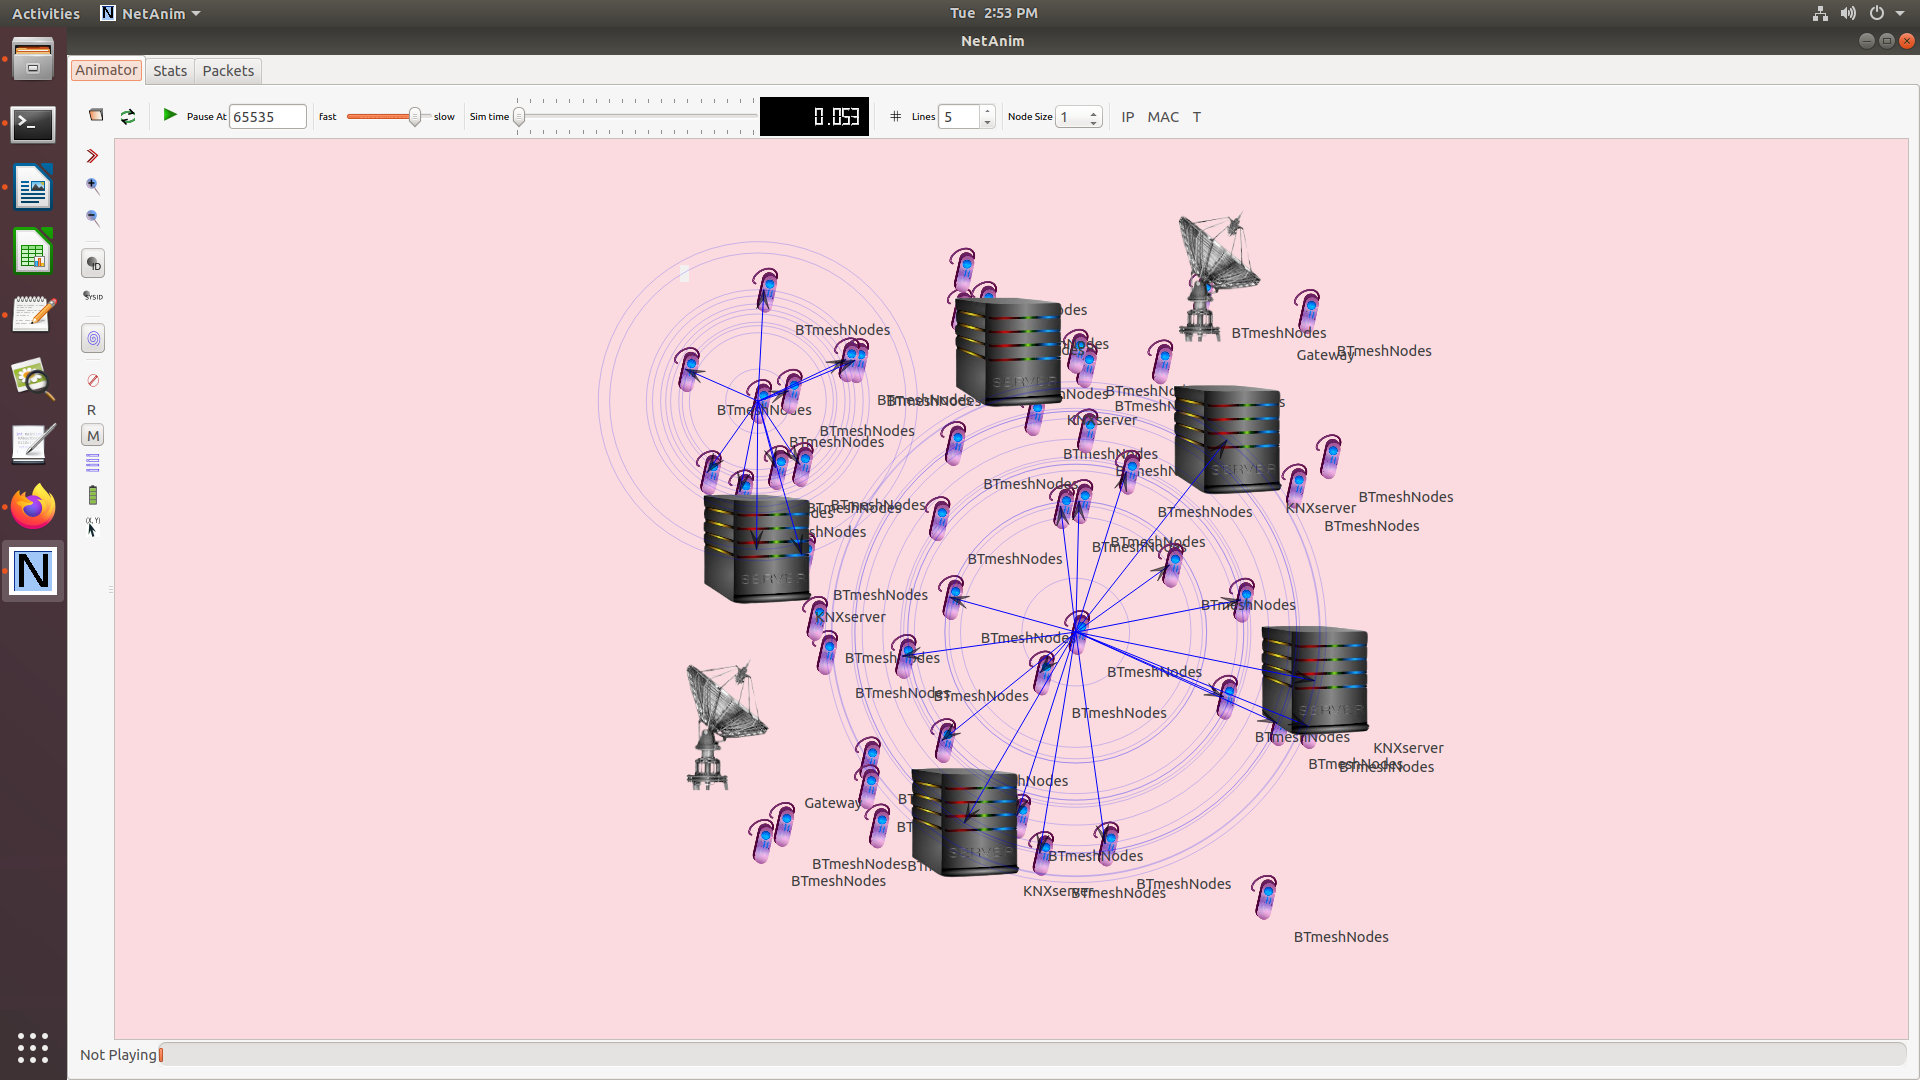
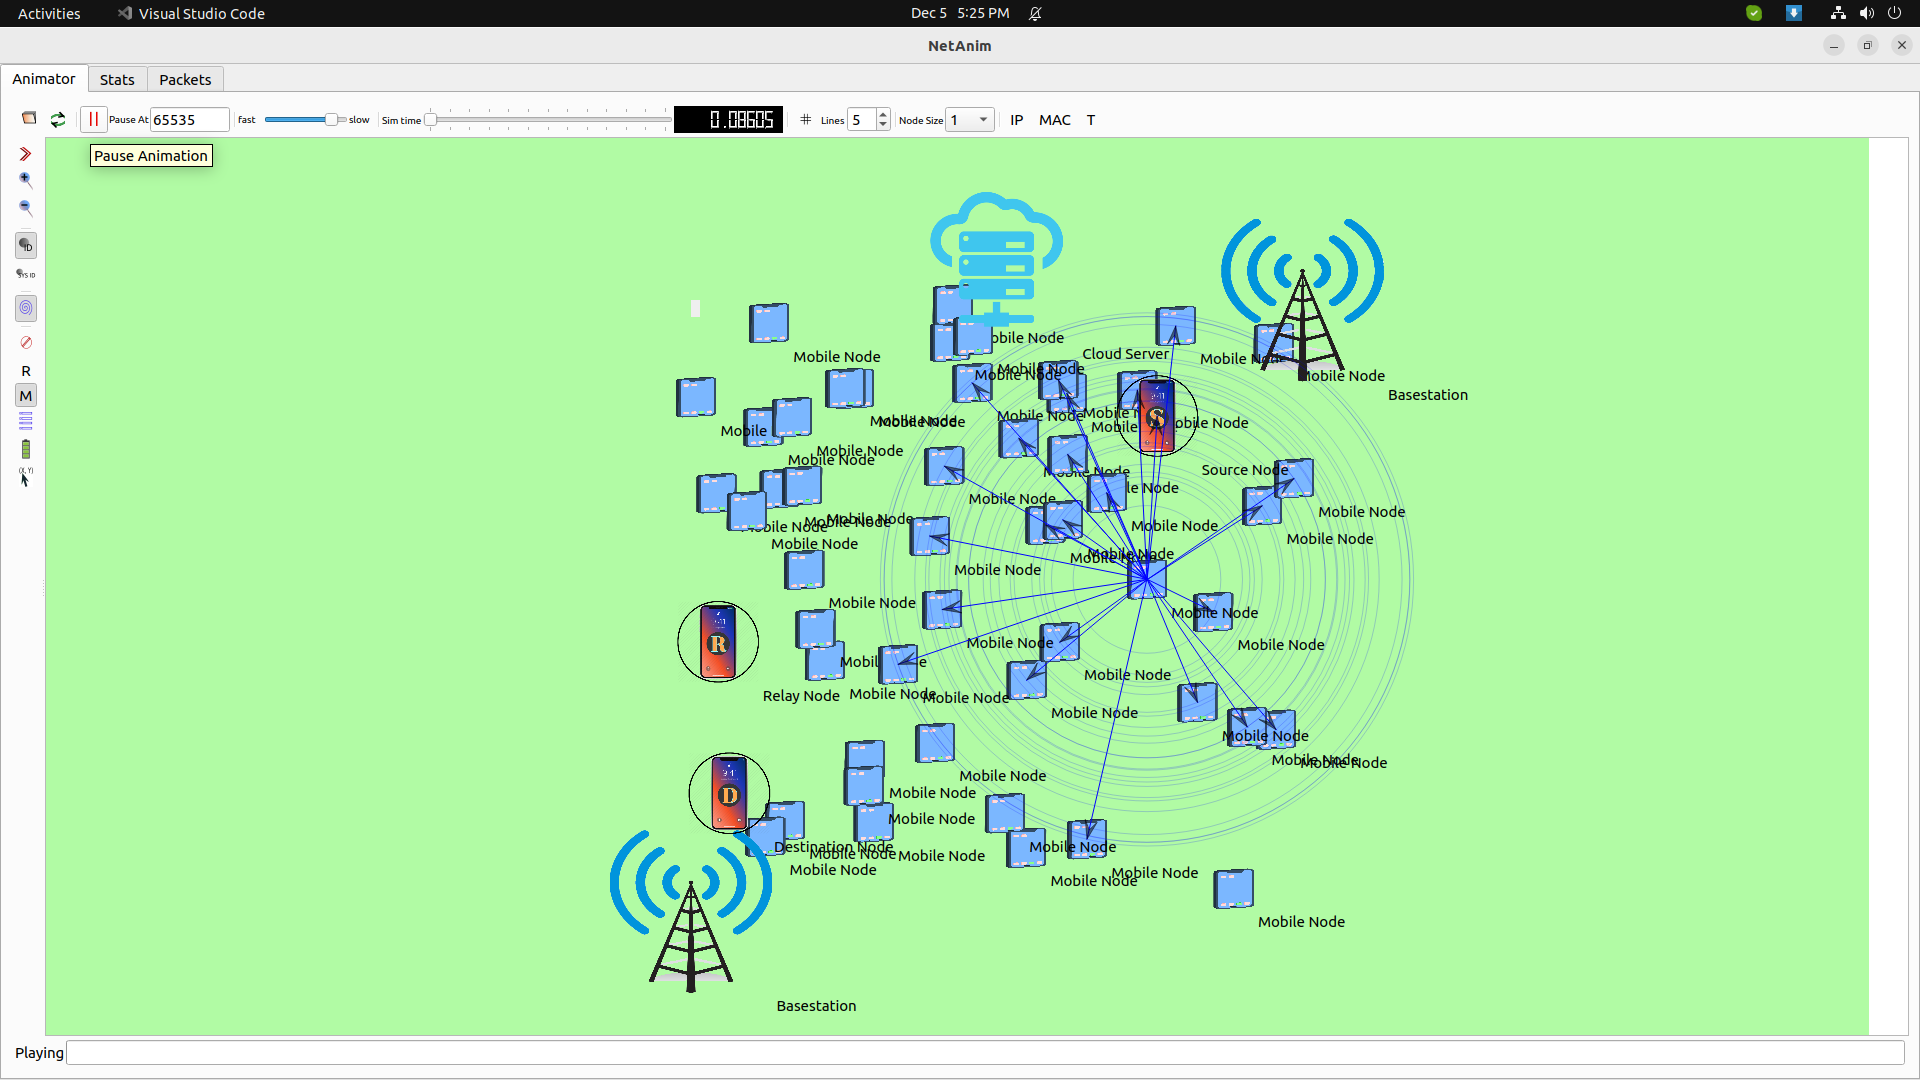
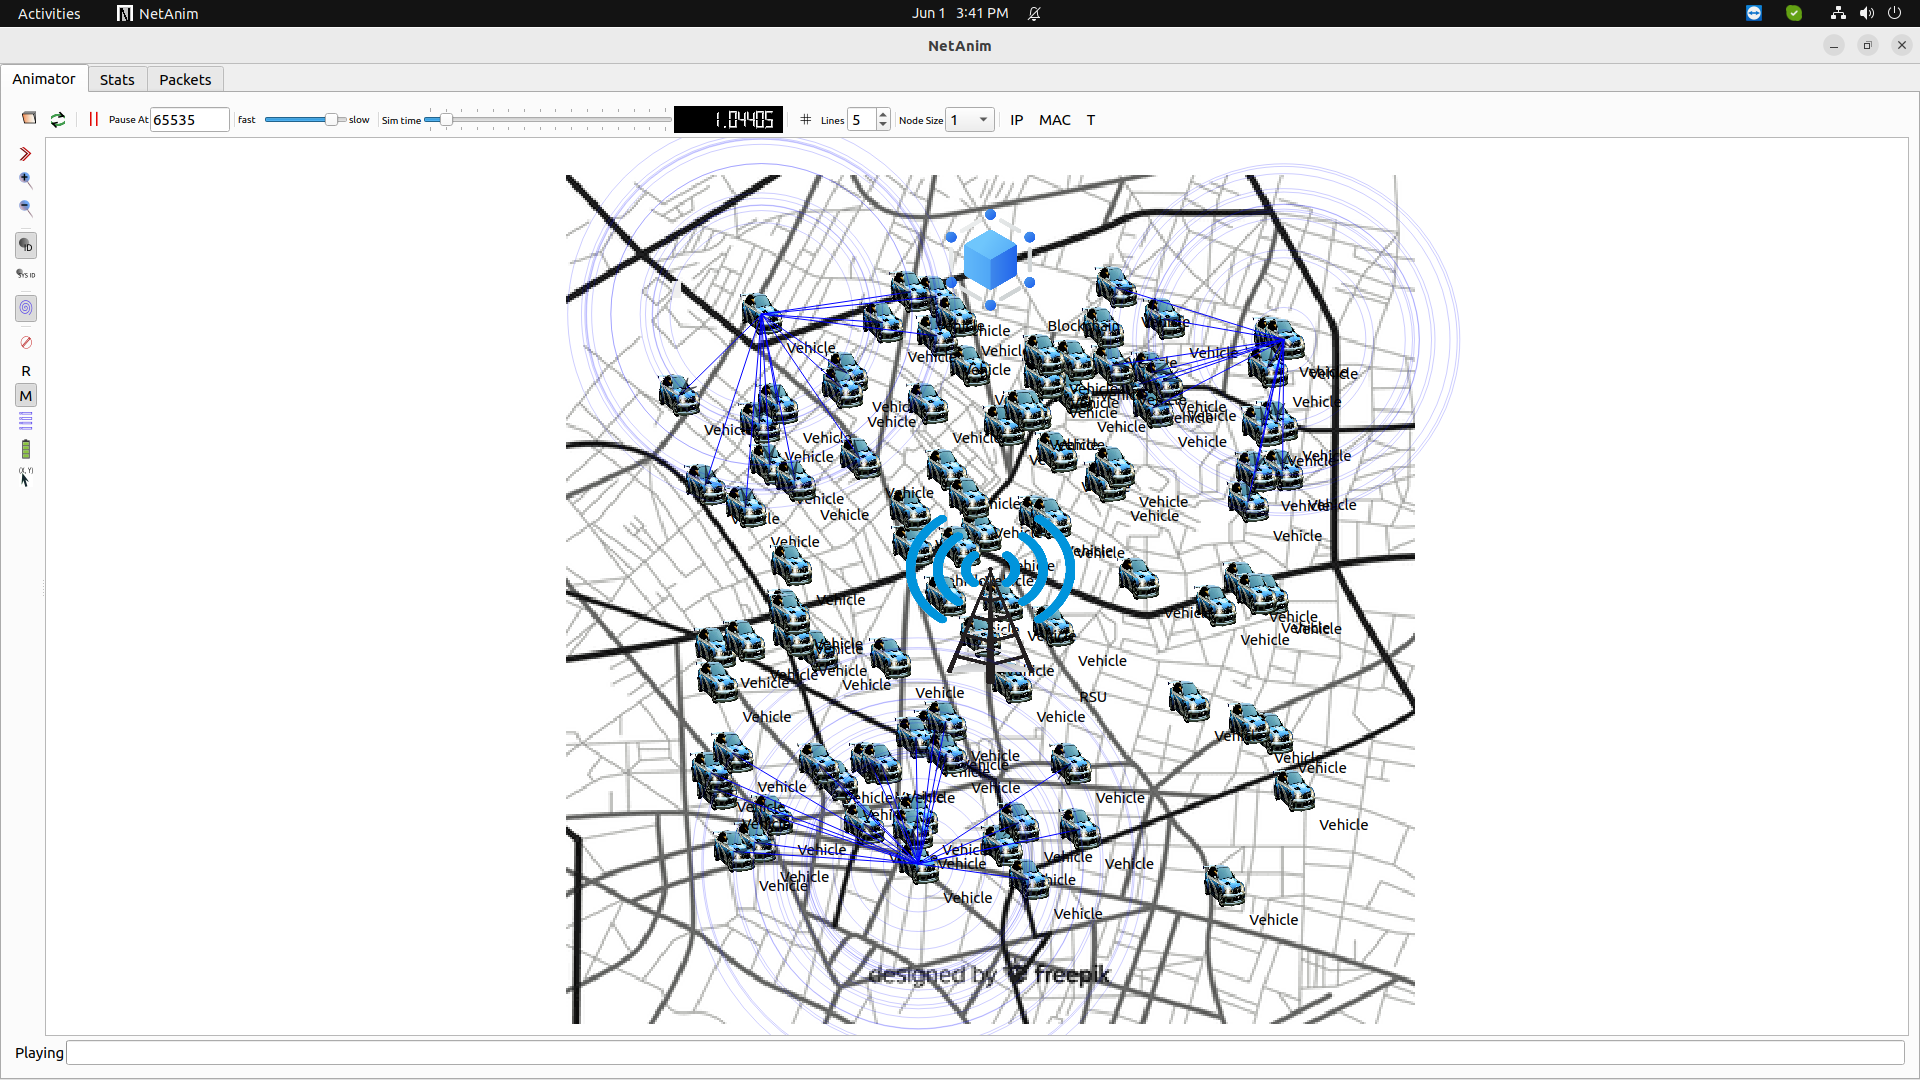
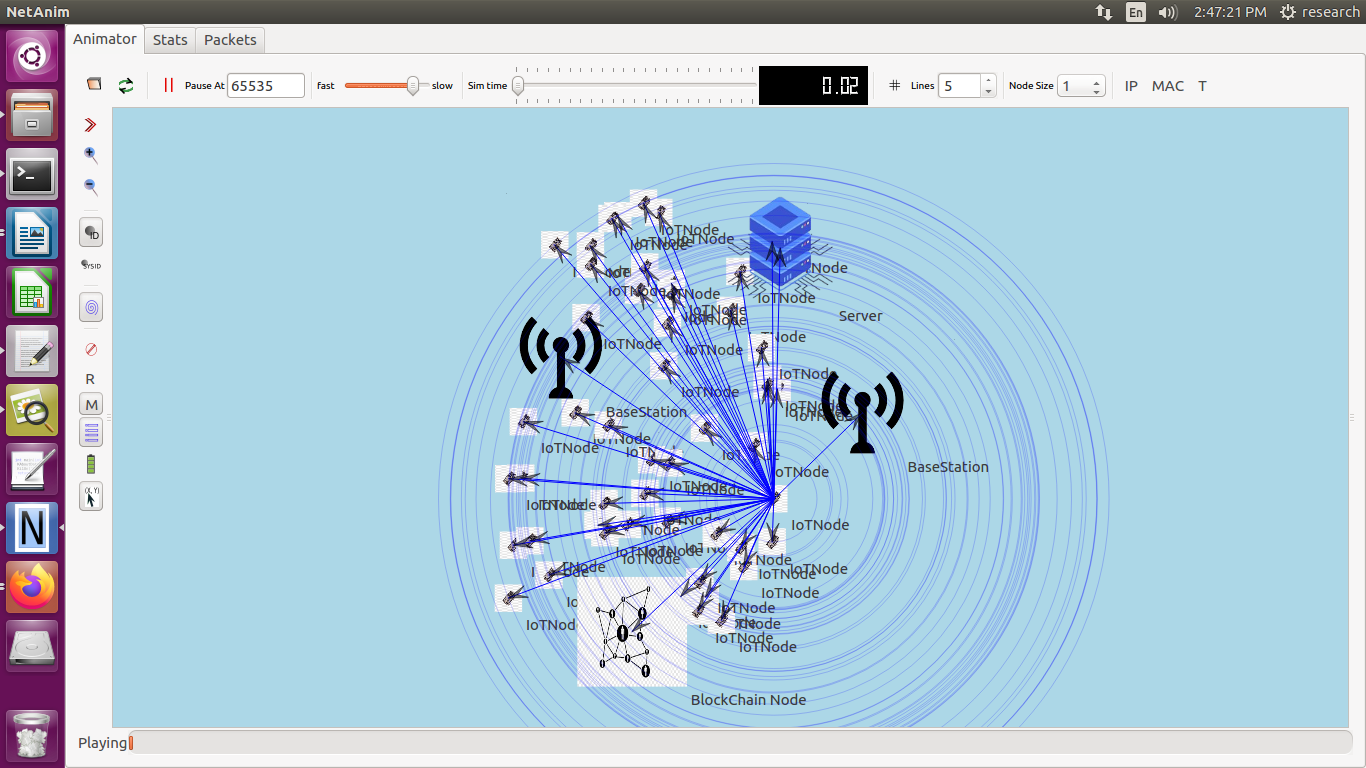
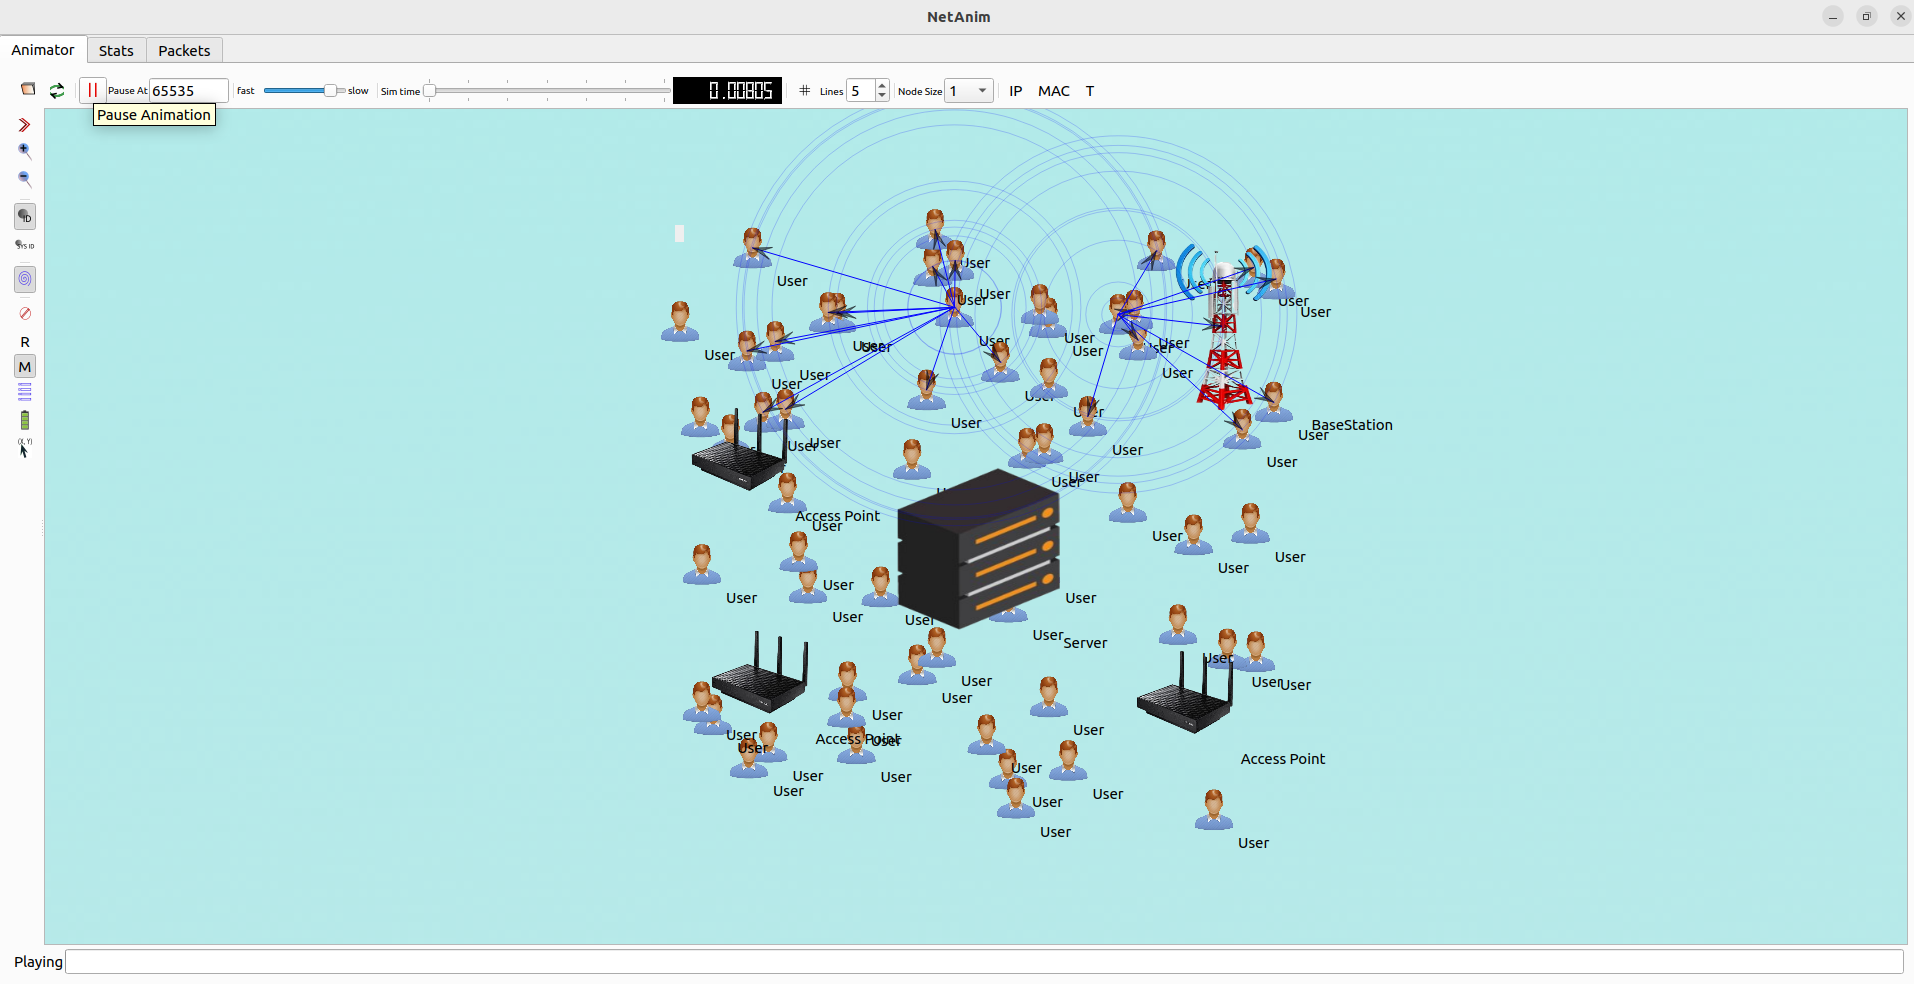
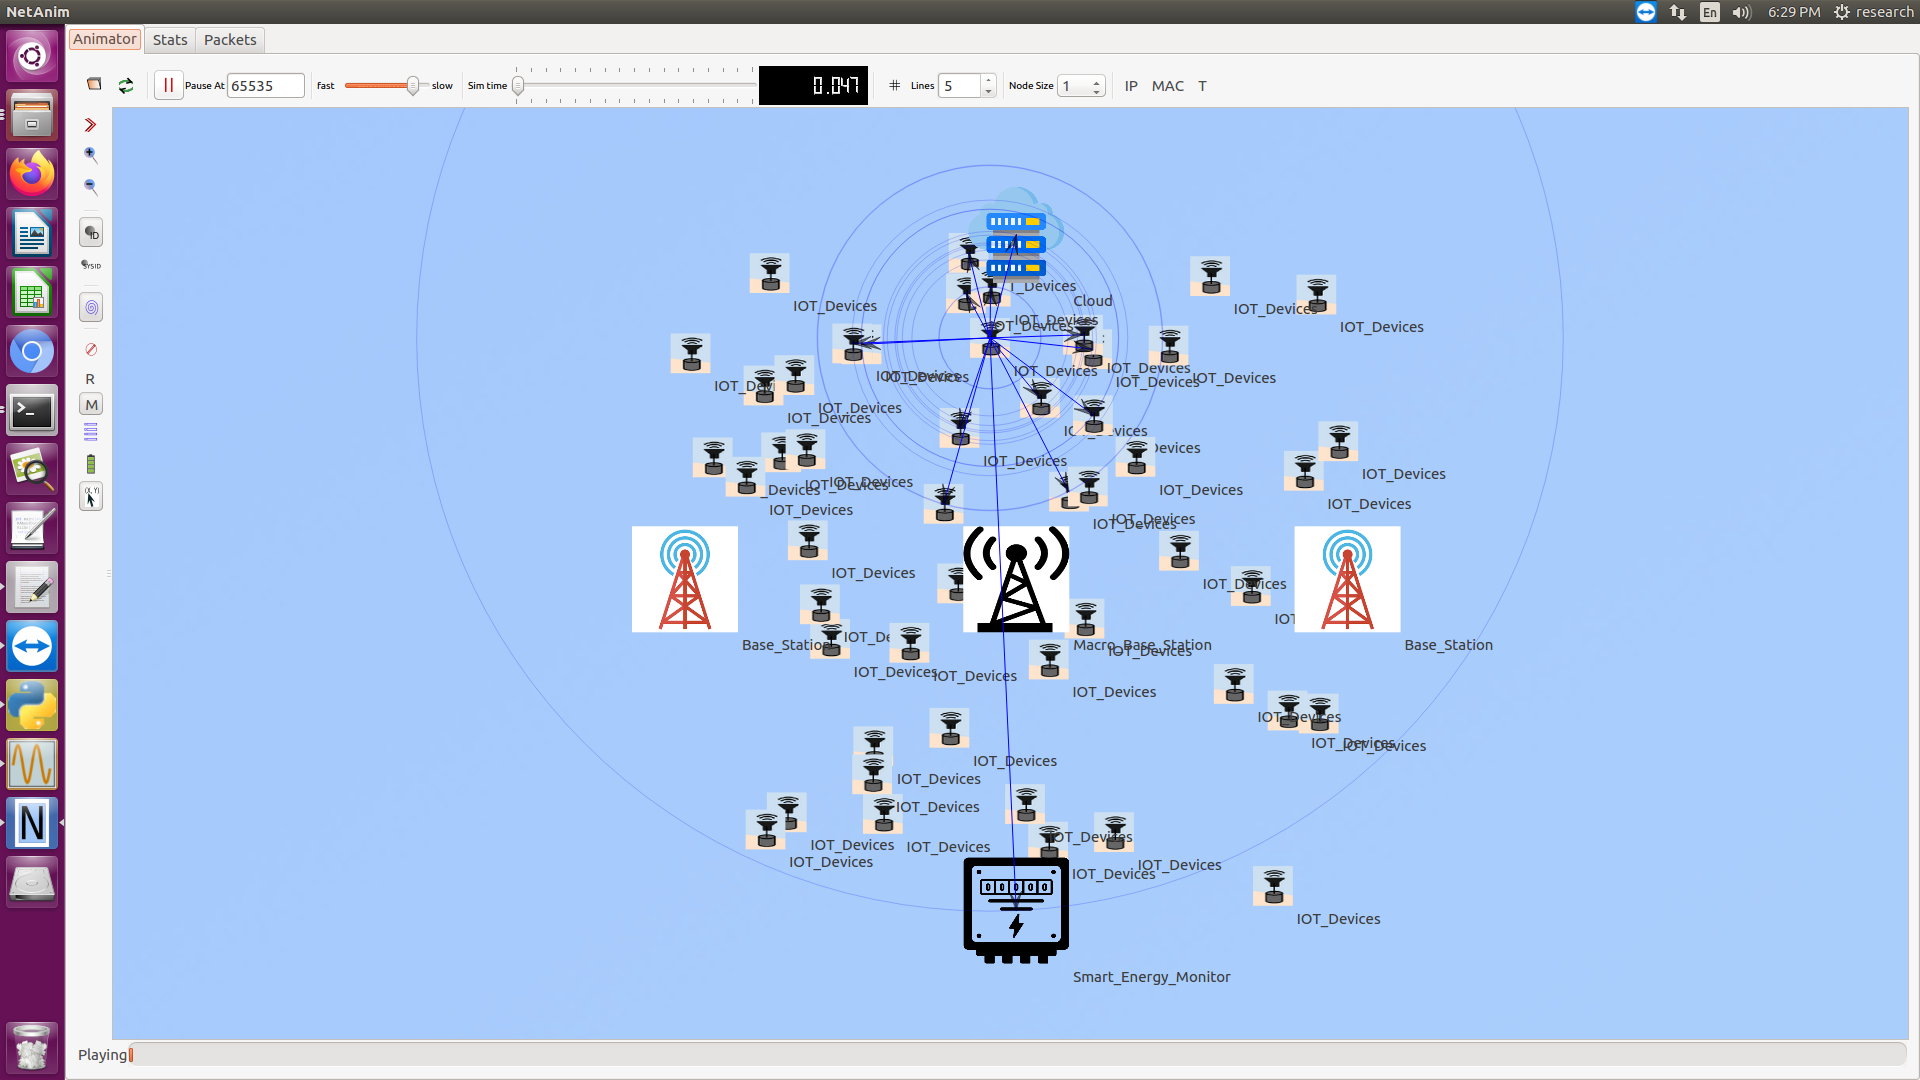
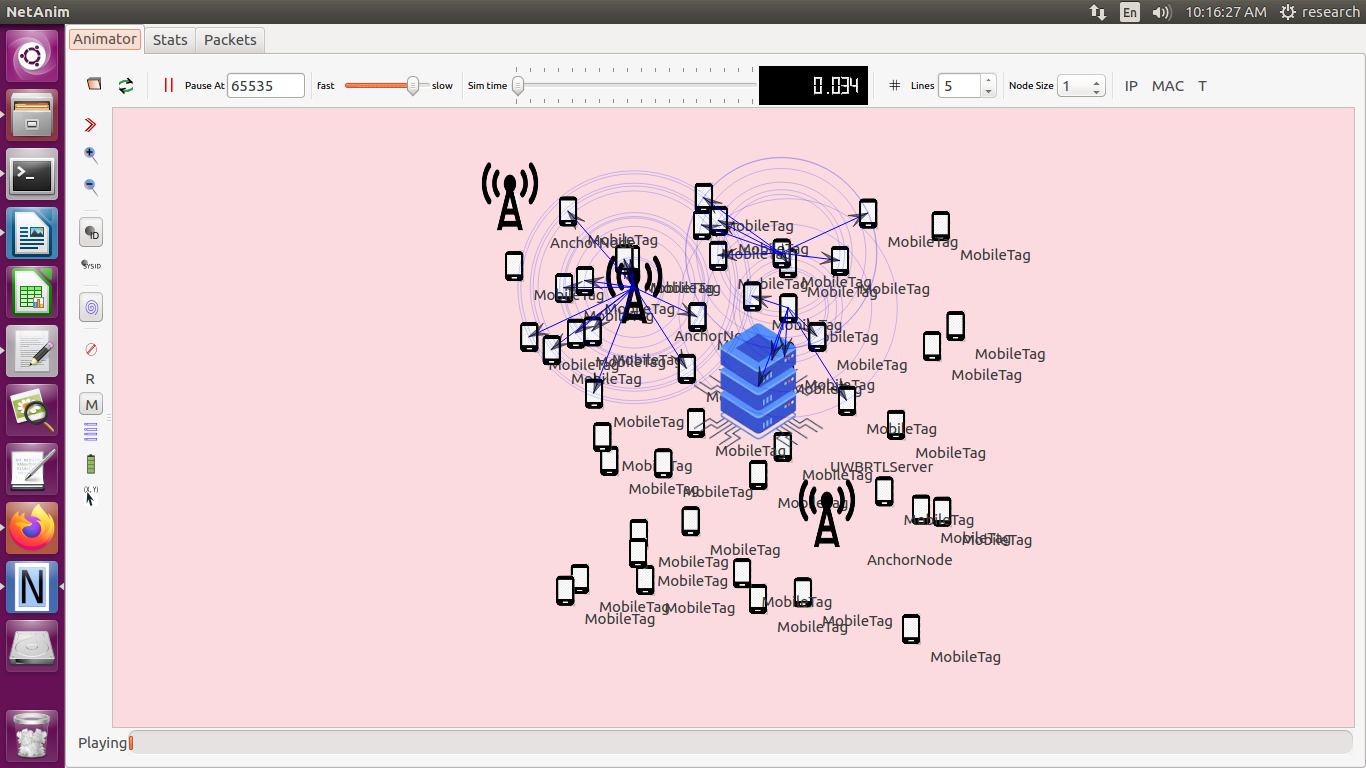
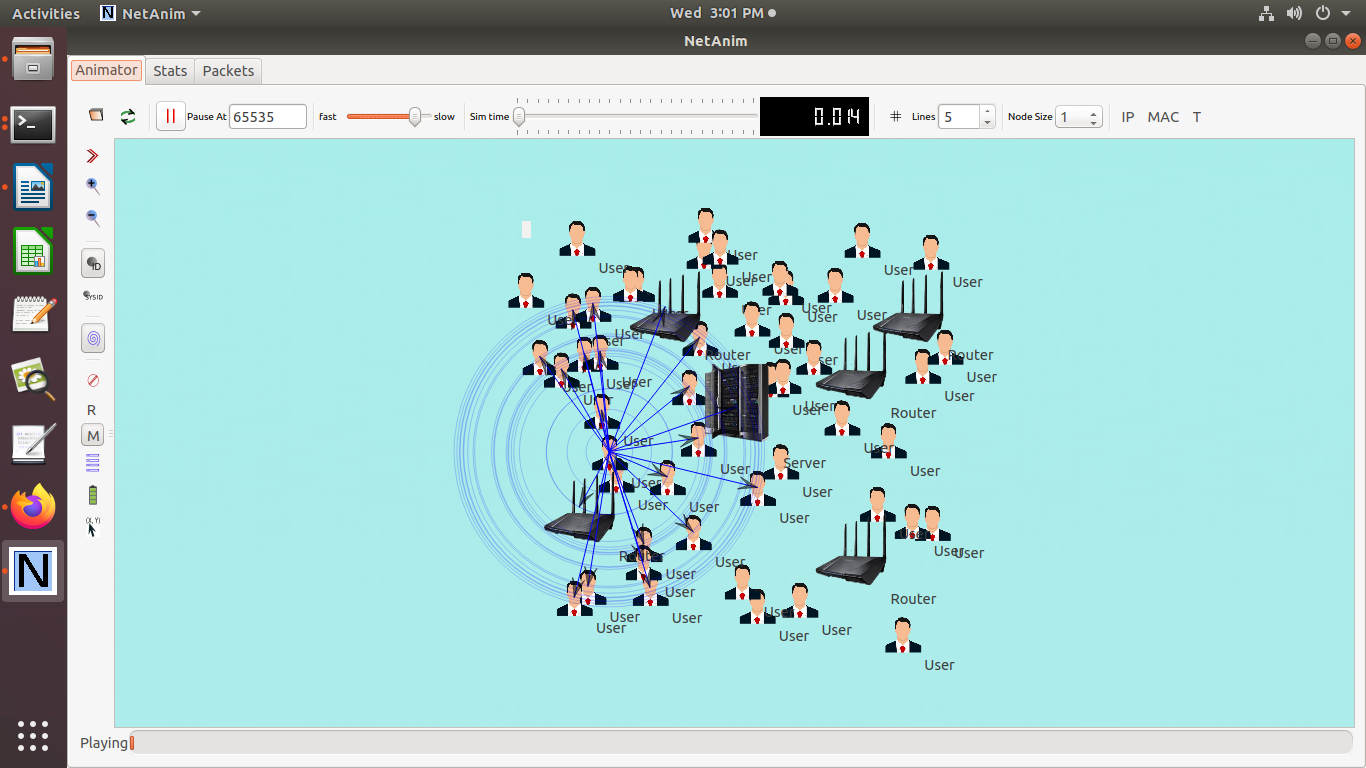
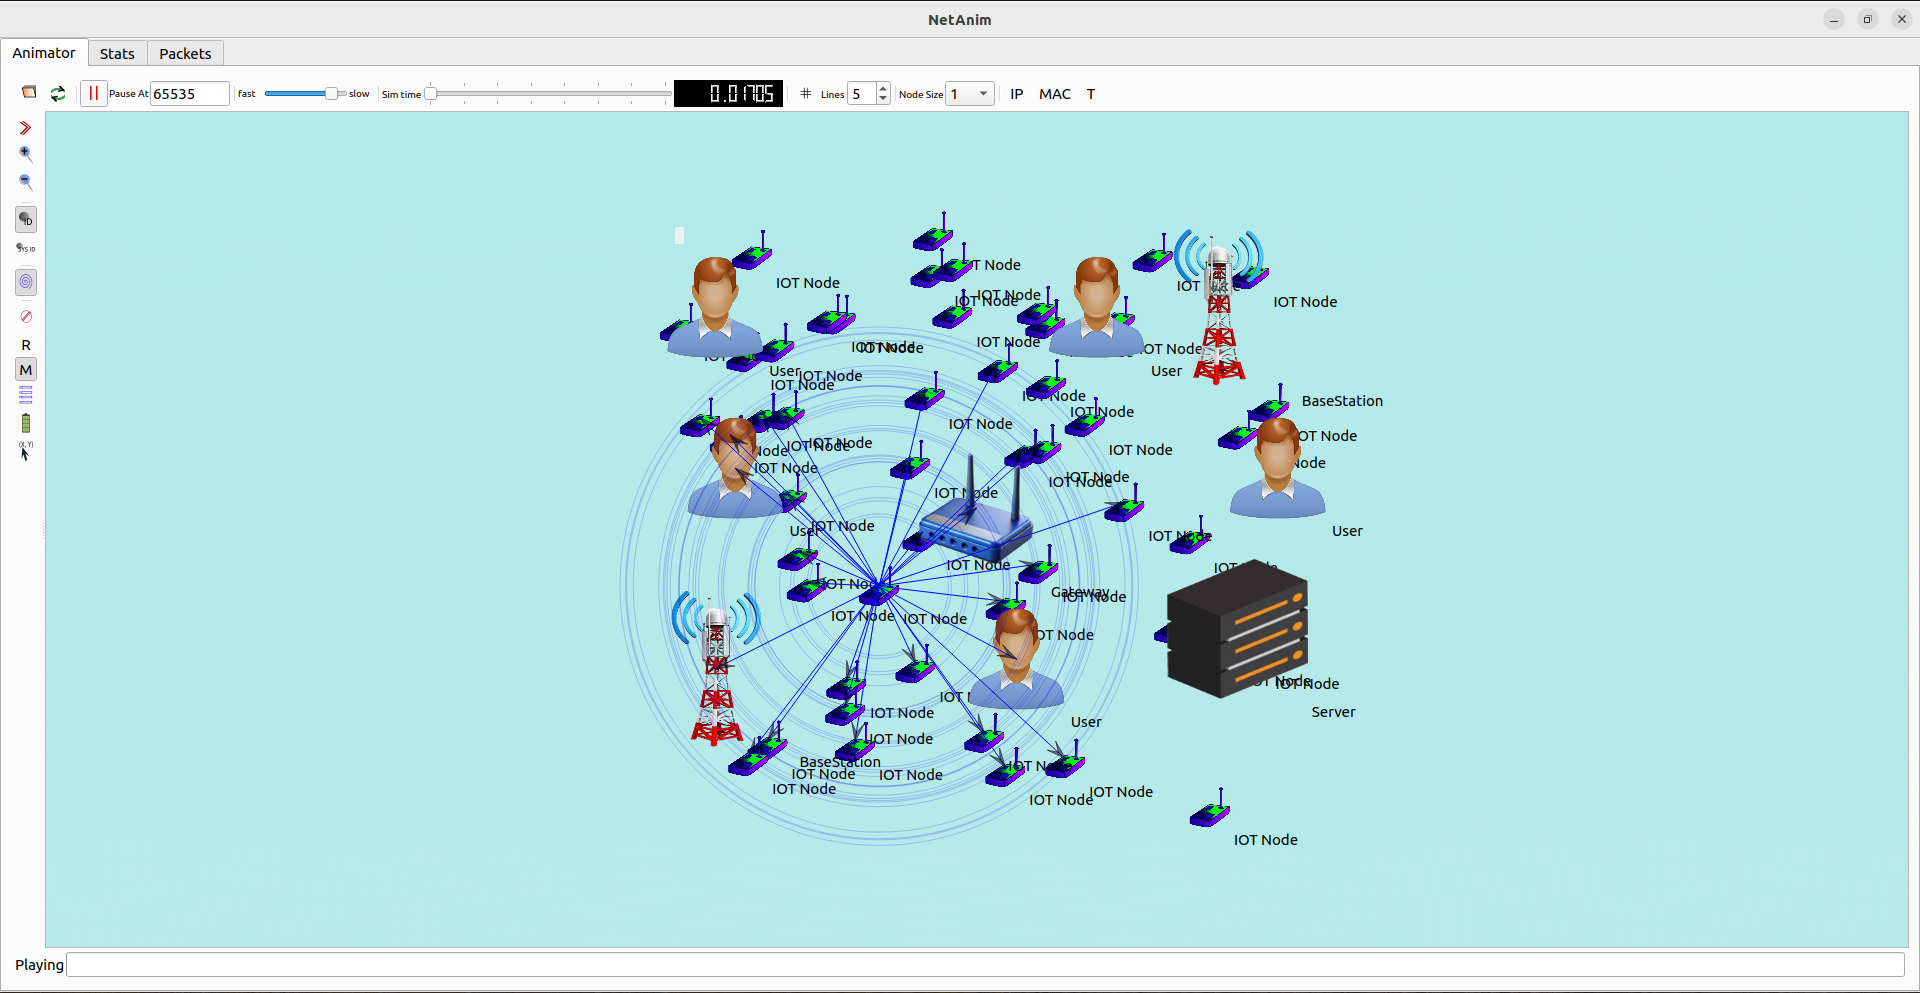
To Implement an Intelligent Agent-based Wireless Sensor Network (WSN) in ns-3 we set-up a network in which nodes (sensors) use intelligent agents to make decisions based on their environment and interactions. This can perform tasks such as dynamic routing, data aggregation, and adaptive sensing. The given below steps will guide to set up a basic Intelligent Agent WSN scenario in ns-3:
Step-by-Step Guide to Implement Intelligent Agent WSN in ns-3
- Set Up Your Development Environment
- Install ns-3:
- Follow the official ns-3 installation guide.
- Install Required Modules:
- Ensure you have all necessary ns-3 modules installed, such as Internet, WiFi, Mobility, and Applications modules.
- Create a Basic Intelligent Agent WSN Simulation Script
An example script is given to set up a basic Intelligent Agent WSN scenario using ns-3:
#include “ns3/core-module.h”
#include “ns3/network-module.h”
#include “ns3/internet-module.h”
#include “ns3/wifi-module.h”
#include “ns3/mobility-module.h”
#include “ns3/applications-module.h”
#include “ns3/flow-monitor-module.h”
#include <iostream>
using namespace ns3;
NS_LOG_COMPONENT_DEFINE (“IntelligentAgentWsnExample”);
class IntelligentAgent
{
public:
void MakeDecision (Ptr<Node> node)
{
// Implement your intelligent agent’s decision-making logic here
// For example, you can dynamically change the node’s transmission power
// or adjust its sensing interval based on certain conditions
std::cout << “Node ” << node->GetId () << ” making a decision.” << std::endl;
}
};
void IntelligentAgentCallback (Ptr<Node> node, IntelligentAgent agent)
{
agent.MakeDecision (node);
Simulator::Schedule (Seconds (5.0), &IntelligentAgentCallback, node, agent);
}
int main (int argc, char *argv[])
{
// Set simulation parameters
double simTime = 60.0; // Simulation time in seconds
uint32_t numNodes = 25;
double distance = 100.0; // Distance between nodes
CommandLine cmd;
cmd.AddValue(“simTime”, “Simulation time”, simTime);
cmd.AddValue(“numNodes”, “Number of sensor nodes”, numNodes);
cmd.Parse(argc, argv);
// Create nodes
NodeContainer sensorNodes;
sensorNodes.Create(numNodes);
// Set up Wi-Fi
WifiHelper wifi;
wifi.SetStandard(WIFI_PHY_STANDARD_80211b);
YansWifiChannelHelper wifiChannel = YansWifiChannelHelper::Default();
YansWifiPhyHelper wifiPhy = YansWifiPhyHelper::Default();
wifiPhy.SetChannel(wifiChannel.Create());
WifiMacHelper wifiMac;
wifiMac.SetType(“ns3::AdhocWifiMac”);
NetDeviceContainer sensorDevices;
sensorDevices = wifi.Install(wifiPhy, wifiMac, sensorNodes);
// Install the Internet stack on sensor nodes
InternetStackHelper internet;
internet.Install(sensorNodes);
// Assign IP addresses to sensor devices
Ipv4AddressHelper ipv4;
ipv4.SetBase(“10.1.1.0”, “255.255.255.0”);
Ipv4InterfaceContainer sensorInterfaces = ipv4.Assign(sensorDevices);
// Set up mobility
MobilityHelper mobility;
mobility.SetPositionAllocator(“ns3::GridPositionAllocator”,
“MinX”, DoubleValue(0.0),
“MinY”, DoubleValue(0.0),
“DeltaX”, DoubleValue(distance),
“DeltaY”, DoubleValue(distance),
“GridWidth”, UintegerValue(5),
“LayoutType”, StringValue(“RowFirst”));
mobility.SetMobilityModel(“ns3::ConstantPositionMobilityModel”);
mobility.Install(sensorNodes);
// Create and install intelligent agents
IntelligentAgent agent;
for (uint32_t i = 0; i < numNodes; ++i)
{
Simulator::Schedule (Seconds (5.0), &IntelligentAgentCallback, sensorNodes.Get (i), agent);
}
// Create applications
uint16_t port = 9;
// Install a UDP echo server on the first sensor node
UdpEchoServerHelper echoServer(port);
ApplicationContainer serverApp = echoServer.Install(sensorNodes.Get(0));
serverApp.Start(Seconds(1.0));
serverApp.Stop(Seconds(simTime));
// Install a UDP echo client on the last sensor node
UdpEchoClientHelper echoClient(sensorInterfaces.GetAddress(0), port);
echoClient.SetAttribute(“MaxPackets”, UintegerValue(100));
echoClient.SetAttribute(“Interval”, TimeValue(Seconds(1.0)));
echoClient.SetAttribute(“PacketSize”, UintegerValue(1024));
ApplicationContainer clientApp = echoClient.Install(sensorNodes.Get(numNodes – 1));
clientApp.Start(Seconds(2.0));
clientApp.Stop(Seconds(simTime));
// Enable Flow Monitor
FlowMonitorHelper flowmon;
Ptr<FlowMonitor> monitor = flowmon.InstallAll();
// Enable tracing
wifiPhy.EnablePcap(“intelligent-agent-wsn-example”, sensorDevices.Get(0));
// Run the simulation
Simulator::Stop(Seconds(simTime));
Simulator::Run();
// Print flow monitor statistics
monitor->SerializeToXmlFile(“intelligent-agent-wsn-flowmon.xml”, true, true);
Simulator::Destroy();
return 0;
}
Explanation of the Script
Here we have talk about the required steps for the process of implementing Intelligent Agent WSN in ns-3:
- Include Necessary Headers:
- Include headers for ns-3 core, network, internet, WiFi, mobility, applications, and flow monitor modules.
- Set Simulation Parameters:
- Define the simulation time, number of sensor nodes, and distance between nodes.
- Create Nodes:
- Create nodes for the sensors using NodeContainer.
- Set Up Wi-Fi:
- Configure the Wi-Fi network using WifiHelper, YansWifiChannelHelper, YansWifiPhyHelper, and WifiMacHelper.
- Install Internet Stack:
- Install the Internet stack on the sensor nodes using InternetStackHelper.
- Assign IP Addresses:
- Assign IP addresses to the sensor devices using Ipv4AddressHelper.
- Set Up Mobility:
- Define the positions and mobility models for the sensor nodes using MobilityHelper.
- Create and Install Intelligent Agents:
- Define an IntelligentAgent class with a method MakeDecision to implement the decision-making logic.
- Schedule the IntelligentAgentCallback function to invoke the decision-making method periodically.
- Create Applications:
- Install a UDP echo server on the first sensor node and a UDP echo client on the last sensor node to simulate communication.
- Enable Flow Monitor:
- Install and configure the Flow Monitor to collect and analyze network performance statistics.
- Enable Tracing:
- Enable pcap tracing to capture packet traces for analysis.
- Run the Simulation:
- Set the simulation stop time, run the simulation, print flow monitor statistics, and clean up using Simulator::Stop, Simulator::Run, and Simulator::Destroy.
Further Enhancements
- Advanced Intelligent Agents:
- Implement more advanced intelligent agents with sophisticated decision-making algorithms, such as machine learning or fuzzy logic.
- Different Network Topologies:
- Experiment with different network topologies and deployment scenarios.
- Quality of Service (QoS):
- Implement QoS mechanisms to prioritize critical data and ensure timely delivery.
- Network Performance Metrics:
- Collect and analyze additional performance metrics such as throughput, latency, packet delivery ratio, and energy consumption.
- Dynamic Traffic Patterns:
- Implement dynamic traffic patterns to simulate real-world scenarios more accurately.
- Fault Tolerance and Resilience:
- Implement and evaluate fault tolerance mechanisms and resilience strategies for WSNs.
At last, we have completely discussed about the process and the required modules for setting up the Intelligent Agent-based Wireless Sensor Network (WSN).Rely on us for any types of programming support.


