To implement IP addressing in ns3, we need to follow several steps, that includes setting up a network topology, assigning IP addresses to the network interfaces of the nodes, setting up the mobility as an optional, installing applications, enabling packet capturing. The following steps will guide on how to implement this in ns3.
Get comparative analysis done on all areas of IP Addressing in ns3tool we have all the resources to guide you in your work.
Step-by-Step guide on implementing IP Addressing in ns3:
Step 1: Set Up the Simulation Environment
Make sure ns3 is installed on the system.
Step 2: Create the Network Topology
Create a basic network topology using ns3 with multiple nodes. For this example, we will create a simple scenario with three nodes connected in a point-to-point topology.
Step 3: Write the Script
An example of how to create and configure IP addressing in ns3:
- Create a New File:
- Save the following script as ip-addressing.cc in the scratch directory of ns3 installation.
#include “ns3/core-module.h”
#include “ns3/network-module.h”
#include “ns3/internet-module.h”
#include “ns3/point-to-point-module.h”
#include “ns3/applications-module.h”
#include “ns3/mobility-module.h”
using namespace ns3;
NS_LOG_COMPONENT_DEFINE (“IpAddressingExample”);
int main (int argc, char *argv[])
{
CommandLine cmd;
cmd.Parse (argc, argv);
// Create nodes
NodeContainer nodes;
nodes.Create (3); // Three nodes
// Set up point-to-point links between nodes
PointToPointHelper pointToPoint;
pointToPoint.SetDeviceAttribute (“DataRate”, StringValue (“5Mbps”));
pointToPoint.SetChannelAttribute (“Delay”, StringValue (“2ms”));
NetDeviceContainer devicesAB, devicesBC;
devicesAB = pointToPoint.Install (nodes.Get (0), nodes.Get (1)); // A to B
devicesBC = pointToPoint.Install (nodes.Get (1), nodes.Get (2)); // B to C
// Install the Internet stack on the nodes
InternetStackHelper stack;
stack.Install (nodes);
// Assign IP addresses to the devices
Ipv4AddressHelper address;
address.SetBase (“10.1.1.0”, “255.255.255.0”);
Ipv4InterfaceContainer interfacesAB = address.Assign (devicesAB);
address.SetBase (“10.1.2.0”, “255.255.255.0”);
Ipv4InterfaceContainer interfacesBC = address.Assign (devicesBC);
// Set up mobility (optional, not needed for point-to-point)
MobilityHelper mobility;
mobility.SetMobilityModel (“ns3::ConstantPositionMobilityModel”);
mobility.Install (nodes);
nodes.Get (0)->GetObject<MobilityModel> ()->SetPosition (Vector (0.0, 0.0, 0.0));
nodes.Get (1)->GetObject<MobilityModel> ()->SetPosition (Vector (50.0, 0.0, 0.0));
nodes.Get (2)->GetObject<MobilityModel> ()->SetPosition (Vector (100.0, 0.0, 0.0));
// Set up a UDP server on node C
uint16_t port = 9;
UdpServerHelper server (port);
ApplicationContainer serverApp = server.Install (nodes.Get (2));
serverApp.Start (Seconds (1.0));
serverApp.Stop (Seconds (10.0));
// Set up a UDP client on node A
UdpClientHelper client (interfacesBC.GetAddress (1), port);
client.SetAttribute (“MaxPackets”, UintegerValue (10));
client.SetAttribute (“Interval”, TimeValue (Seconds (1.0)));
client.SetAttribute (“PacketSize”, UintegerValue (1024));
ApplicationContainer clientApp = client.Install (nodes.Get (0));
clientApp.Start (Seconds (2.0));
clientApp.Stop (Seconds (10.0));
// Enable packet capturing
pointToPoint.EnablePcapAll (“ip-addressing”);
// Run simulation
Simulator::Run ();
Simulator::Destroy ();
return 0;
}
Explanation:
- Create Nodes and Network:
- Create three nodes and connect them using point-to-point links.
- Install the Internet stack on the nodes.
- Set Up Point-to-Point Links:
- Use PointToPointHelper to set up point-to-point links between the nodes.
- Create network devices for the links between Node A to Node B and Node B to Node C.
- Assign IP Addresses:
- Use Ipv4AddressHelper to assign IP addresses to the network interfaces.
- Set a base address for each link and assign IP addresses to the devices.
- Set Up Mobility (Optional):
- Use MobilityHelper to set fixed positions for the nodes. This step is optional and is not needed for point-to-point links but can be useful in other scenarios.
- Install Applications:
- Install a UDP server on Node C.
- Install a UDP client on Node A that sends packets to Node C.
- Enable Packet Capturing:
- Enable packet capturing using EnablePcapAll to capture the packets transmitted over the network.
- Run the Simulation:
- Schedule the start and stop times for the applications.
- Run the simulation and log the results.
Step 4: Compile and Run the Script
- Save the script as ip-addressing.cc in the scratch directory of ns3 installation.
- Compile the script using the following commands:
./waf configure
./waf build
./waf –run ip-addressing
Step 5: Analyze the Results
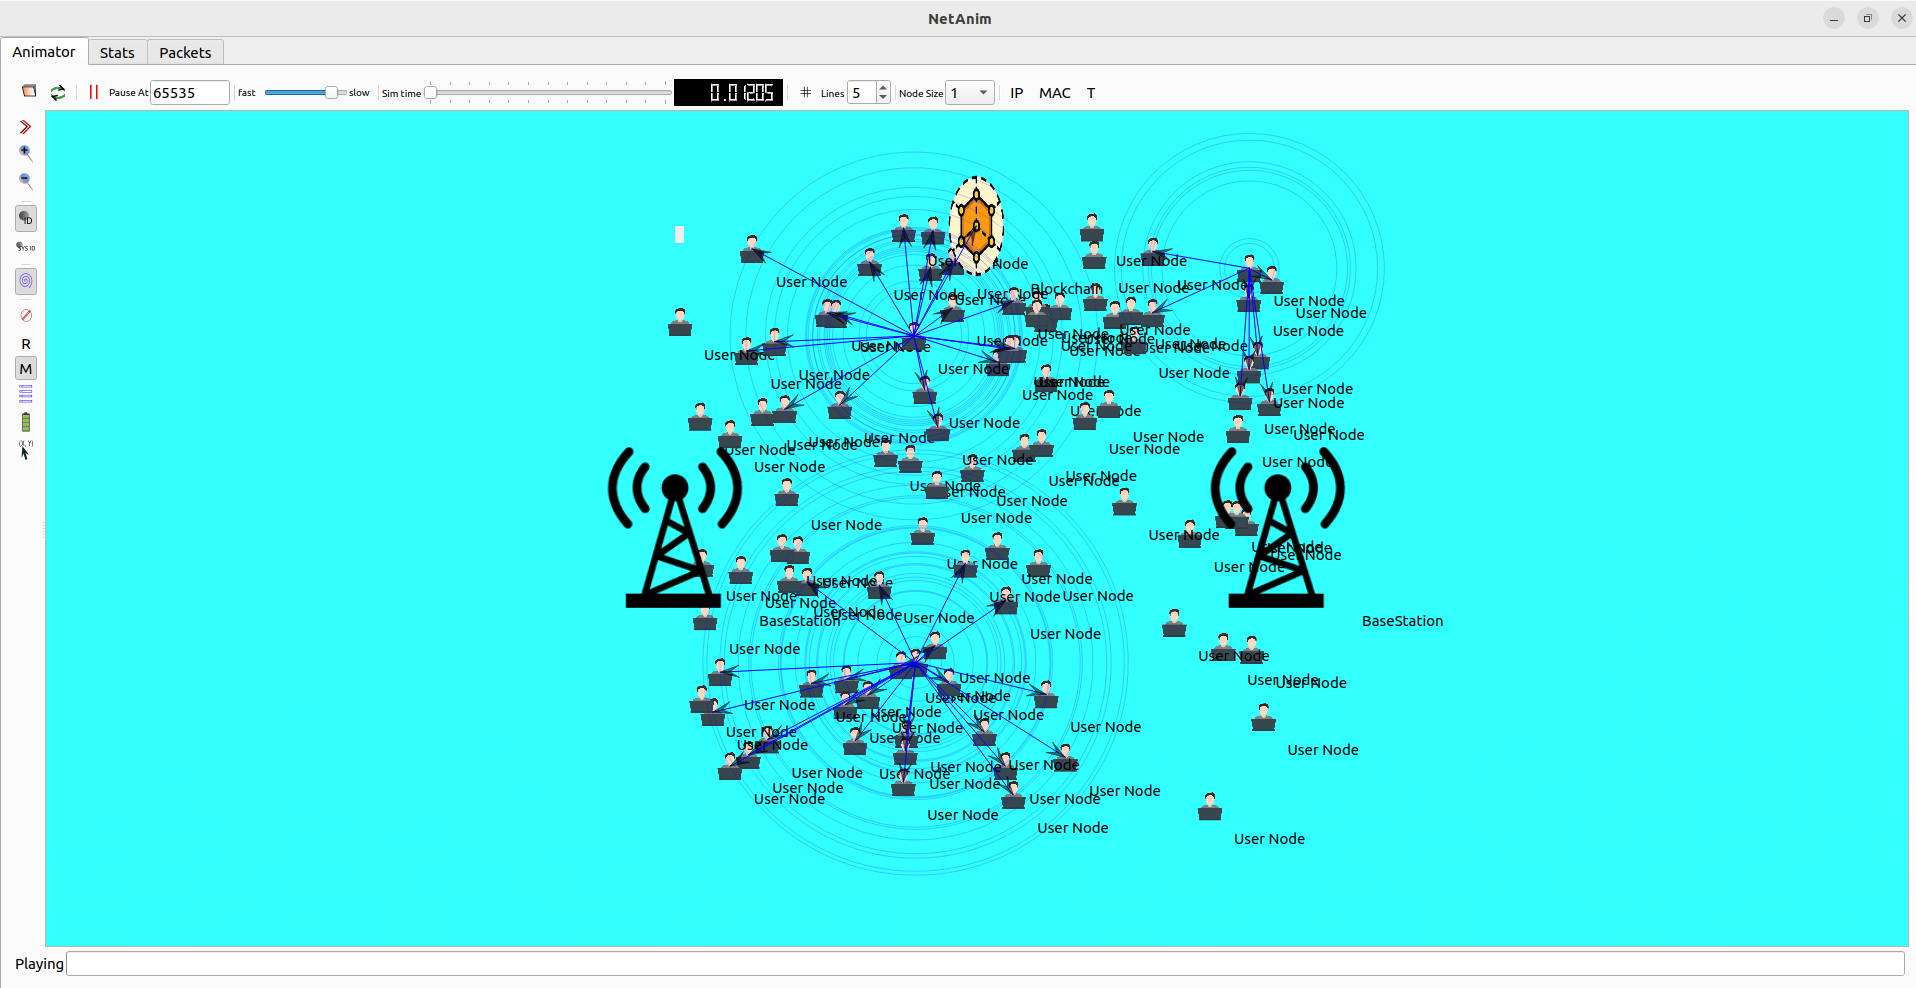
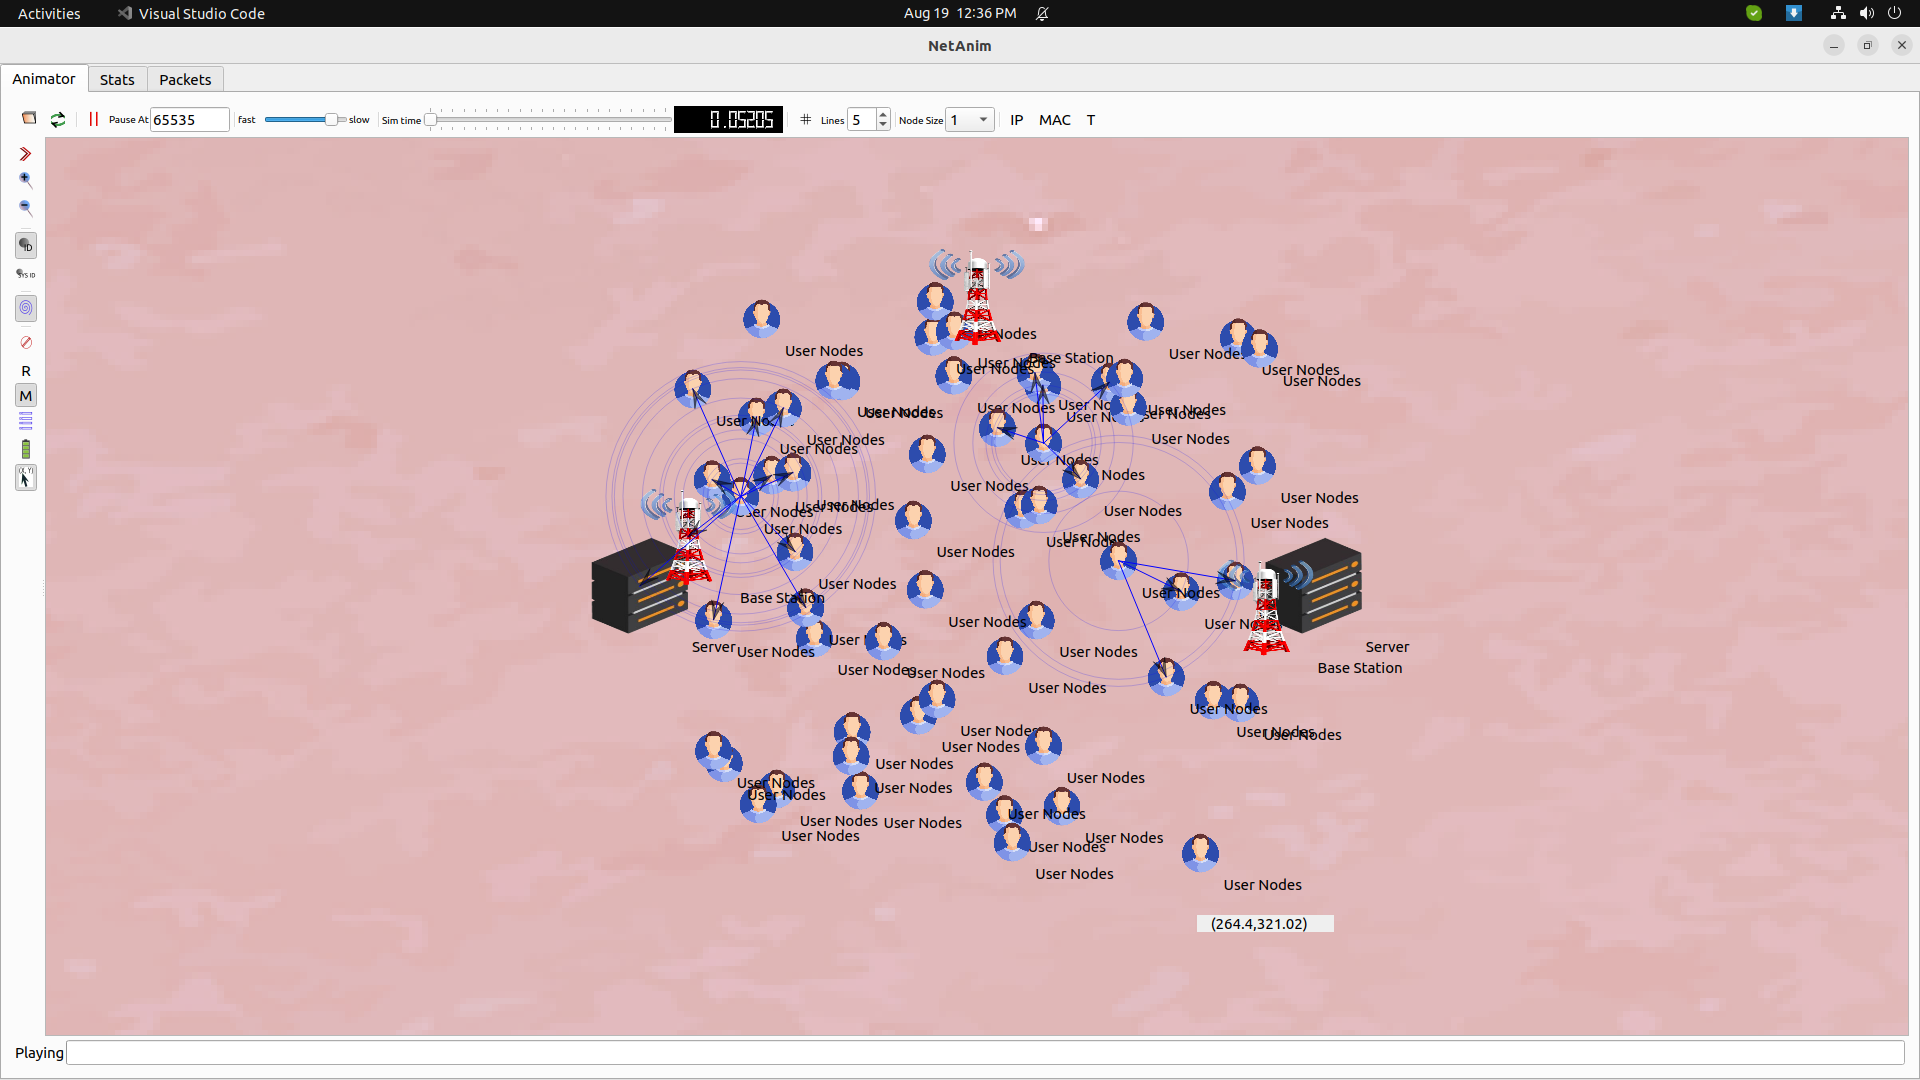
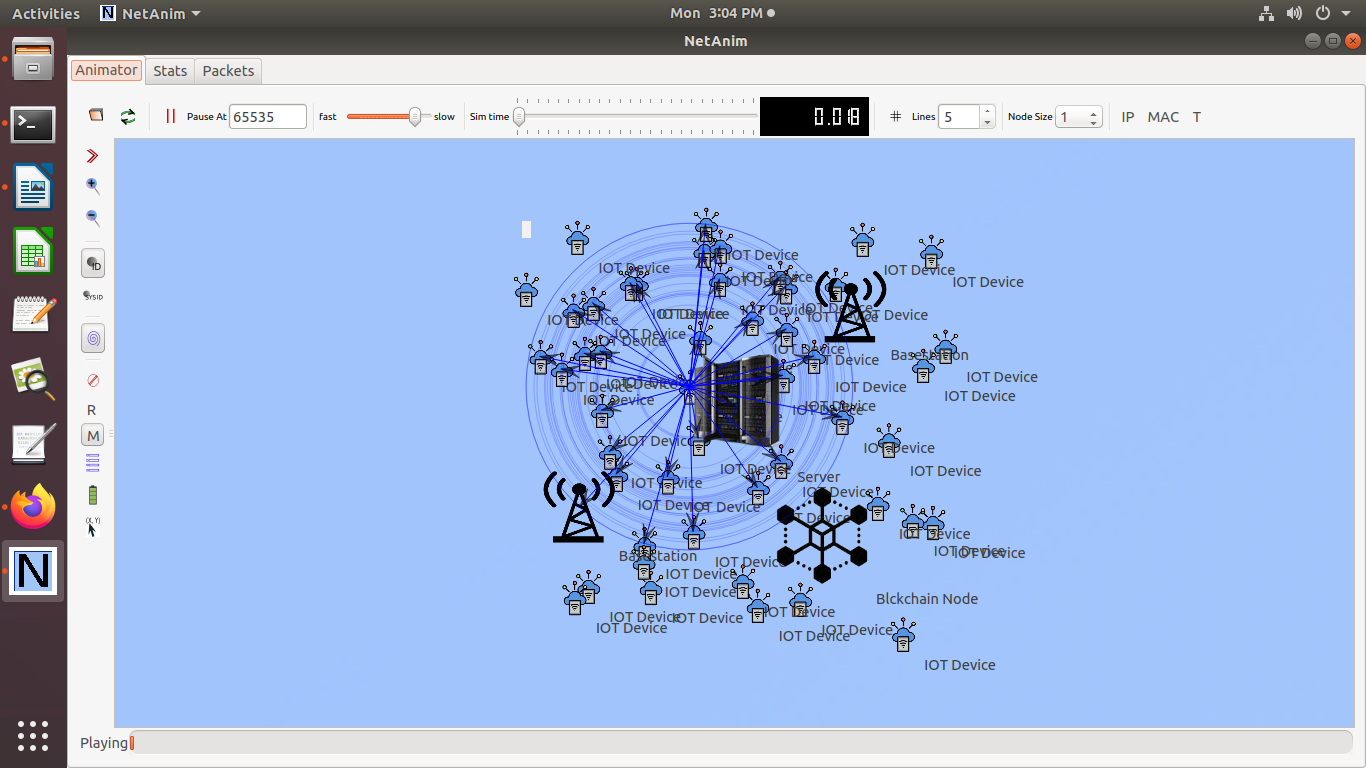
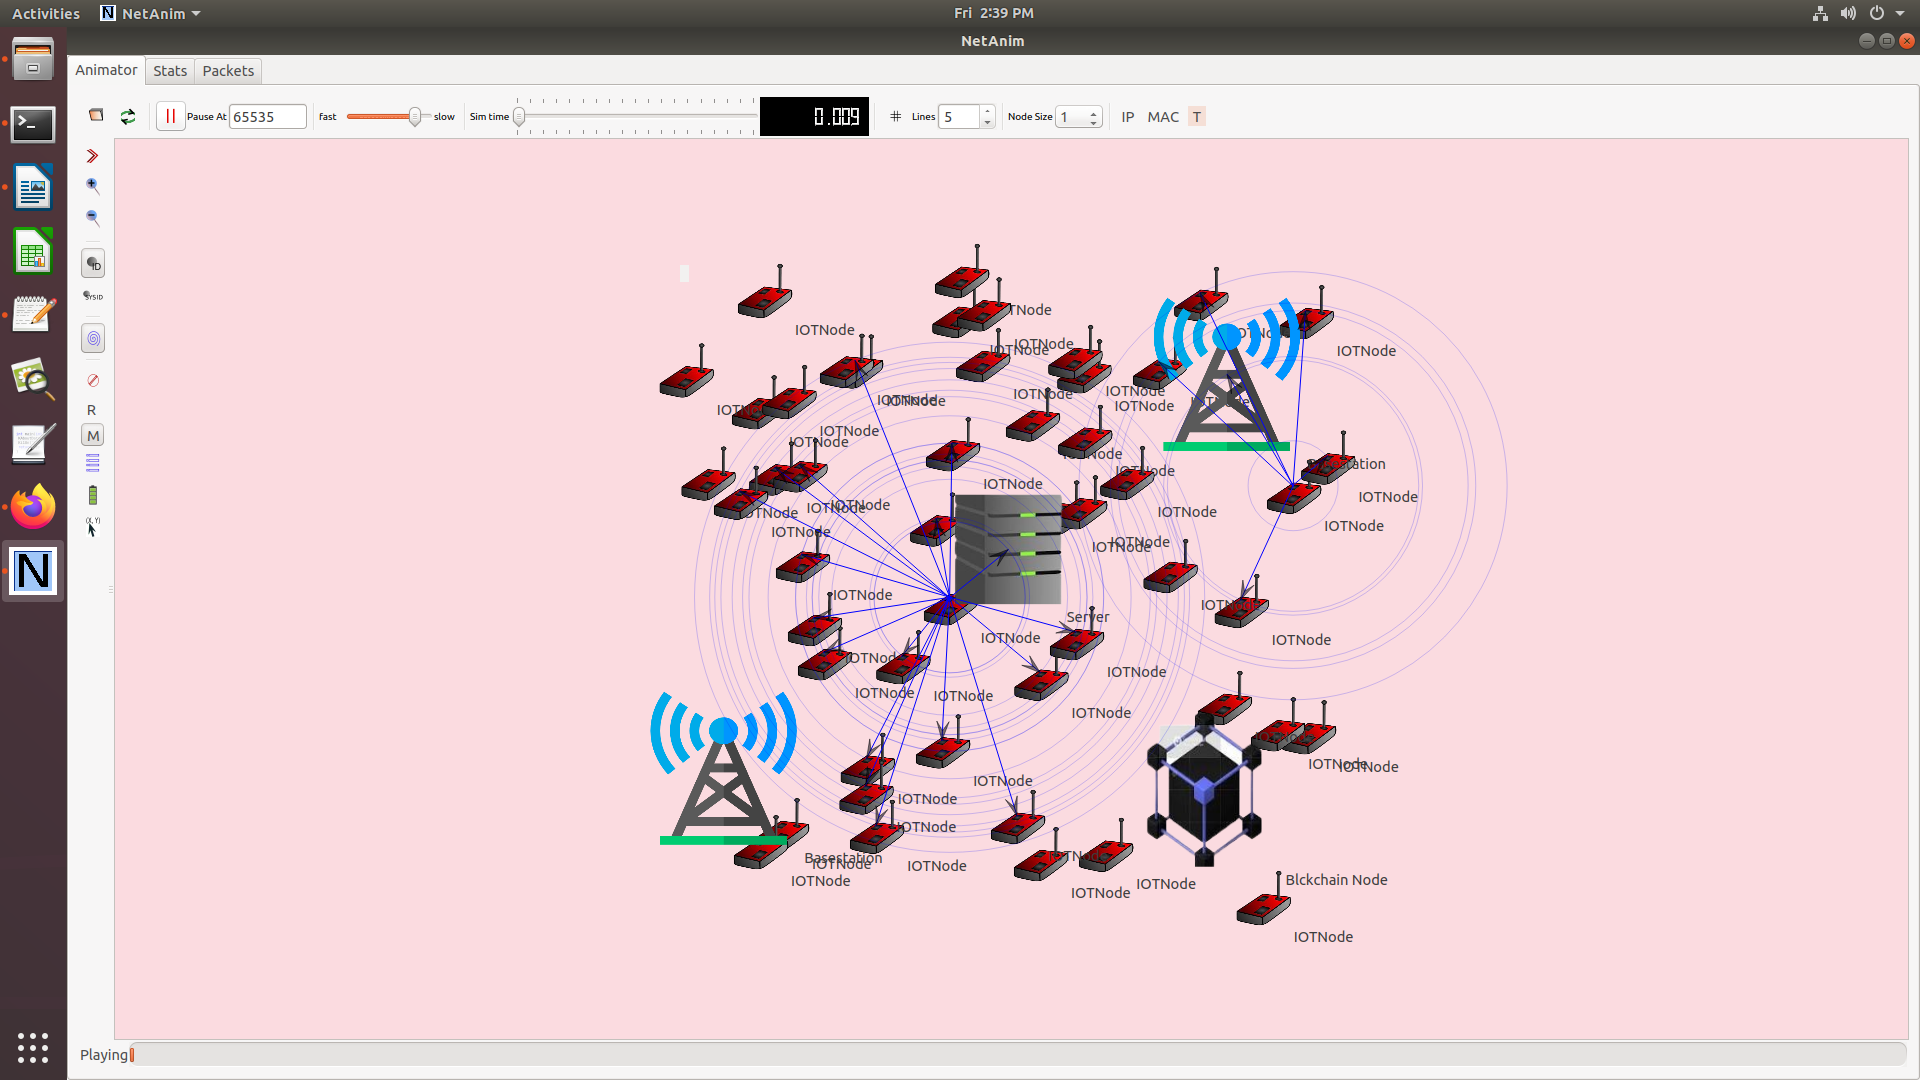
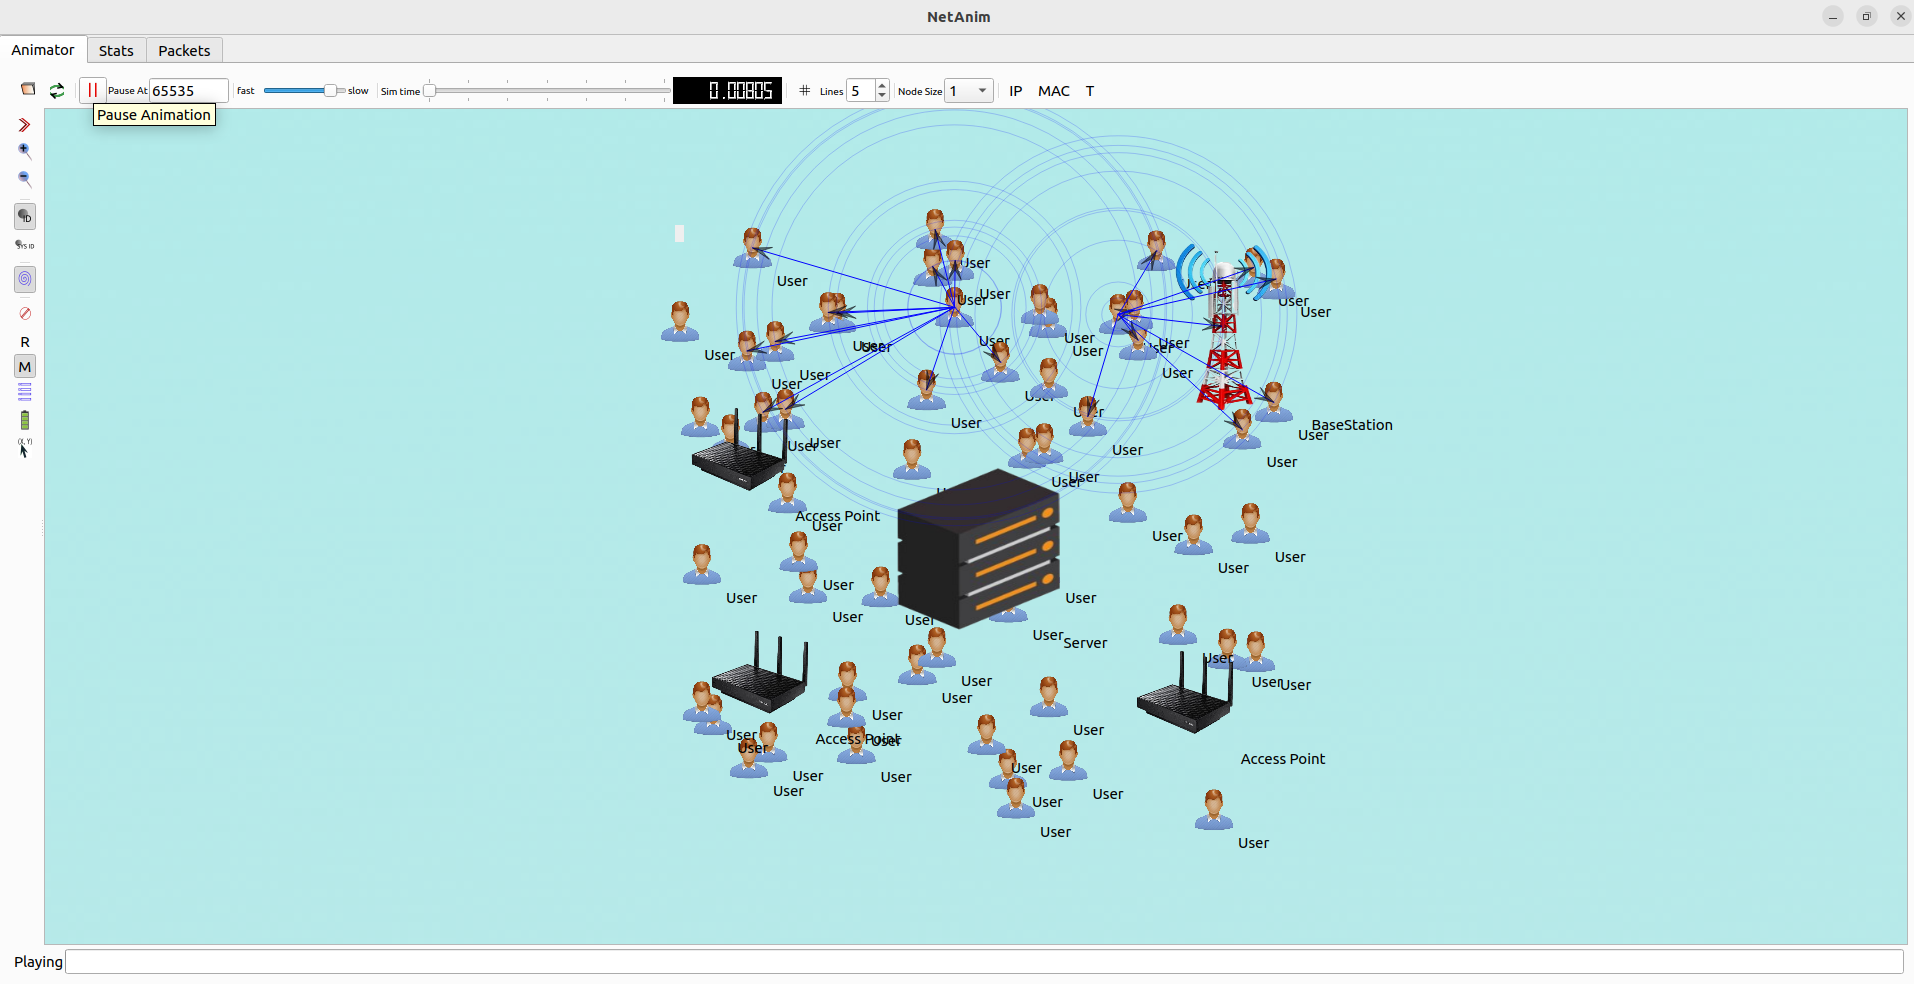
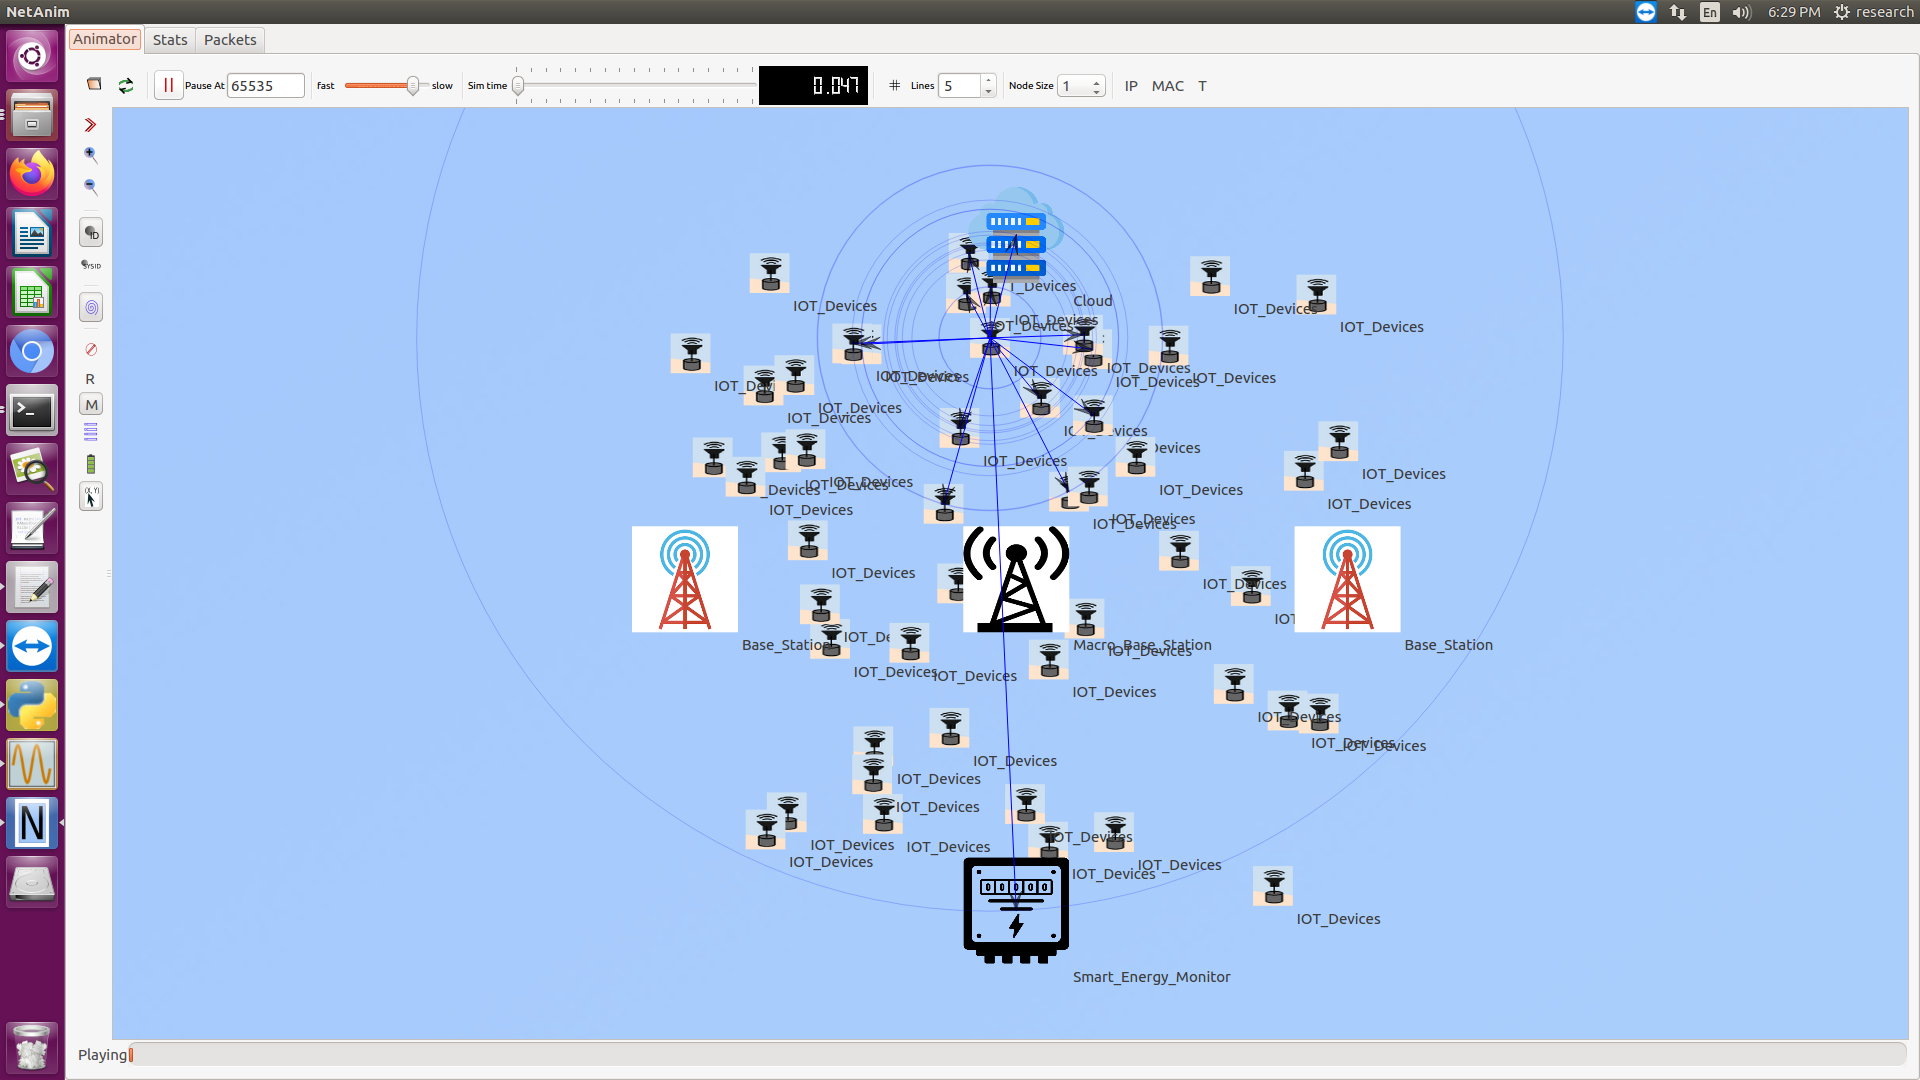
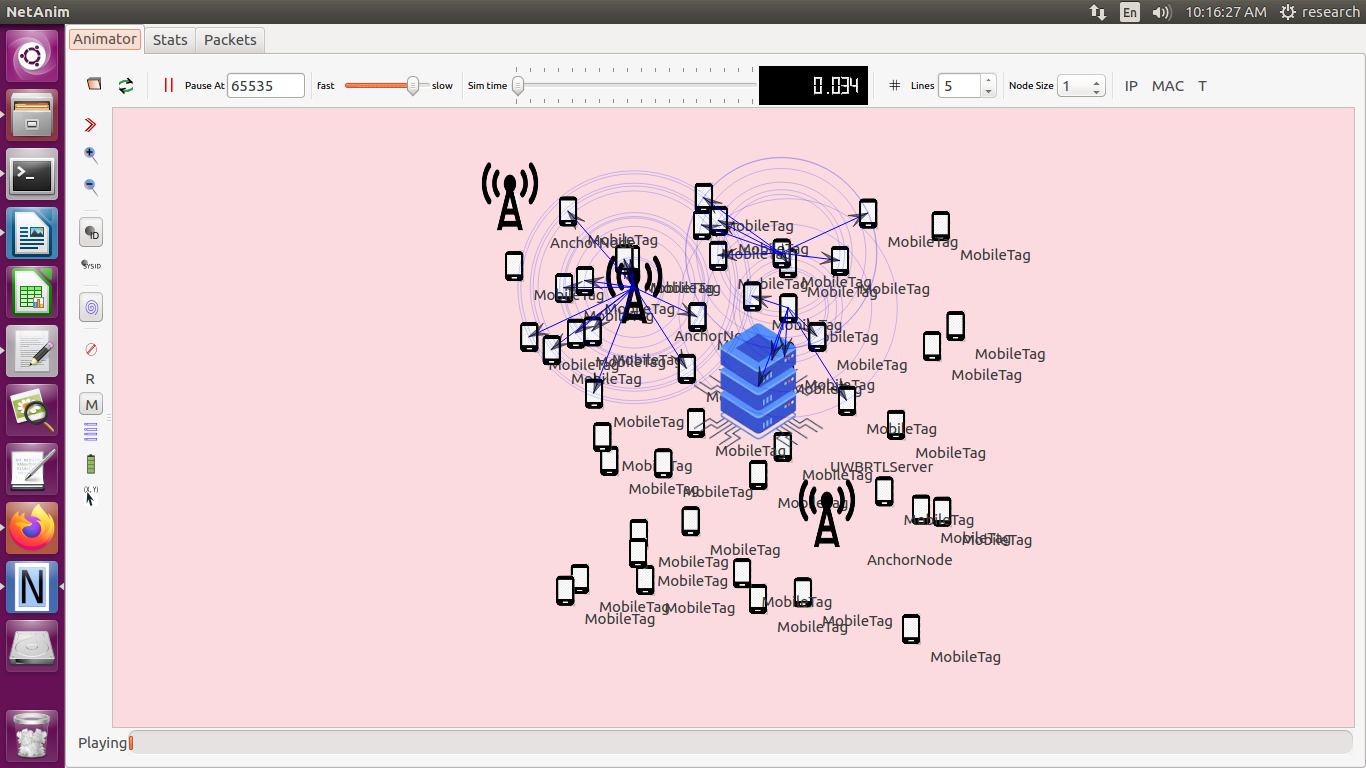
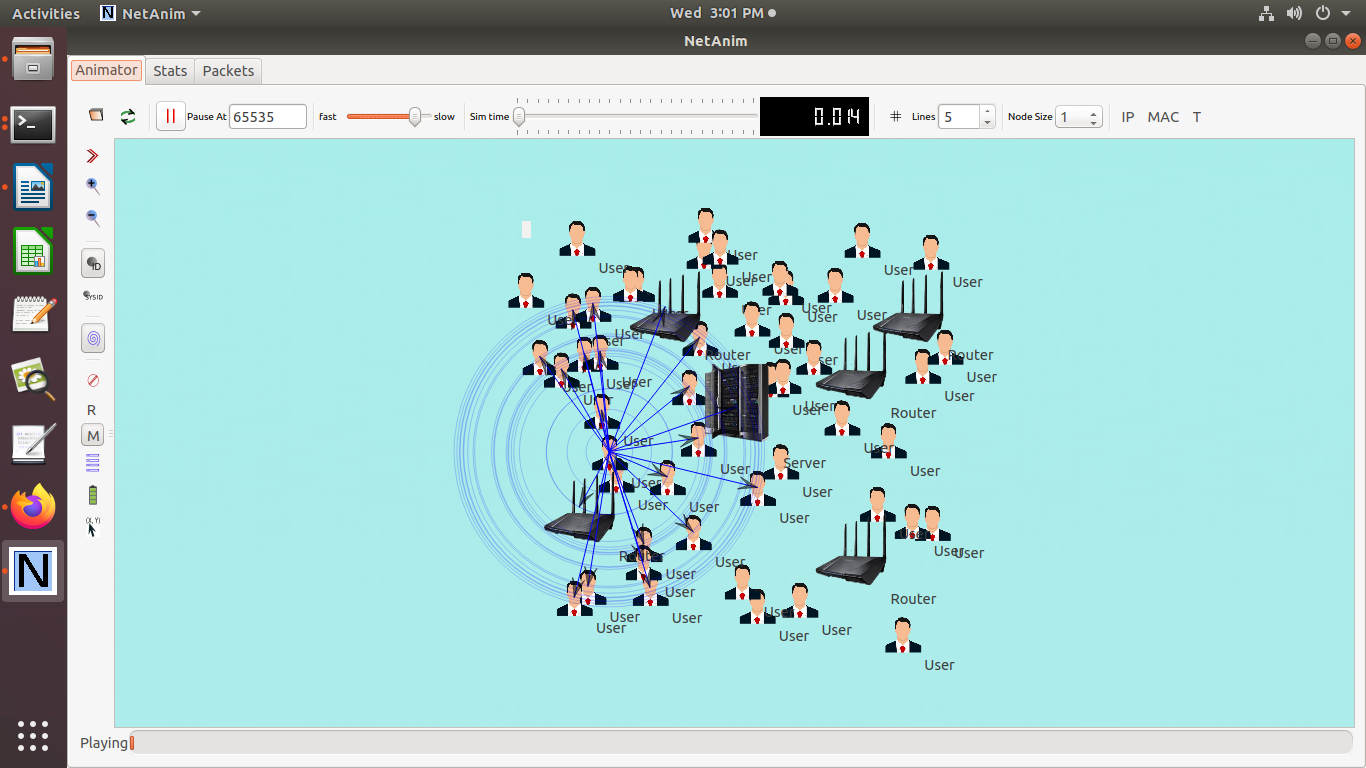
We can analyze the results by looking at the logs and the pcap files generated by the packet capturing to verify the behavior of the IP addressing, after running the simulation.
On conclusion here we have briefly discussed about the implementation process with examples and also detaily explained the terms and methods which are involved in setting up the environment and applications.