To import Application.h packages in NS3 ,we have discussed in the below steps. The Application class includes methods for initiating and terminating applications, as well as managing events and operations specific to those applications. It facilitates the integration of different network applications, like servers and clients, by offering a structure for overseeing their lifecycle and their interactions with the network stack. Developers can create derived classes from Application to introduce unique behaviors and functionalities, such as generating and receiving data or interacting with protocols. Grasping the details of application.h is crucial for developers looking to build custom network applications or enhance existing ones within the NS-3 simulation framework.
Read out the installation of Application.h.
PRE-REQUISITES:
- Fresh installation of Ubuntu 22.04 LTS:
Screenshot:

2.NS-3.35 Installation:
Screenshot:
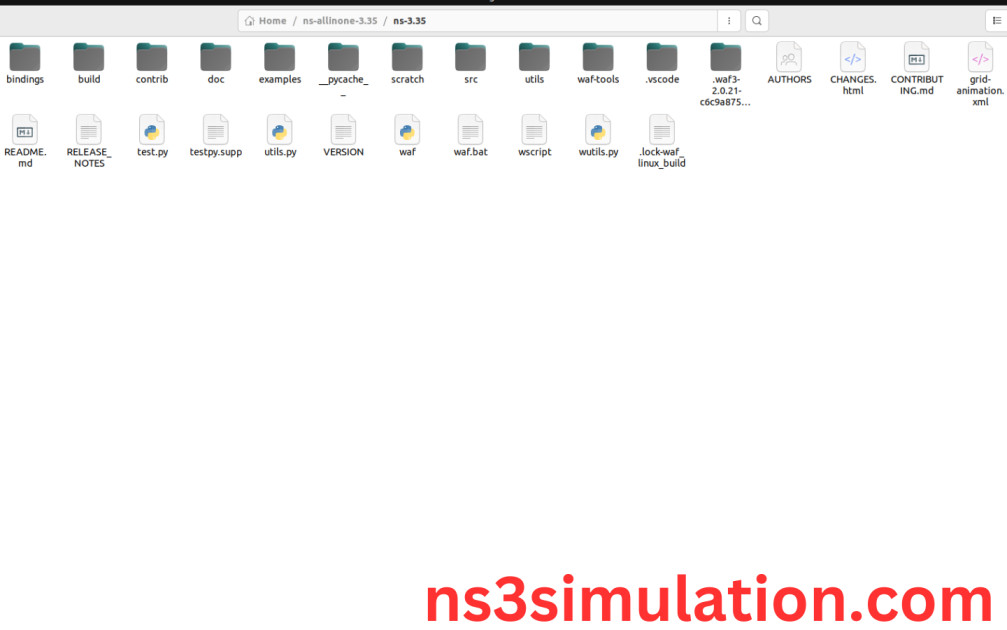
HEADER FILE VERIFICATION:
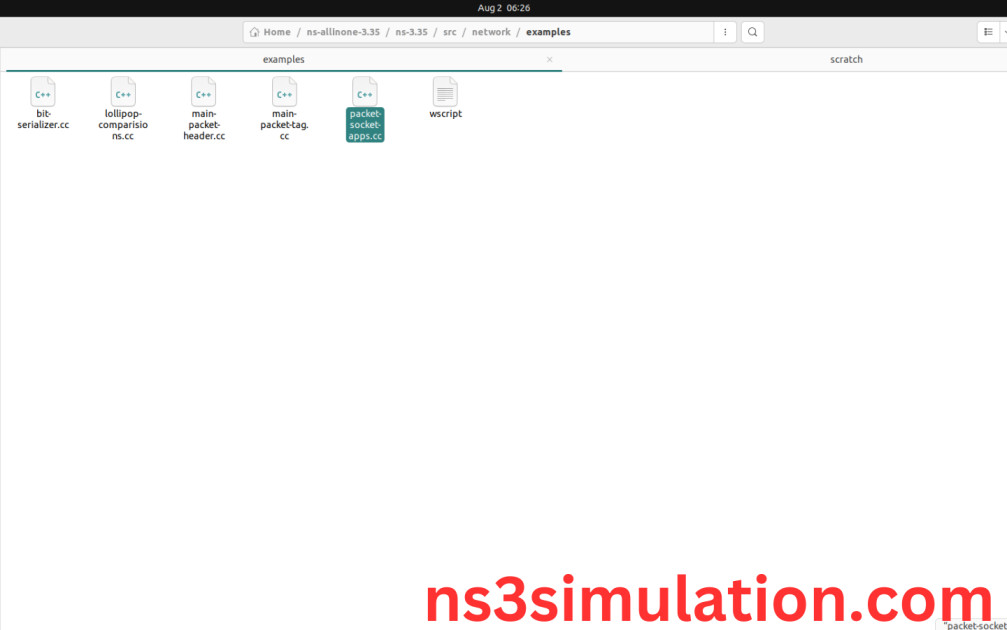
- Locate to the ns3/src/network/examples folder:
Screenshot:

2.Copy the packet-socket-apps.cc file to scratch folder:
Next, we need to copy the packet-socket-apps.cc file from ns3/src/network/examples/ folder to the ns3/scratch folder.
Screenshot
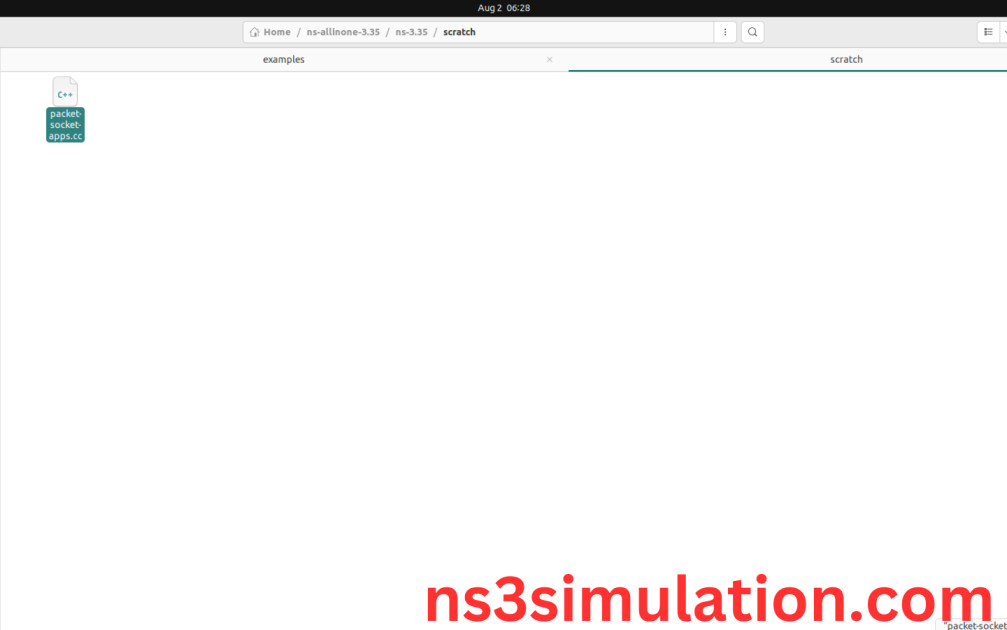
Next, we need to paste the packet-socket-apps.cc file to the ns3/scratch folder.
Screenshot:
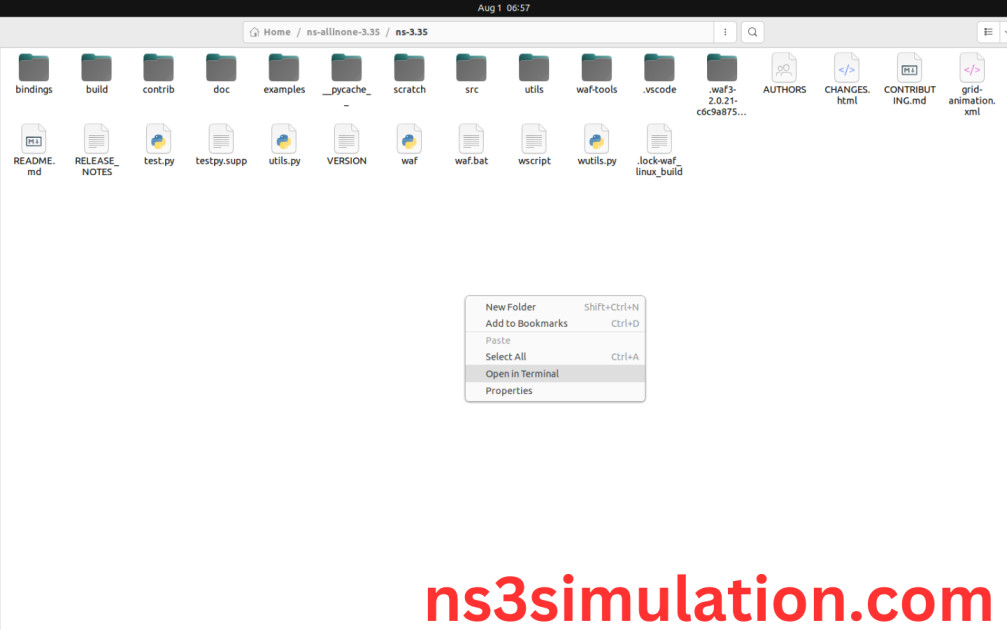
3.Open the Terminal:
Next, we need to launch the terminal by right clicking the mouse in the ns3 location.
Screenshot:
Screenshot:
4.NS-3.35 Configuration && Building Process:
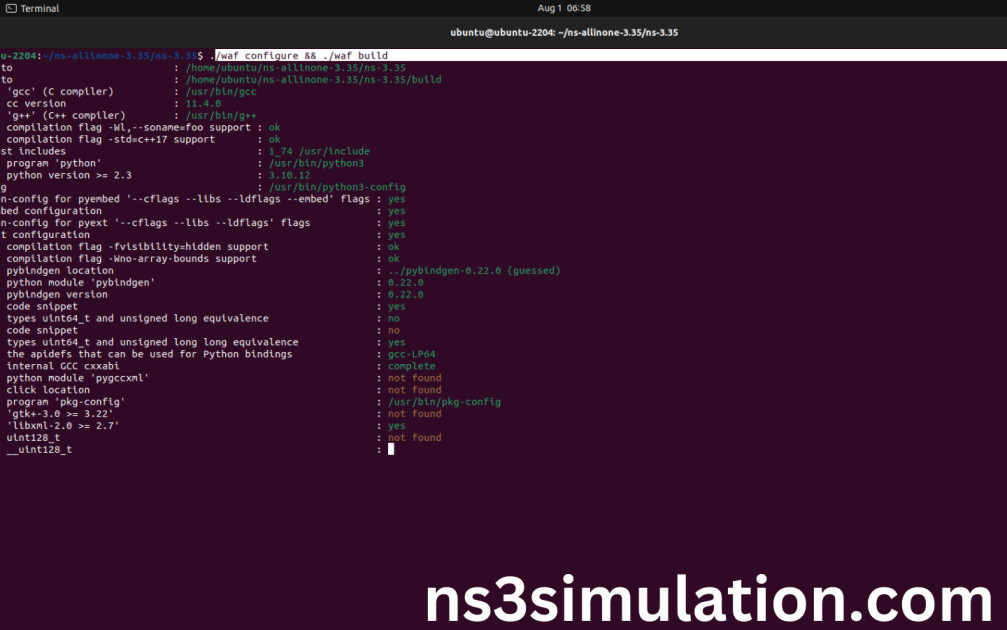
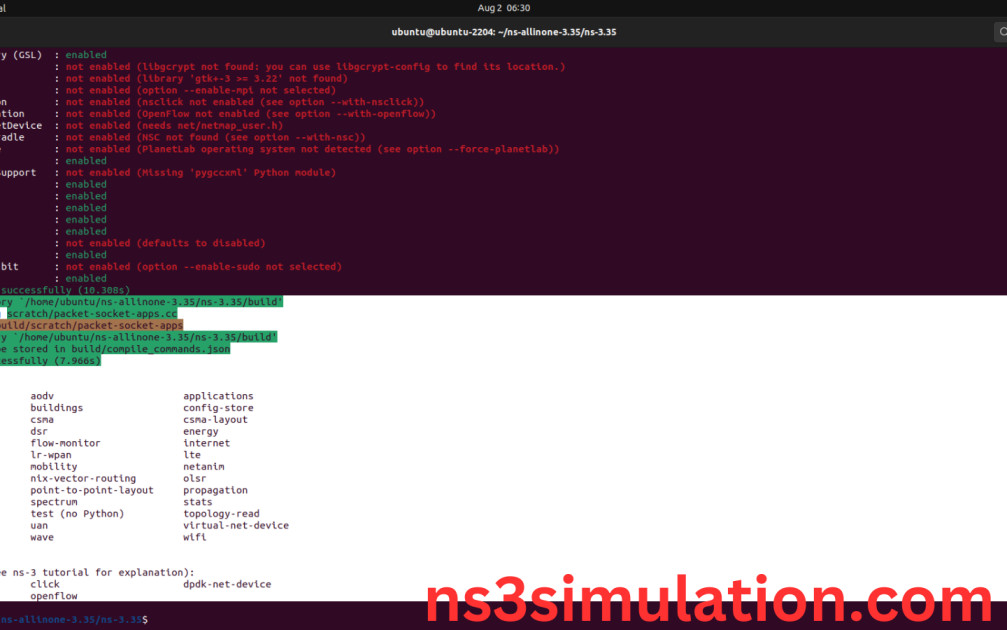
Next, we need to configure and build the ns3 folder to make the copied files to the scratch need to store in configuration.
Command: “./waf configure && ./waf build”
Screenshot:
Screenshot:
5.Importing Application.h:
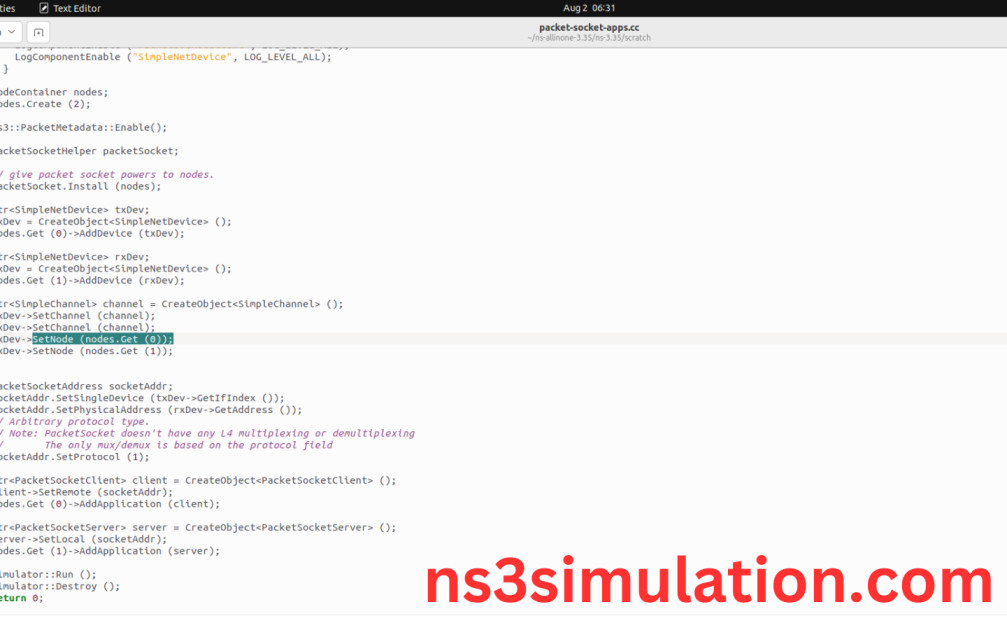
Here we imported the Application.h header file in this example program.
Screenshot:
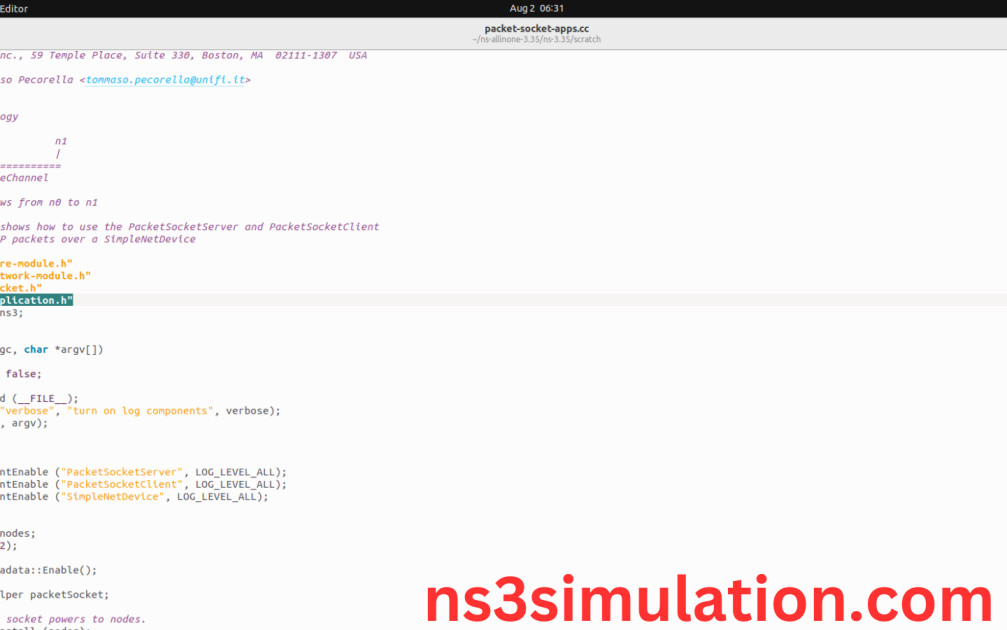
Here we highlighted the code line that SetNode() class which is the part of the Application.h that we will show class file that used in this code via network folder.
Screenshot:
Screenshot:
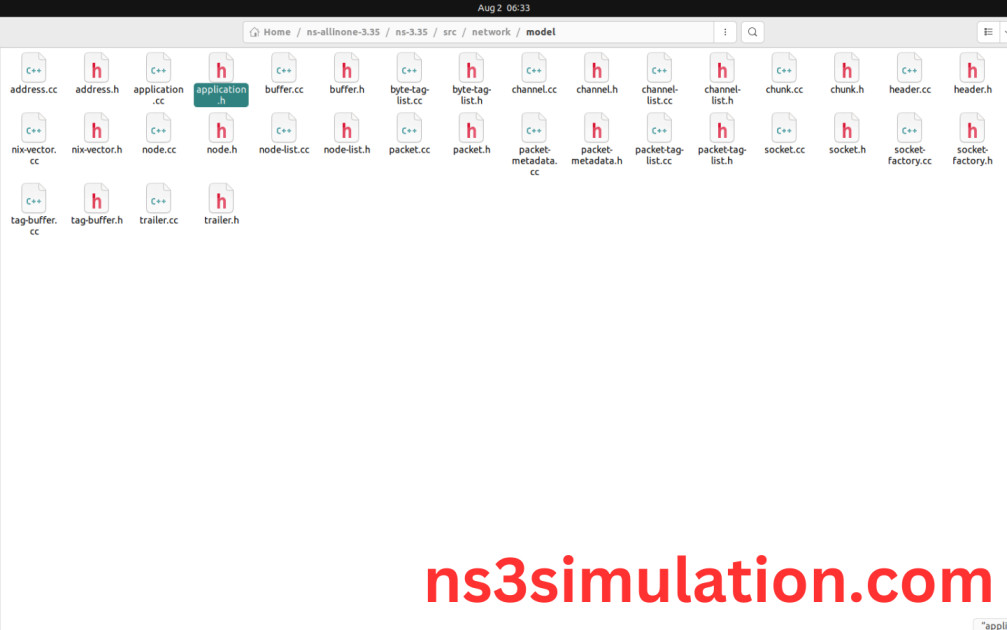
Here we will show the header file by opening Application.h file to show the class imported from the Application.h in the example code.
Screenshot:

6.Executing the Example Application Program:
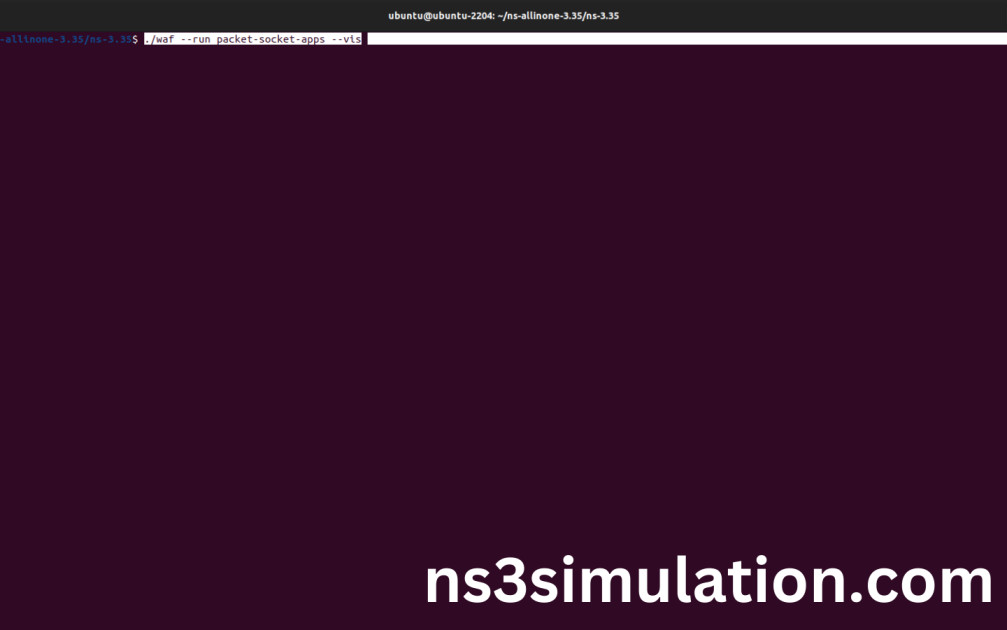
Then we need to run the Example Application program to view output of the program.
Command: “./waf –run packet-socket-apps”
Screenshot:
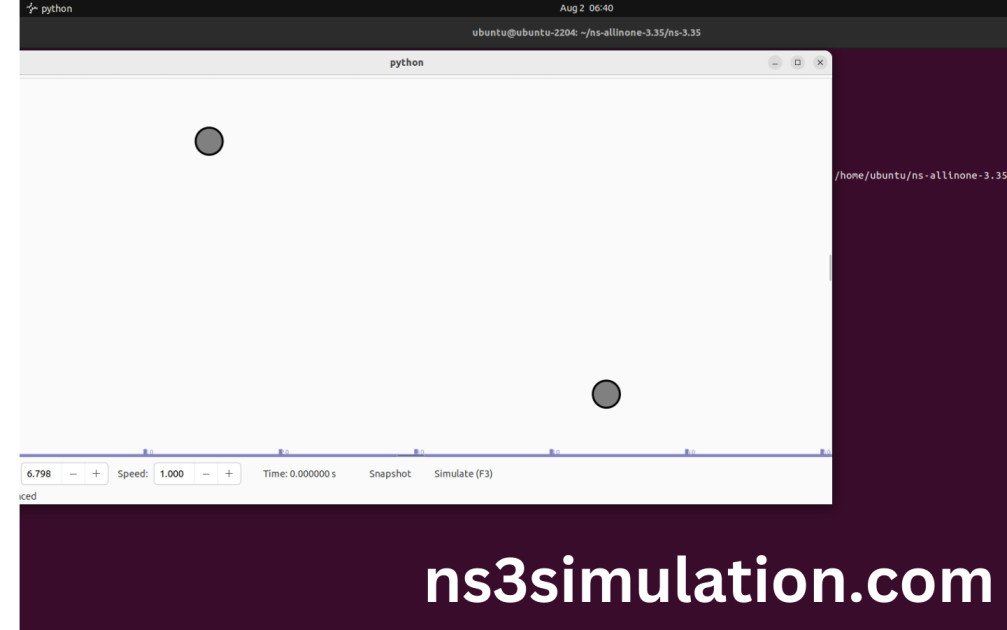
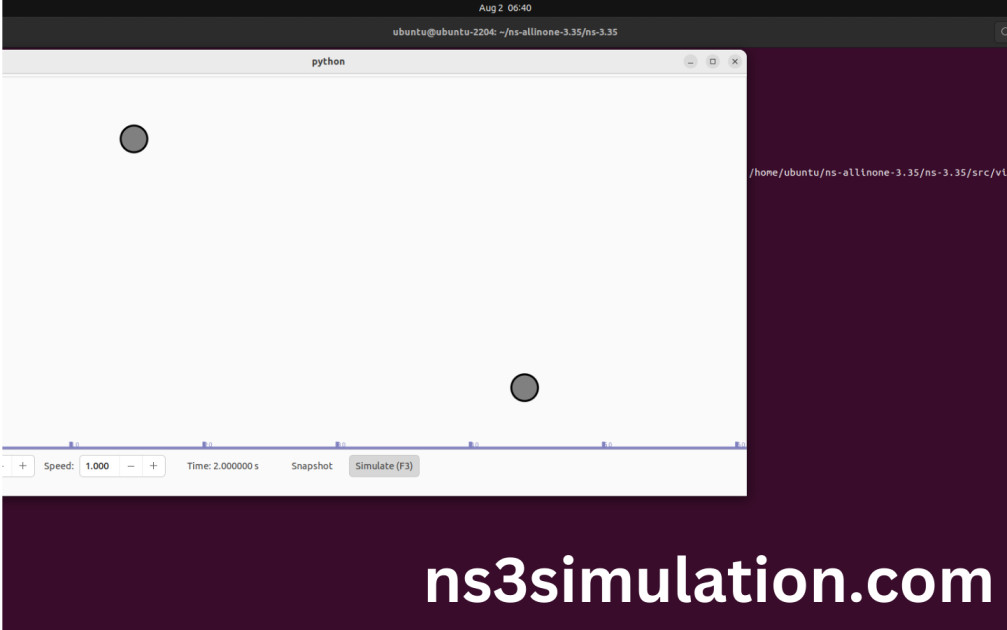
Here we shown the output of the example Application program by using Application.h.
Screenshot:
Screenshot:
For more guidance stay in touch with us. We provide you best project guidance for your research work
