To import CONSTANT-POSITION-MOBILITY-MODEL.H Packages in NS3 we have shared the guidance below if you are looking for experts’ services then reach out to us for best outcomes. The mobility model is particularly beneficial for simulating situations where nodes are stationary, thereby facilitating a more straightforward analysis of network dynamics without the intricacies associated with mobility. The class includes functions for establishing and accessing node positions, ensuring that the node’s location remains unchanged throughout the simulation. This model is advantageous for examining network protocols and configurations in static settings or as a reference point for evaluating more intricate mobility models. A complete understanding of constant-position-mobility-model.h is crucial for developers engaged in simulations involving stationary nodes in NS-3 are shared by us.
Steps required for the installation of Constant-position-mobility-model.h.
PRE-REQUISITES:
- Fresh installation of Ubuntu 22.04 LTS:
Screenshot:

2.NS-3.35 Installation:
Screenshot:

HEADER FILE VERIFICATION:
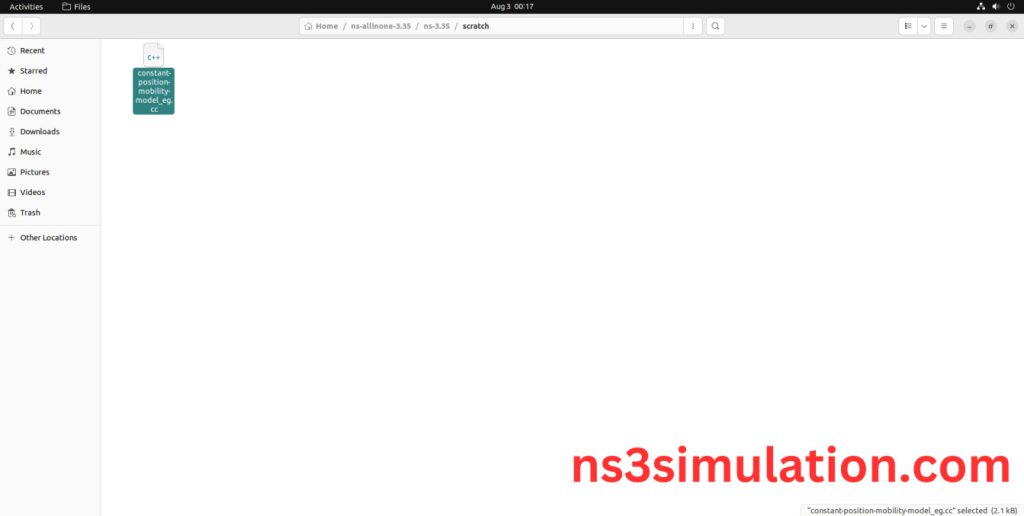
- Locate to the ns3/scratch folder:
Screenshot:

2.Create the Constant-position-mobility-model_eg.cc file in the scratch folder:
Next we need to create the constant-position-mobility-model_eg.cc file by using text editor in the ns3/scratch folder.
Screenshot:

Next we need to paste the below code to the Constant-position-mobility-model_eg.cc file and save the file in the ns3/scratch folder.
Code:
#include “ns3/core-module.h”
#include “ns3/network-module.h”
#include “ns3/mobility-module.h”
#include “ns3/internet-module.h”
#include “ns3/constant-position-mobility-model.h”
using namespace ns3;
int main(int argc, char *argv[])
{ LogComponentEnableAll(LOG_PREFIX_TIME);
LogComponentEnableAll(LOG_PREFIX_FUNC);
CommandLine cmd;
cmd.Parse(argc, argv);
// Create nodes
NodeContainer nodes;
nodes.Create(10);
// Configure the constant position mobility model for the nodes
MobilityHelper mobility;
Ptr<ListPositionAllocator> positionAlloc = CreateObject<ListPositionAllocator> ();
double L = 50.0; // Side length of the triangle
double height = L * sqrt(3) / 2; // Height of the equilateral triangle
// Add positions for a triangular layout
positionAlloc->Add(Vector(0.0, 0.0, 0.0)); // Node 0 at (0,0)
positionAlloc->Add(Vector(L, 0.0, 0.0)); // Node 1 at (L,0)
positionAlloc->Add(Vector(L/2, height, 0.0)); // Node 2 at (L/2, height)
// For remaining nodes, position them along the edges of the triangle
positionAlloc->Add(Vector(L/4, height/2, 0.0)); // Node 3
positionAlloc->Add(Vector(3*L/4, height/2, 0.0)); // Node 4
positionAlloc->Add(Vector(L/2, height/4, 0.0)); // Node 5
positionAlloc->Add(Vector(L/8, height/4, 0.0)); // Node 6
positionAlloc->Add(Vector(7*L/8, height/4, 0.0)); // Node 7
positionAlloc->Add(Vector(3*L/8, 3*height/4, 0.0)); // Node 8
positionAlloc->Add(Vector(5*L/8, 3*height/4, 0.0)); // Node 9
mobility.SetPositionAllocator(positionAlloc);
mobility.SetMobilityModel(“ns3::ConstantPositionMobilityModel”);
mobility.Install(nodes);
// Print the positions of the nodes
for (NodeContainer::Iterator i = nodes.Begin (); i != nodes.End (); ++i)
{
Ptr<Node> node = *i;
Ptr<MobilityModel> mob = node->GetObject<MobilityModel> ();
NS_LOG_UNCOND (“Node ” << node->GetId () << ” Position: ” << mob->GetPosition ());
}
Simulator::Run();
Simulator::Destroy();
return 0;
}
Screenshot:

3.Open the Terminal:
Next, we need to launch the terminal by right clicking the mouse in the ns3 location.
Screenshot:

4.NS-3.35 Configuration && Building Process:
Next, we need to configure and build the ns3 folder to make the copied files to the scratch need to store in configuration.
Command: “./waf configure && ./waf build”
Screenshot:

5.Importing Constant-position-mobility-model.h:
Here we imported the Constant-position-mobility-model.h header file in this example program.
Screenshot:

Screenshot:

Here we highlighted the code line that highlighted which is the part of the Constant-position-mobility-model.h that we will show class file that used in this code via mobility folder which represents mobility-module.
Screenshot:

Screenshot:

Screenshot:

Here we will show the header file by opening Constant-position-mobility-model.h file to show the class imported from the Constant-position-mobility-model.h in the example code.
Screenshot:

6.Executing the Example Constant-position-mobility-model Program:
Then we need to run the Example Constant-position-mobility-model program to view output of the program.
Command: “./waf –run constant-position-mobility-model_eg –vis”
Screenshot:

Here we shown the output of the example Constant-position-mobility-model program by using constant-position-mobility-model.h.
Screenshot:

To more about project ideas in this version we are ready to help you out. Our developers will give you practical explanation with installation support.
