To import Node.H packages in NS3 we have mentioned the ideas to be followed. The Node class acts as a holder for network devices, protocols, and applications, enabling their interaction in a simulated setting. It includes methods for managing network interfaces, assigning IP stacks, and facilitating communication between different layers of the network stack. The Node class is key for establishing network topologies in NS-3, allowing for the creation of intricate, connected systems. By utilizing node.h, developers can create, set up, and simulate the functions of network nodes in various situations. Knowing this file is essential for anyone involved in network simulations in NS-3, as it underpins how devices and protocols are represented and interact.
PRE-REQUISITES:
- Fresh installation of Ubuntu 22.04 LTS:
Screenshot:

2.NS-3.35 Installation:
Screenshot:
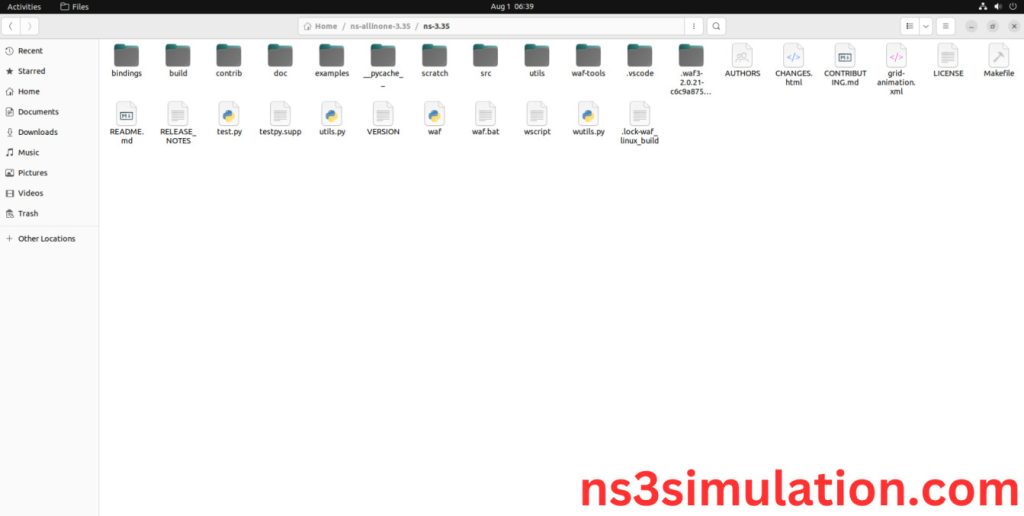
HEADER FILE VERIFICATION:
- Locate to the ns3/scratch folder:
Screenshot:
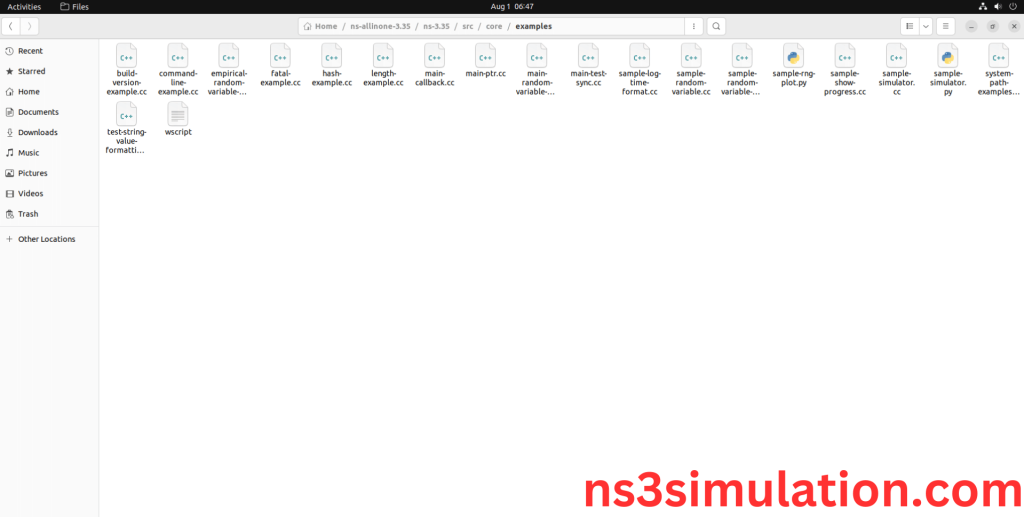
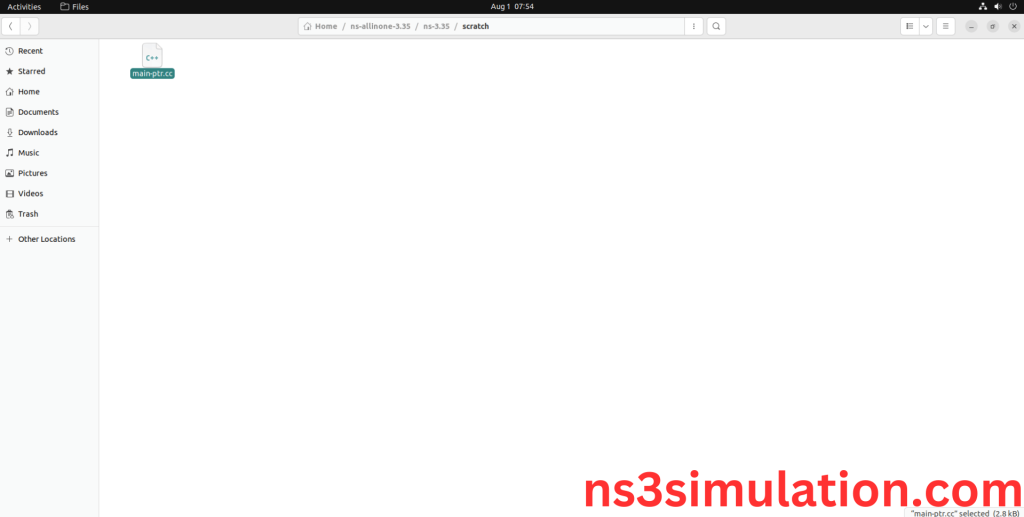
2.Create the Node_eg.cc file in the scratch folder:
Next we need to create the Node_eg.cc file by using text editor in the ns3/scratch folder.
Screenshot:
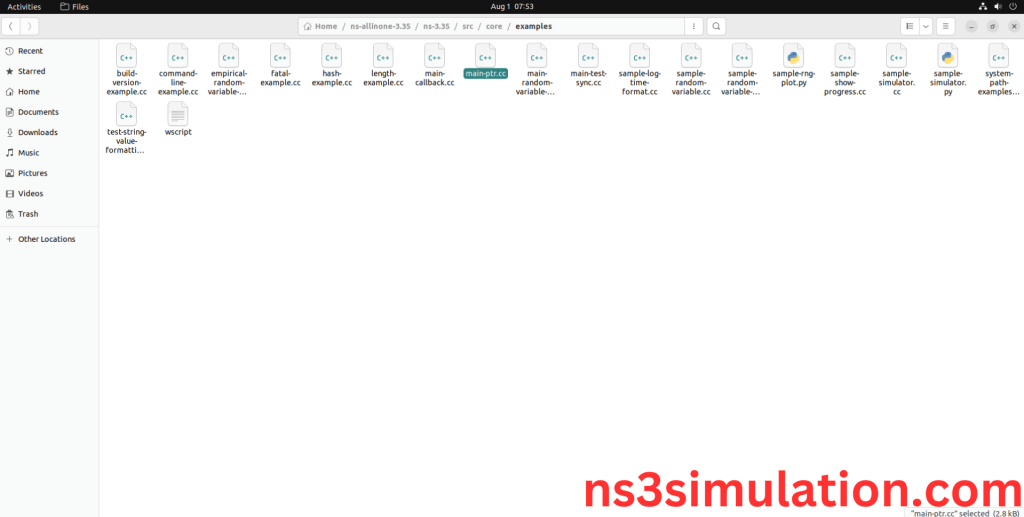
Next we need to paste the below to the Node_eg.cc file and save the file in the ns3/scratch folder.
Screenshot:
3.Open the Terminal:
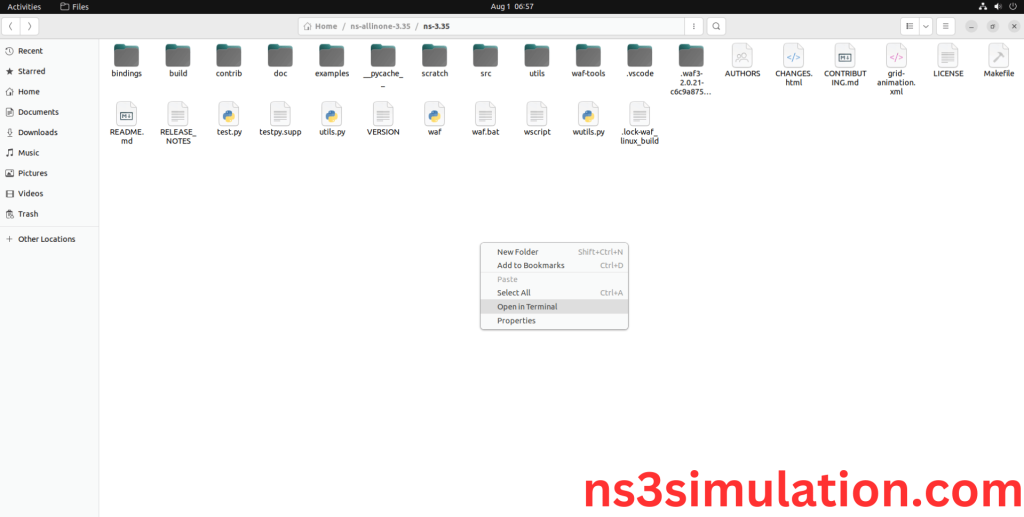
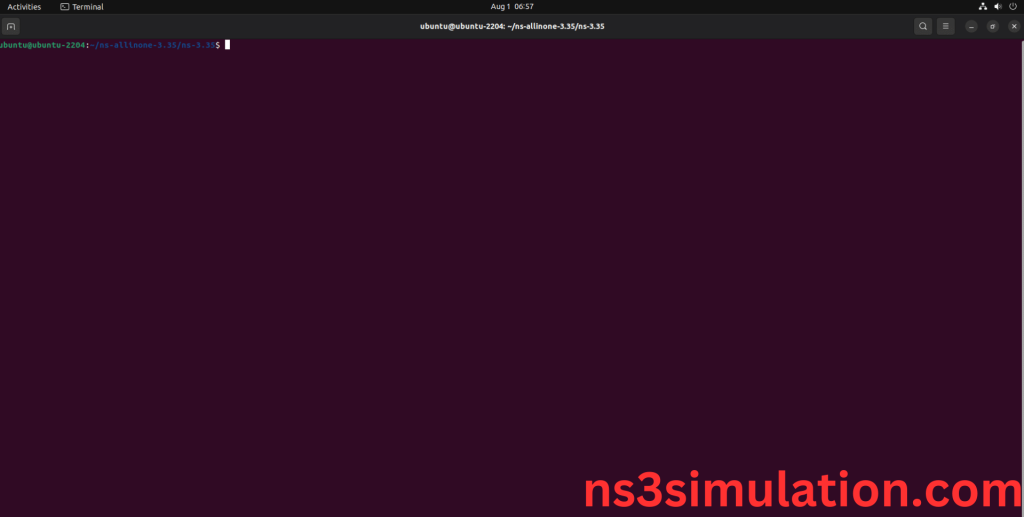
Next, we need to launch the terminal by right clicking the mouse in the ns3 location.
Screenshot:
Screenshot:
4.NS-3.35 Configuration && Building Process:
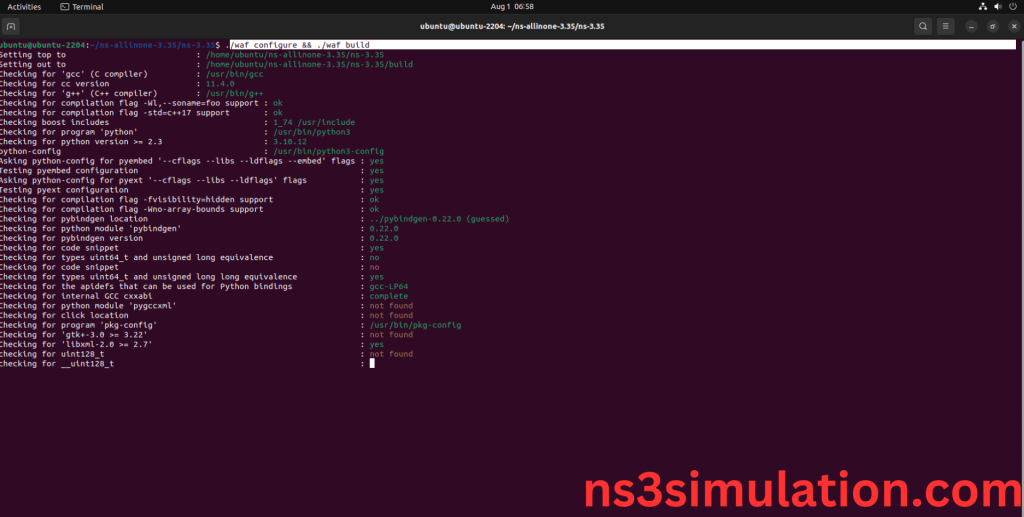
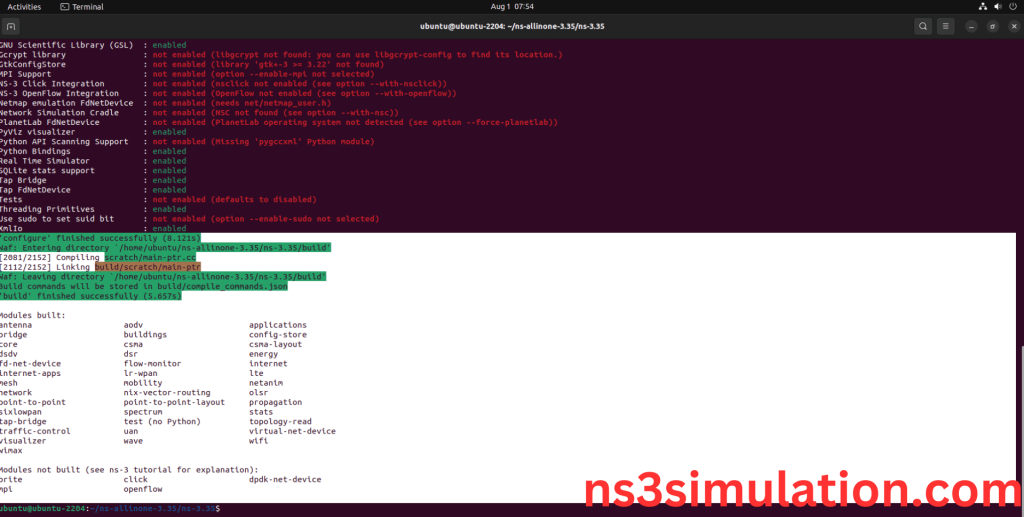
Next, we need to configure and build the ns3 folder to make the copied files to the scratch need to store in configuration.
Command: “./waf configure && ./waf build”
Screenshot
Screenshot:
5.Importing Node.h:
Here we imported the node.h header file in this example program.
Screenshot:
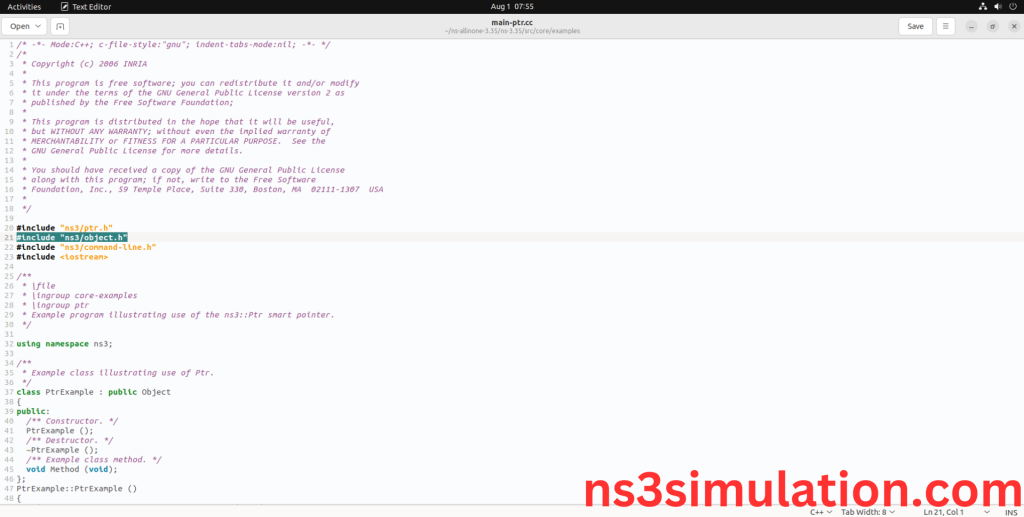
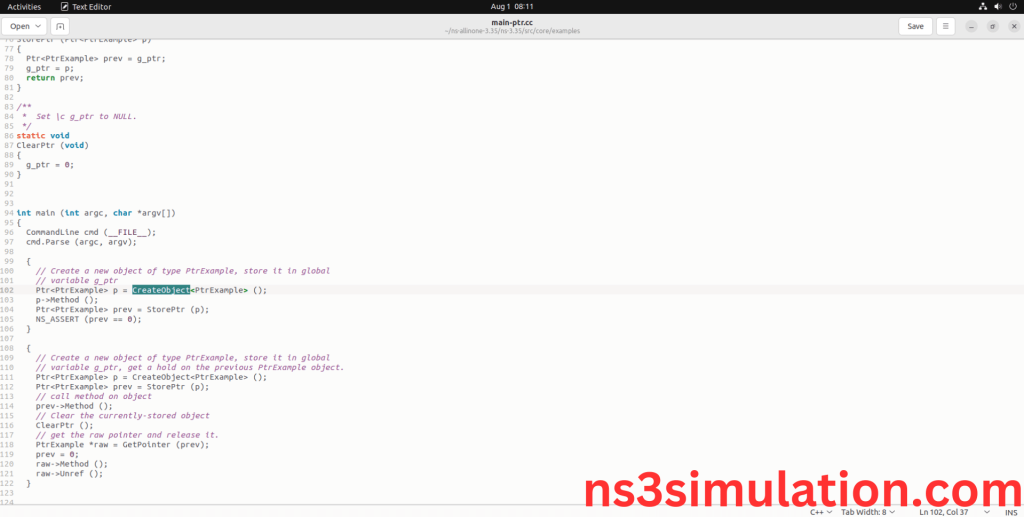
Here we highlighted the code line that GetID() class which is the part of the Node.h that we will show class file that used in this code via network folder.
Screenshot:
Screenshot:
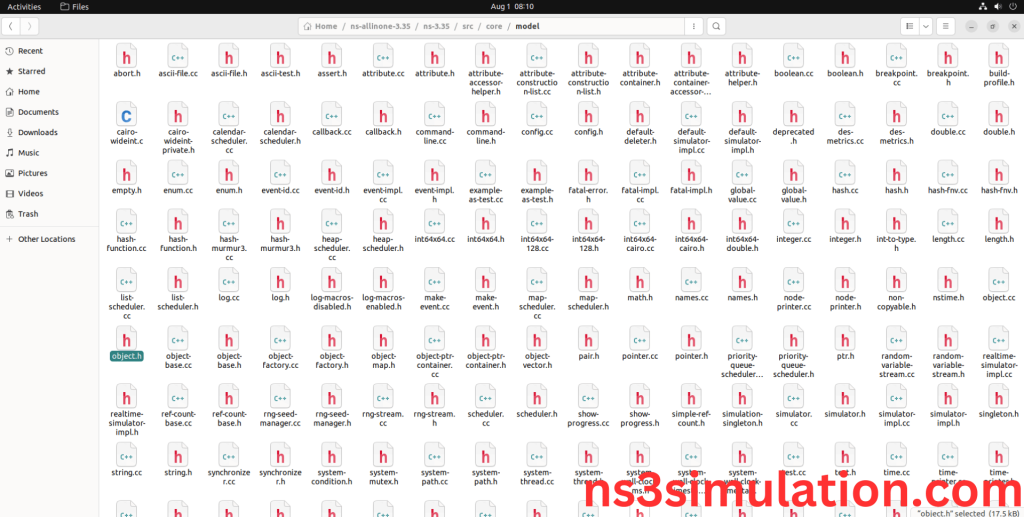
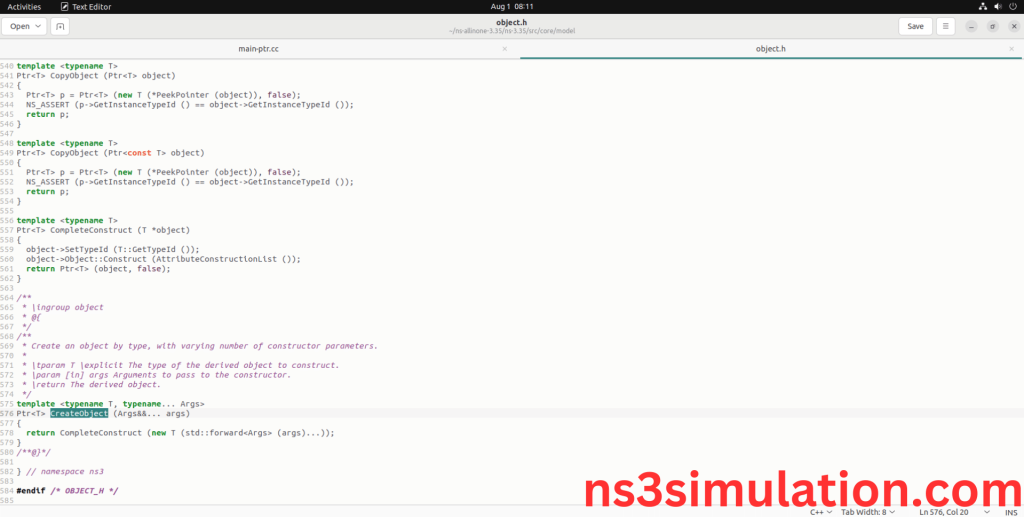
Here we will show the header file by opening node.h file to show the class imported from the Node.h in the example code.
Screenshot:
6.Executing the Example Node Program:
Then we need to run the Example node program to view output of the program.
Command: “./waf –run Node_eg”
Screenshot:
Here we shown the output of the example node program by using node.h.
Screenshot:
