To import SIMULATOR.H packages in NS3 read the steps. If you need assistance with the installation, feel free to reach out to us. We can help you with your project execution. The Simulator class manages simulation time, schedules events, and runs simulation steps. It has methods to move time forward, set up events, and control how the simulation progresses. This class makes sure that all events happen in the right order and at the right times. Knowing simulator.h is important for developers using NS-3 because it supports the running and management of network simulations, allowing for precise and effective testing of network protocols and setups.
PRE-REQUISITES:
Fresh installation of Ubuntu 22.04 LTS:
Screenshot:

2.NS-3.35 Installation:
Screenshot:
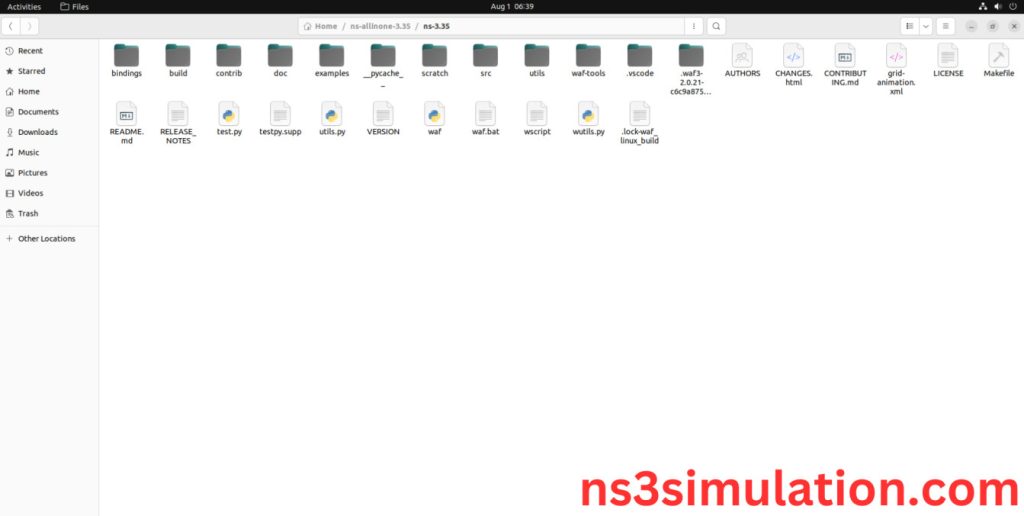
HEADER FILE VERIFICATION:
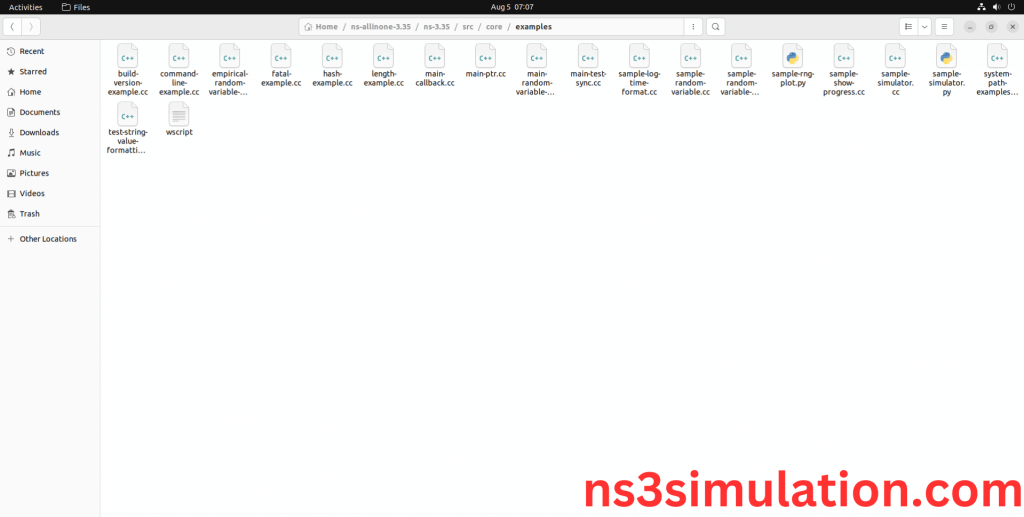
- Locate to the ns3.35/src/core/examples folder:
Screenshot:
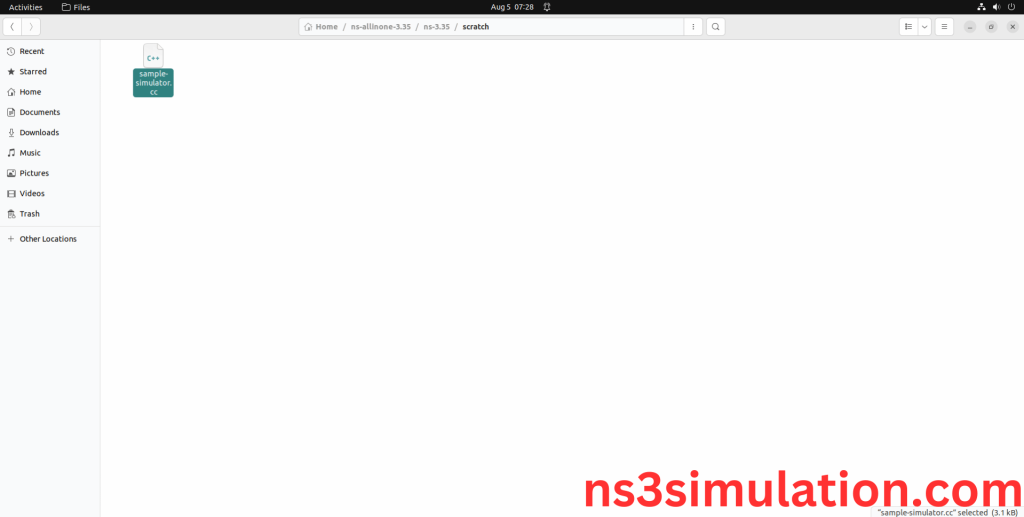
2.Copy the sample-simulator.cc file to scratch folder:
Next, we need to copy the sample-simulator.cc file from ns3.35/examples/energy folder to the ns3/scratch folder.
Screenshot:
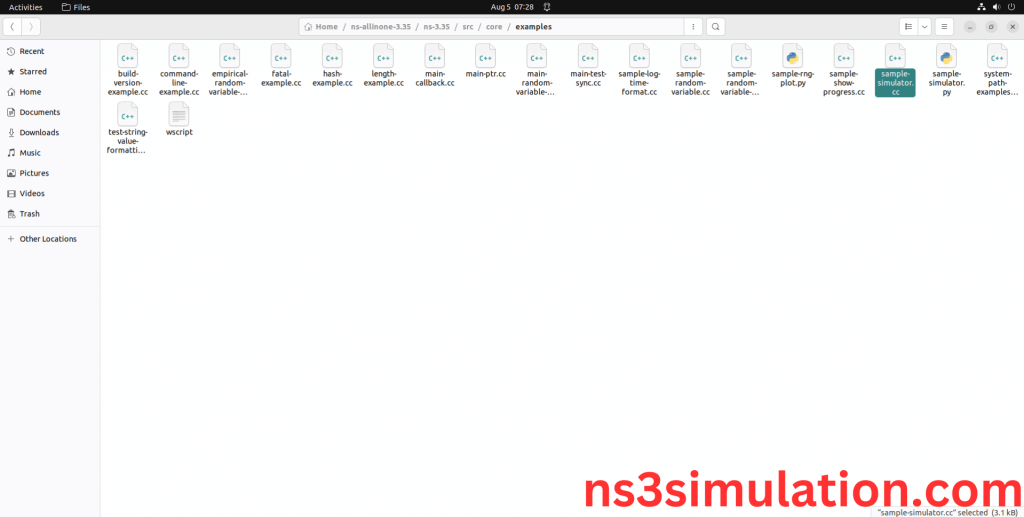
Next, we need to paste the sample-simulator.cc file to the ns3/scratch folder.
Screenshot:
3.Open the Terminal:
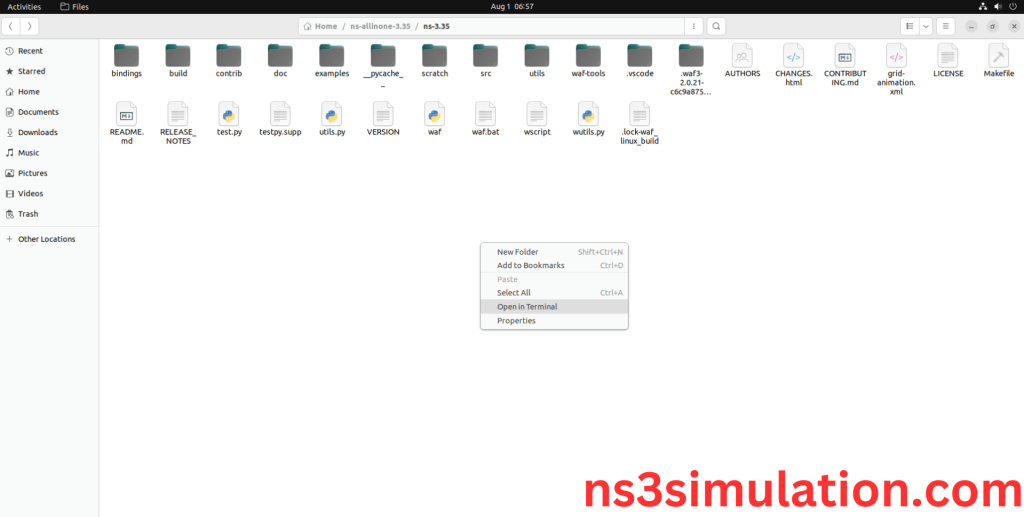
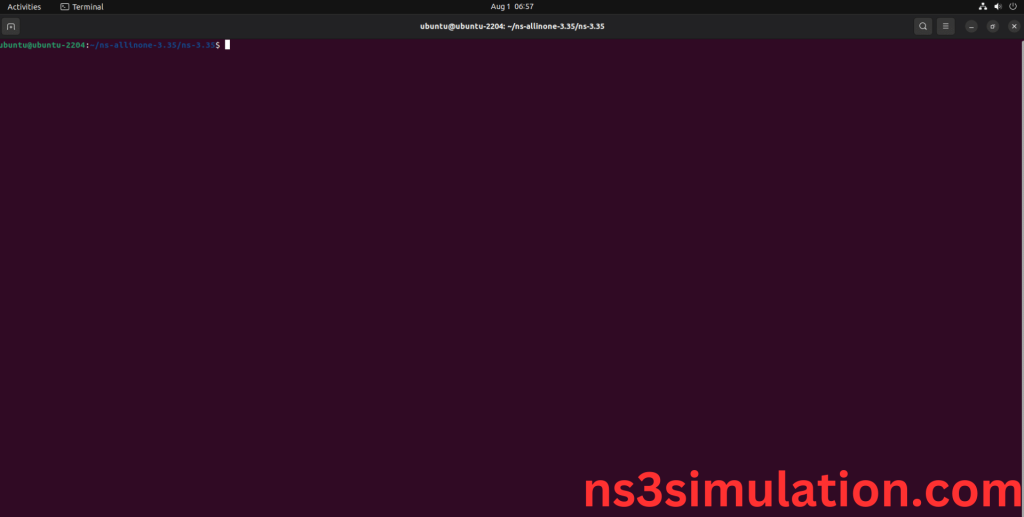
Next, we need to launch the terminal by right clicking the mouse in the ns3 location.
Screenshot:
Screenshot:
4.NS-3.35 Configuration && Building Process:
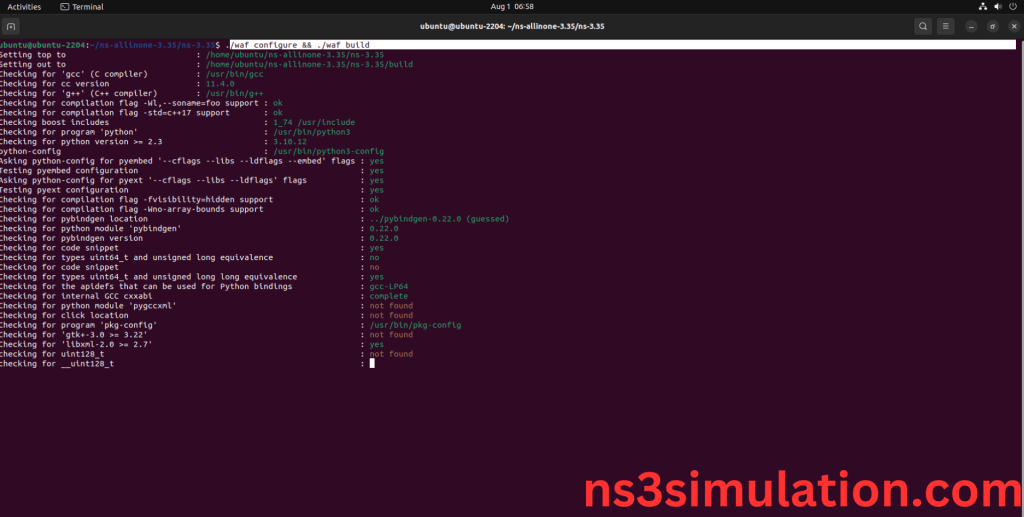
Next, we need to configure and build the ns3 folder to make the copied files to the scratch need to store in configuration.
Command: “./waf configure && ./waf build”
Screenshot:
Screenshot:
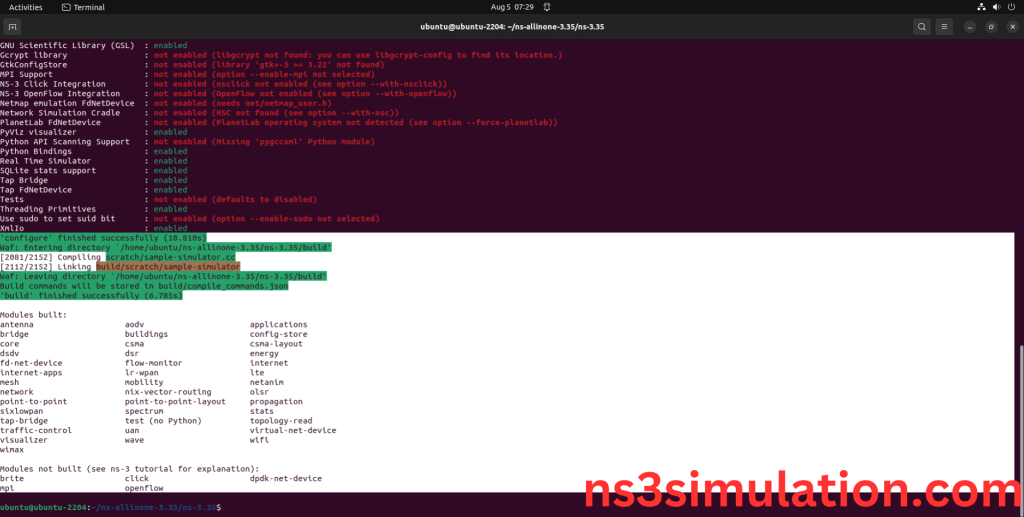
5.Importing Simulator.h:
Here we imported the Simulator.h header file in this example program.
Screenshot:
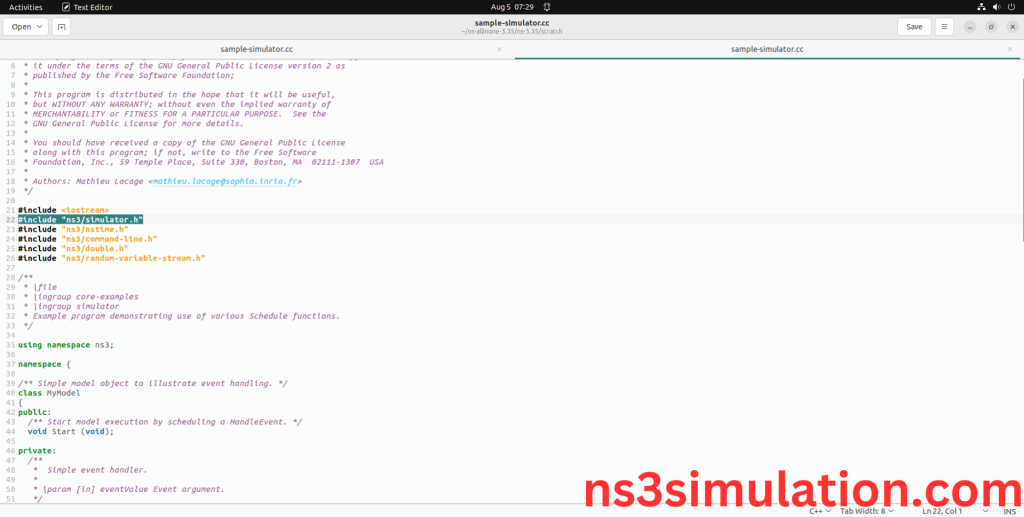
Here we highlighted the code line that Simulator class which is the part of the Simulator.h that we will show class file that used in this code via Core folder which represents Core module.
Screenshot:
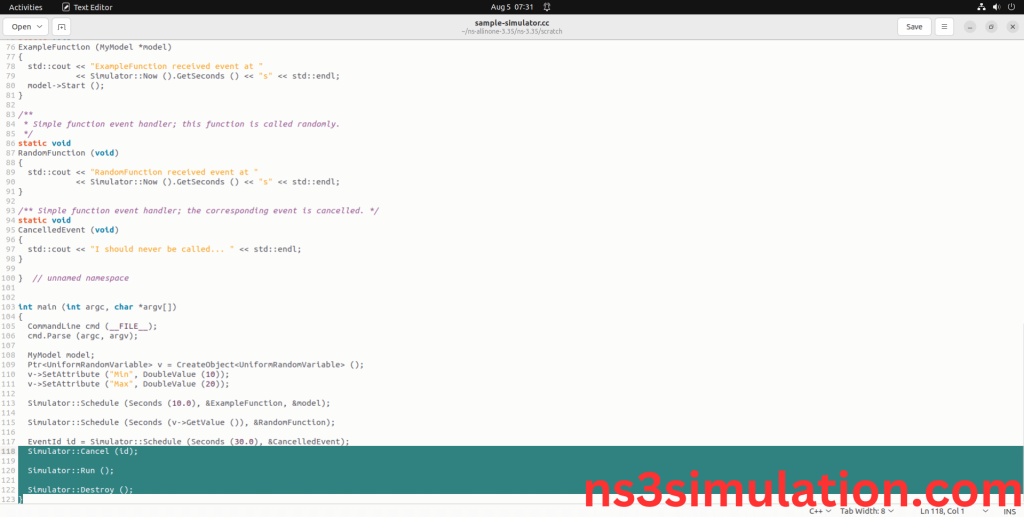
Screenshot:

Here we will show the header file by opening simulator.h file to show the class imported from the Simulator.h in the example code.
Screenshot:
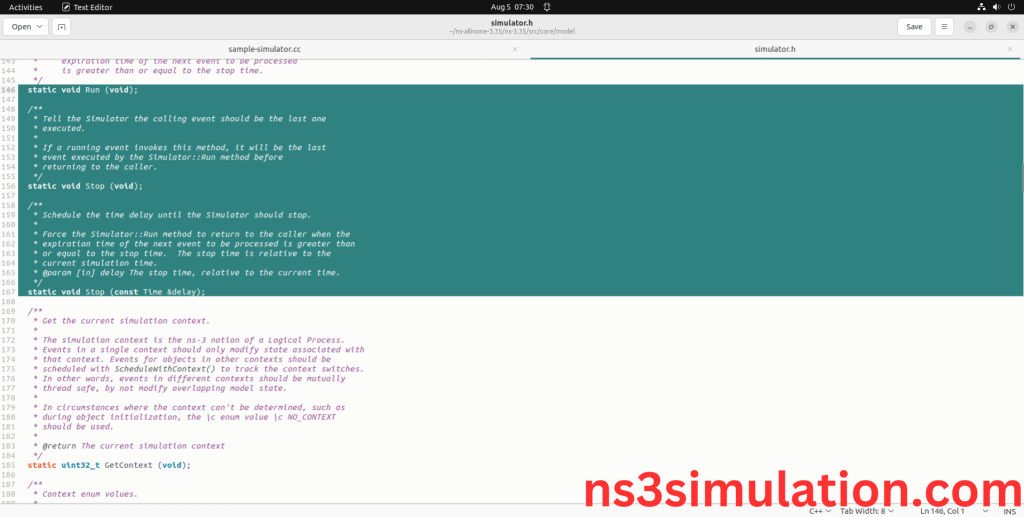
6.Executing the Example Simulator Program:
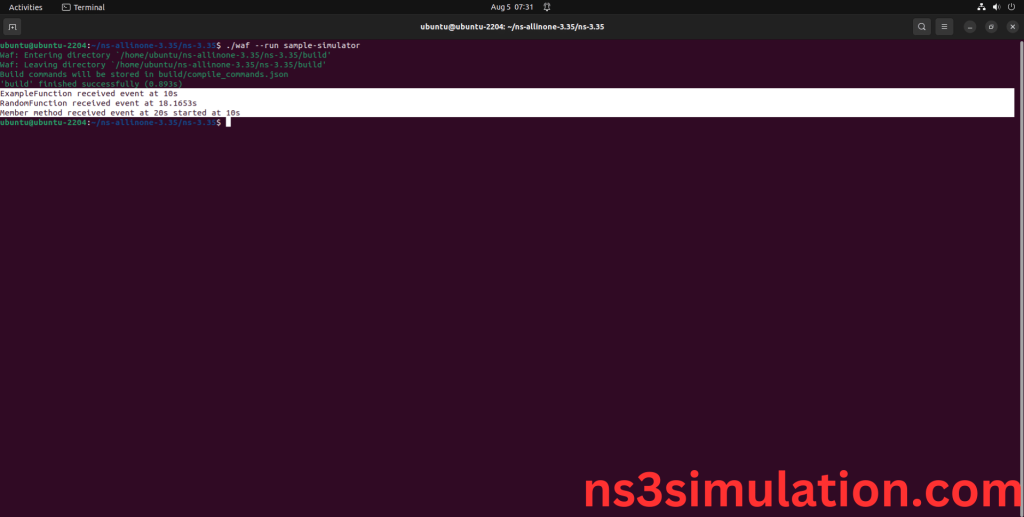
Then we need to run the Example Simulator program to view output of the program.
Command: “./waf –run sample-simulator –vis”
Screenshot:
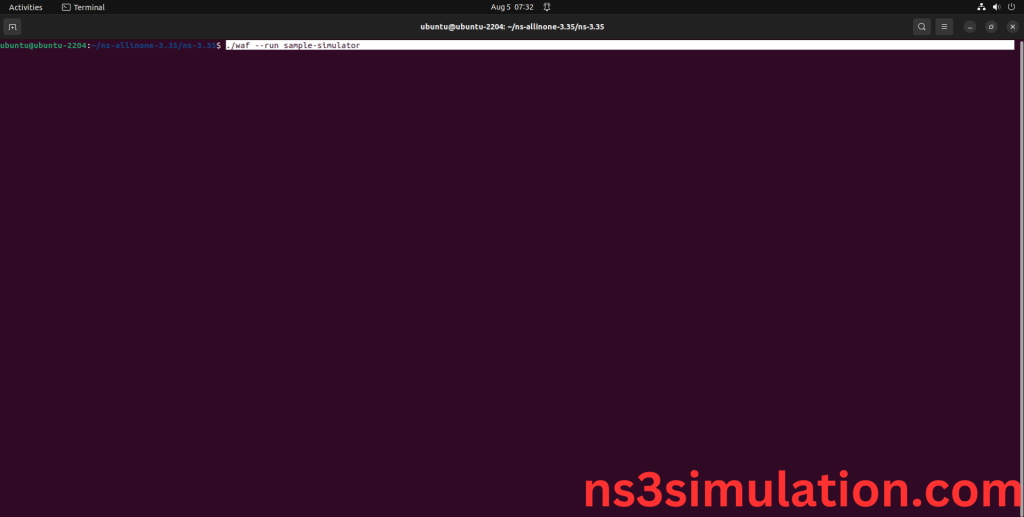
Here we shown the output of the example Simulator program by using Simulator.h.
Screenshot:
