The Time class helps manage simulation time by allowing time calculations, formatting, and conversions. It can perform addition, subtraction, and comparison of time values. This class is important for planning events, handling delays, and controlling simulation flow. The Time class provides accurate and efficient time management, enabling developers to create precise timing systems and study time-related behaviors in network simulations. Knowing time.h is key for using time-based features in NS-3.We focus on adding, subtracting, and comparing time values. Share your project details with us, and we will help you achieve the best results.
PRE-REQUISITES:
- Fresh installation of Ubuntu 22.04 LTS:
Screenshot:

2.NS-3.35 Installation:
Screenshot:

HEADER FILE VERIFICATION:
- Locate to the ns3/scratch folder:
Screenshot:
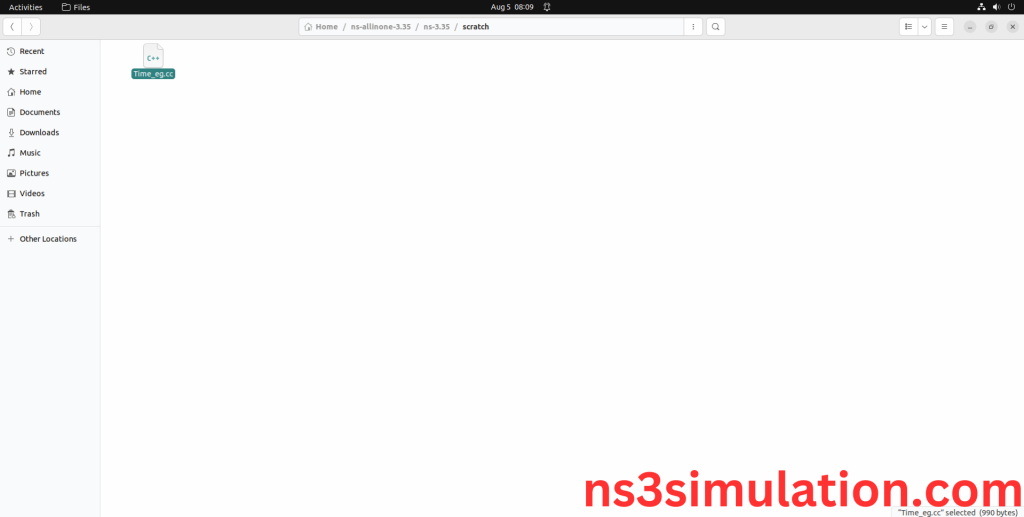
2.Create the Time_eg.cc file in the scratch folder:
Next we need to create the Time_eg.cc file by using text editor in the ns3/scratch folder.
Screenshot:
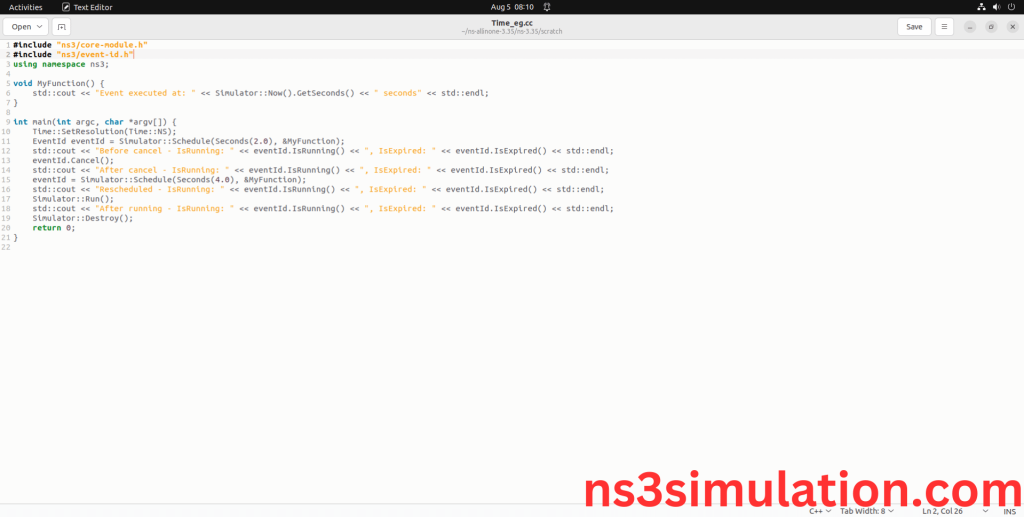
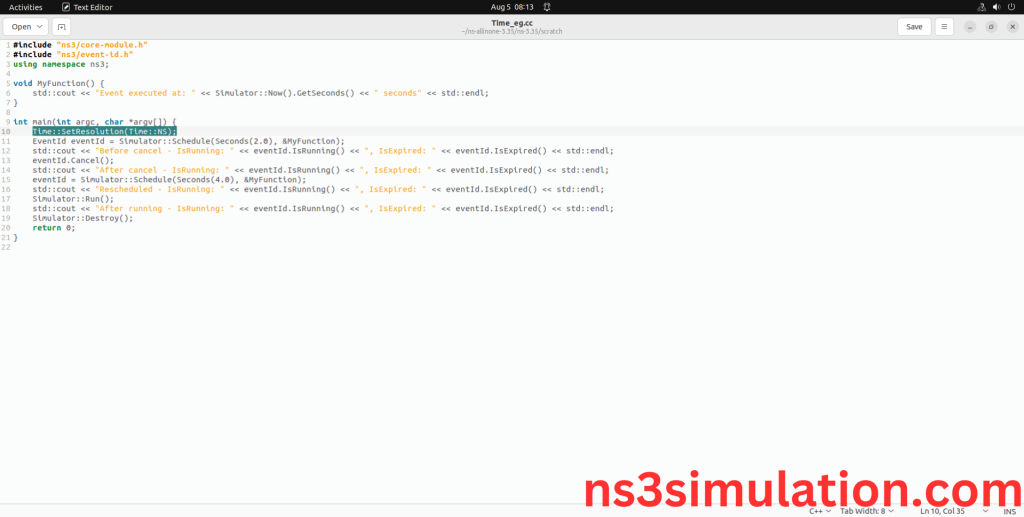
Next we need to paste the below code to the Time_eg.cc file and save the file in the ns3/scratch folder.
Code:
#include “ns3/core-module.h”
#include “ns3/event-id.h”
using namespace ns3;
void MyFunction() {
std::cout << “Event executed at: ” << Simulator::Now().GetSeconds() << ” seconds” << std::endl;
}
int main(int argc, char *argv[]) {
Time::SetResolution(Time::NS);
EventId eventId = Simulator::Schedule(Seconds(2.0), &MyFunction);
std::cout << “Before cancel – IsRunning: ” << eventId.IsRunning() << “, IsExpired: ” << eventId.IsExpired() << std::endl;
eventId.Cancel();
std::cout << “After cancel – IsRunning: ” << eventId.IsRunning() << “, IsExpired: ” << eventId.IsExpired() << std::endl;
eventId = Simulator::Schedule(Seconds(4.0), &MyFunction);
std::cout << “Rescheduled – IsRunning: ” << eventId.IsRunning() << “, IsExpired: ” << eventId.IsExpired() << std::endl;
Simulator::Run();
std::cout << “After running – IsRunning: ” << eventId.IsRunning() << “, IsExpired: ” << eventId.IsExpired() << std::endl;
Simulator::Destroy();
return 0;
}
Screenshot:
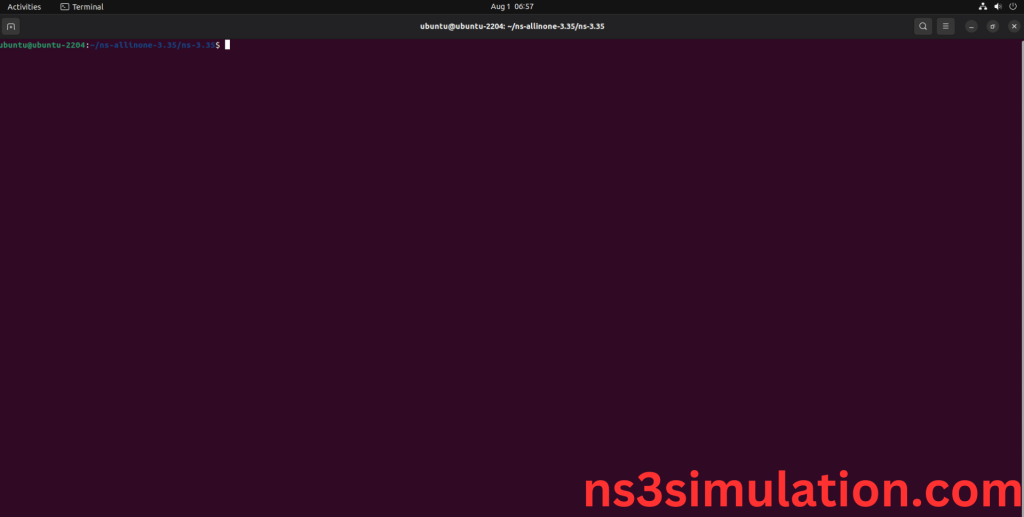
3.Open the Terminal:
Next, we need to launch the terminal by right clicking the mouse in the ns3 location.
Screenshot:

Screenshot:
4.NS-3.35 Configuration && Building Process:
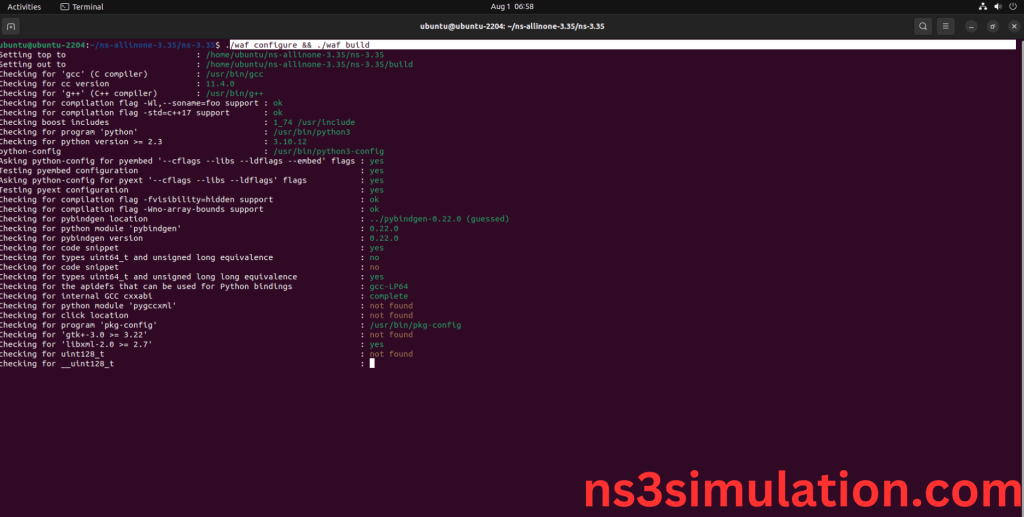
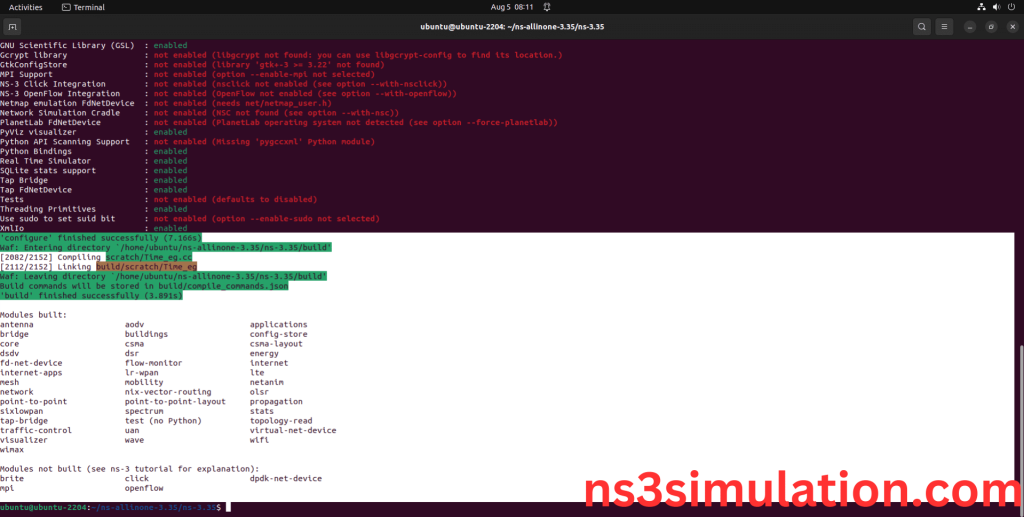
Next, we need to configure and build the ns3 folder to make the copied files to the scratch need to store in configuration.
Command: “./waf configure && ./waf build”
Screenshot:
Screenshot:
5.Importing Time.h:
Here we imported the Core-module which consist of Time header file in this example program.
Screenshot:
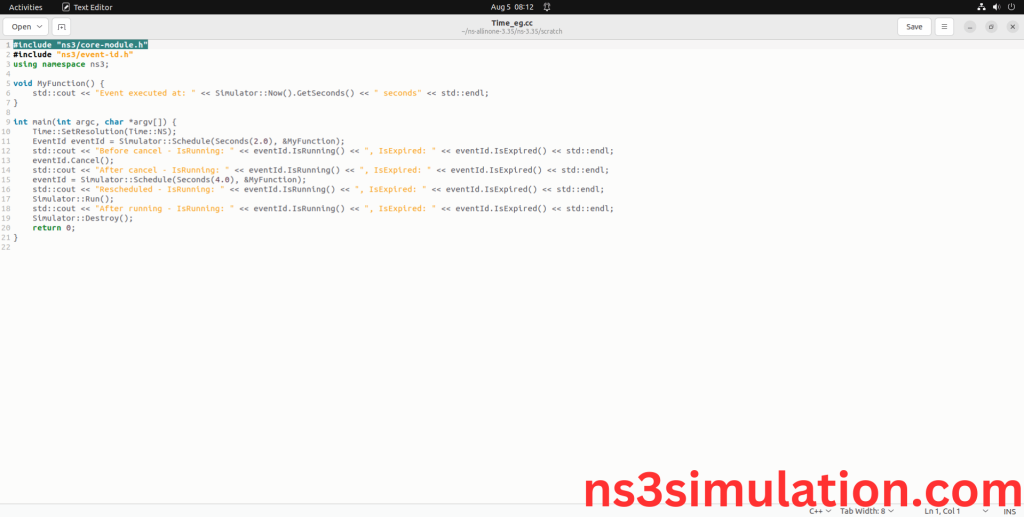
Here we highlighted the code line that highlighted which is the part of the Time header that we will show class file that used in this code via core folder which represents core-module.
Screenshot:
Screenshot:
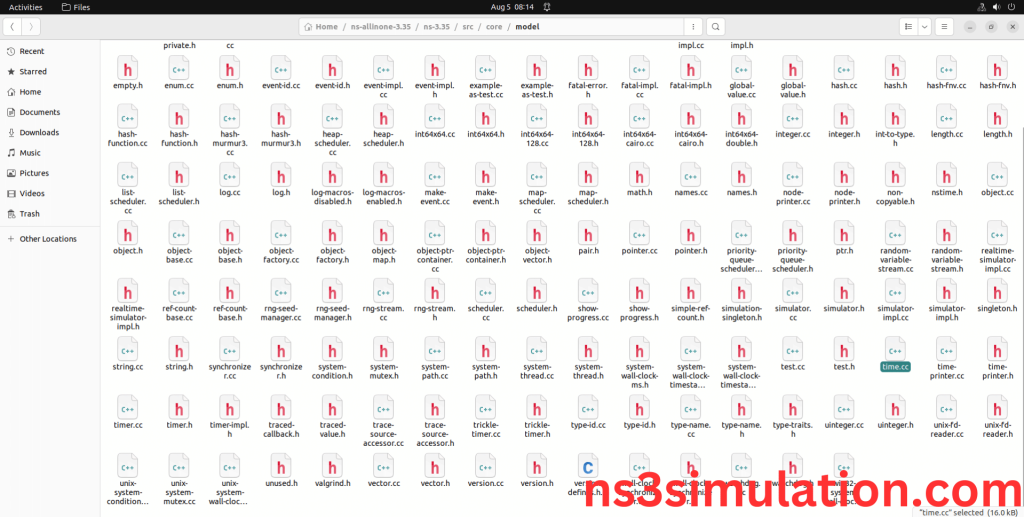
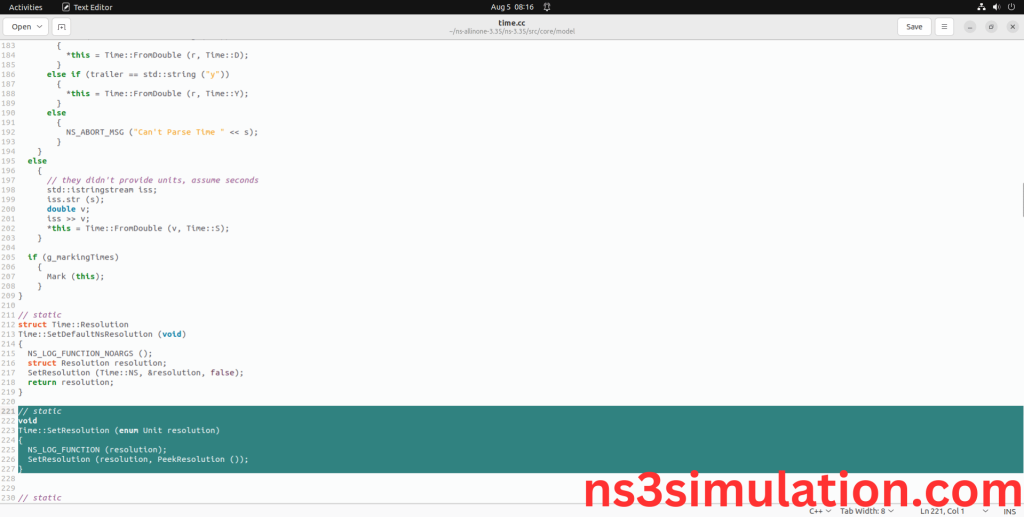
Here we will show the header file by opening Time.cc file to show the class imported from the Time.cc in the example code.
Screenshot:
6.Executing the Example Time Program:
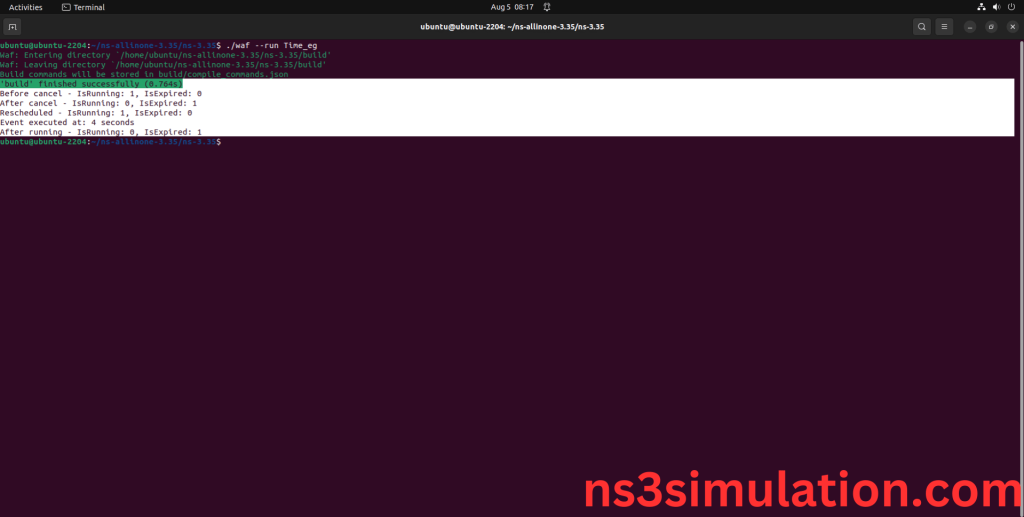
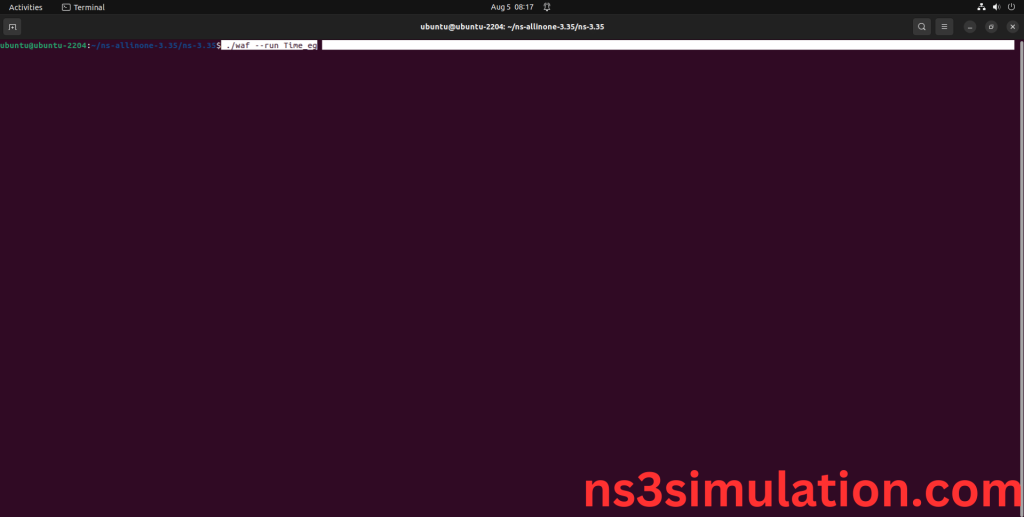
Then we need to run the Example Time program to view output of the program.
Command: “./waf –run Time_eg”
Screenshot
Here we shown the output of the example Time program by using Time.h.
Screenshot:
