To Import UDP-CLIENT.H Packages In NS3 go through the ideas listed below, share with us your project details for more guidance. The UdpClient class is used to create and send UDP packets to a specific server or address. It has methods to set up the client’s settings, like choosing the destination address and port, managing packet sizes, and setting how often packets are sent. This class can also receive acknowledgment packets if it’s set up that way. UdpClient helps in simulating and studying UDP communication, like streaming or real-time data transfer, by offering an easy way to implement a client-side UDP application. Knowing udp-client.h is important for developers who want to build or simulate client-side UDP applications in NS-3.
PRE-REQUISITES:
Fresh installation of Ubuntu 22.04 LTS:
Screenshot:
2.NS-3.35 Installation:
Screenshot:
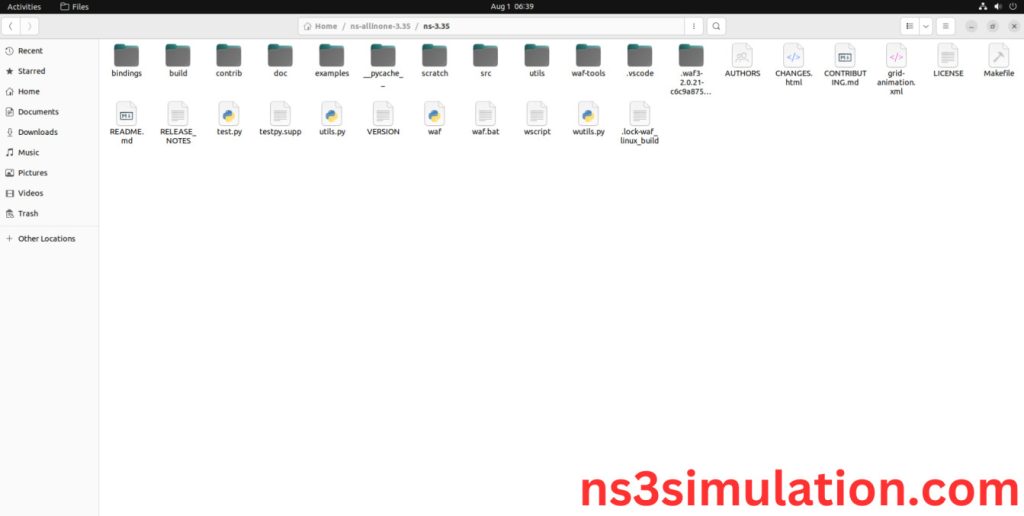
HEADER FILE VERIFICATION:
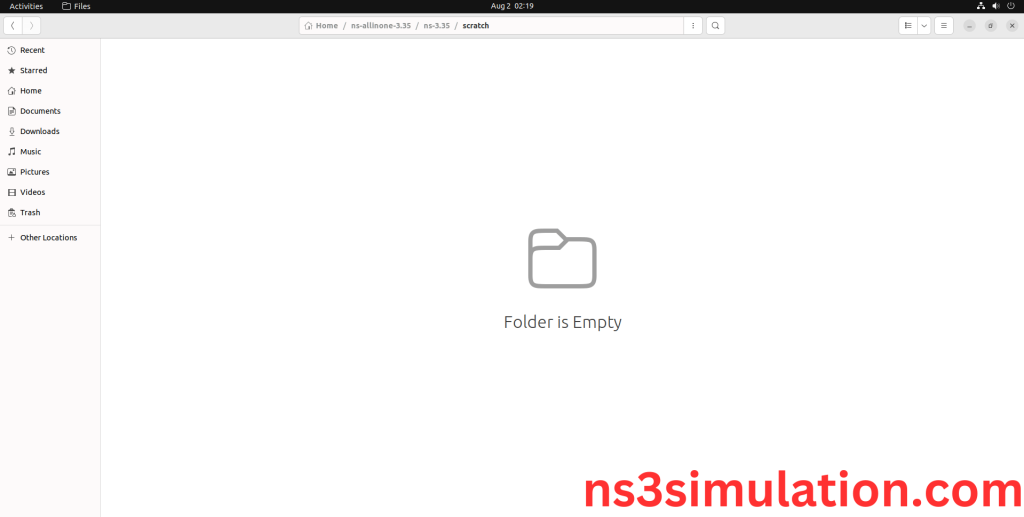
- Locate to the ns3/scratch folder:
Screenshot:
2.Create the Udp-client_eg.cc file in the scratch folder:
Next we need to create the udp-client_eg.cc file by using text editor in the ns3/scratch folder.
Screenshot:
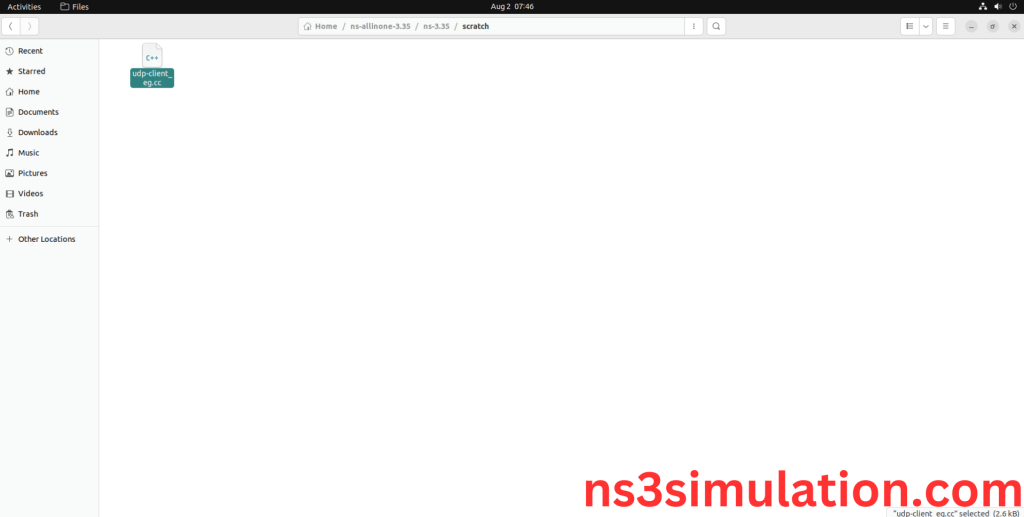
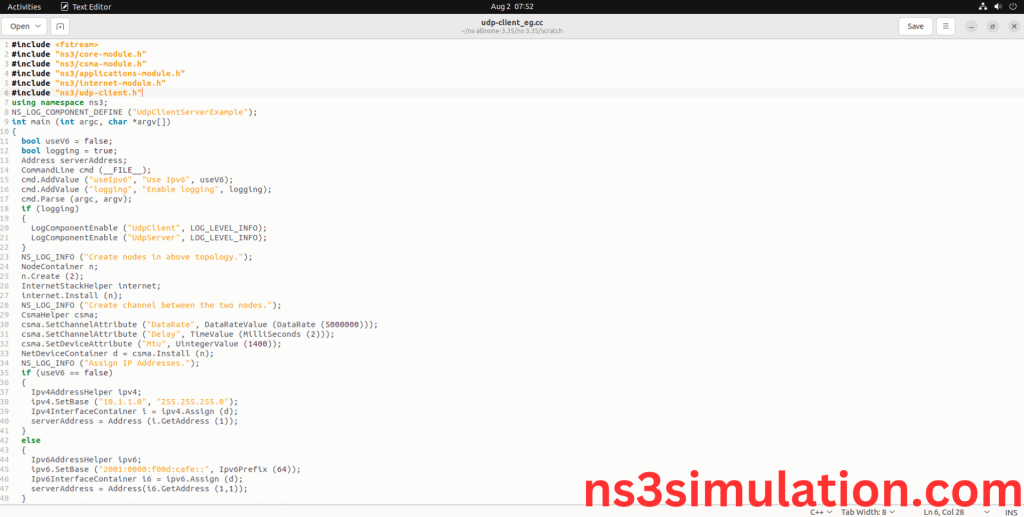
Next we need to paste the below code to the Udp-client_eg.cc file and save the file in the ns3/scratch folder.
Code:
#include <fstream>
#include “ns3/core-module.h”
#include “ns3/csma-module.h”
#include “ns3/applications-module.h”
#include “ns3/internet-module.h”
#include “ns3/udp-client.h”
using namespace ns3;
NS_LOG_COMPONENT_DEFINE (“UdpClientServerExample”);
int main (int argc, char *argv[]){
bool useV6 = false;
bool logging = true;
Address serverAddress;
CommandLine cmd (__FILE__);
cmd.AddValue (“useIpv6”, “Use Ipv6”, useV6);
cmd.AddValue (“logging”, “Enable logging”, logging);
cmd.Parse (argc, argv);
if (logging){
LogComponentEnable (“UdpClient”, LOG_LEVEL_INFO);
LogComponentEnable (“UdpServer”, LOG_LEVEL_INFO);}
NS_LOG_INFO (“Create nodes in above topology.”);
NodeContainer n;
n.Create (2);
InternetStackHelper internet;
internet.Install (n);
NS_LOG_INFO (“Create channel between the two nodes.”);
CsmaHelper csma;
csma.SetChannelAttribute (“DataRate”, DataRateValue (DataRate (5000000)));
csma.SetChannelAttribute (“Delay”, TimeValue (MilliSeconds (2)));
csma.SetDeviceAttribute (“Mtu”, UintegerValue (1400));
NetDeviceContainer d = csma.Install (n);
NS_LOG_INFO (“Assign IP Addresses.”);
if (useV6 == false){
Ipv4AddressHelper ipv4;
ipv4.SetBase (“10.1.1.0”, “255.255.255.0”);
Ipv4InterfaceContainer i = ipv4.Assign (d);
serverAddress = Address (i.GetAddress (1));}
else{
Ipv6AddressHelper ipv6;
ipv6.SetBase (“2001:0000:f00d:cafe::”, Ipv6Prefix (64));
Ipv6InterfaceContainer i6 = ipv6.Assign (d);
serverAddress = Address(i6.GetAddress (1,1));}
NS_LOG_INFO (“Create UdpServer application on node 1.”);
uint16_t port = 4000;
UdpServerHelper server (port);
ApplicationContainer apps = server.Install (n.Get (1));
apps.Start (Seconds (1.0));
apps.Stop (Seconds (10.0));
NS_LOG_INFO (“Create UdpClient application on node 0 to send to node 1.”);
uint32_t MaxPacketSize = 1024;
Time interPacketInterval = Seconds (0.05);
uint32_t maxPacketCount = 320;
UdpClientHelper client (serverAddress, port);
client.SetAttribute (“MaxPackets”, UintegerValue (maxPacketCount));
client.SetAttribute (“Interval”, TimeValue (interPacketInterval));
client.SetAttribute (“PacketSize”, UintegerValue (MaxPacketSize));
apps = client.Install (n.Get (0));
apps.Start (Seconds (2.0));
apps.Stop (Seconds (10.0));
NS_LOG_INFO (“Run Simulation.”);
Simulator::Run ();
Simulator::Destroy ();
Ptr<UdpClient> udpClient = DynamicCast<UdpClient> (apps.Get (0));
std::cout << “Total Bytes Sent: ” << udpClient->GetTotalTx () << std::endl;
NS_LOG_INFO (“Done.”);}
Screenshot:
3.Open the Terminal:
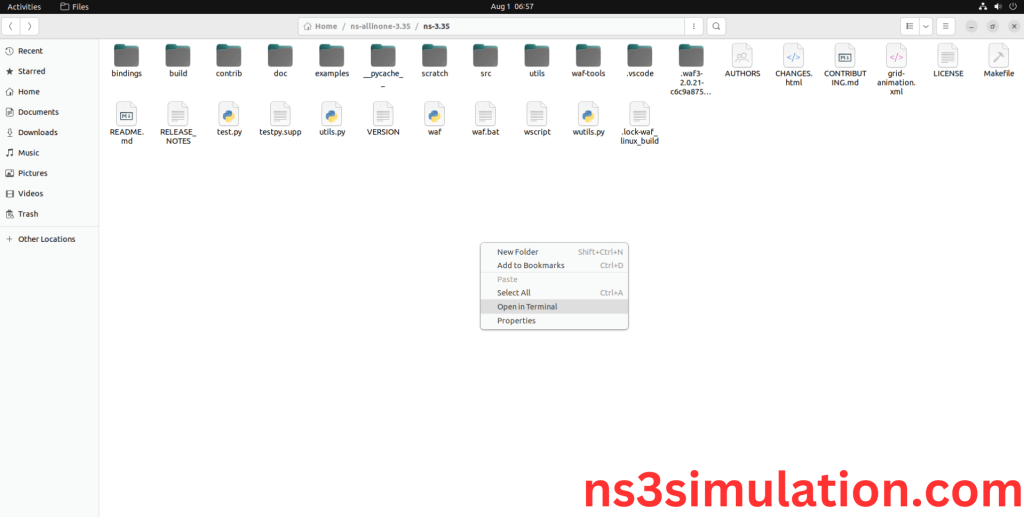
Next, we need to launch the terminal by right clicking the mouse in the ns3 location.
Screenshot:
Screenshot:
4.NS-3.35 Configuration && Building Process:
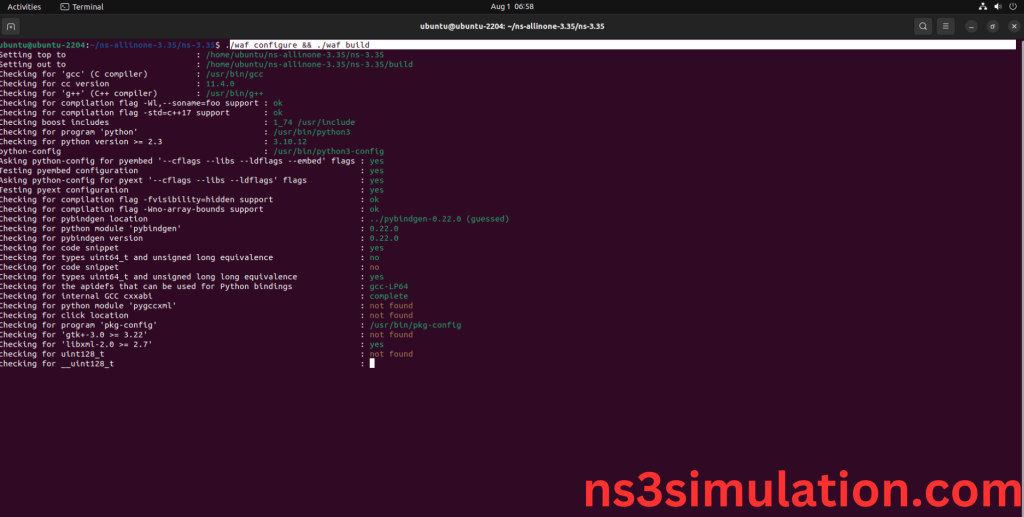
Next, we need to configure and build the ns3 folder to make the copied files to the scratch need to store in configuration.
Command: “./waf configure && ./waf build”
Screenshot:
Screenshot:
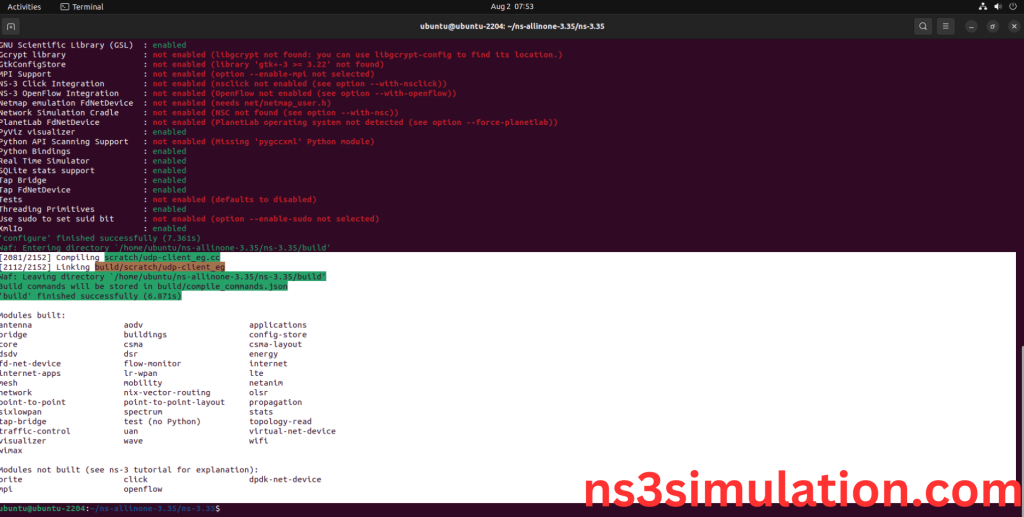
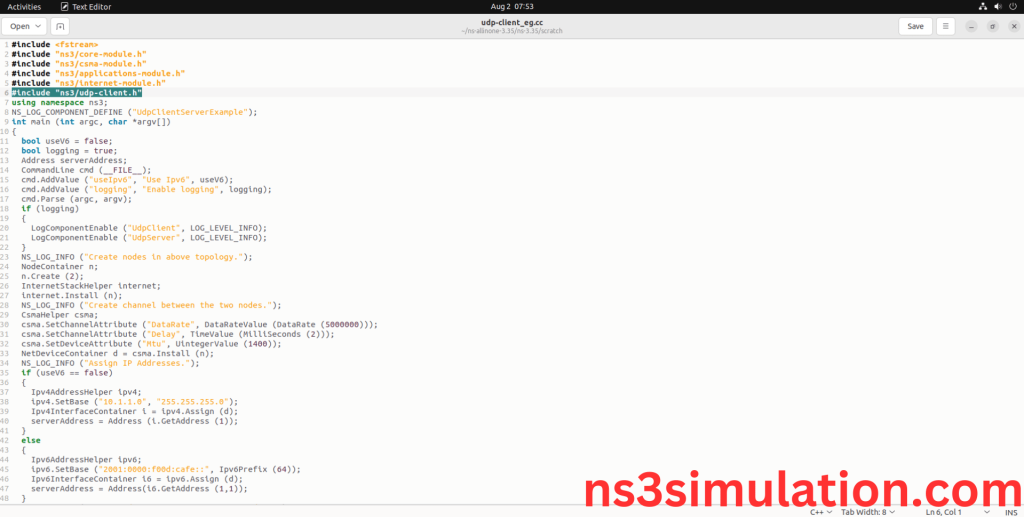
5.Importing Udp-client.h:
Here we imported the Udp-client.h header file in this example program.
Screenshot:
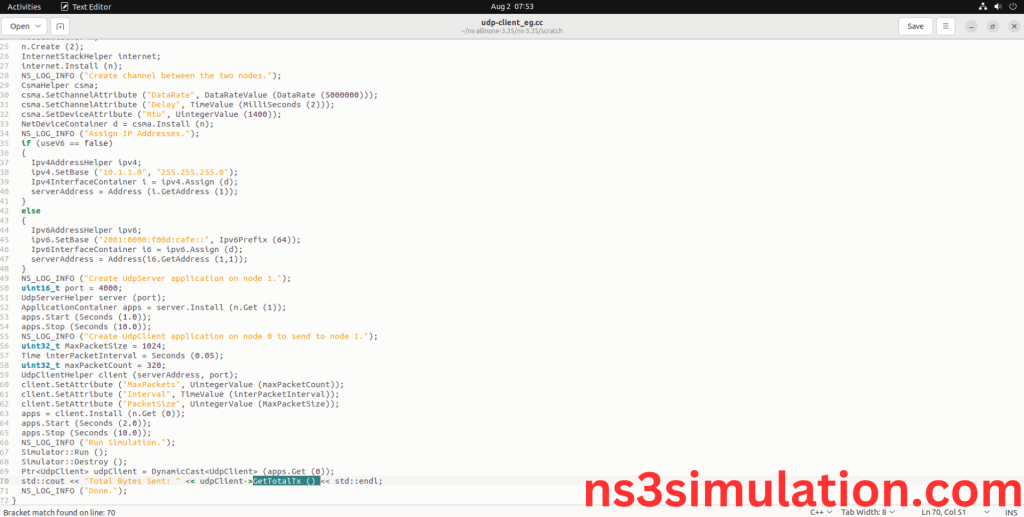
Here we highlighted the code line that GetTotalTx() class which is the part of the Udp-client.h that we will show class file that used in this code via application folder.
Screenshot:
Screenshot:
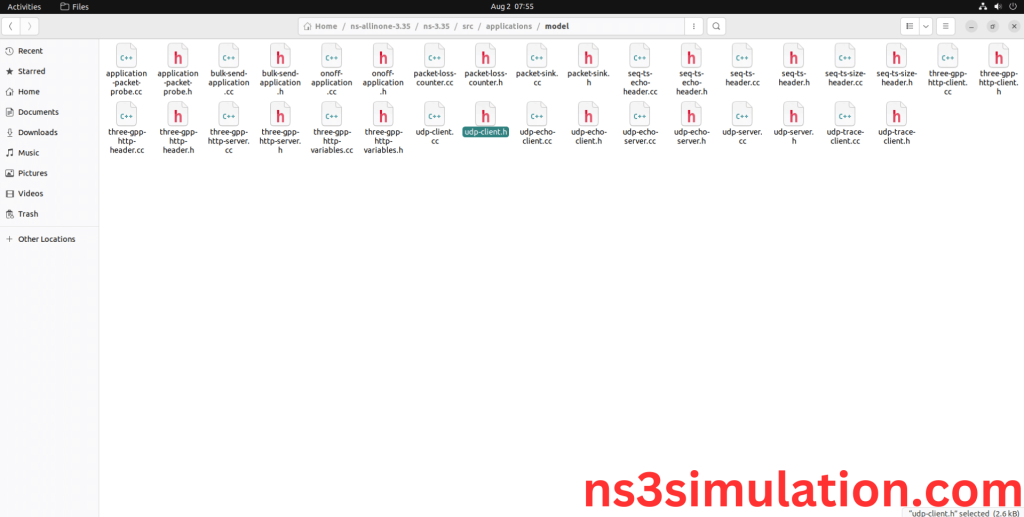
Here we will show the header file by opening Udp-client.h file to show the class imported from the Udp-client.h in the example code.
Screenshot:
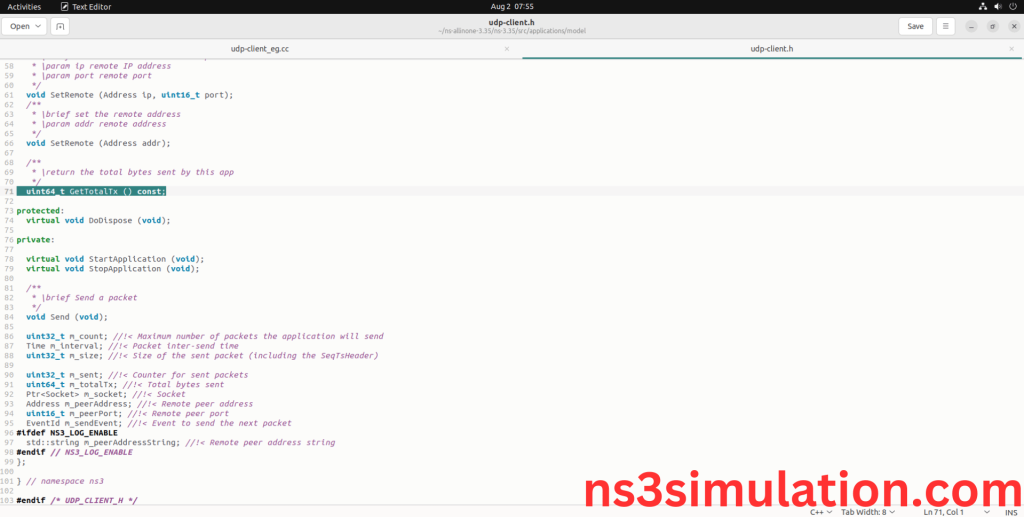
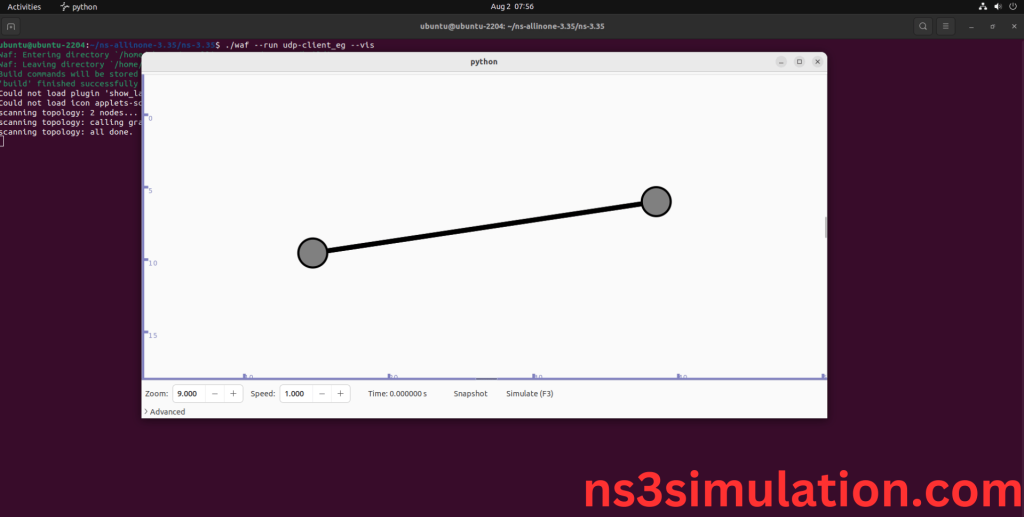
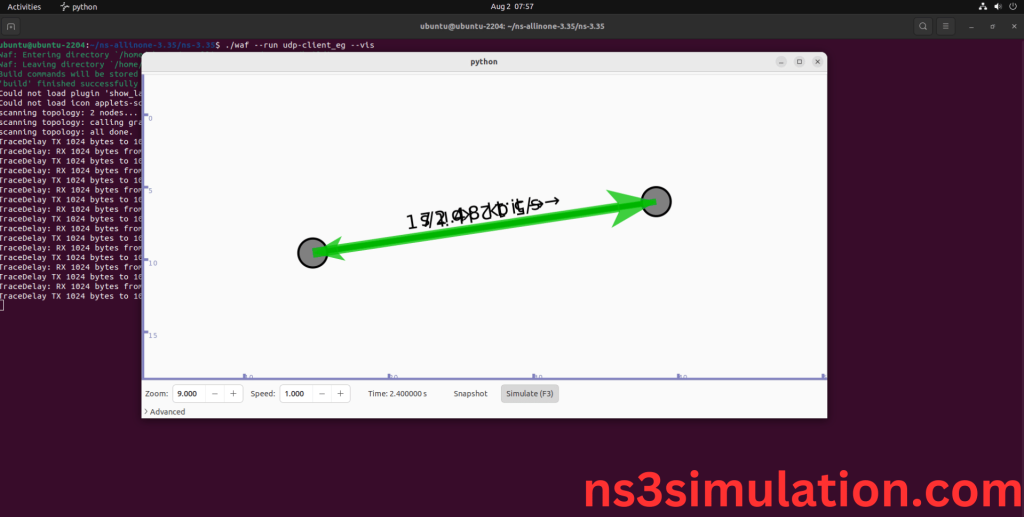
6.Executing the Example Udp-client Program:
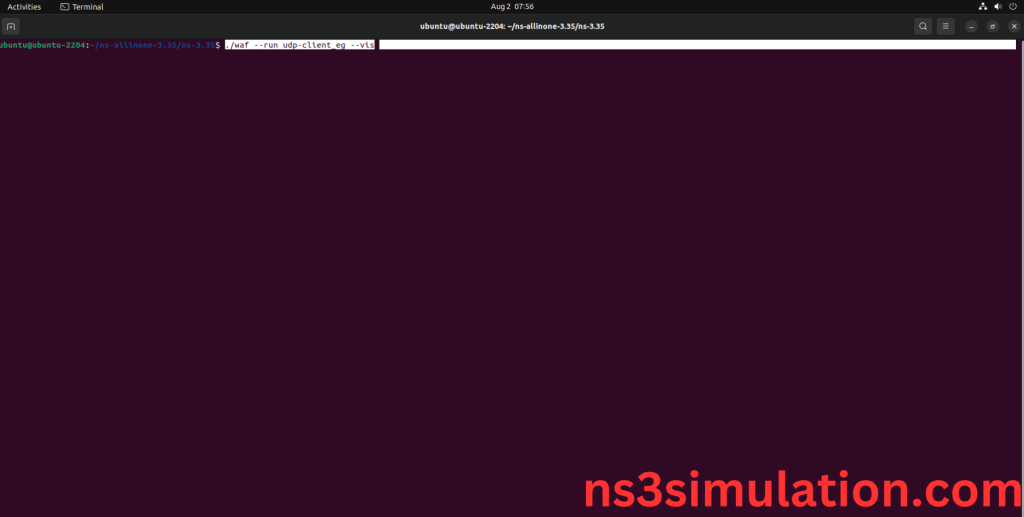
Then we need to run the Example Udp-client program to view output of the program.
Command: “./waf –run udp-client_eg”
Screenshot:
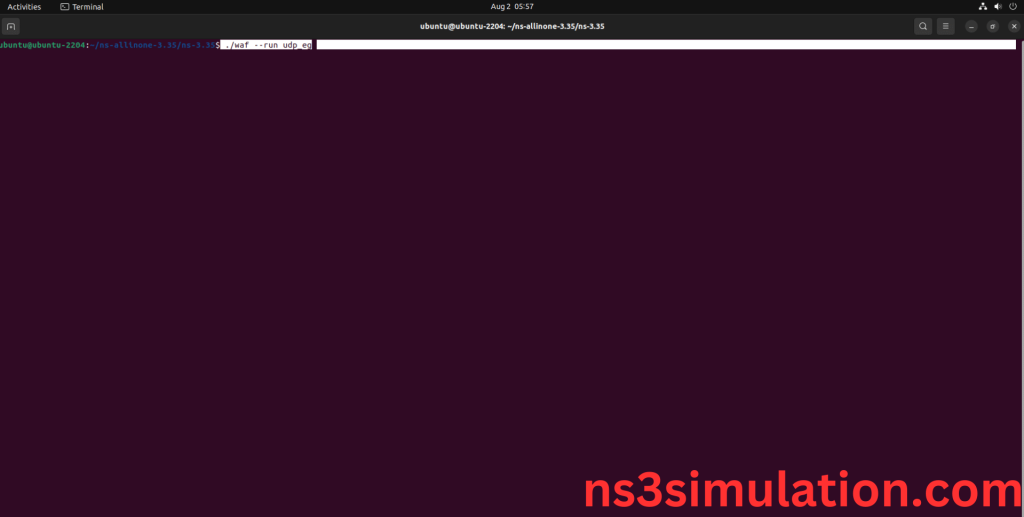
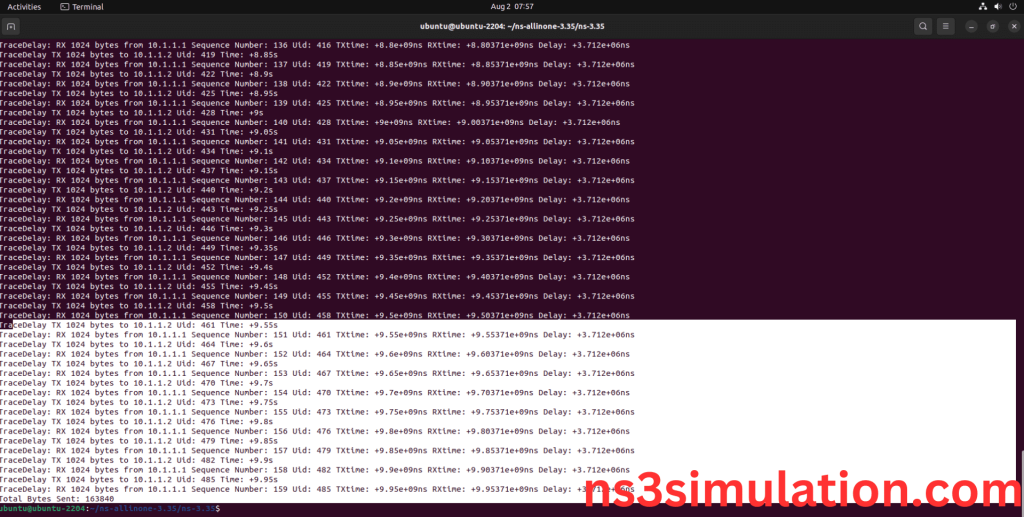
Here we shown the output of the example Udp-client program by using udp-client.h.
Screenshot:
Screenshot:
Screenshot:
Screenshot:
