To Import WIFI-NET-DEVICE.H Packages in Ns3 so stay in touch with us we give you good guidance and best outcome. The WifiNetDevice class represents how Wi-Fi interfaces work, focusing on MAC (Medium Access Control) and PHY (Physical) layer tasks. It includes functions for sending and receiving Wi-Fi packets, setting device settings, and controlling radio communications. This class works with the NS-3 Wi-Fi module to simulate different features of Wi-Fi networks, like signal spread, interference, and data transfer. Knowing wifi-net-device.h is important for effectively modeling and studying Wi-Fi network performance and interactions in NS-3 simulations.Here, we have an exciting and exclusive article that is just popped out for you to notify the steps that are required for the installation of Wifi-net-device.h.
PRE-REQUISITES:
- Fresh installation of Ubuntu 22.04 LTS:
Screenshot:

2.NS-3.35 Installation:
Screenshot:
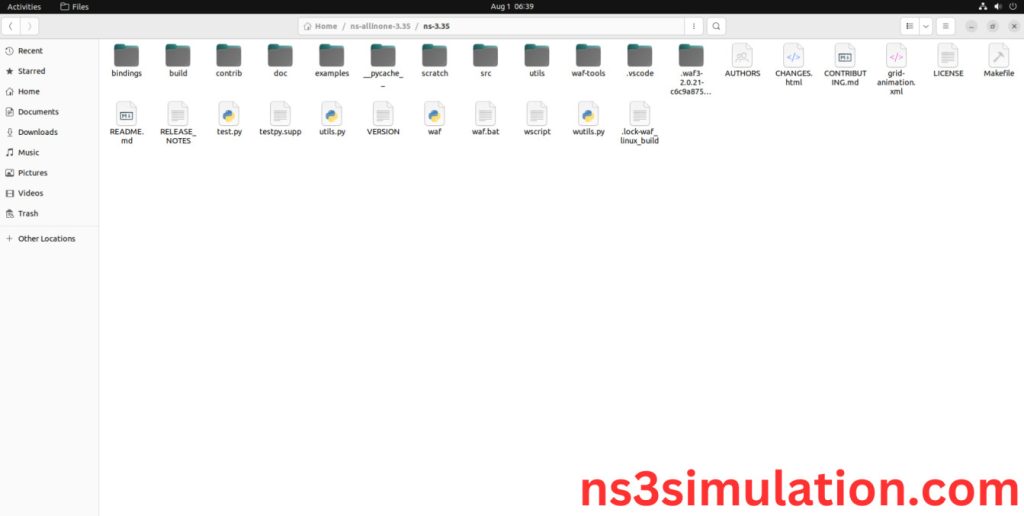
HEADER FILE VERIFICATION:
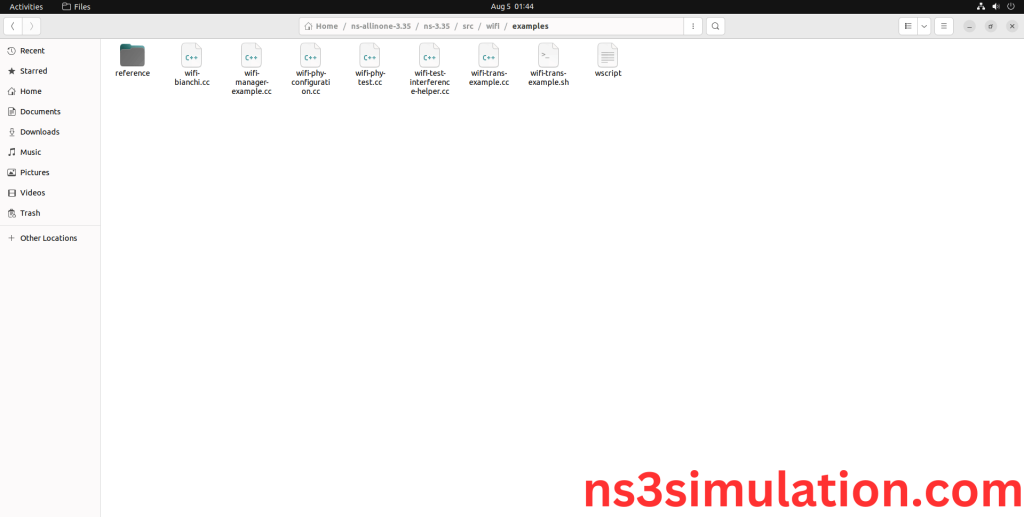
- Locate to the ns3.35/src/wifi/examples/ folder:
Screenshot:
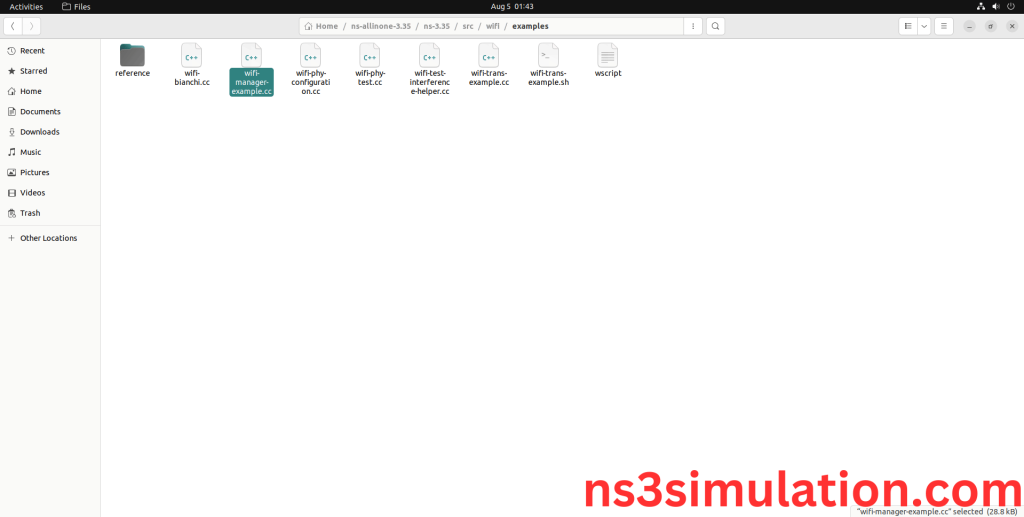
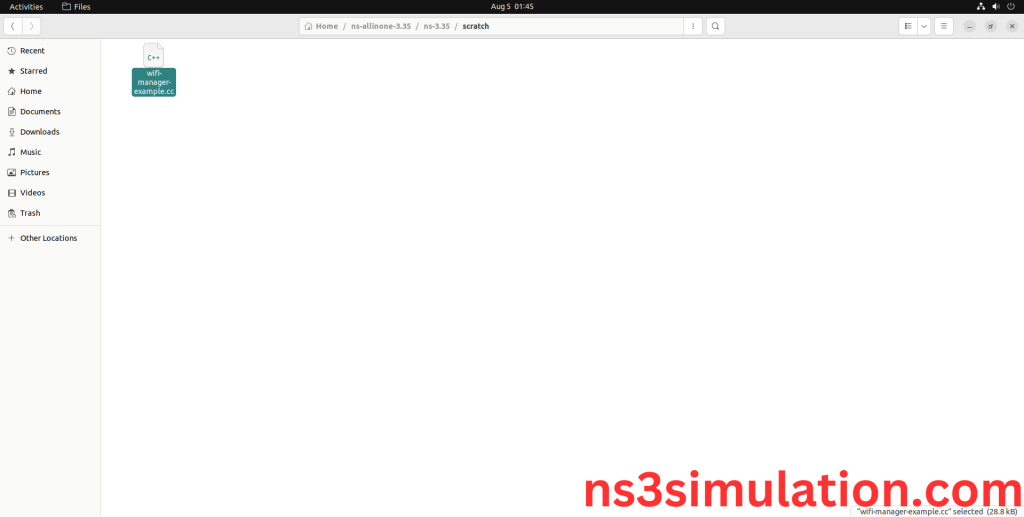
2.Copy the wifi-manager-example.cc file to scratch folder:
Next, we need to copy the wifi-manager-example.cc file from ns3.35/src/wifi/examples/ folder to the ns3/scratch folder.
Screenshot:
Next, we need to paste the wifi-manager-example.cc file to the ns3/scratch folder.
Screenshot:
3.Open the Terminal:
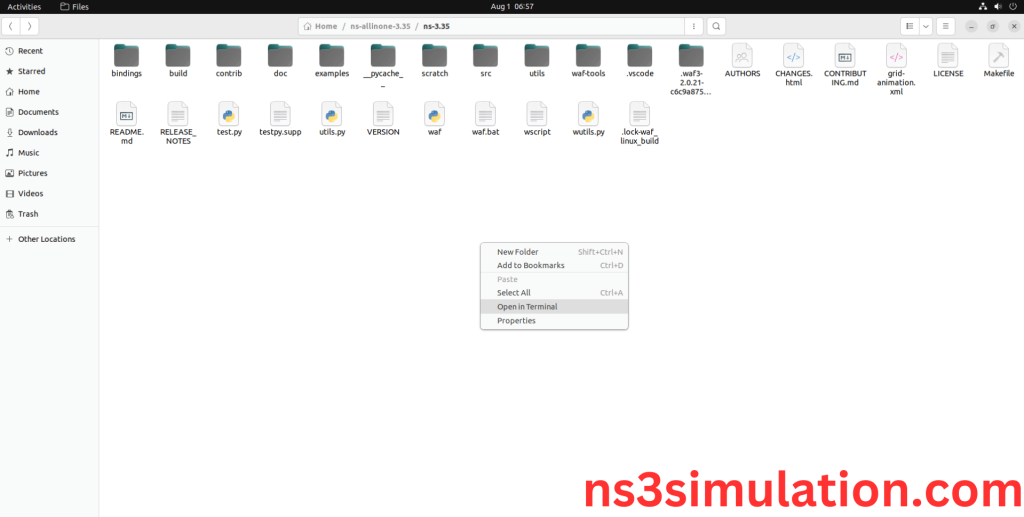
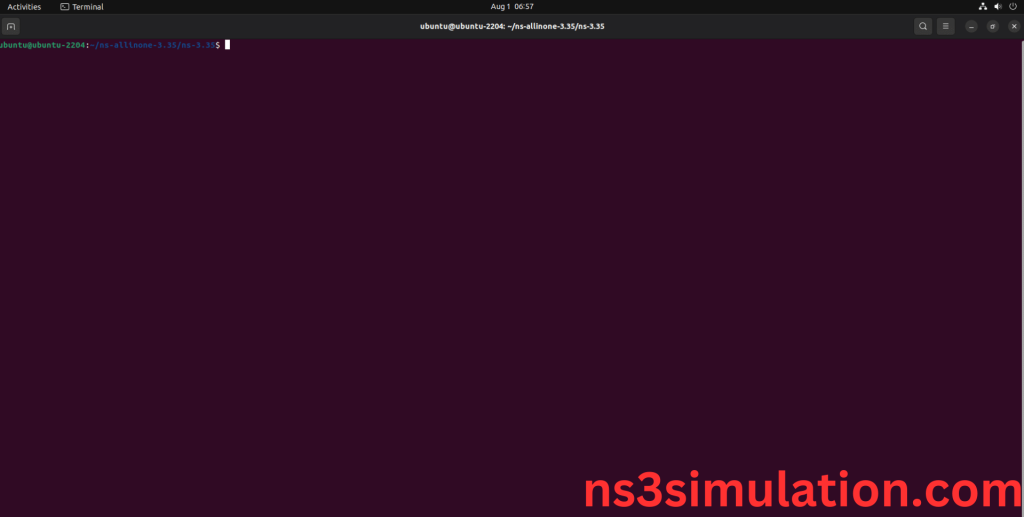
Next, we need to launch the terminal by right clicking the mouse in the ns3 location.
Screenshot:
Screenshot:
4.NS-3.35 Configuration && Building Process:
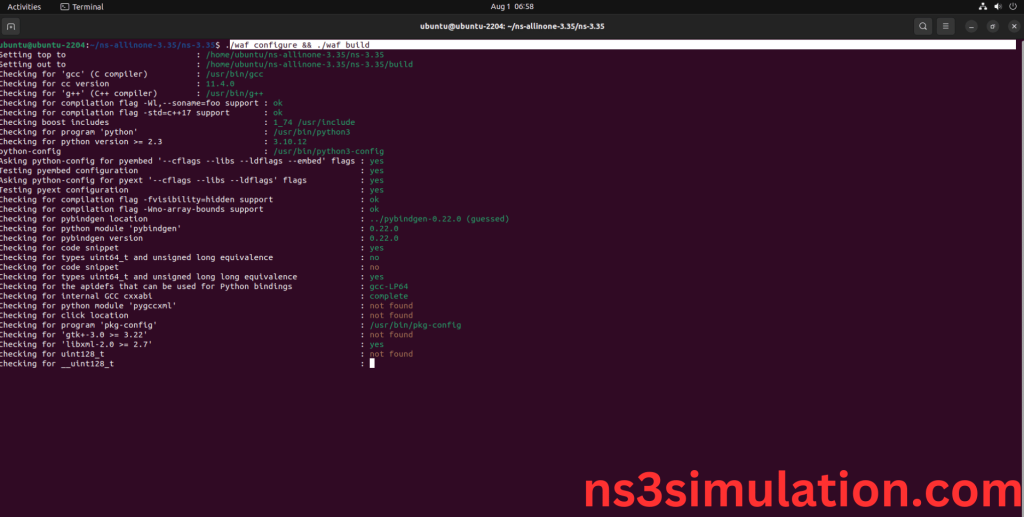
Next, we need to configure and build the ns3 folder to make the copied files to the scratch need to store in configuration.
Command: “./waf configure && ./waf build”
Screenshot:
Screenshot:
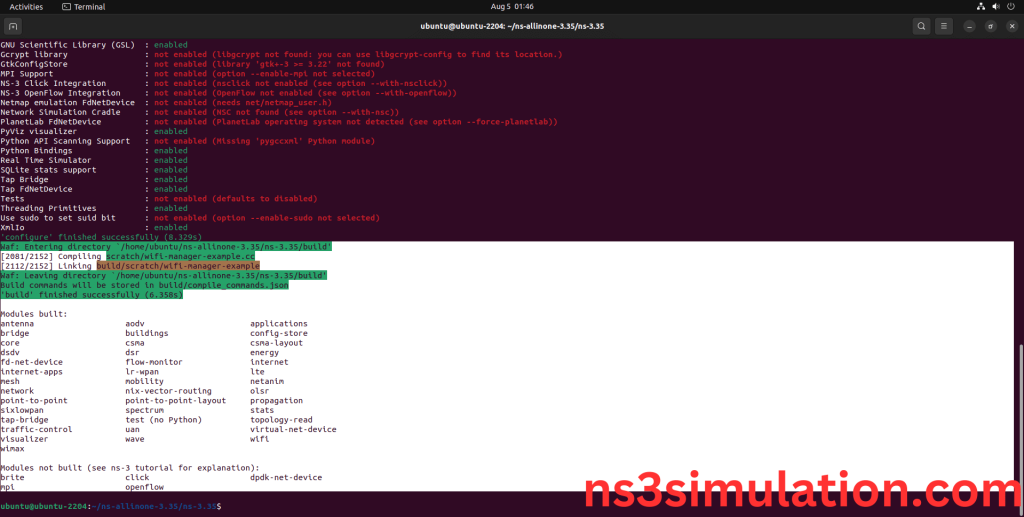
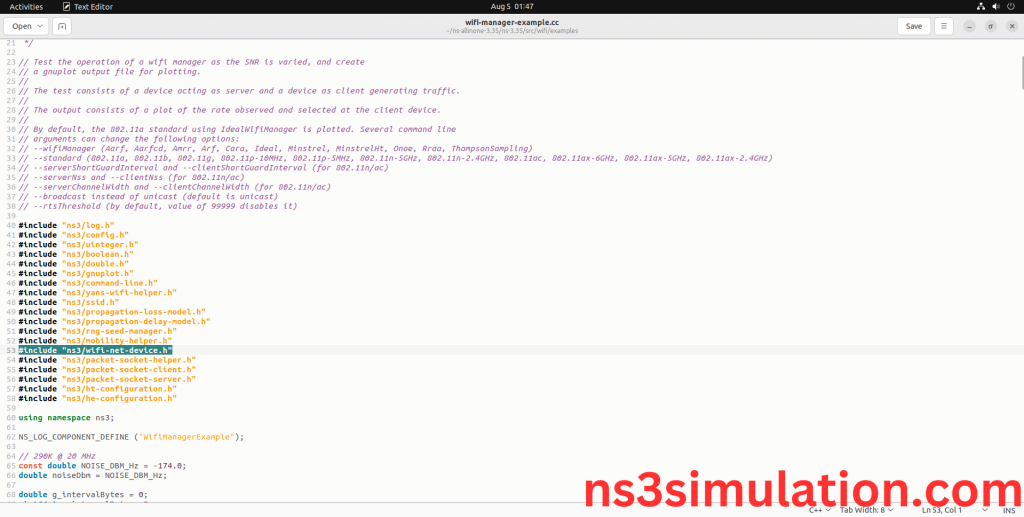
5.Importing Wifi-net-device.h:
Here we imported the Wifi-net-device.h header file in this example program.
Screenshot:
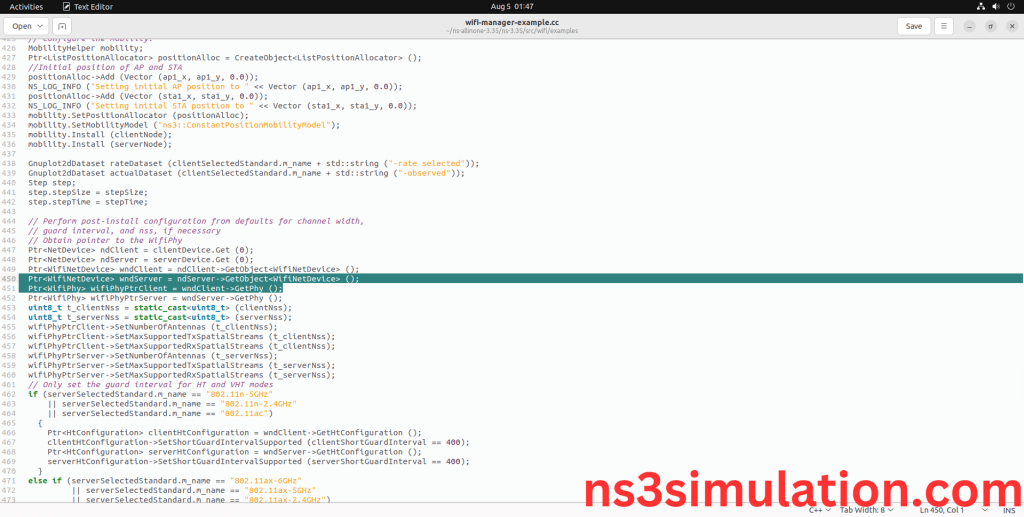
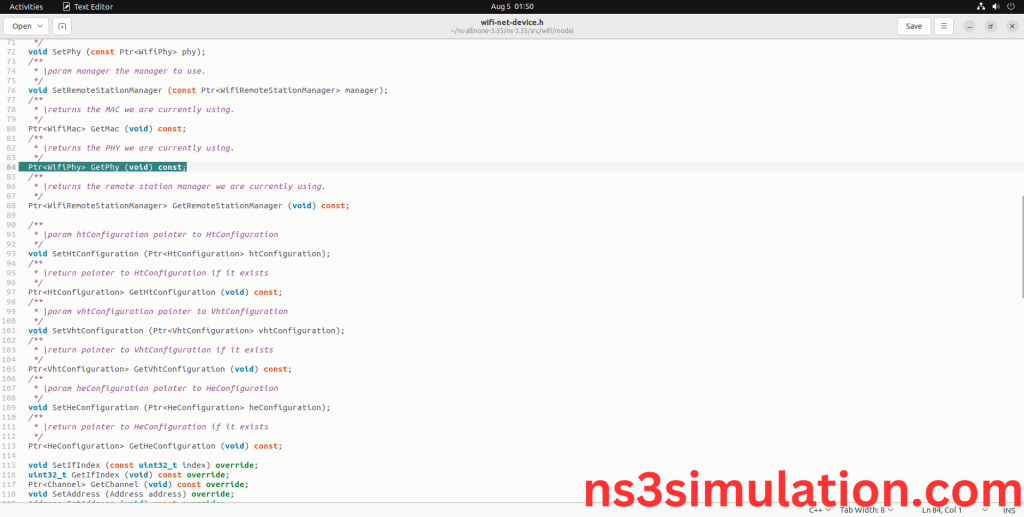
Here we highlighted the code line that WifiNetDevice pointer using GetPhy() function which is the part of the Wifi-net-device.h that we will show class file that used in this code via network folder which represents Network module.
Screenshot:
Screenshot:
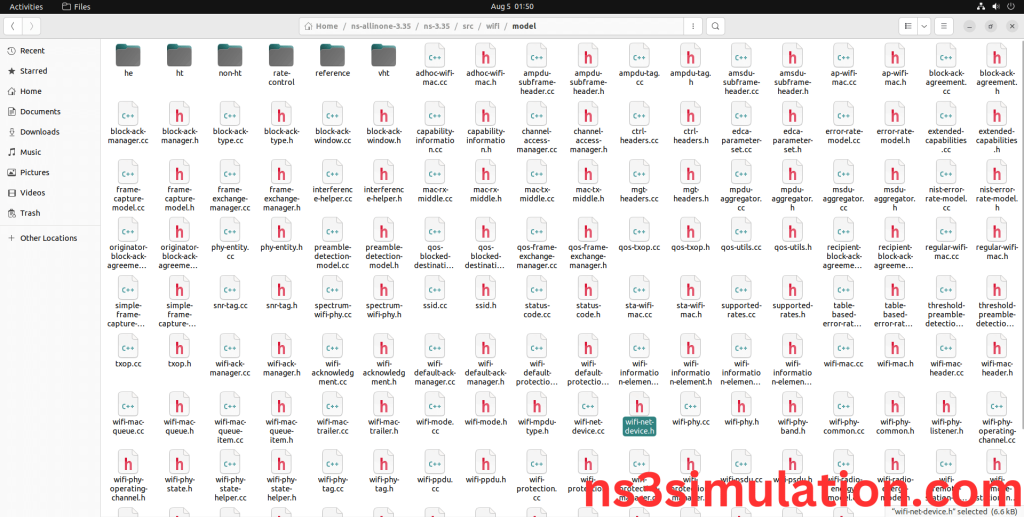
Here we will show the header file by opening Wifi-net-device.h file to show the class imported from the Wifi-net-device.h in the example code.
Screenshot:
6.Executing the Example Wifi-net-device Program:
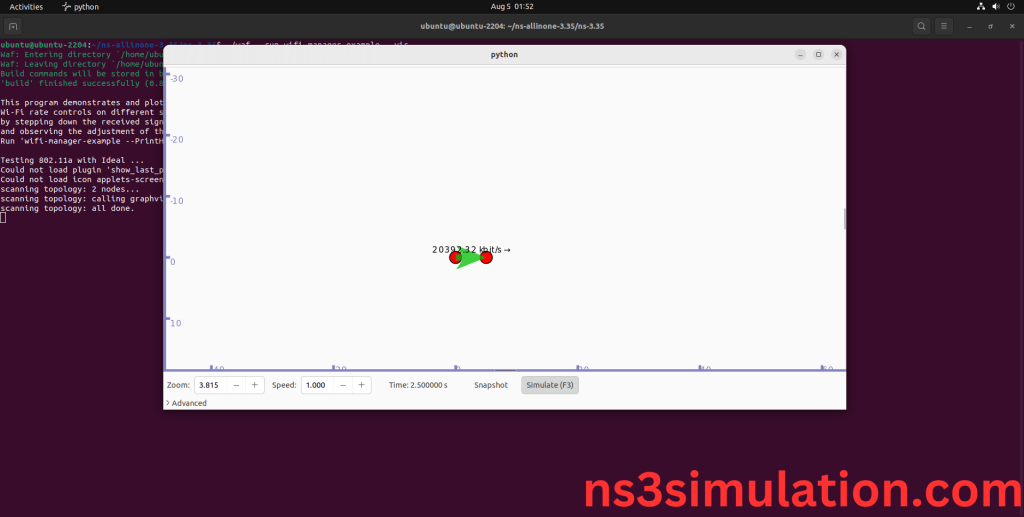
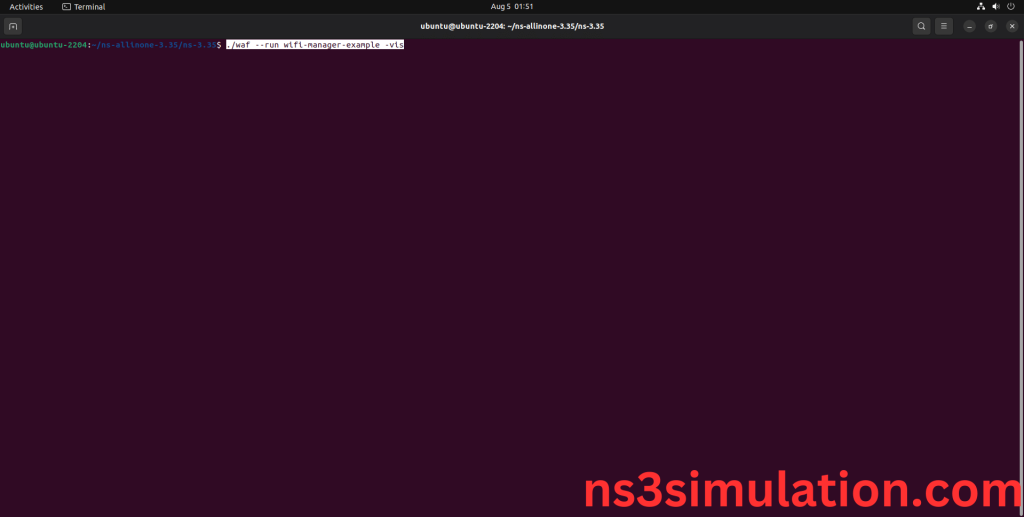
Then we need to run the Example Wifi-net-device program to view output of the program.
Command: “./waf –run wifi-manager-example -vis”
Screenshot:
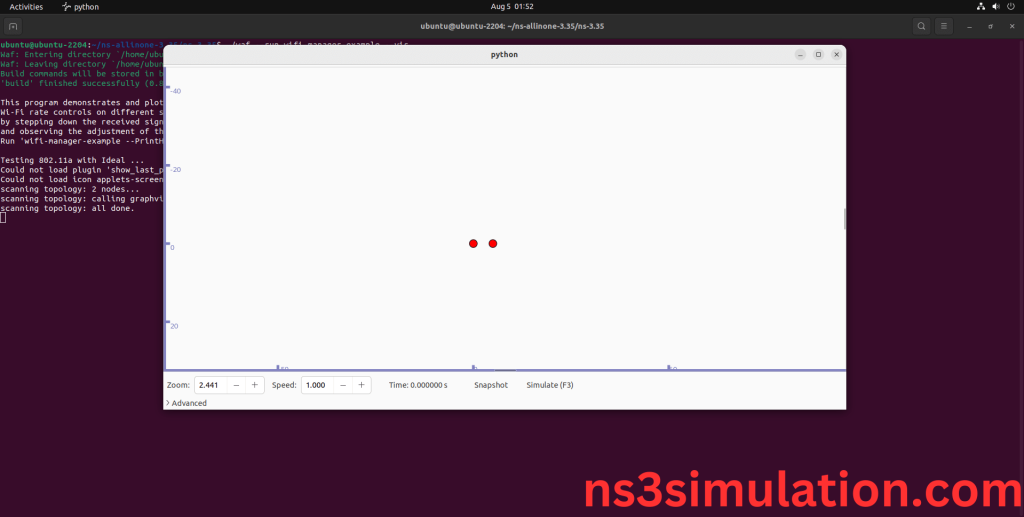
Here we shown the output of the example Wifi-net-device program by using Wifi-net-device.h.
Screenshot:
Screenshot:
