As a beginner, the research may have various questions and this is one among them and it’s about the installation of Ns3 in Ubuntu. This article is about the depiction of the step by step process of ns3 installation.
Initially, we have to know about all the supportive platforms in this field to install network simulator 3.
- Ubuntu 16.04.6 with g++-5.4.0 and Python 3.5.2
- Ubuntu 20.04 with g++-9.3.0 and Python 3.8.2
- Ubuntu 18.04 with g++-7.5.0 and Python 3.6.9
Additionally, let’s take a look about the installation of supportive packages in the installation over the following commands.
sudo apt-get install build-essential libxmu-dev python-pygoocanvas python-pygraphviz cvs mercurial bzr cmake python-matplotlib python-tk python-dev python-kiwi python-gnome2 python-gnome2-desktop-dev python-rsvg qt4-dev-tools qt4-qmake qt4-qmake qt4-default gnuplot-x11 autoconf automake

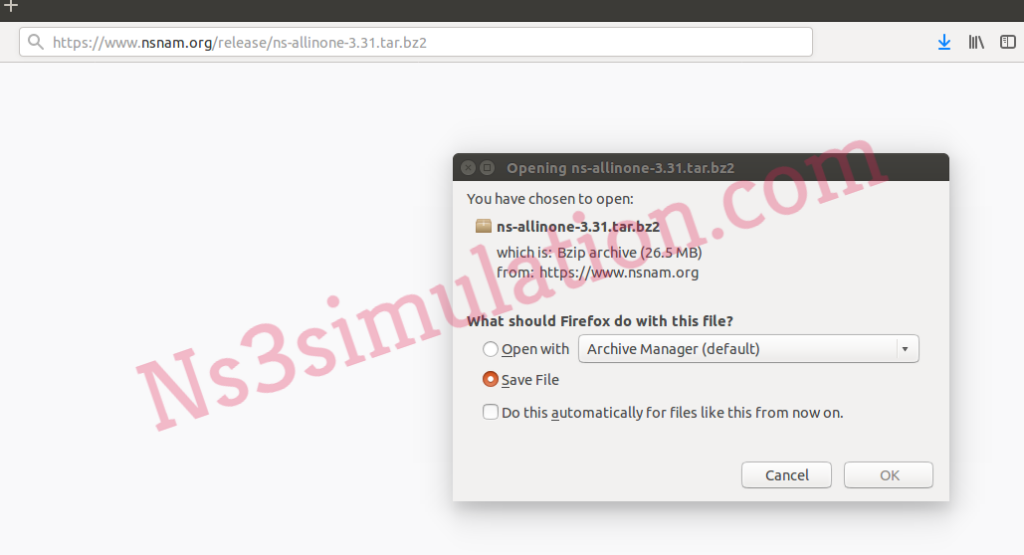
Next, we have to download the ns-3.31 package over the URL that is highlighted below.

When it is downloaded, we have to paste that in the Ubuntu home location to extract the package.

As the subsequent process, we have to install the ns-3.31 package through changing the package location in the terminal and implementing the command mentioned below.
sudo ./build.py

While changing the location in the terminal, we have to implement the following command to configure the package that is installed using the below mentioned command.
sudo ./waf configure

The research scholars can contact our research experts at any time to clarify your doubts based on the installation of Ns3.
