Travis CI is a continuous integration (CI) service used to automatically build and test software projects hosted on GitHub and other platforms. It integrates seamlessly with your version control system; triggering builds every time you push code changes. Travis CI supports a wide range of programming languages, including Python, Ruby, Java, and more, and provides a highly configurable environment for running tests, compiling code, and deploying applications. Developers can define their build and test configurations using a simple YAML file (. travis.yml), specifying dependencies, scripts, and environment settings. Travis CI helps teams ensure that code changes don’t break the build or introduce bugs, facilitating a smooth and efficient development workflow. It also supports parallel builds, deployment to various platforms, and integration with popular tools and services, making it an essential part of modern DevOps practices.
Look out for the successful installation of Travis CI.
Screenshot:
Screenshot:
2.System File Update Command:
First of all, we need to updates the list of available packages and their versions stored in the system’s package index. Use below command to update the system package.
Command: “sudo apt-get update”
Screenshot:
3.Snapd Installation Command:
Next, we need to install Snapd package in the ubuntu system. Use below command to install the Snapd package.
Command: “sudo apt-get install snapd”
Screenshot:
4.Travis CI Installation Command:
Next, we need to install Travis CI package in the ubuntu system. Use below command to install the Travis CI package.
Command: “sudo snap install travis”
Screenshot:
Screenshot:
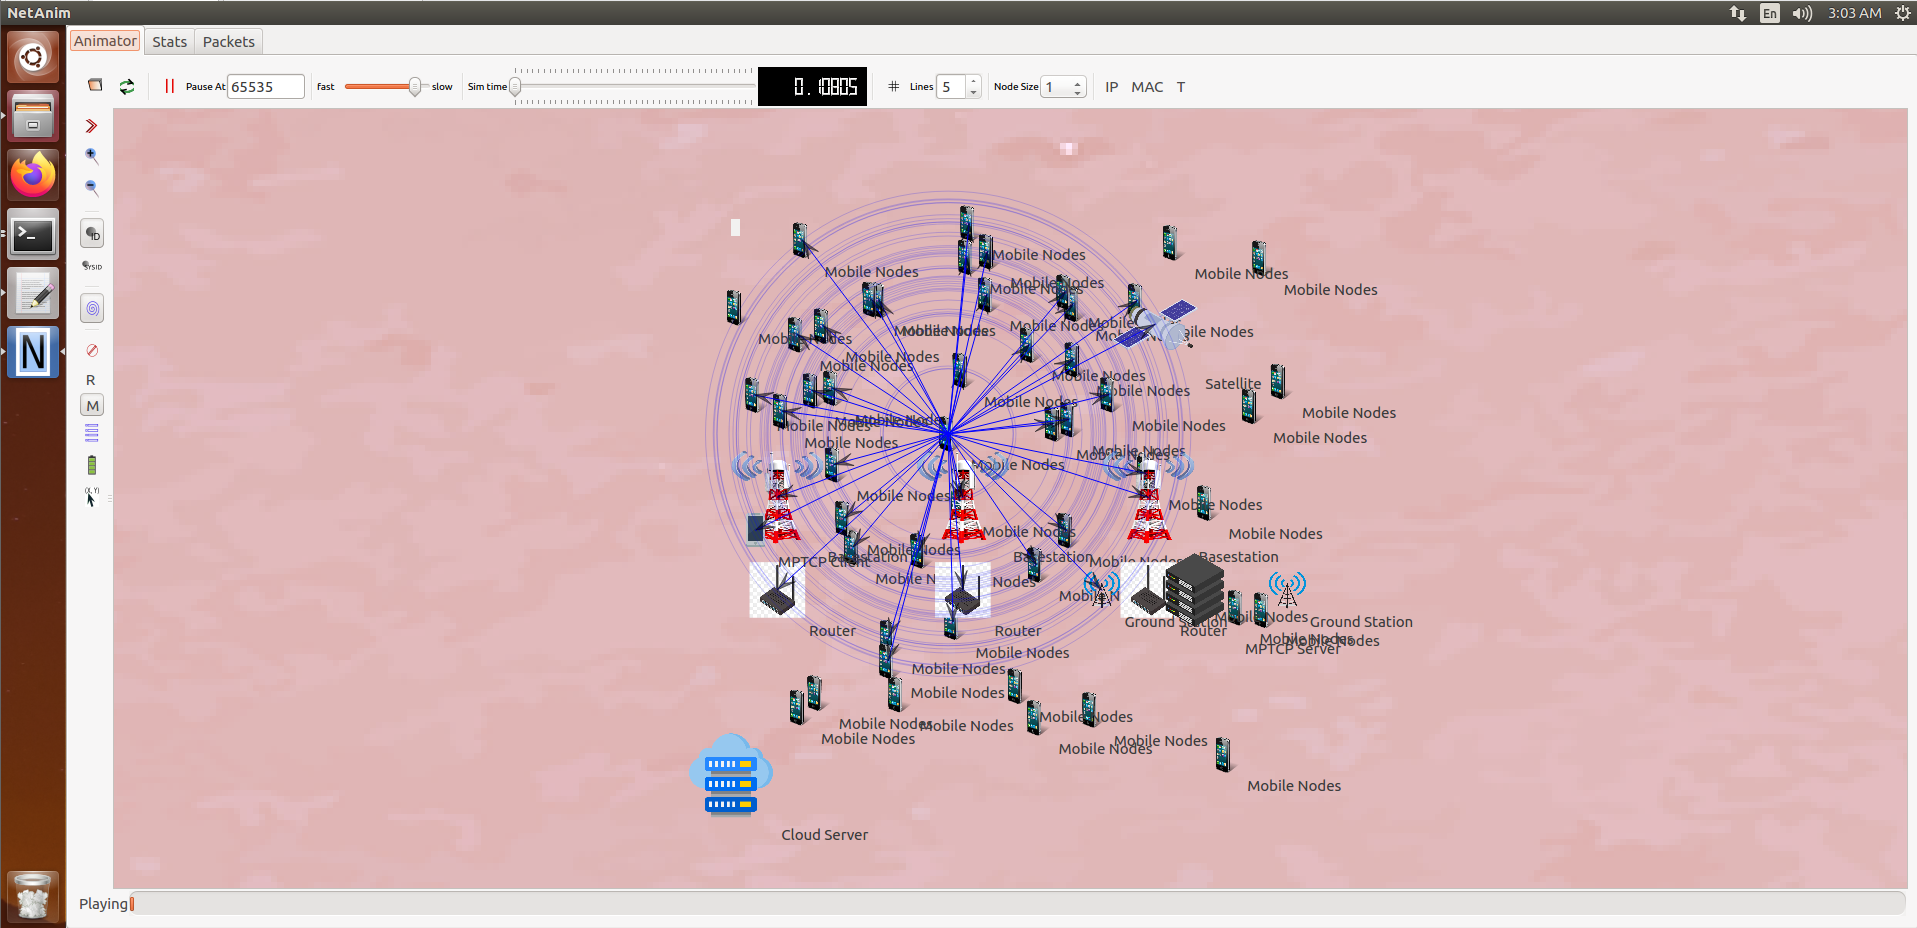
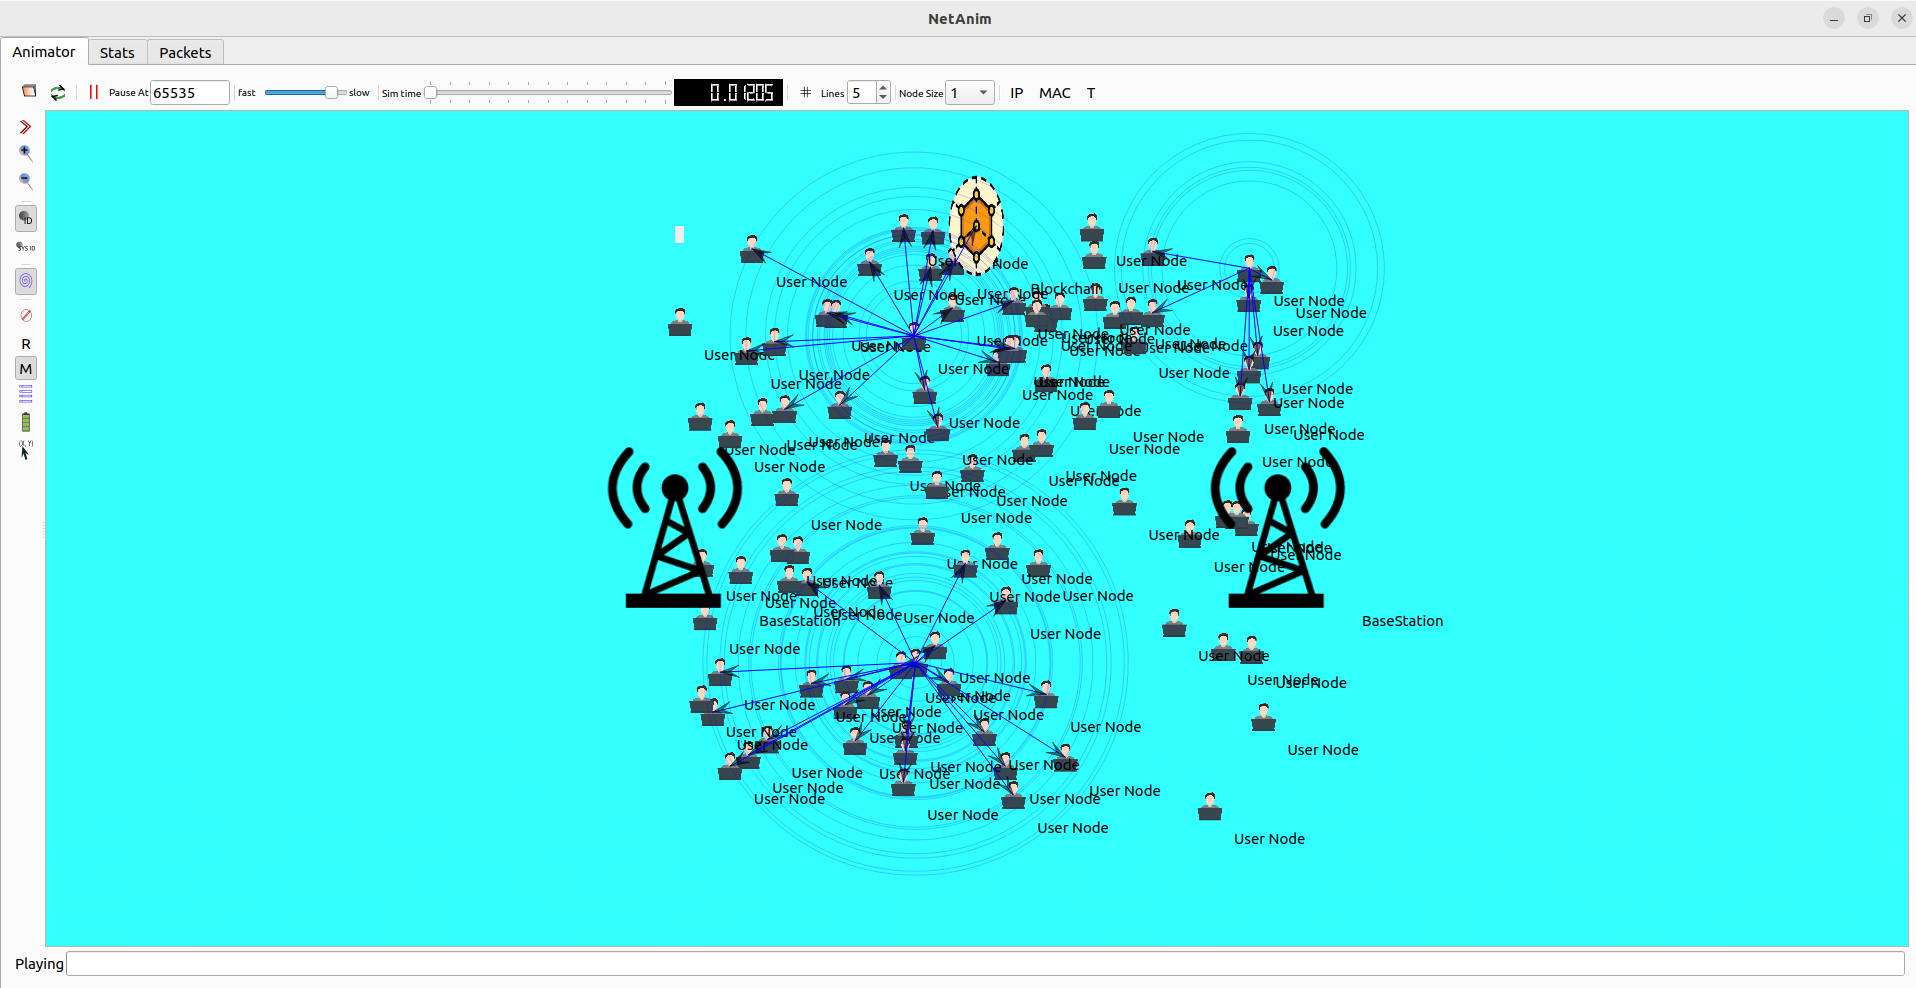
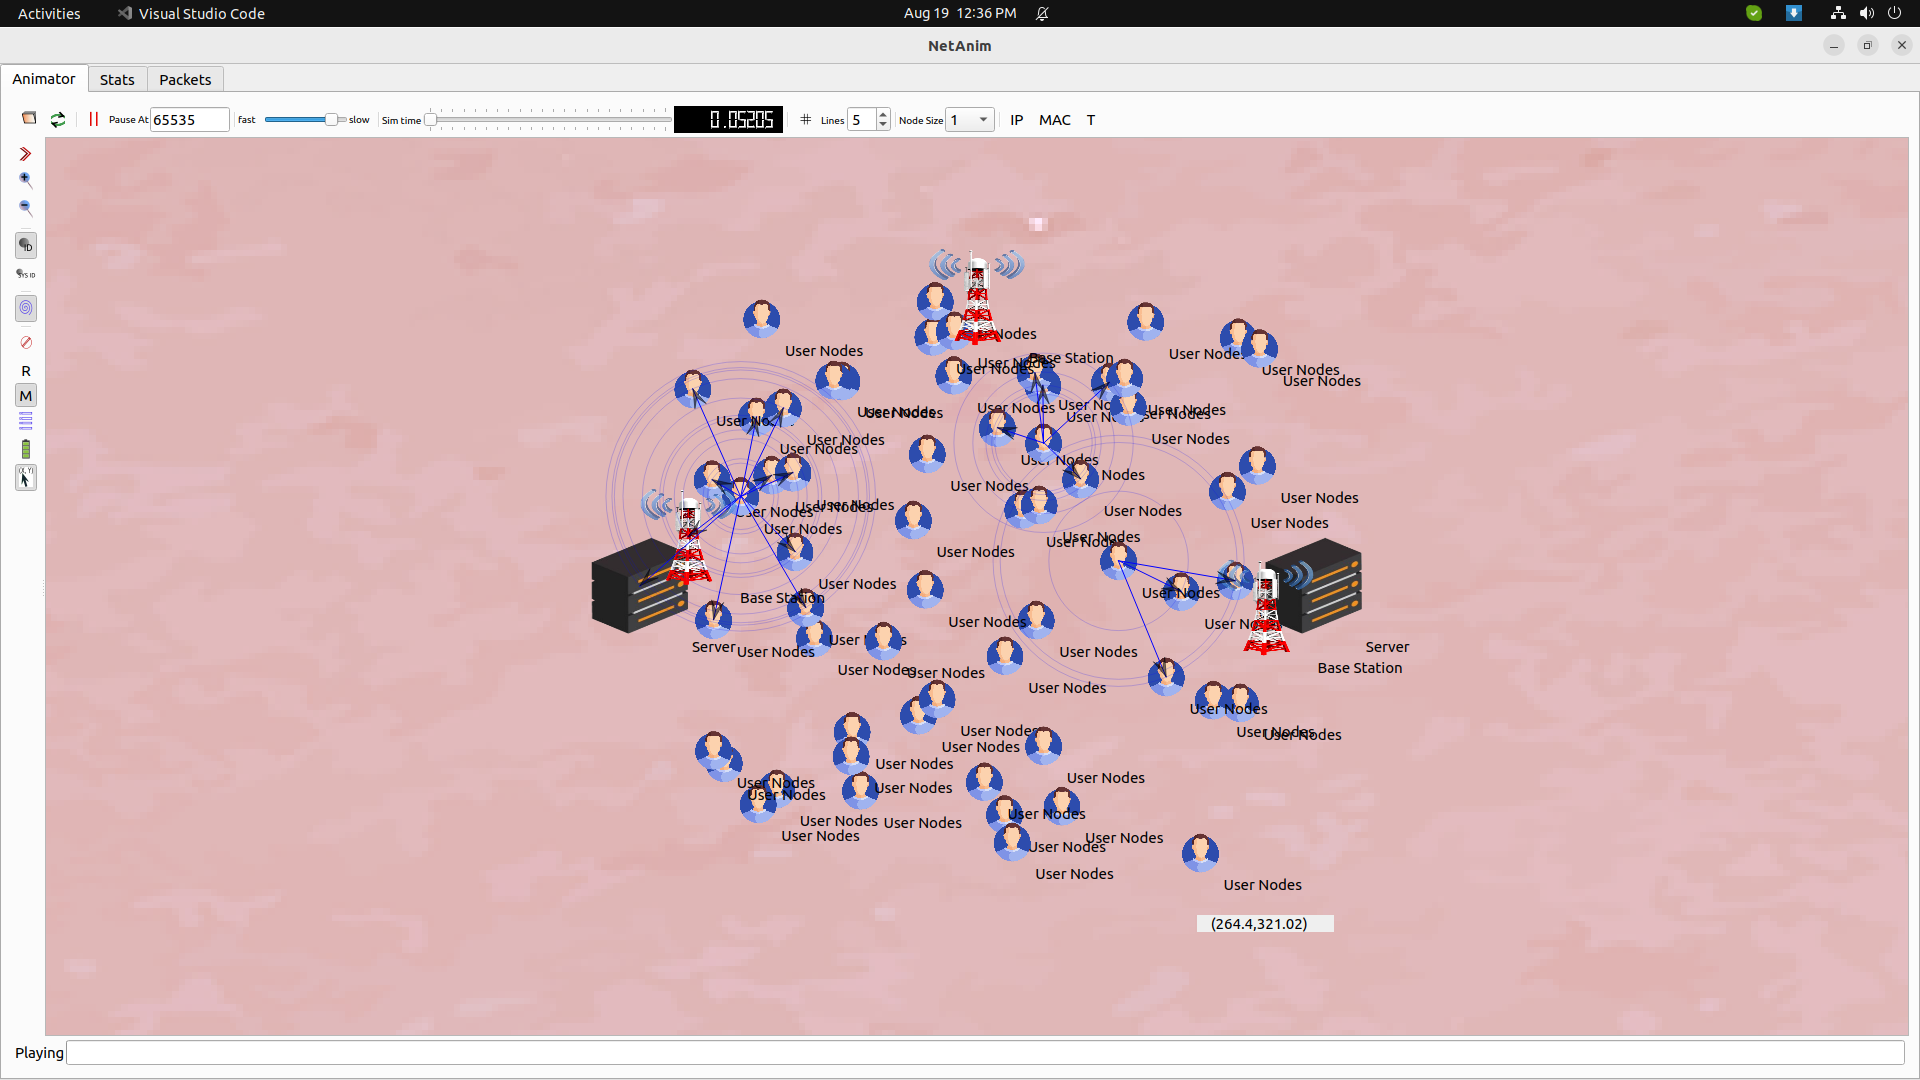
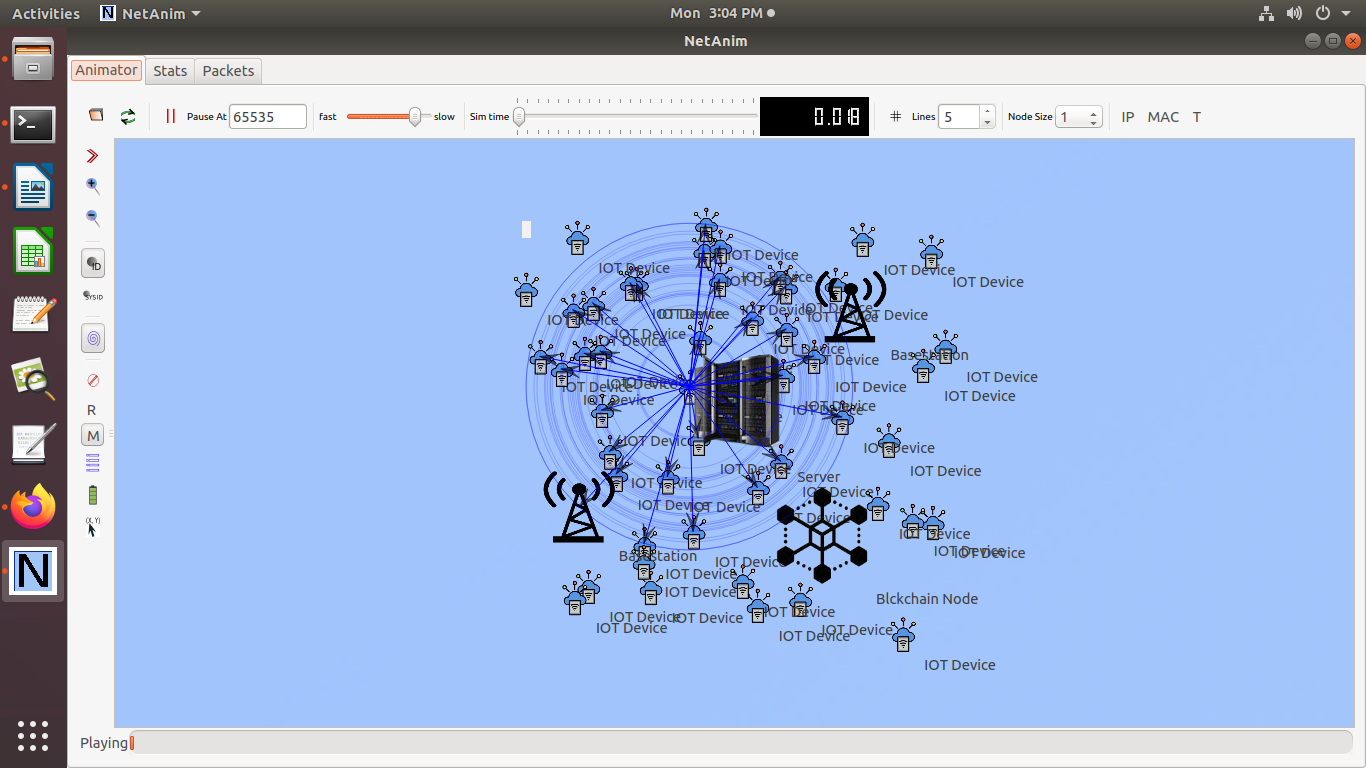
Travis CI package Installed successfully in the Ubuntu 22.04 system.
We will share different project ideas for Travis CI installation and discuss how this version will be utilized in our research ideas.


We Provide
We Provide

 Helping 1M+ Research Scholars
| Research Topics | Project | Paper | Thesis |
|---|---|---|---|
| 3D Underwater WSN | 150 | 499 | 541 |
| Hybrid Beamforming | 110 | 398 | 432 |
| Intelligent Agent WSN | 135 | 412 | 510 |
| Blockchain technology | 121 | 467 | 496 |
| Optical Networks | 149 | 398 | 465 |
| Vehicular sensor Network | 250 | 491 | 534 |
| Industrial IoT | 114 | 378 | 431 |
| Service Discovery | 170 | 419 | 489 |
| Named Data Networking | 121 | 386 | 423 |
| SDN-NDN | 110 | 427 | 498 |
| D2D Communication | 131 | 389 | 425 |
| M2M Communication | 108 | 389 | 411 |
| UWB communication | 124 | 495 | 510 |
| 5G Network Slicing | 137 | 437 | 492 |
| Delay Tolerant Network | 105 | 469 | 533 |
| Multi-Microgrid | 111 | 326 | 379 |
| Content-centric network | 100 | 296 | 304 |
| 5G Beyond networks | 131 | 379 | 409 |
| Cloud-RAN | 127 | 352 | 389 |
| Fog-RAN | 145 | 310 | 378 |
| FANET | 178 | 395 | 400 |
| Cognitive adhoc network | 153 | 325 | 363 |
| Vehicular NDN | 175 | 310 | 425 |
| Multimedia sensor network | 205 | 275 | 315 |
| V2X communication | 151 | 200 | 308 |
| Software-defined WSN | 176 | 248 | 358 |
| 5G | 201 | 289 | 365 |
| Fibre Channel / Cellular / 5G topics | — | — | — |
| Cellular Networks | 185 | 235 | 397 |
| CRN | 204 | 268 | 348 |
| IoT | 163 | 287 | 395 |
| Intrusion Detection system | 110 | 257 | 348 |
| LiFi | 101 | 279 | 386 |
| LTE | 159 | 208 | 345 |
| MANET | 175 | 247 | 395 |
| MIMO | 142 | 298 | 354 |
| Mobile Computing | 114 | 254 | 308 |
| RPL | 189 | 275 | 357 |
| SDN | 109 | 258 | 346 |
| VANET | 152 | 278 | 359 |
| Vertical Handover | 108 | 241 | 367 |
| Wireless Body Area Network | 121 | 198 | 348 |
| Wireless Communication | 178 | 248 | 371 |
| Wireless Sensor Networks | 106 | 213 | 369 |

From Topic selection to Final submission support.
Fix build errors, runtime issues, and simulation crashes.
Create real-time research-based network scenarios.
Improve simulation efficiency and execution time.
Help with result interpretation, graphs, and documentation.
Project explanation for viva, review, and presentations.
Your one-stop solution for NS-3 protocols, routing strategies, and parameter optimization—fully tailored to your research needs.

4.8 rating on Google*
Copyright © 2026 Ns3Simulation, All Rights Reserved