We are here to assist you to be well versed in Ns3 with great pleasure!!! Most importantly, you guys should perceive it as the complicated task. In addition, we have provided the essential data and tips that are required to get to know about Ns3 through this article.
Let’s get to know about the content of this article and that includes what is Ns3, supported platforms for the implementation, how to build Ns3, how to write source code and how to run Ns3 in the following.
Now, let’s get into the step by step process of Ns3 with the implemented screenshots in the following.
Phase: 1 Building Ns3
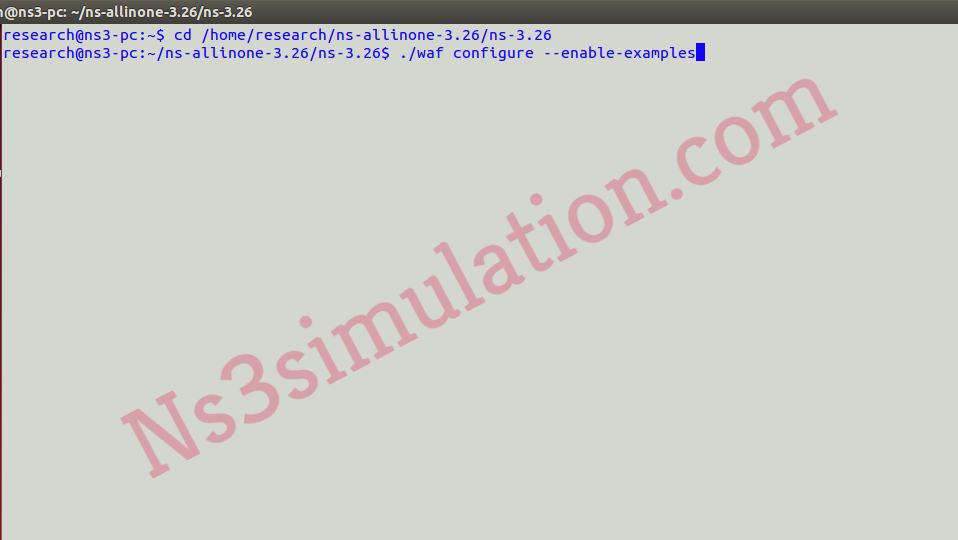
Initially, we have to use the tool ‘waf’ and default libraries are all set for the creation and some sample programs are also included in this package. The user simulations are expected for the written simple programs for the utilization of Ns3 libraries. Additionally, the real quick and dirty way to start the type of command enlisted below.
cd /home/research/ns-allinone-3.26/ns-3.26

./waf configure –enable-examples

Phase: 2 Writing Source Code for Simulation
The header files are imported through the utilization of following code.
#include "ns3/core-module.h"

#include "ns3/network-module.h"

#include "ns3/mobility-module.h"

#include "ns3/config-store-module.h"

#include "ns3/wifi-module.h"

#include "ns3/internet-module.h"

#include "ns3/ipv4-static-routing-helper.h"

#include "ns3/ipv4-list-routing-helper.h"

#include "ns3/yans-wifi-phy.h"

#include "ns3/netanim-module.h"

#include

…....................
Through the utilization of NodeContainer module, the node is created and the following code is used for the creation process.
….................
NodeContainer IoTNodes;

IoTNodes.Create (numNodes);

…....................
IP configuration is performed through the utilization of codes that are highlighted below.
…................................................
Ipv6Address ipv6AddressBase = Ipv6Address("2001::");

Ipv6Prefix ipv6AddressPrefix = Ipv6Prefix(64);

Ipv6AddressHelper address6;
Ipv6AddressGenerator::Init (ipv6AddressBase, ipv6AddressPrefix);

std::ostringstream subnet;

subnet << "10.1.0.0";

address6.SetBase (subnet.str ().c_str (), "255.255.255.0", "0.0.0.3");

ic=address6.Assign(iotdev);
To start the simulation, the below mentioned source code is used.
Simulator::Run ();

Phase: 3 Running Ns3
In contemporary Linux systems, we can built Ns3 along with the accessible examples and it is considered as the easy process to run the sample programs along with the utilization of below mentioned command.
./waf --run Filename [your simulation main file name] --vis

Through the above mentioned steps, one can easily implement Ns3. If you feel that you are struggling somewhere, reach as without any hesitation and we provide the complete support for your understanding the help of our research experts.
