Absolutely it is possible to work Ns3 on Windows. At present, do you guys have any idea about that process? It not, no worries we got you covered with all the required steps and functions. Let’s get to know the step by step functions about this process.
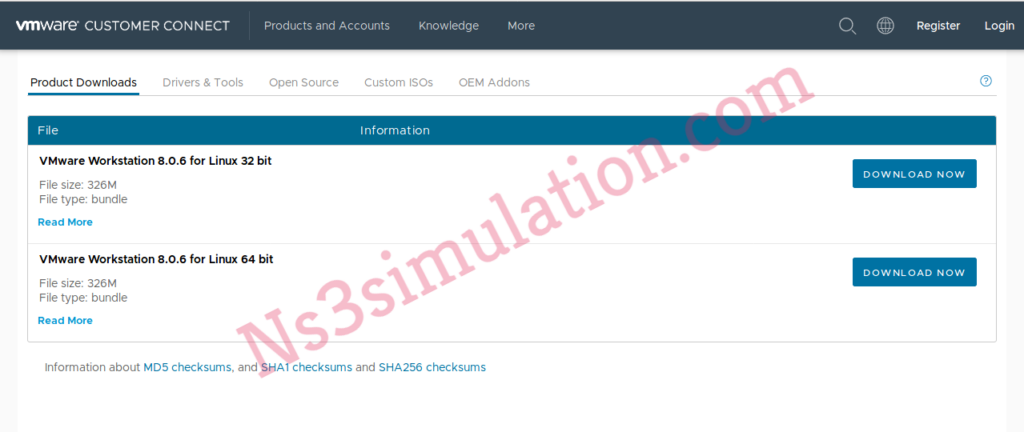
Step: 1 Download VMware Workstation
Initially, we have to download VMware workstation for windows 10 through the utilization of this URL which is highlighted below, https://customerconnect.vmware.com/downloads/details?downloadGroup=WKST-806-LX&productId=241&rPId=3614

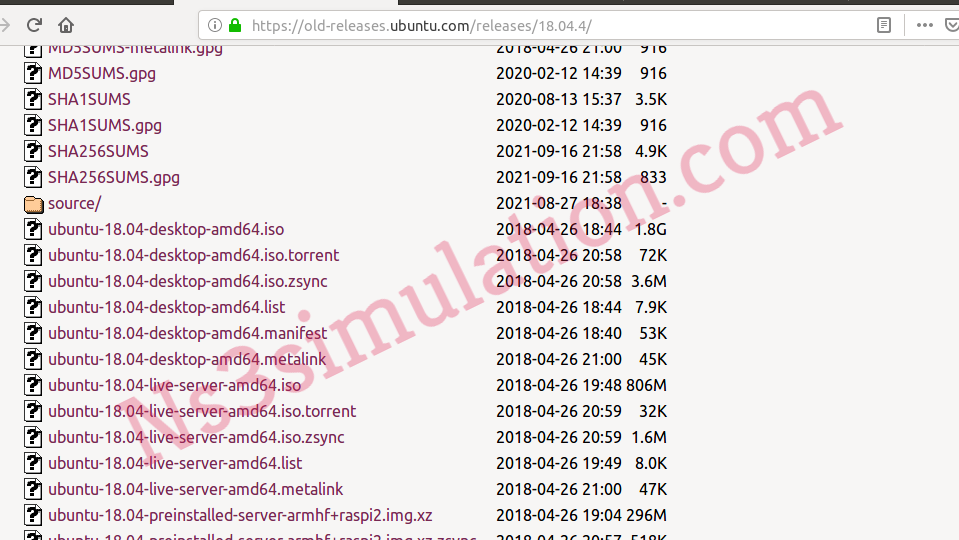
Step: 2 Download Ubuntu
On the other hand, through this URL https://old-releases.ubuntu.com/releases/18.04.4/ we can download Ubuntu 18.04 LTS desktop. In addition, it provides some options to download the Ubuntu desktop and that is like the options that are highlighted in the above image.

Step: 3 Install Ubuntu
Consequently, through following the step 1 and 2 we have to install the Ubuntu in VMware player.
Step: 4 Installing Ns3
By opening this URL https://www.nsnam.org/release/ns-allinone-3.29.tar.bz2, the ns-allinone-3.29 package is downloaded.

Step: 5 Ns3 Installation
The change is towards Ns3 directory and the implementation of configuration is functioning through the command highlighted below.
cd ns-allinone-3.29/ns3.29

./waf configure –enable-examples –enable-tests
The above mentioned command is deployed to configure the waf to build some additional examples and the test scripts with Ns3.
./waf
Finally, it is utilized for the process of compile and built Ns3 with some example code. Our technical folks are emerged in this field for more than 20+ years, so you can feel free to contact us if you have any doubts while implementing by your own.
