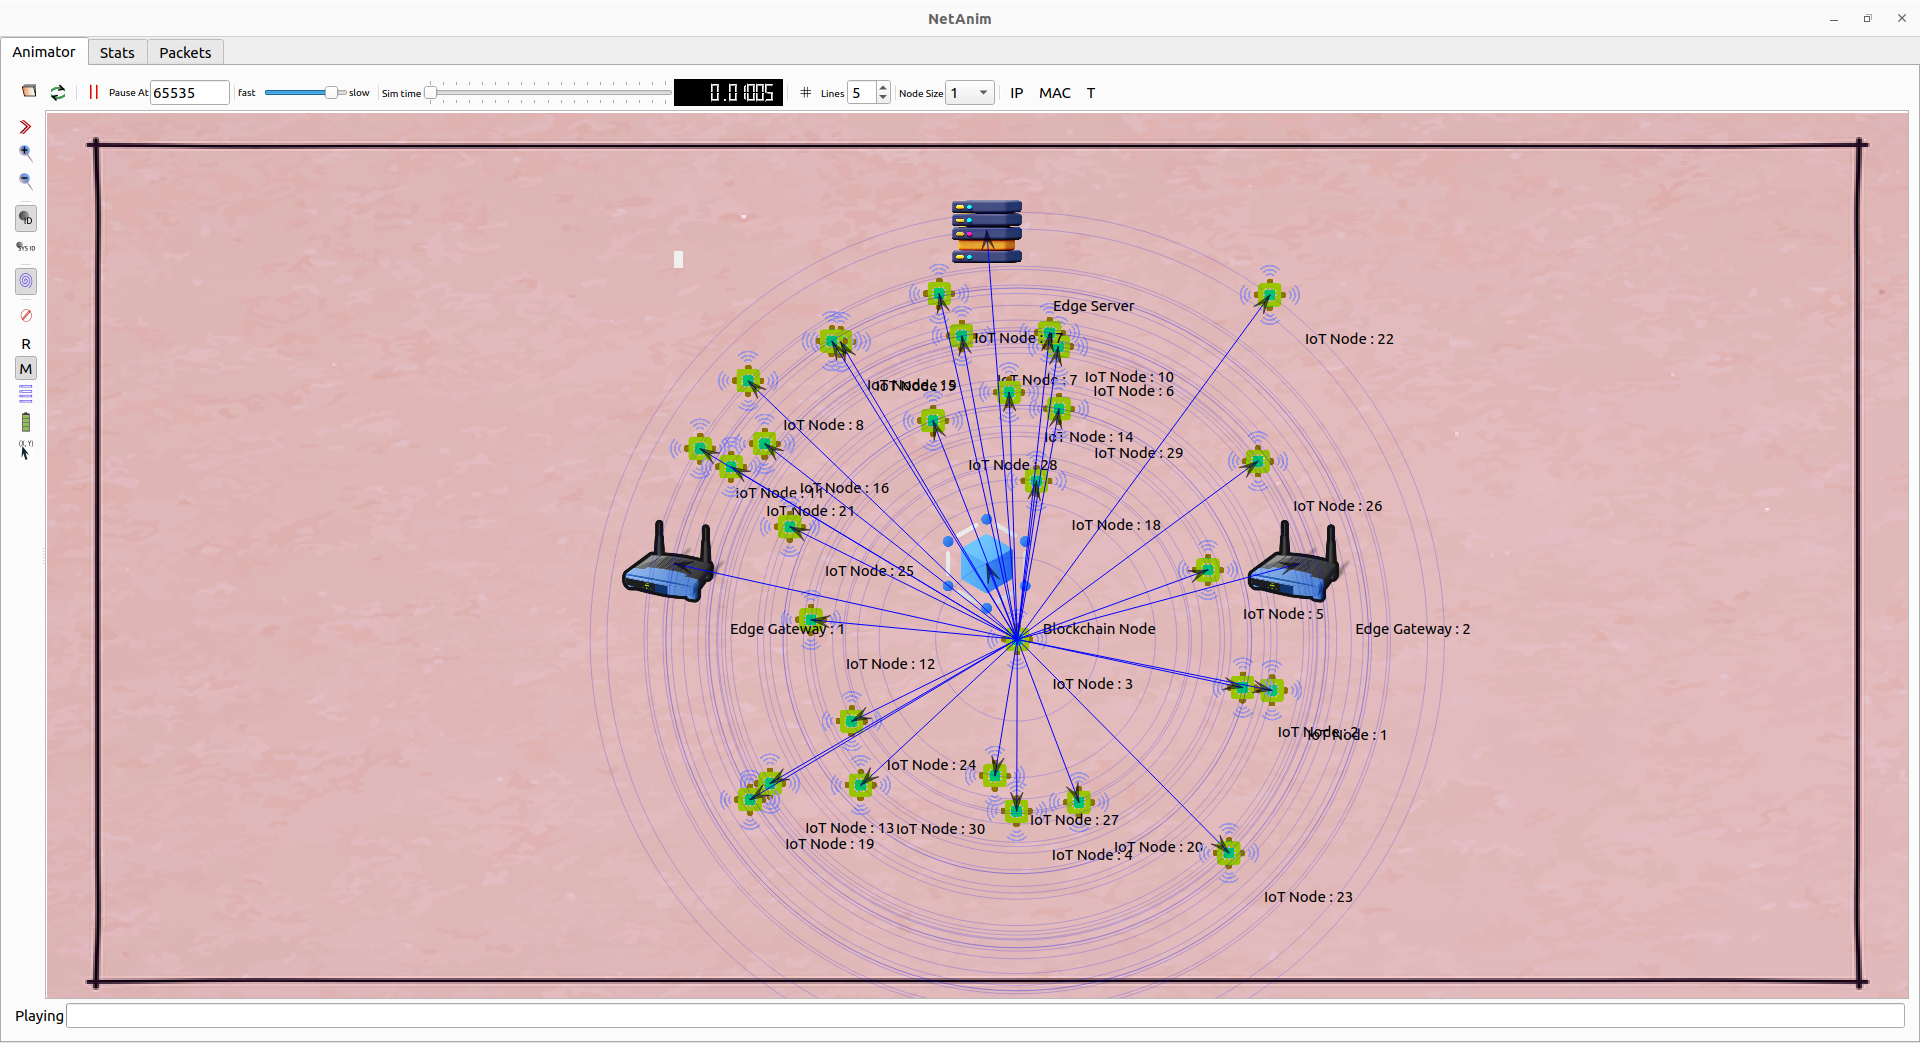
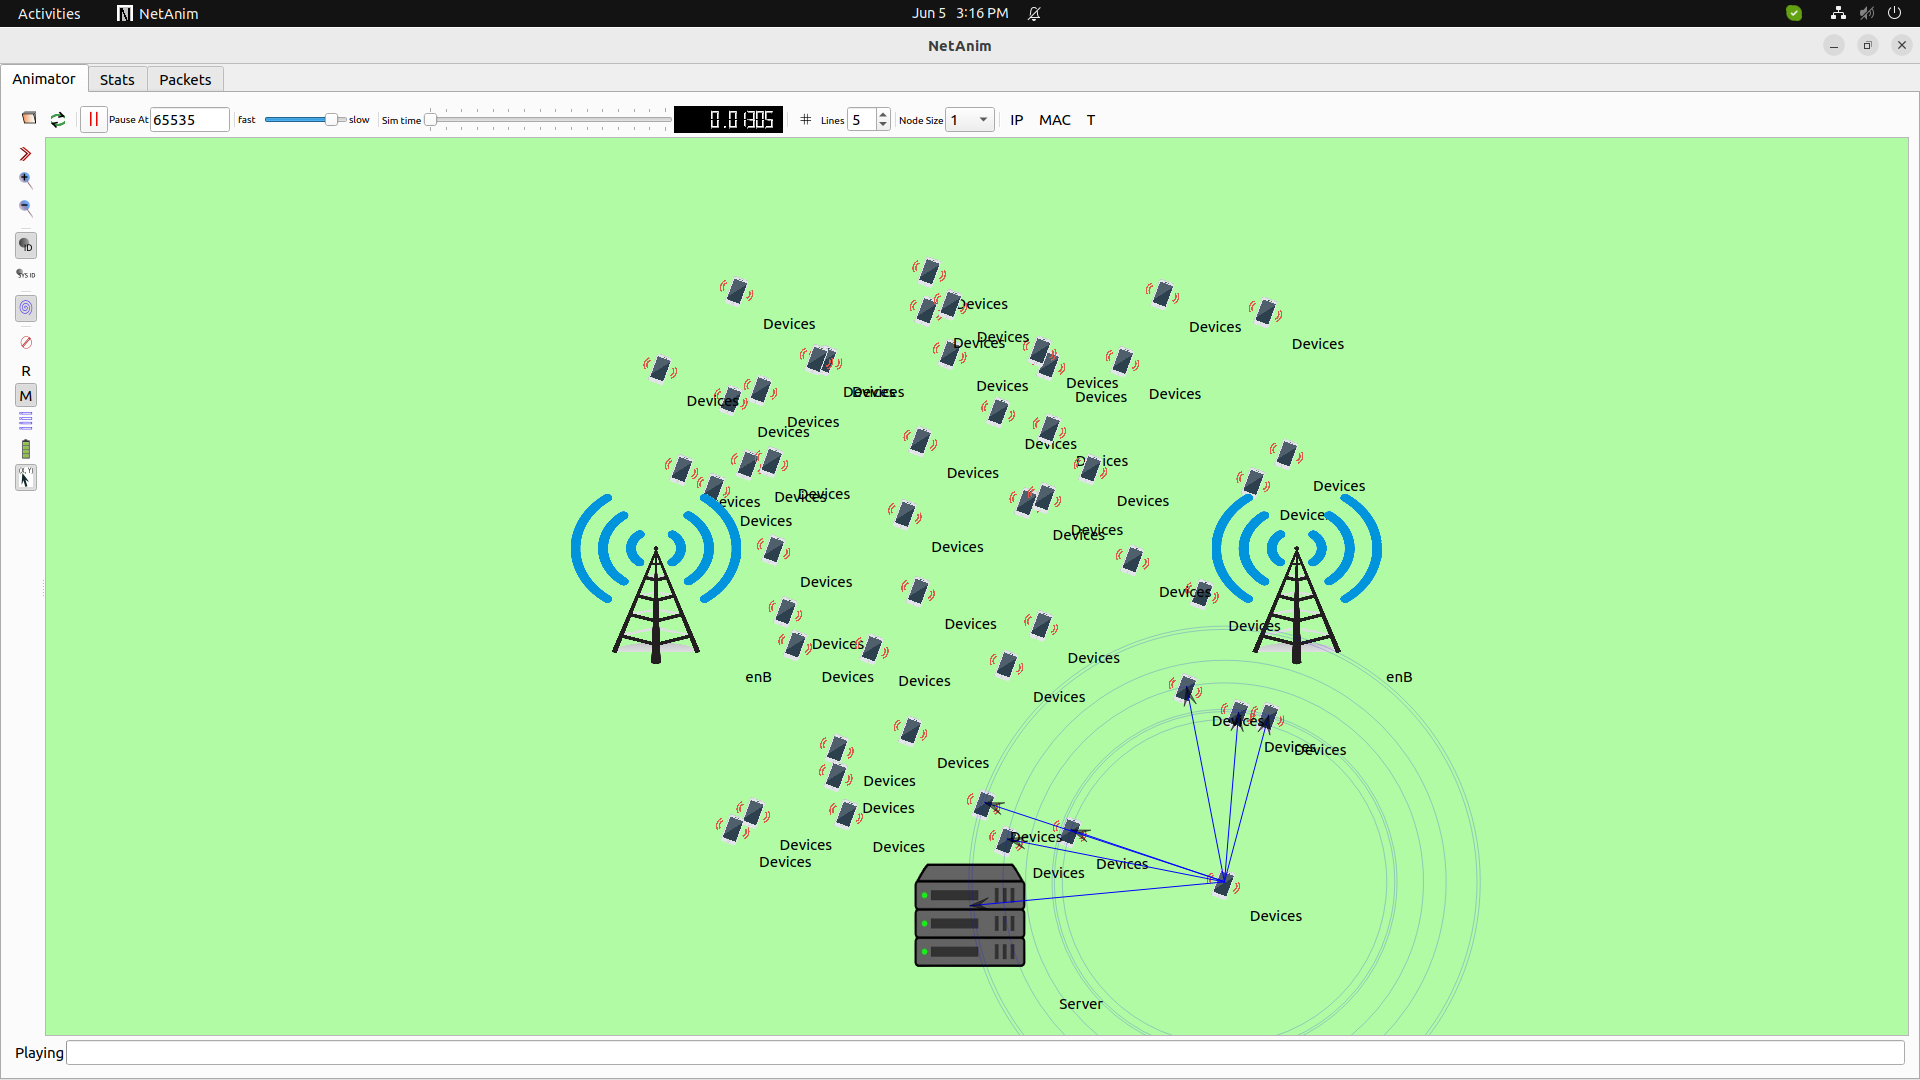
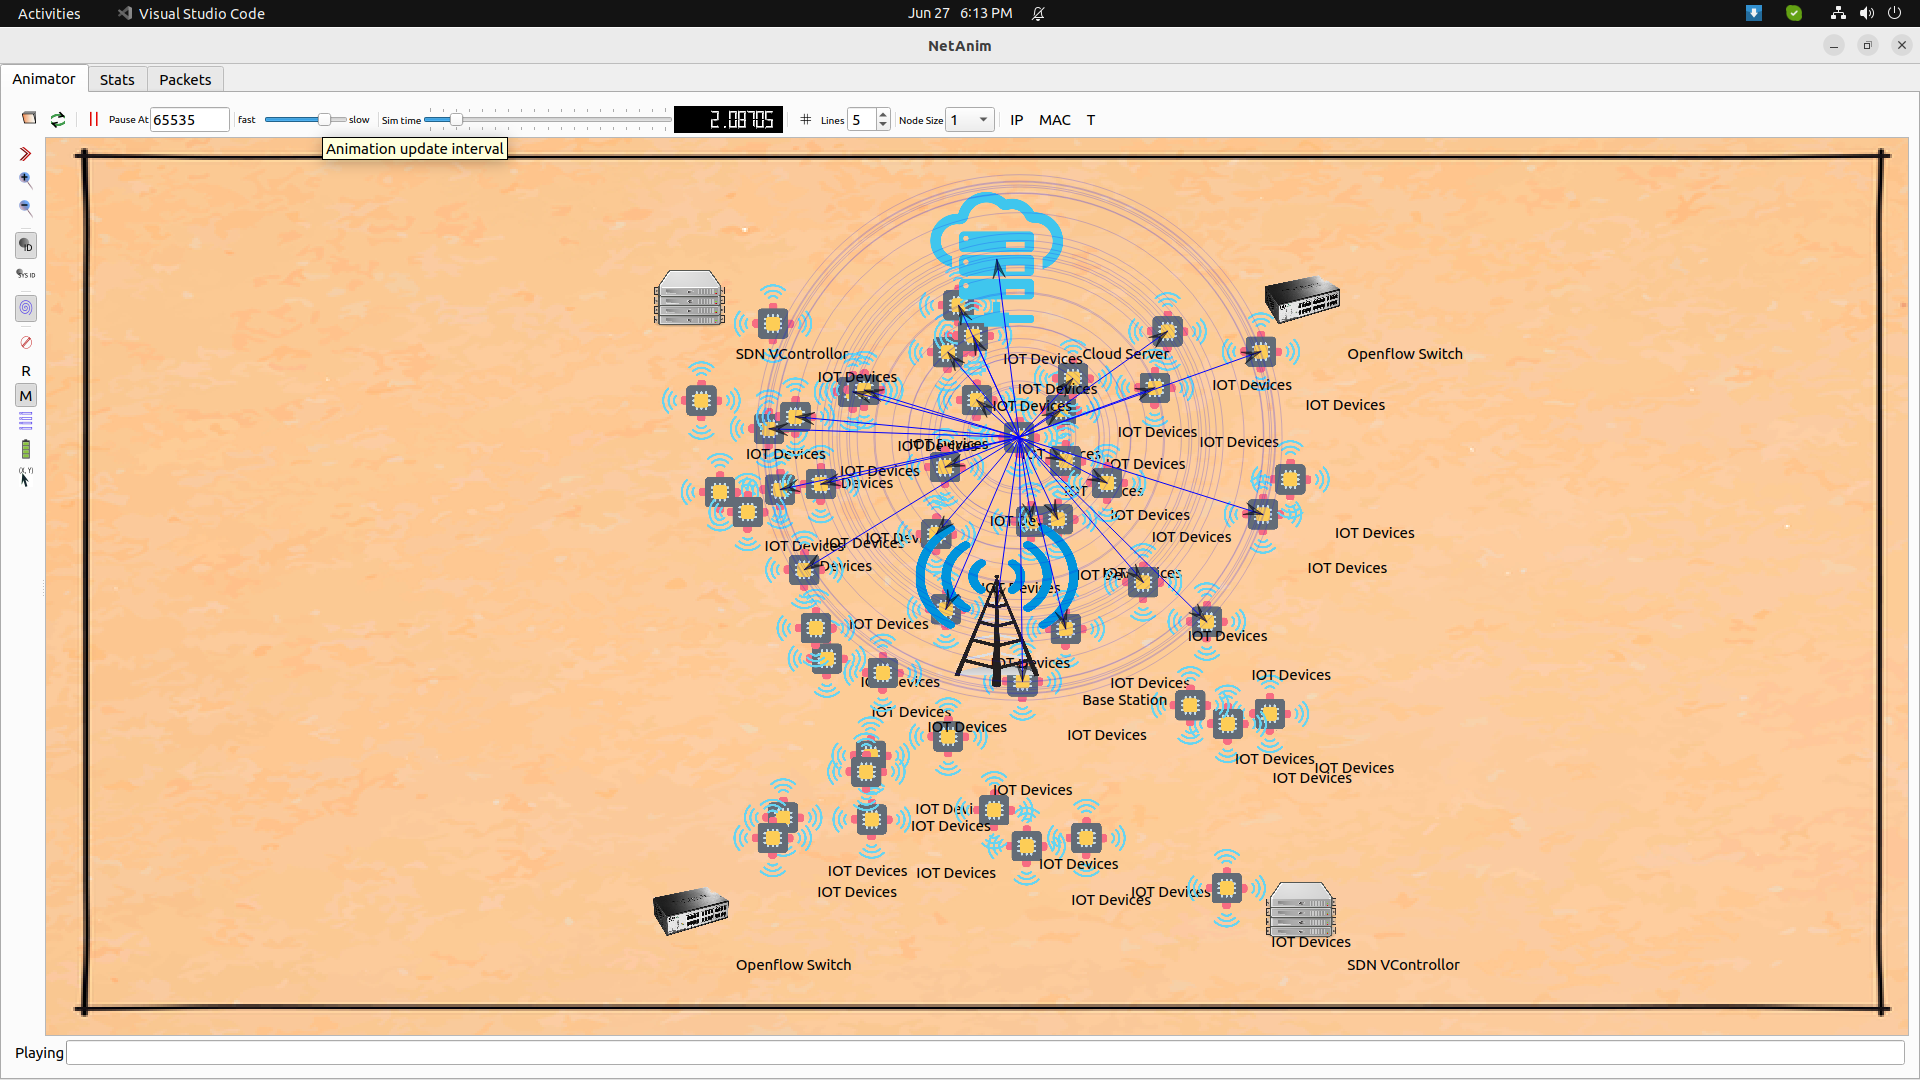
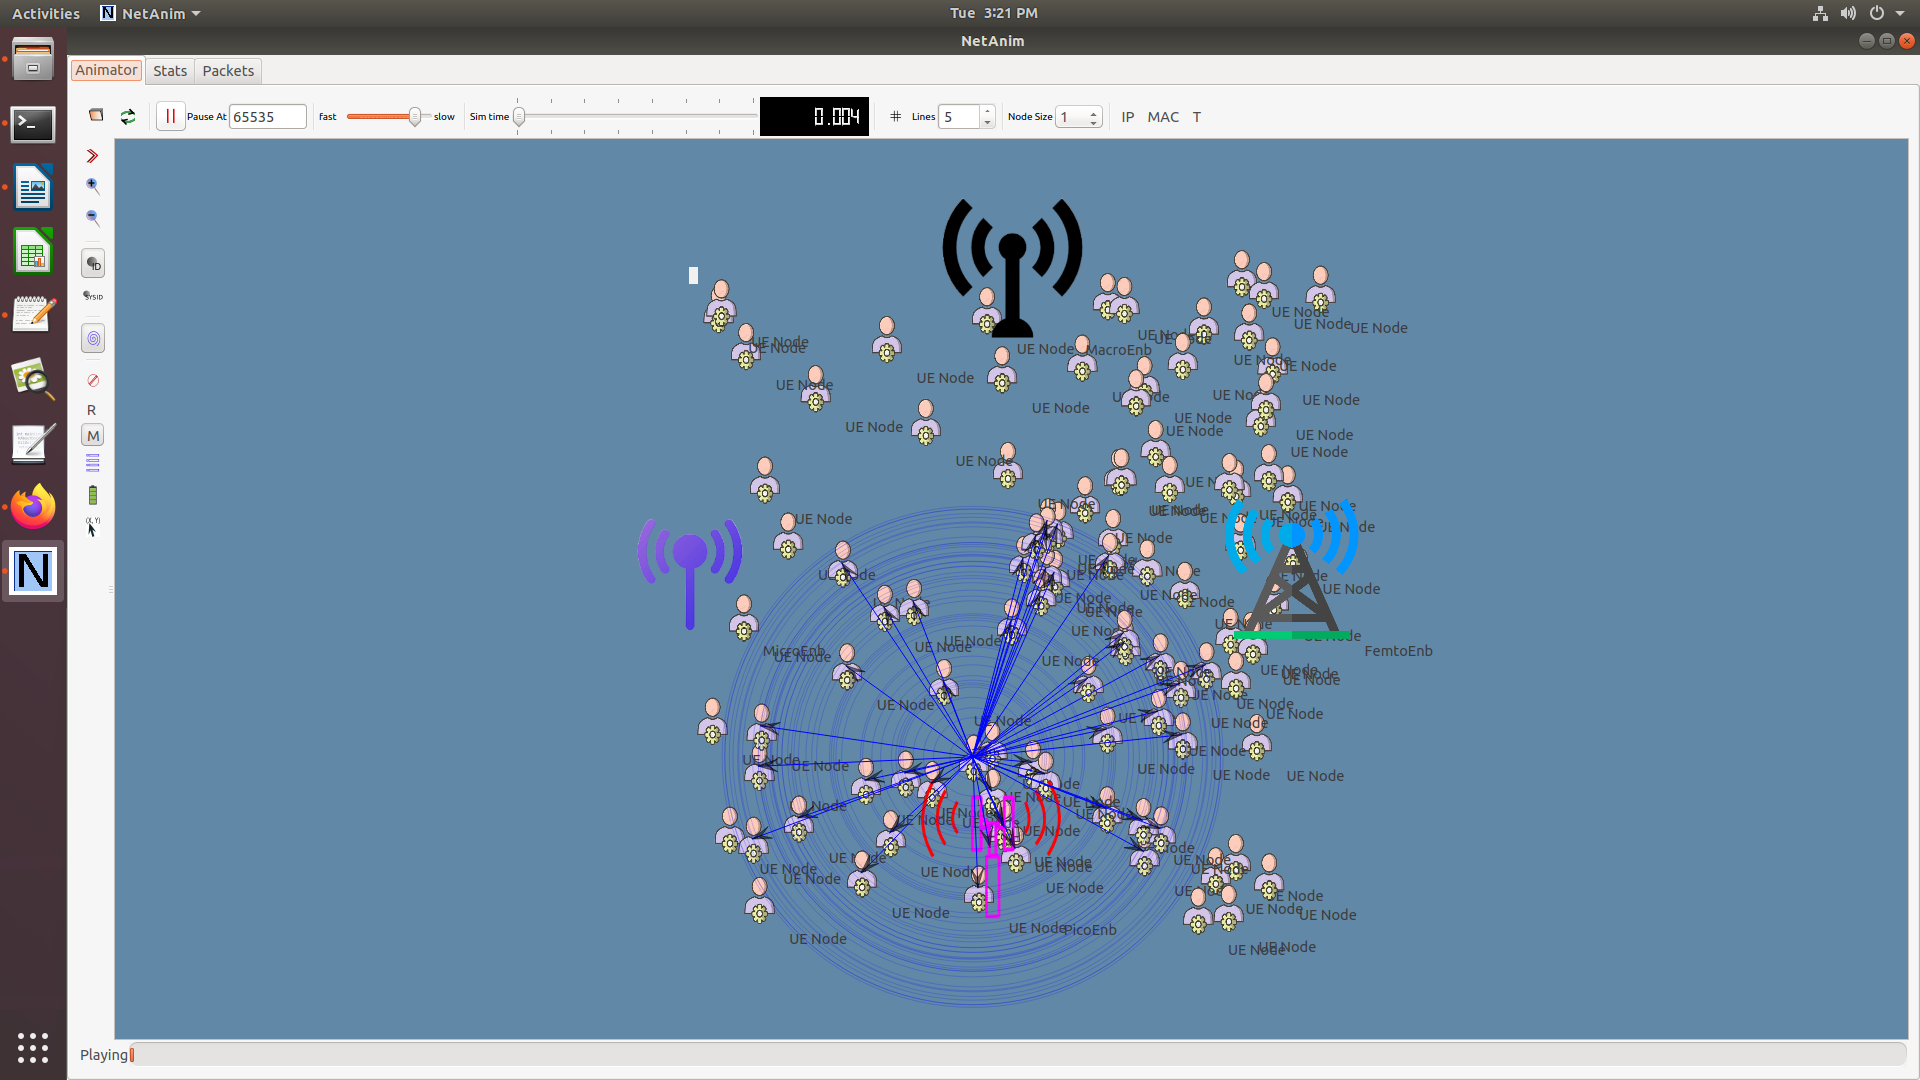
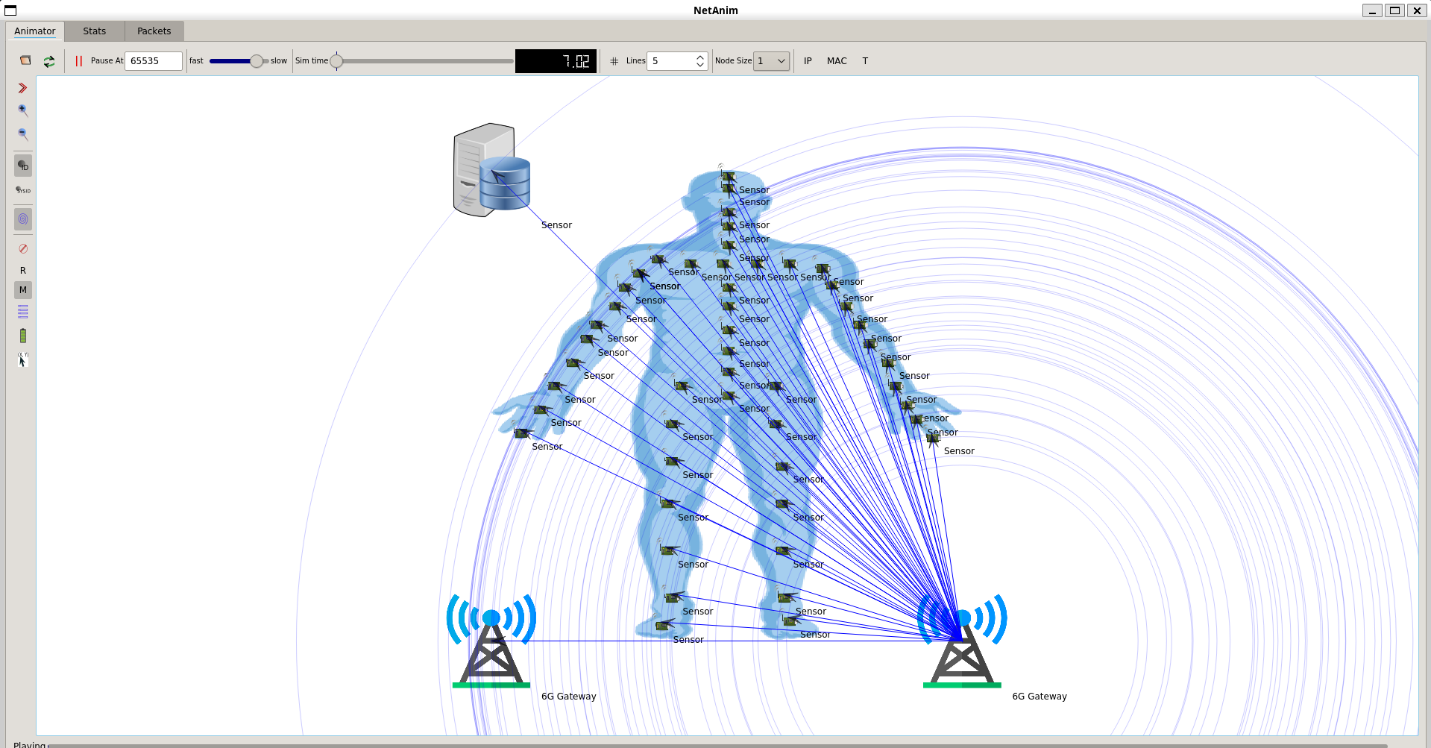
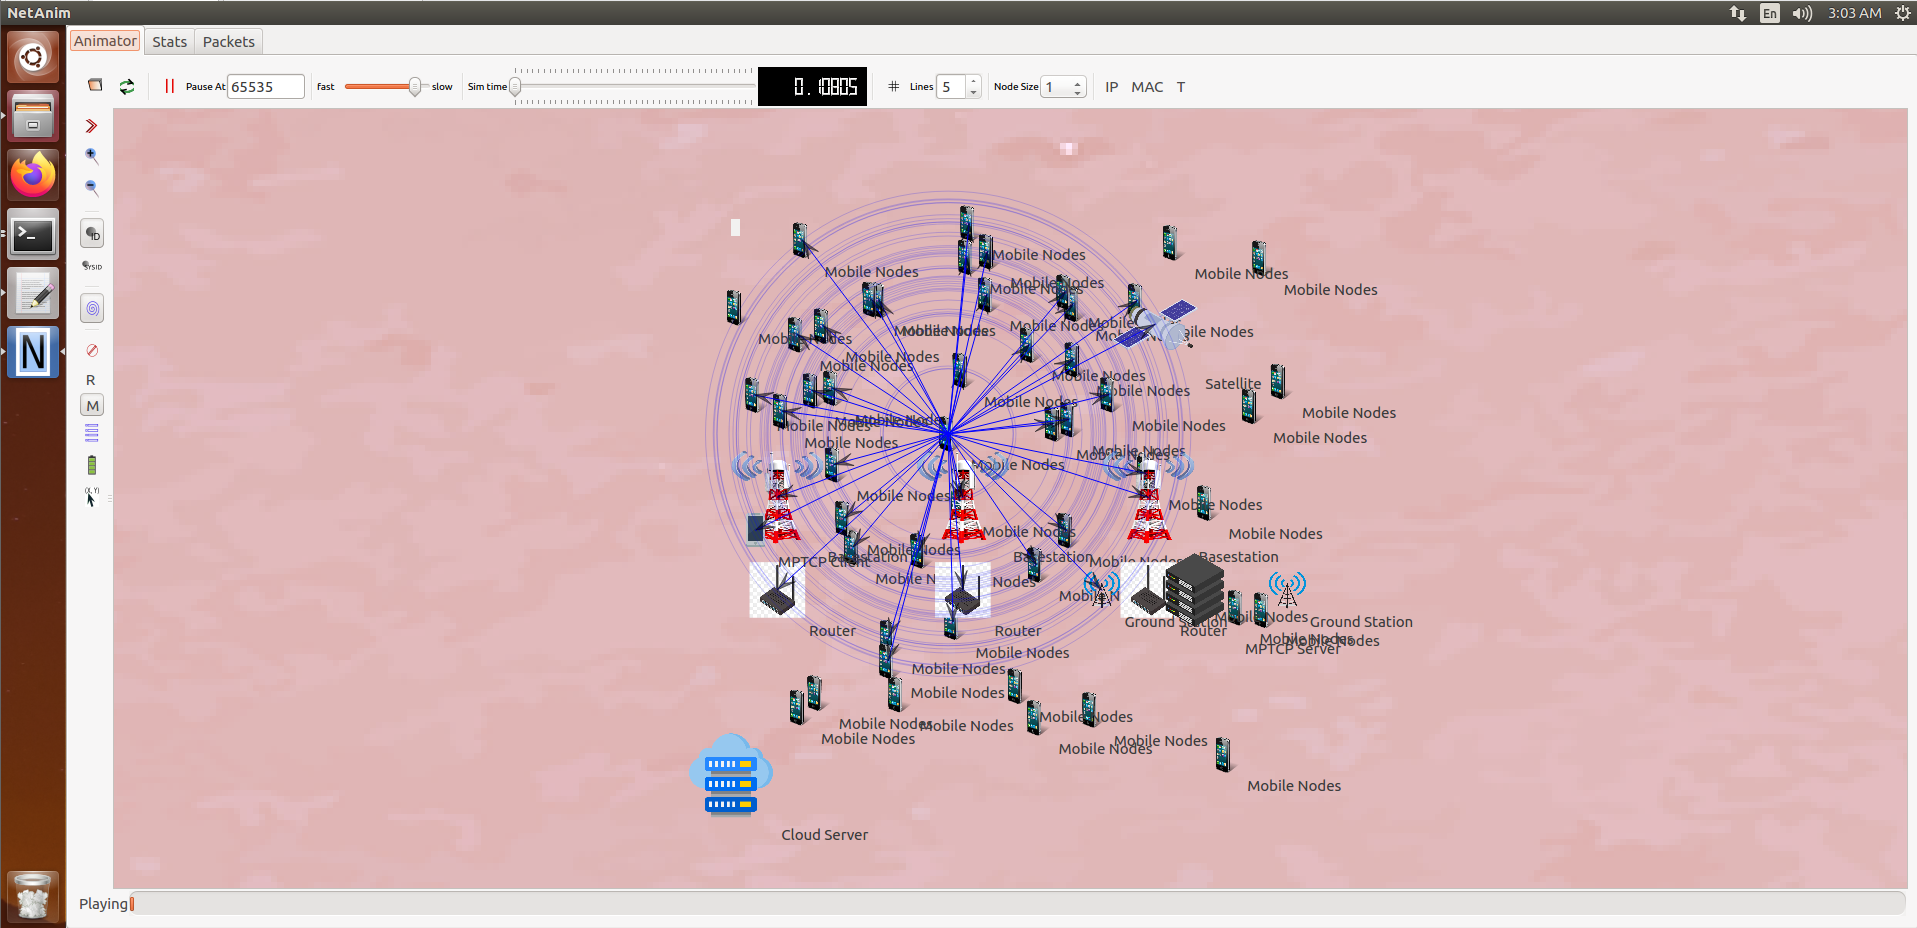
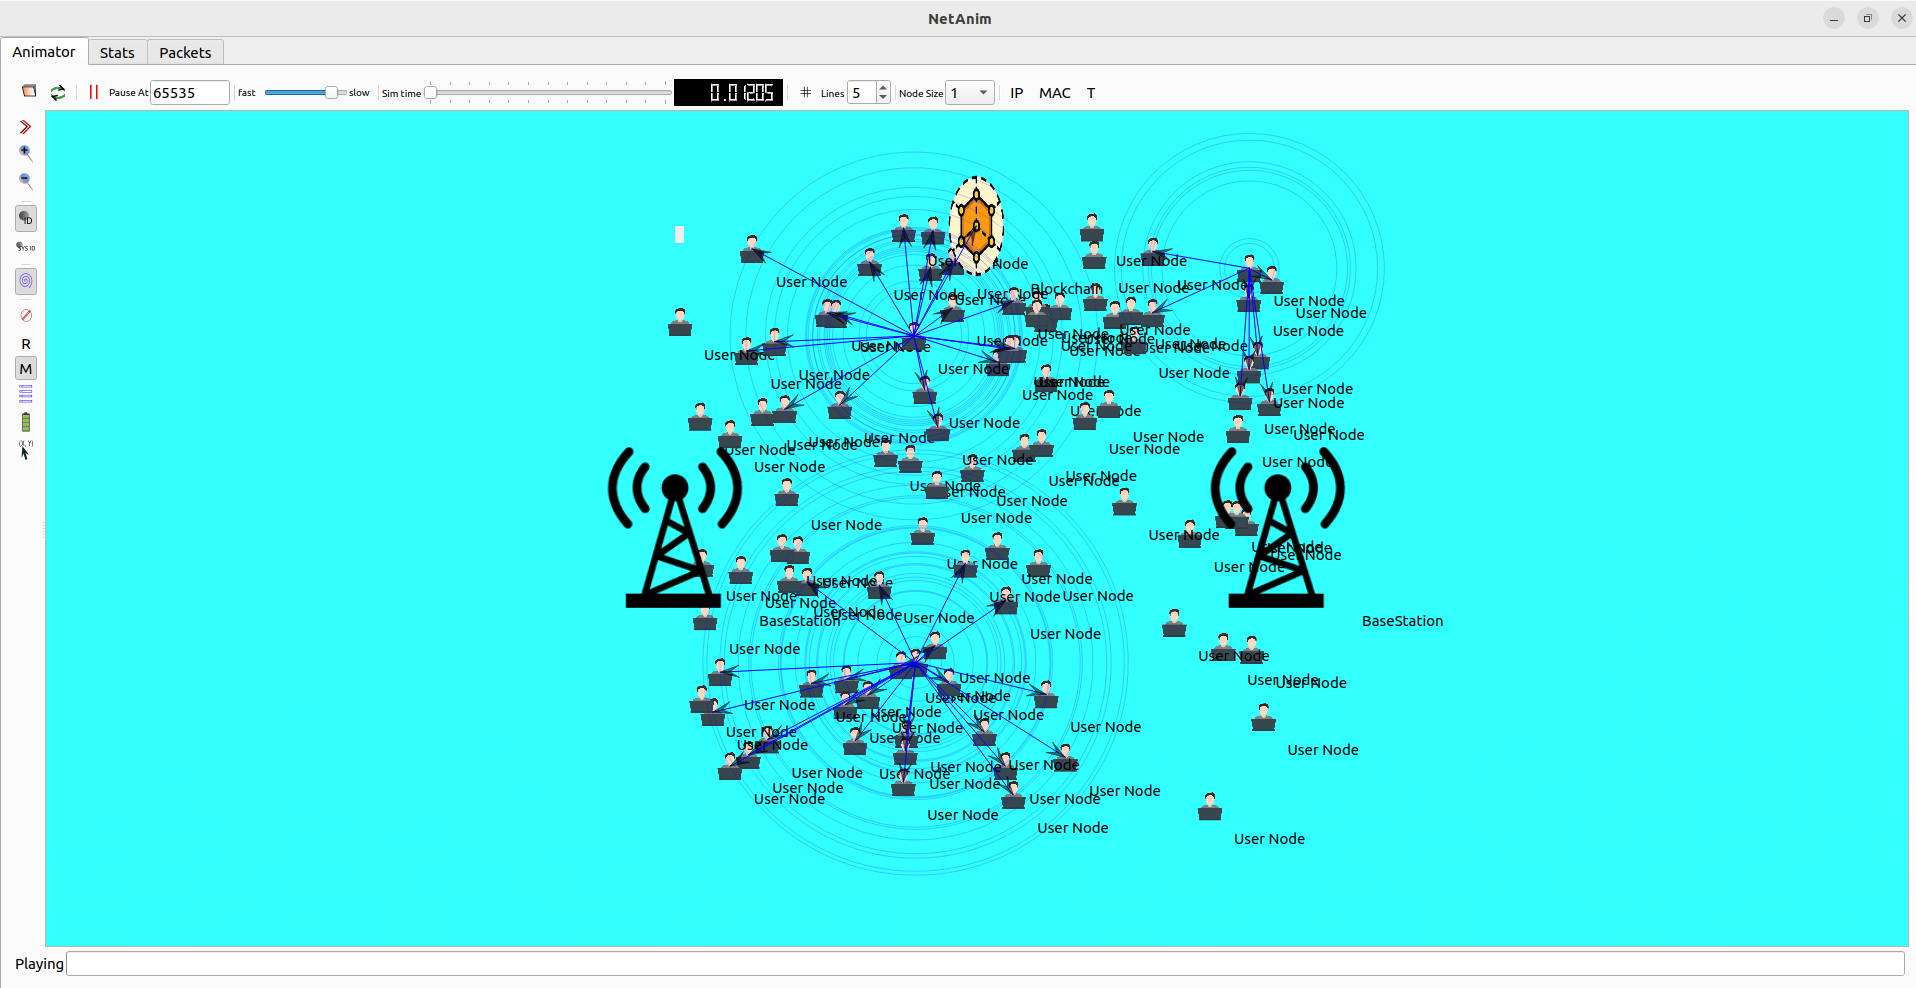
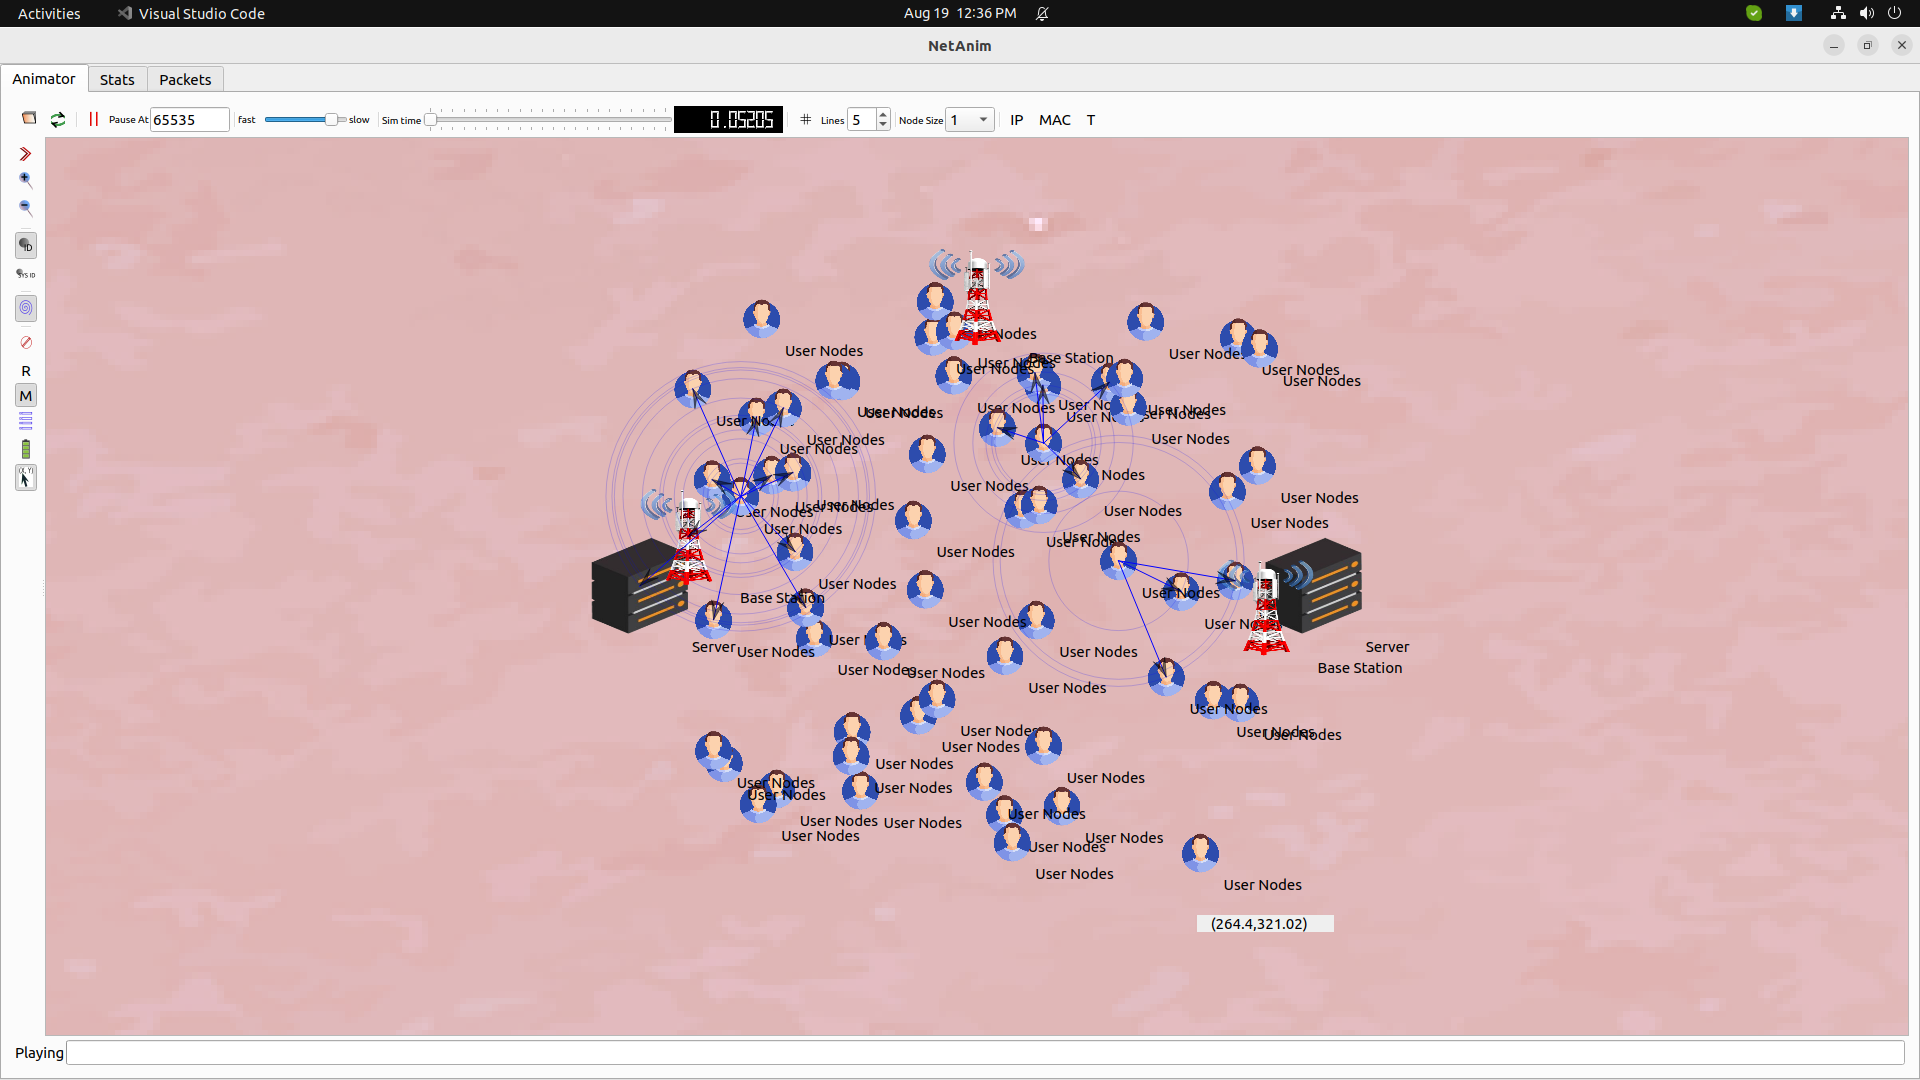
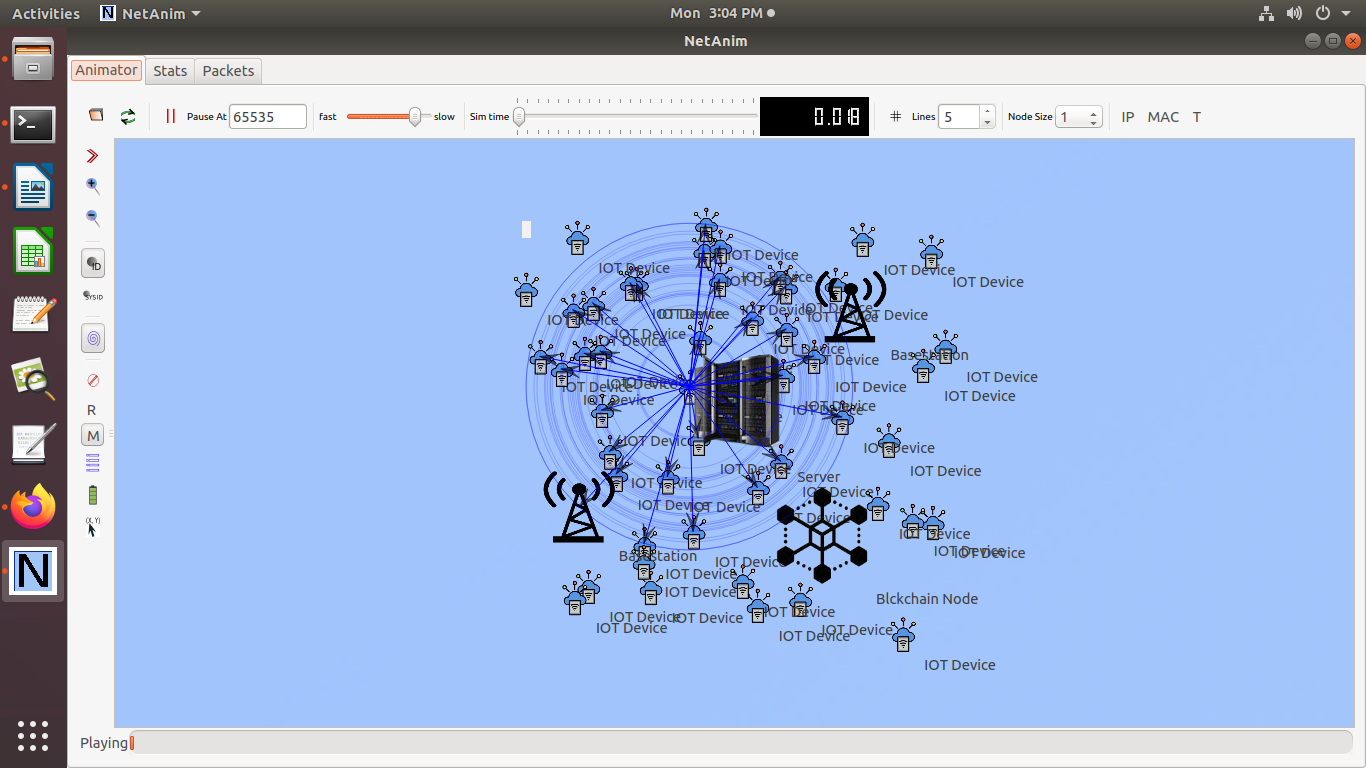
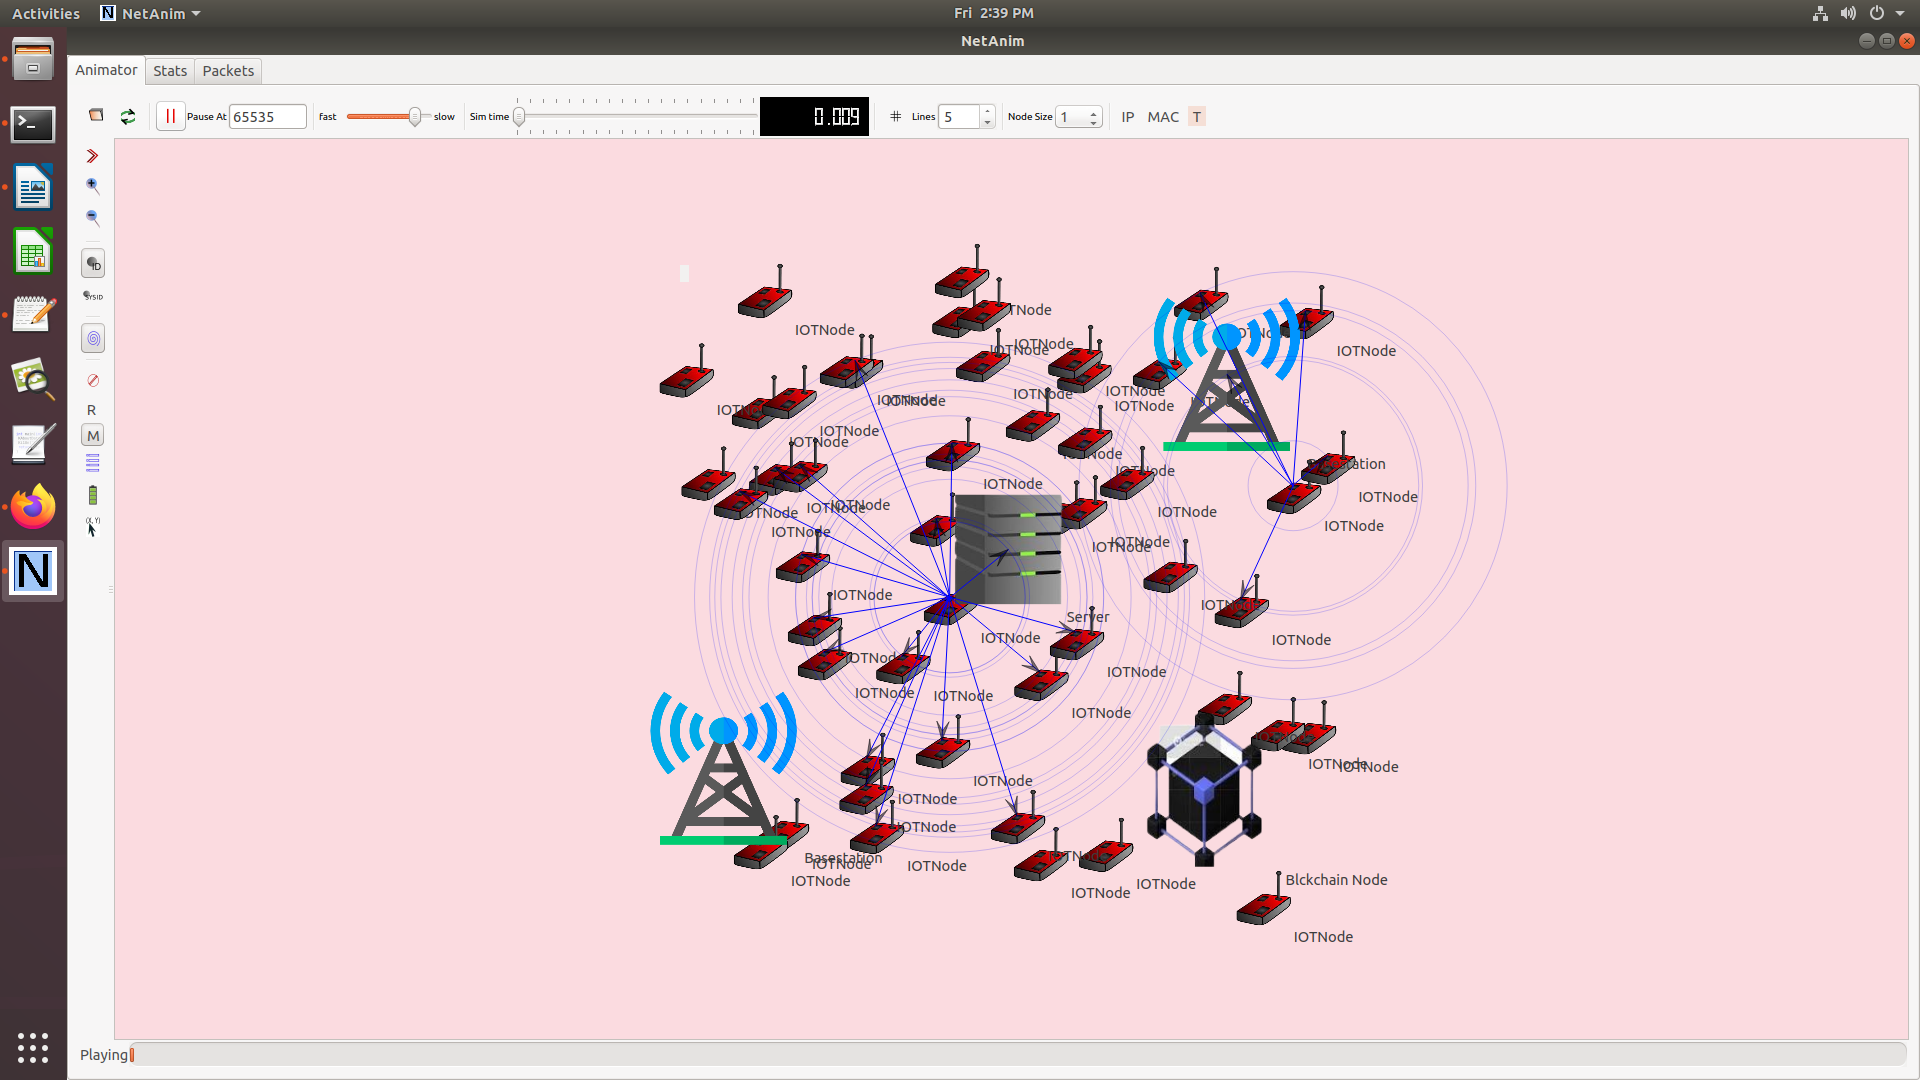
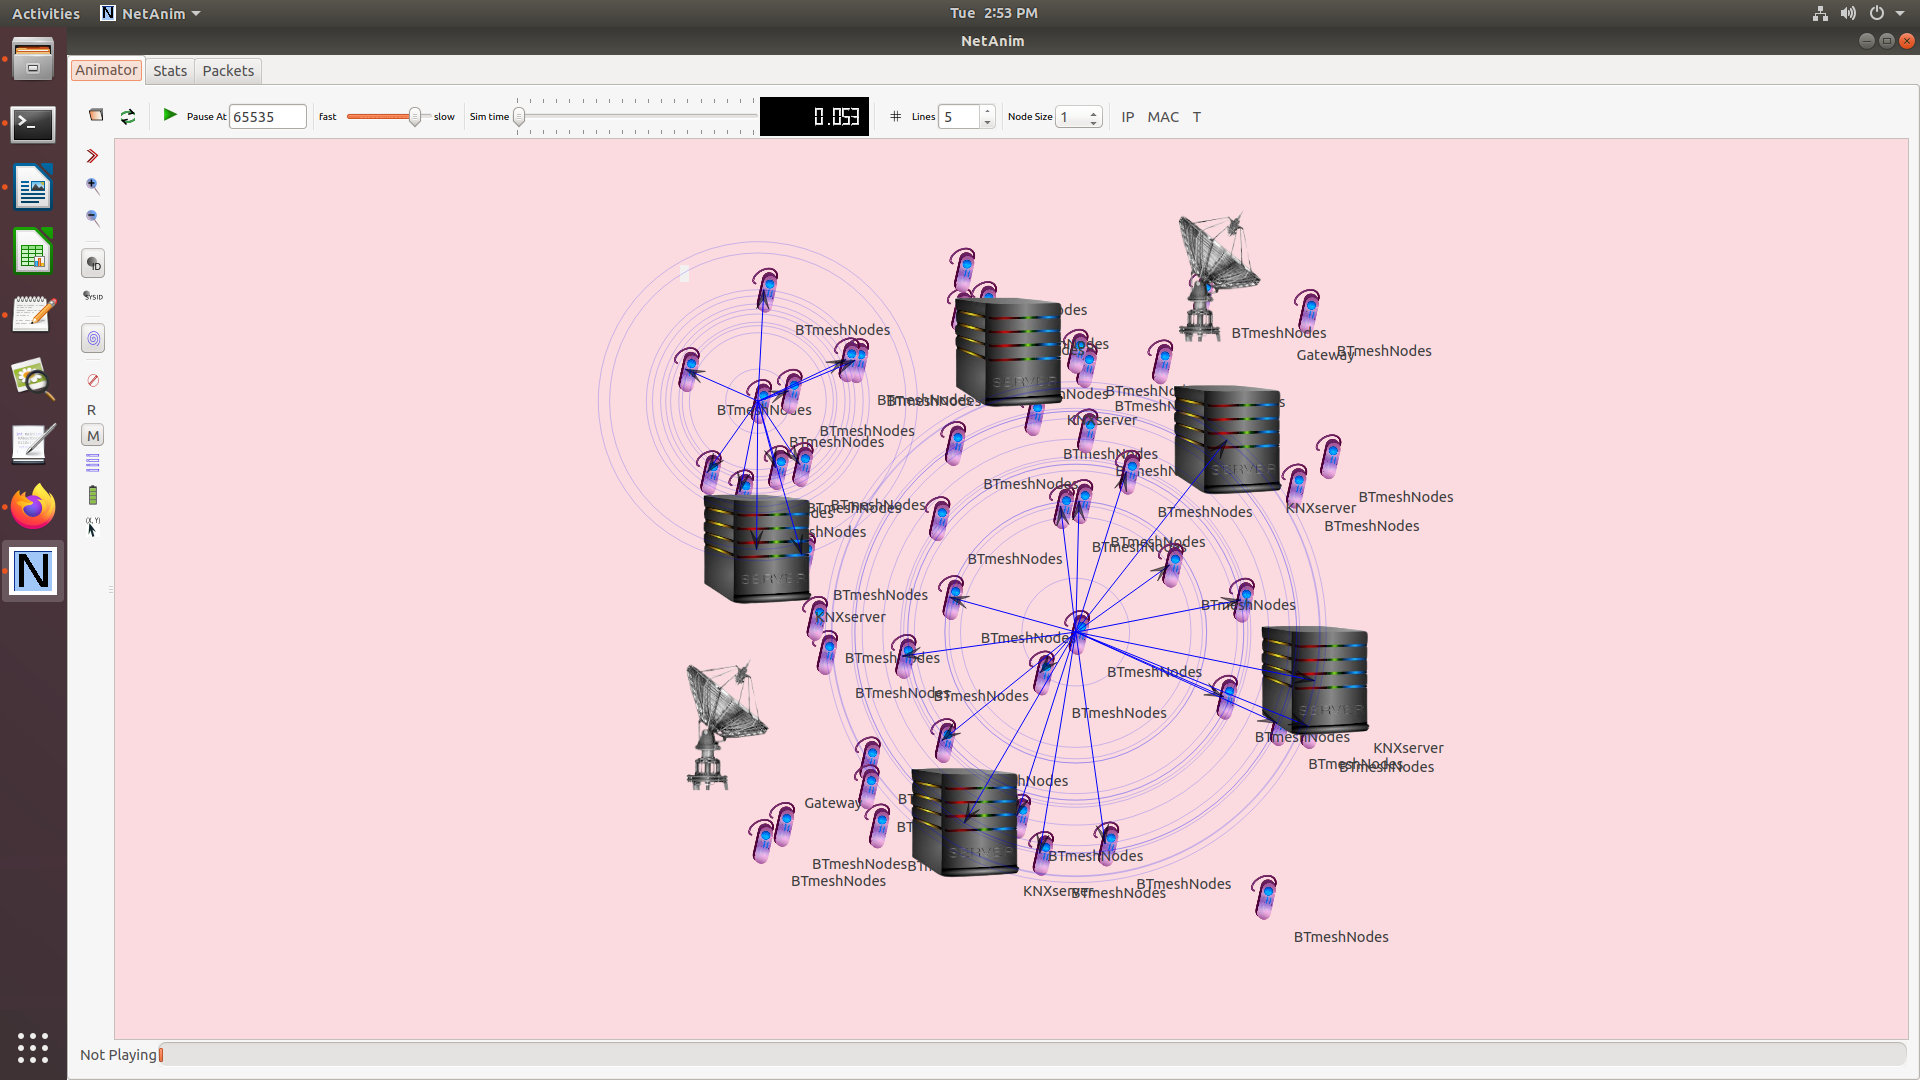
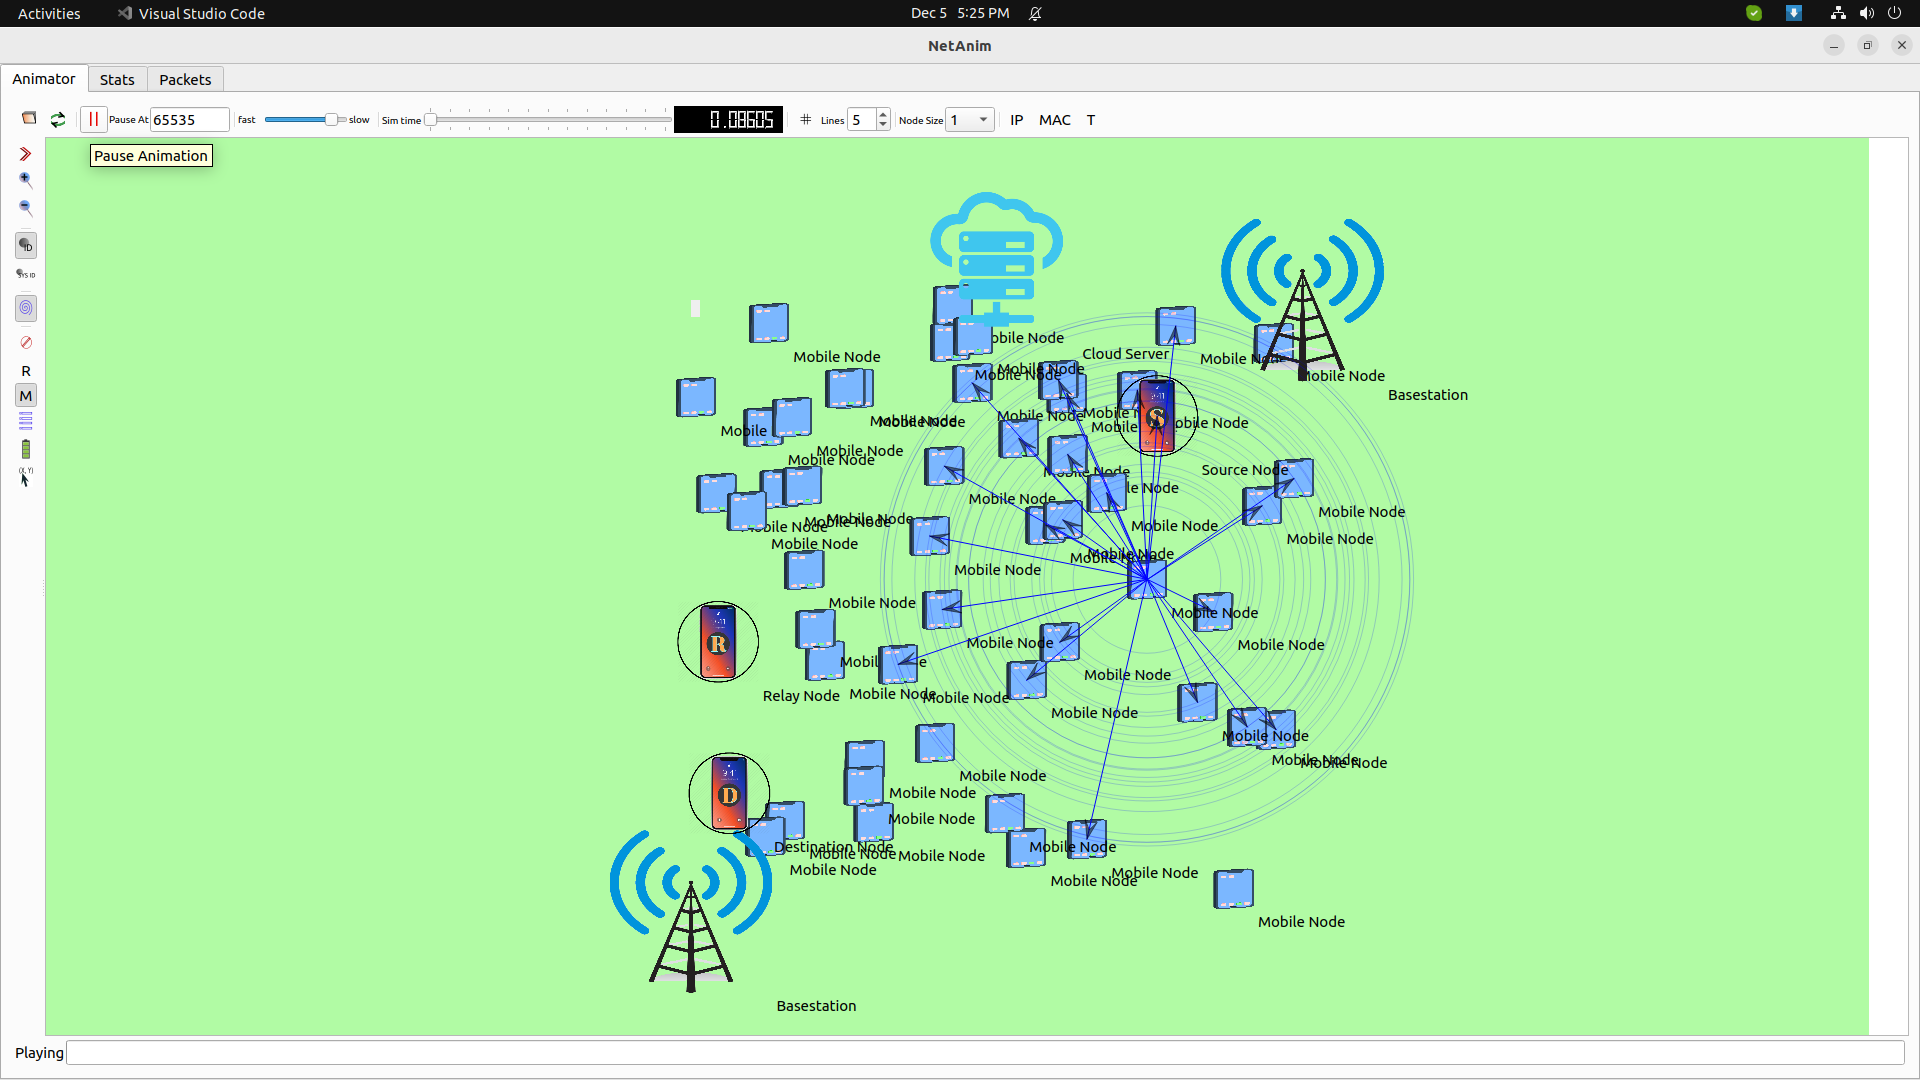
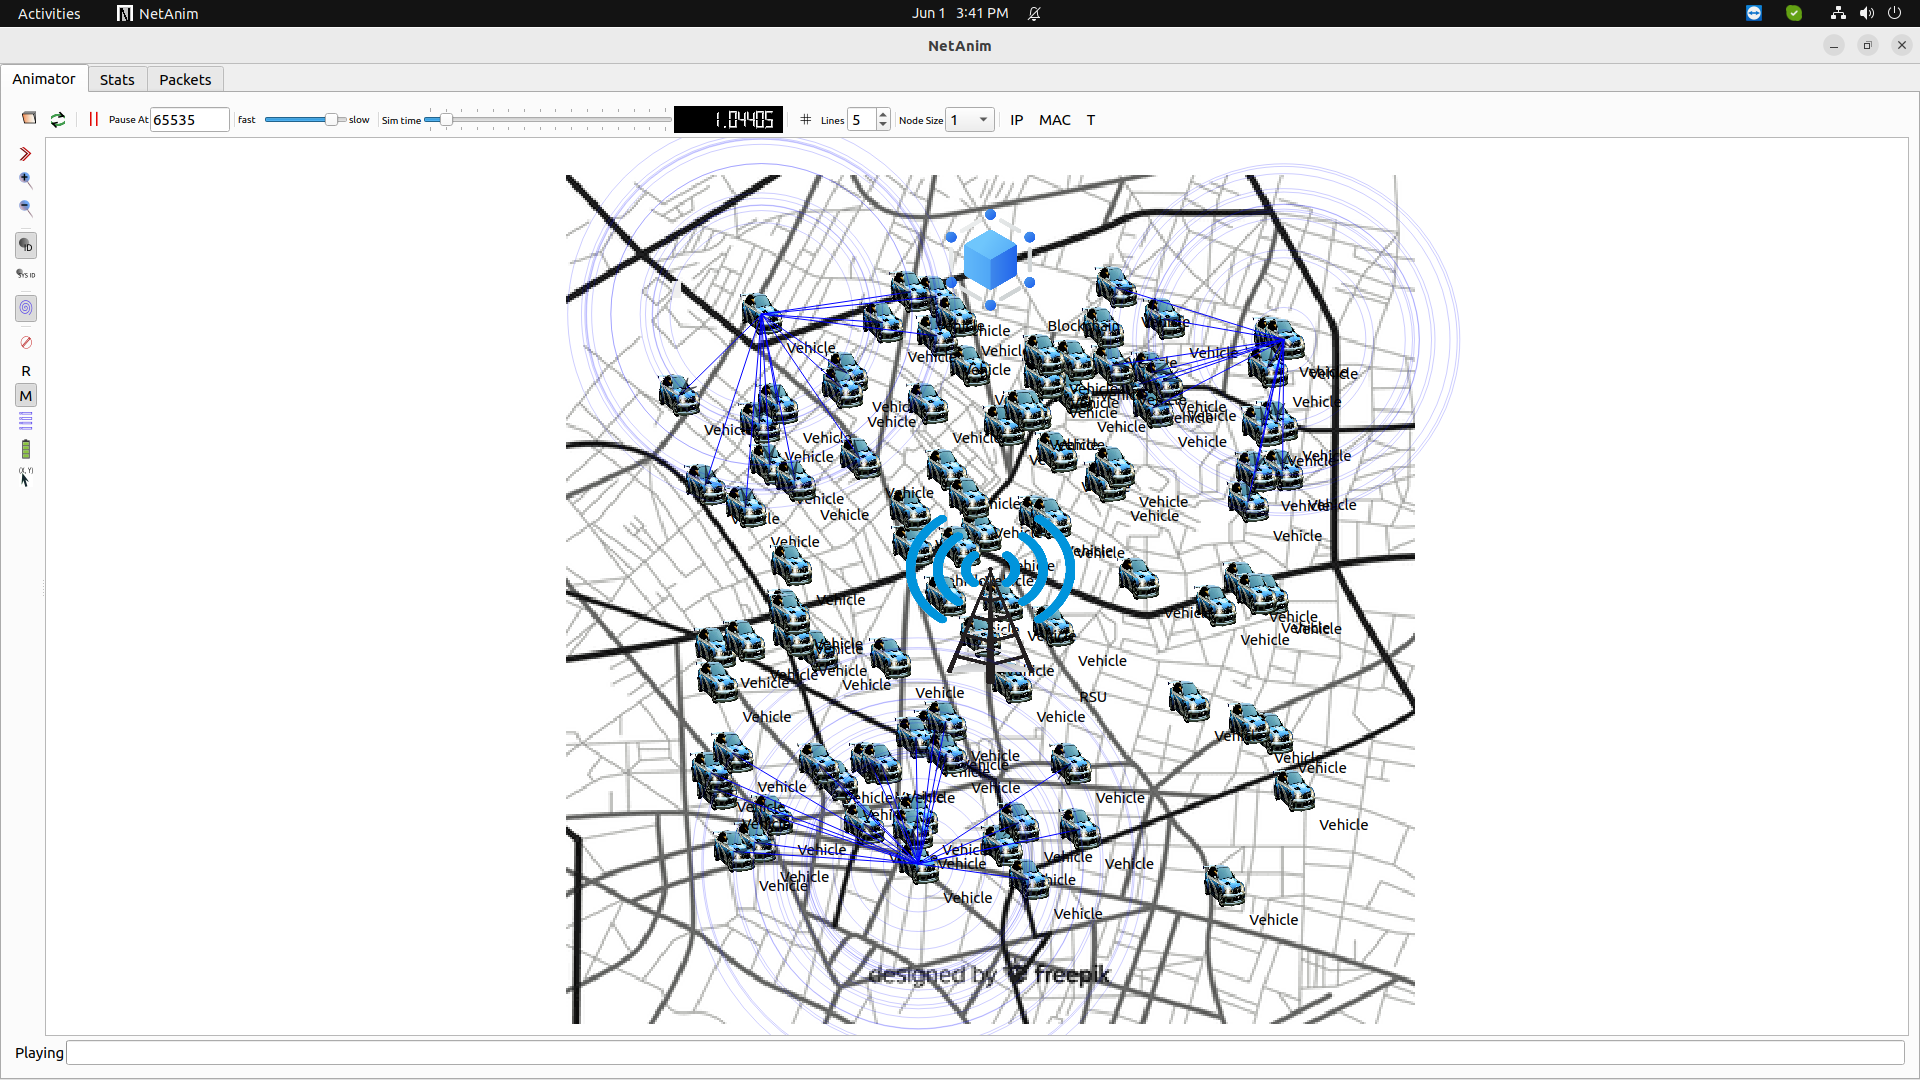
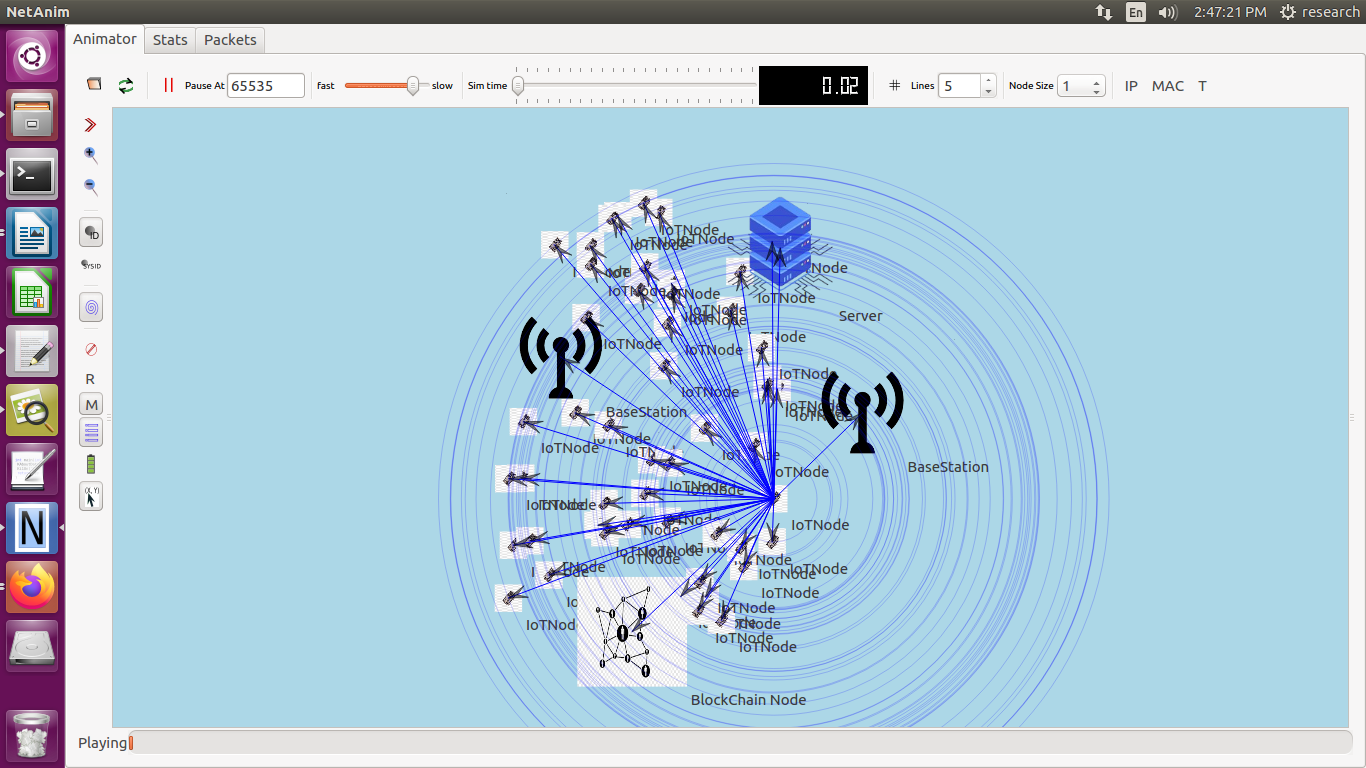
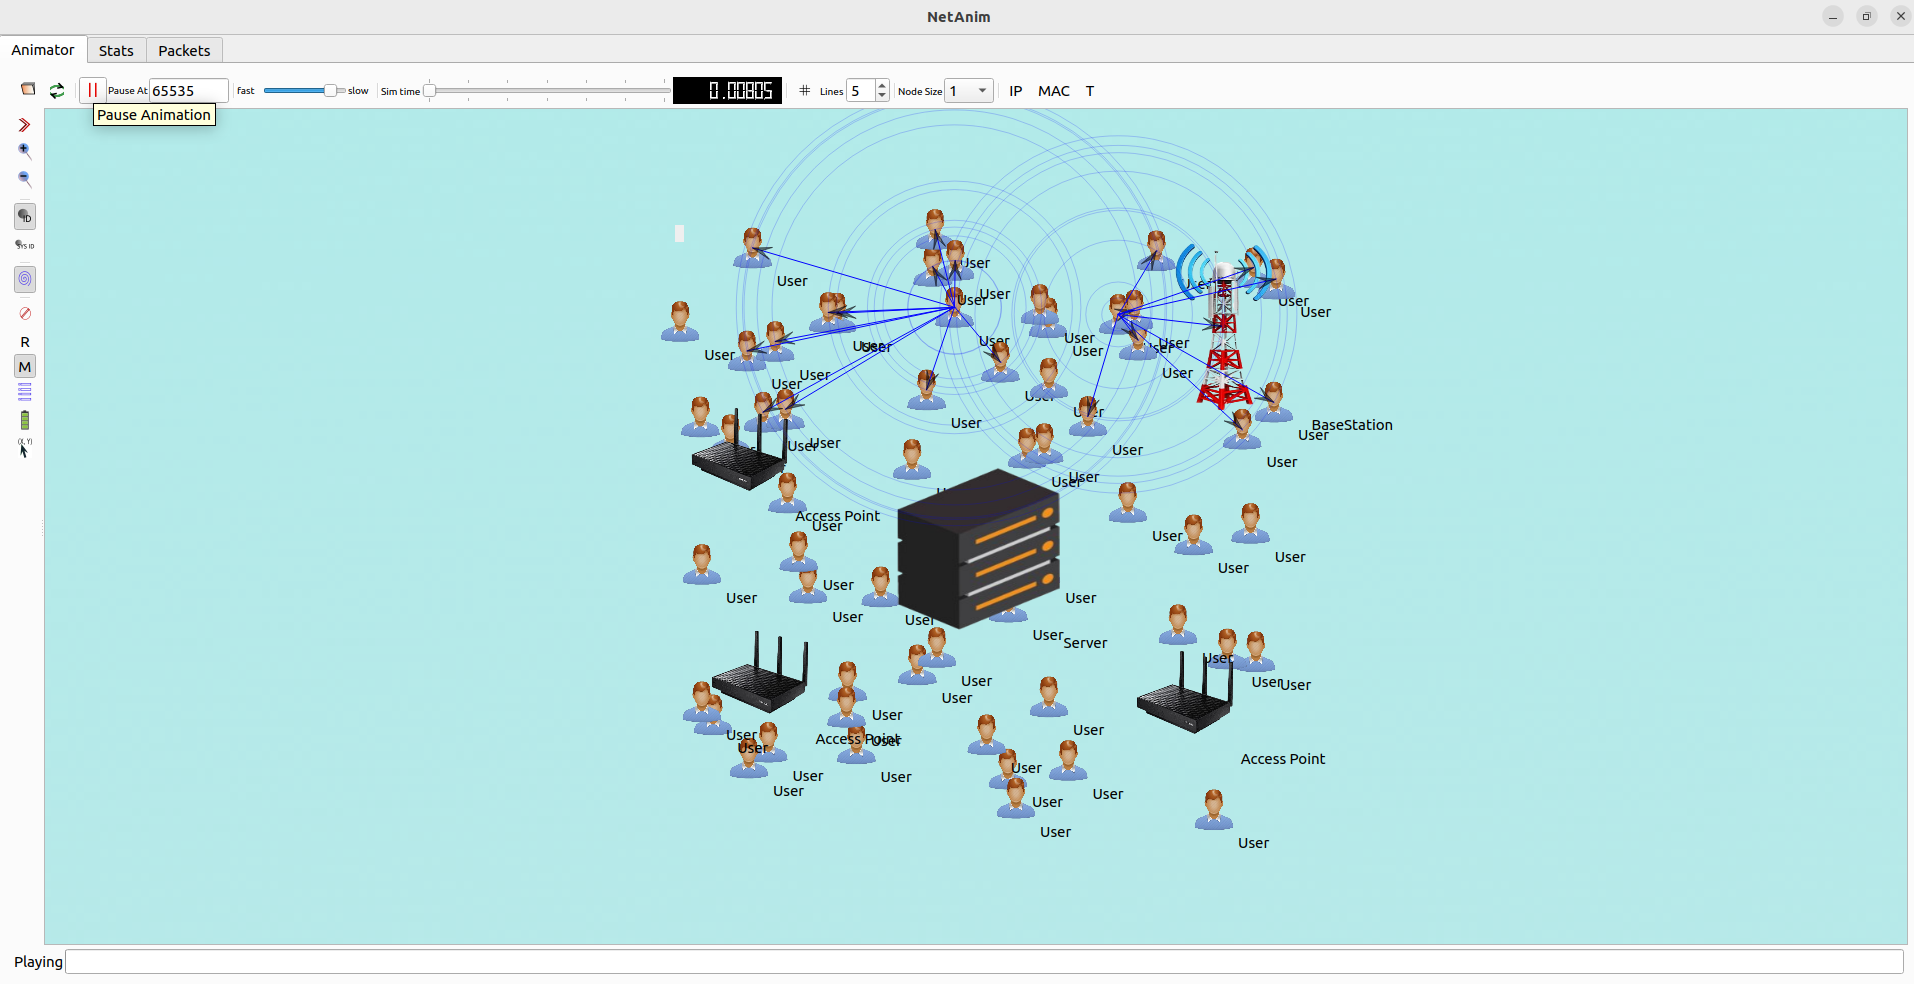
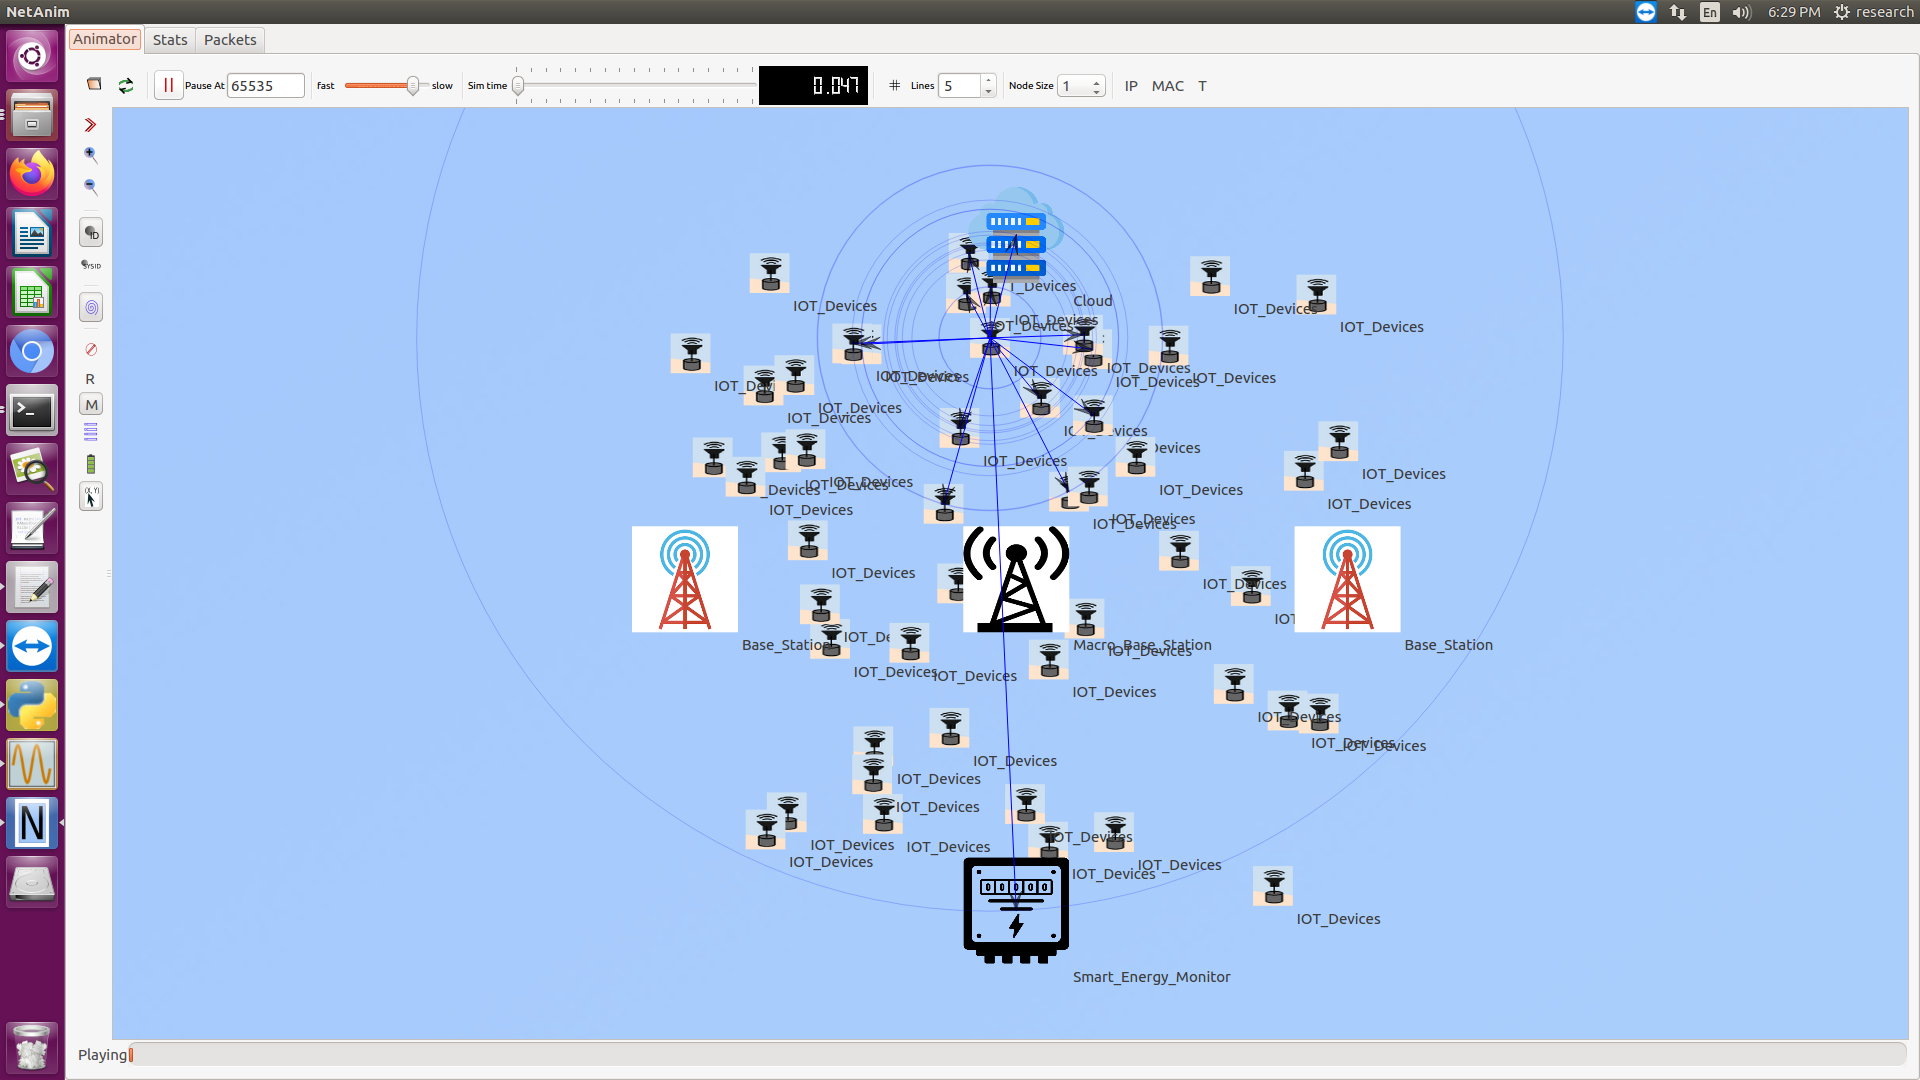
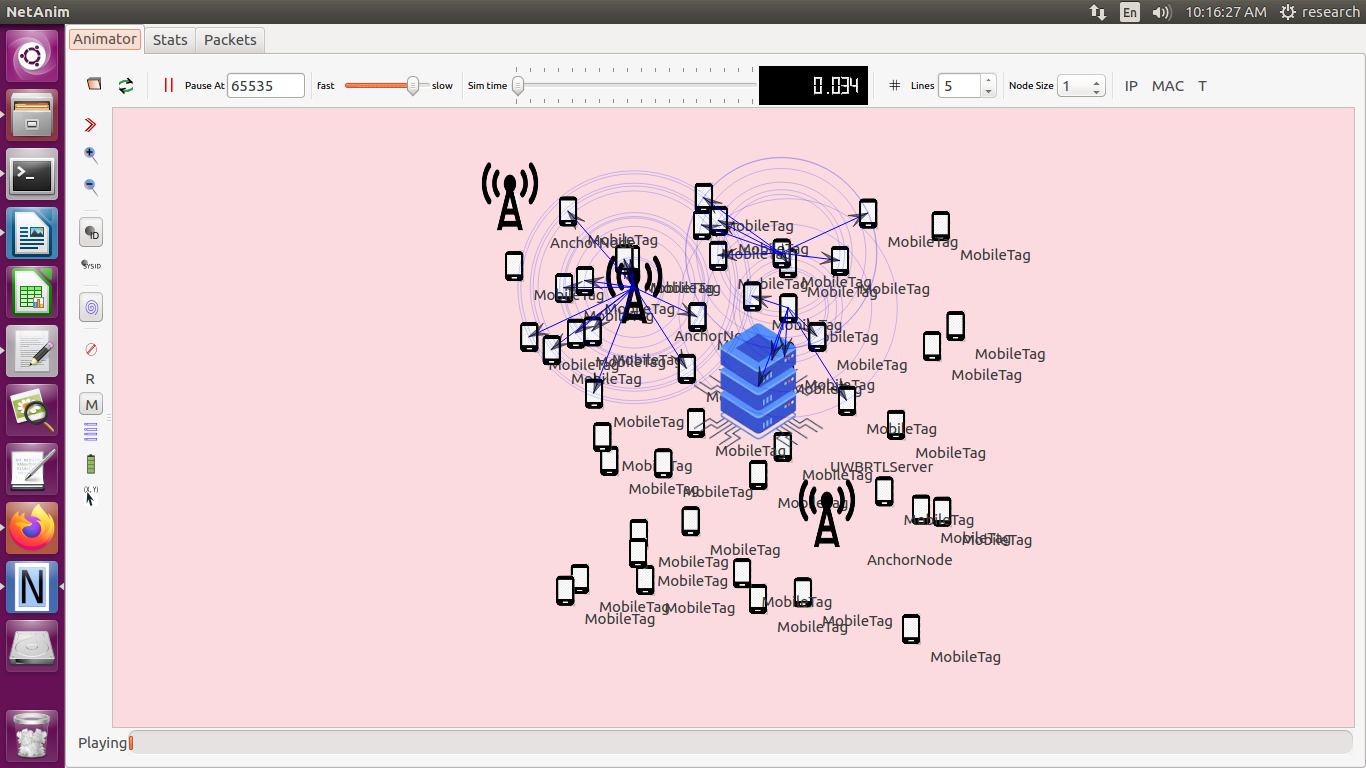
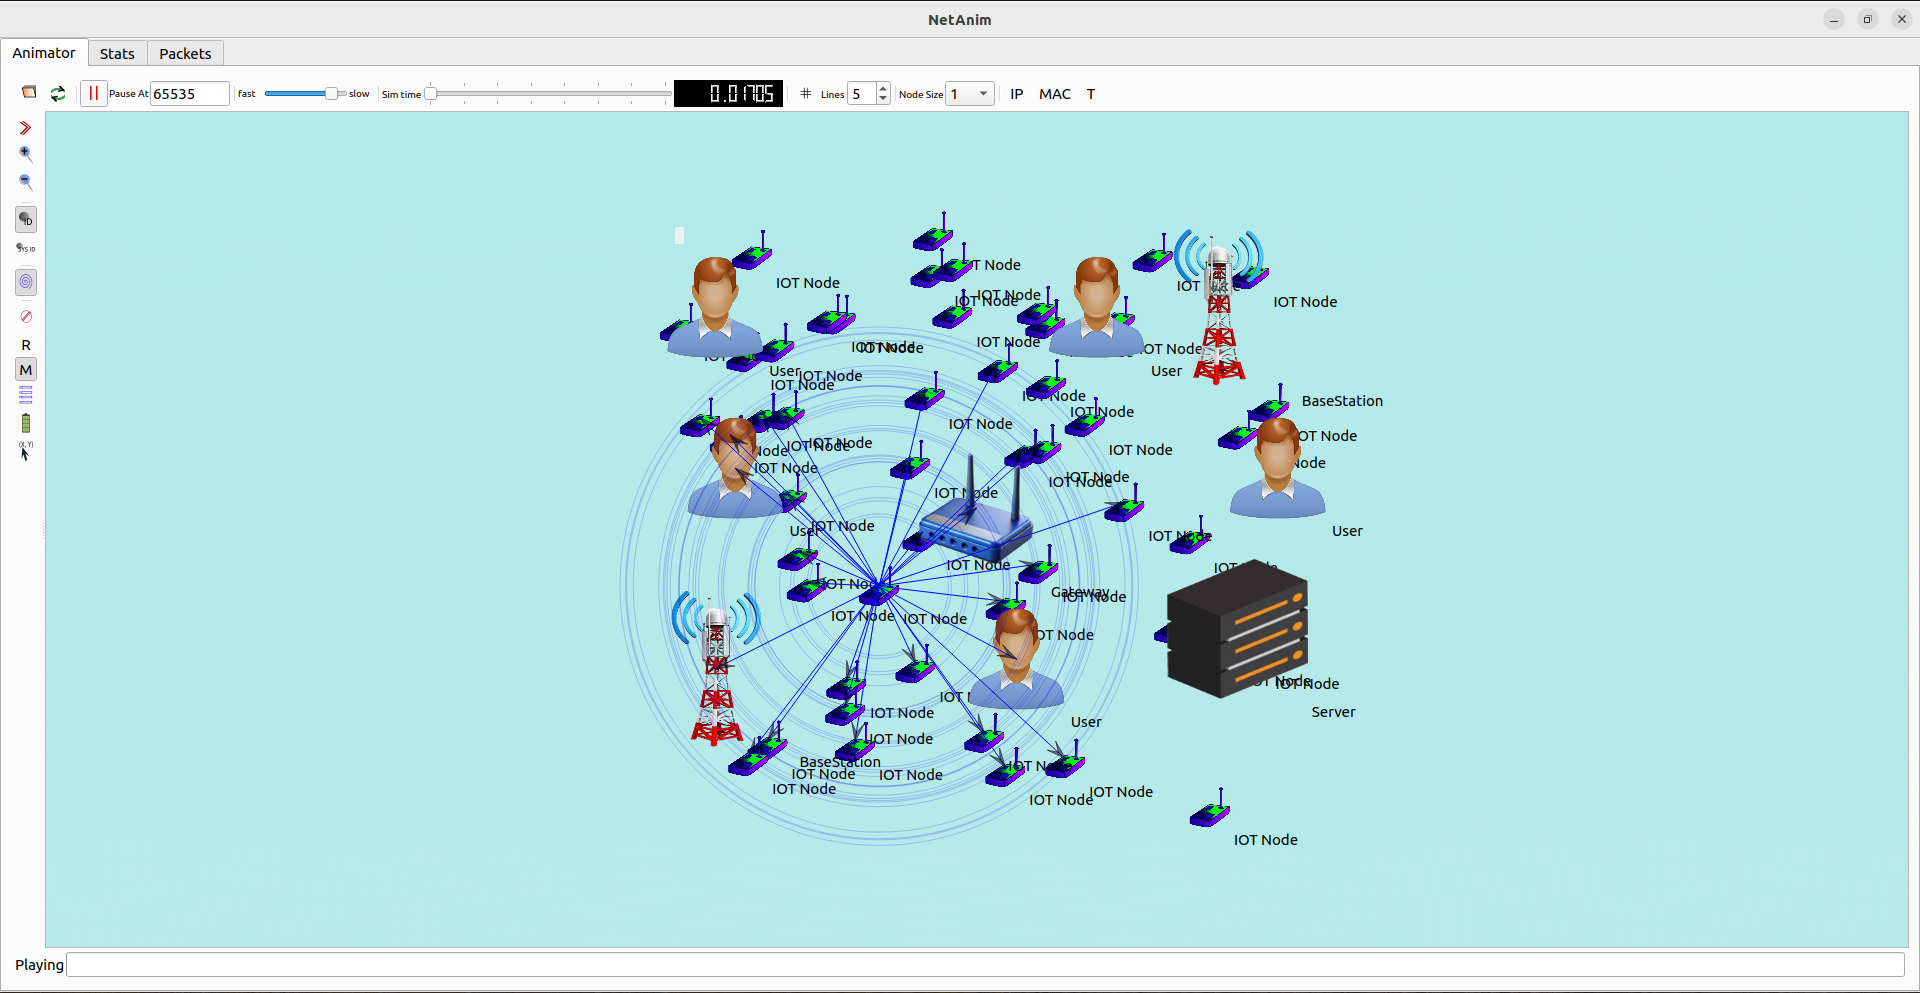
To implement an industrial Internet of Things (IIoT) network in ns-3 consists to simulate a network devices like
- Sensors
- Actuators
- Controllers
are interact wirelessly and these devices are typically linked using protocols like WiFi, Ethernet or 6LoWPAN.Rely on us for programming support.
Here are the given steps-by step procedures to set up a basic IoT network in ns-3 environment.
Prerequisites
- ns-3 installed on your system.
- Basic understanding of ns-3 and C++ programming.
Steps to Implement IIoT in ns-3
- Install ns-3: Ensure you have ns-3 installed. You can download it from the official website and follow the installation instructions.
wget https://www.nsnam.org/release/ns-allinone-3.xx.tar.bz2
tar -xjf ns-allinone-3.xx.tar.bz2
cd ns-allinone-3.xx
./build.py –enable-examples –enable-tests
- Include Necessary Headers: Include the required headers for network modules, mobility, internet, and the communication technology you plan to use (e.g., WiFi, Ethernet, 6LoWPAN).
#include “ns3/core-module.h”
#include “ns3/network-module.h”
#include “ns3/mobility-module.h”
#include “ns3/internet-module.h”
#include “ns3/wifi-module.h”
#include “ns3/csma-module.h”
#include “ns3/applications-module.h”
- Create Network Topology: Create nodes representing the IIoT devices.
NodeContainer sensorNodes;
sensorNodes.Create(5); // Create 5 sensor nodes
NodeContainer controllerNodes;
controllerNodes.Create(1); // Create 1 controller node
- Set Up Mobility Model: Configure the mobility model to simulate the placement and movement of the IIoT devices.
MobilityHelper mobility;
mobility.SetPositionAllocator(“ns3::GridPositionAllocator”,
“MinX”, DoubleValue(0.0),
“MinY”, DoubleValue(0.0),
“DeltaX”, DoubleValue(10.0),
“DeltaY”, DoubleValue(10.0),
“GridWidth”, UintegerValue(3),
“LayoutType”, StringValue(“RowFirst”));
mobility.SetMobilityModel(“ns3::ConstantPositionMobilityModel”);
mobility.Install(sensorNodes);
mobility.Install(controllerNodes);
- Install WiFi Devices: Install WiFi devices on the nodes to enable communication.
YansWifiChannelHelper wifiChannel = YansWifiChannelHelper::Default();
YansWifiPhyHelper wifiPhy = YansWifiPhyHelper::Default();
wifiPhy.SetChannel(wifiChannel.Create());
WifiHelper wifi;
wifi.SetStandard(WIFI_PHY_STANDARD_80211n);
WifiMacHelper wifiMac;
Ssid ssid = Ssid(“ns-3-ssid”);
wifiMac.SetType(“ns3::StaWifiMac”, “Ssid”, SsidValue(ssid), “ActiveProbing”, BooleanValue(false));
NetDeviceContainer sensorDevices = wifi.Install(wifiPhy, wifiMac, sensorNodes);
wifiMac.SetType(“ns3::ApWifiMac”, “Ssid”, SsidValue(ssid));
NetDeviceContainer controllerDevices = wifi.Install(wifiPhy, wifiMac, controllerNodes);
- Install Internet Stack: Install the internet stack on the nodes.
InternetStackHelper stack;
stack.Install(sensorNodes);
stack.Install(controllerNodes);
Ipv4AddressHelper address;
address.SetBase(“10.1.1.0”, “255.255.255.0”);
Ipv4InterfaceContainer sensorInterfaces = address.Assign(sensorDevices);
Ipv4InterfaceContainer controllerInterfaces = address.Assign(controllerDevices);
- Create Applications: Create and install applications to simulate data transmission between the sensors and the controller.
uint16_t port = 9;
OnOffHelper onoff(“ns3::UdpSocketFactory”, Address(InetSocketAddress(controllerInterfaces.GetAddress(0), port)));
onoff.SetConstantRate(DataRate(“500kbps”));
ApplicationContainer apps;
for (uint32_t i = 0; i < sensorNodes.GetN(); ++i) {
apps.Add(onoff.Install(sensorNodes.Get(i)));
}
apps.Start(Seconds(1.0));
apps.Stop(Seconds(10.0));
PacketSinkHelper sink(“ns3::UdpSocketFactory”, Address(InetSocketAddress(Ipv4Address::GetAny(), port)));
apps = sink.Install(controllerNodes.Get(0));
apps.Start(Seconds(0.0));
apps.Stop(Seconds(10.0));
- Run the Simulation: Finally, run the simulation and clean up.
Simulator::Stop(Seconds(10.0));
Simulator::Run();
Simulator::Destroy();
Example Complete Script
Here we provide the sample to complete the script for setup a basic IIoT network in ns-3 environment
#include “ns3/core-module.h”
#include “ns3/network-module.h”
#include “ns3/mobility-module.h”
#include “ns3/internet-module.h”
#include “ns3/wifi-module.h”
#include “ns3/applications-module.h”
using namespace ns3;
int main(int argc, char *argv[])
{
NodeContainer sensorNodes;
sensorNodes.Create(5); // Create 5 sensor nodes
NodeContainer controllerNodes;
controllerNodes.Create(1); // Create 1 controller node
MobilityHelper mobility;
mobility.SetPositionAllocator(“ns3::GridPositionAllocator”,
“MinX”, DoubleValue(0.0),
“MinY”, DoubleValue(0.0),
“DeltaX”, DoubleValue(10.0),
“DeltaY”, DoubleValue(10.0),
“GridWidth”, UintegerValue(3),
“LayoutType”, StringValue(“RowFirst”));
mobility.SetMobilityModel(“ns3::ConstantPositionMobilityModel”);
mobility.Install(sensorNodes);
mobility.Install(controllerNodes);
YansWifiChannelHelper wifiChannel = YansWifiChannelHelper::Default();
YansWifiPhyHelper wifiPhy = YansWifiPhyHelper::Default();
wifiPhy.SetChannel(wifiChannel.Create());
WifiHelper wifi;
wifi.SetStandard(WIFI_PHY_STANDARD_80211n);
WifiMacHelper wifiMac;
Ssid ssid = Ssid(“ns-3-ssid”);
wifiMac.SetType(“ns3::StaWifiMac”, “Ssid”, SsidValue(ssid), “ActiveProbing”, BooleanValue(false));
NetDeviceContainer sensorDevices = wifi.Install(wifiPhy, wifiMac, sensorNodes);
wifiMac.SetType(“ns3::ApWifiMac”, “Ssid”, SsidValue(ssid));
NetDeviceContainer controllerDevices = wifi.Install(wifiPhy, wifiMac, controllerNodes);
InternetStackHelper stack;
stack.Install(sensorNodes);
stack.Install(controllerNodes);
Ipv4AddressHelper address;
address.SetBase(“10.1.1.0”, “255.255.255.0”);
Ipv4InterfaceContainer sensorInterfaces = address.Assign(sensorDevices);
Ipv4InterfaceContainer controllerInterfaces = address.Assign(controllerDevices);
uint16_t port = 9;
OnOffHelper onoff(“ns3::UdpSocketFactory”, Address(InetSocketAddress(controllerInterfaces.GetAddress(0), port)));
onoff.SetConstantRate(DataRate(“500kbps”));
ApplicationContainer apps;
for (uint32_t i = 0; i < sensorNodes.GetN(); ++i) {
apps.Add(onoff.Install(sensorNodes.Get(i)));
}
apps.Start(Seconds(1.0));
apps.Stop(Seconds(10.0));
PacketSinkHelper sink(“ns3::UdpSocketFactory”, Address(InetSocketAddress(Ipv4Address::GetAny(), port)));
apps = sink.Install(controllerNodes.Get(0));
apps.Start(Seconds(0.0));
apps.Stop(Seconds(10.0));
Simulator::Stop(Seconds(10.0));
Simulator::Run();
Simulator::Destroy();
return 0;
}
Running the Script
Compile and run the script using the following commands:
./waf configure –enable-examples
./waf build
./waf –run <script-name>
At last we discussed here about the Industrial internet of things in ns-3 environment and further we support all kinds of Internets of things.


