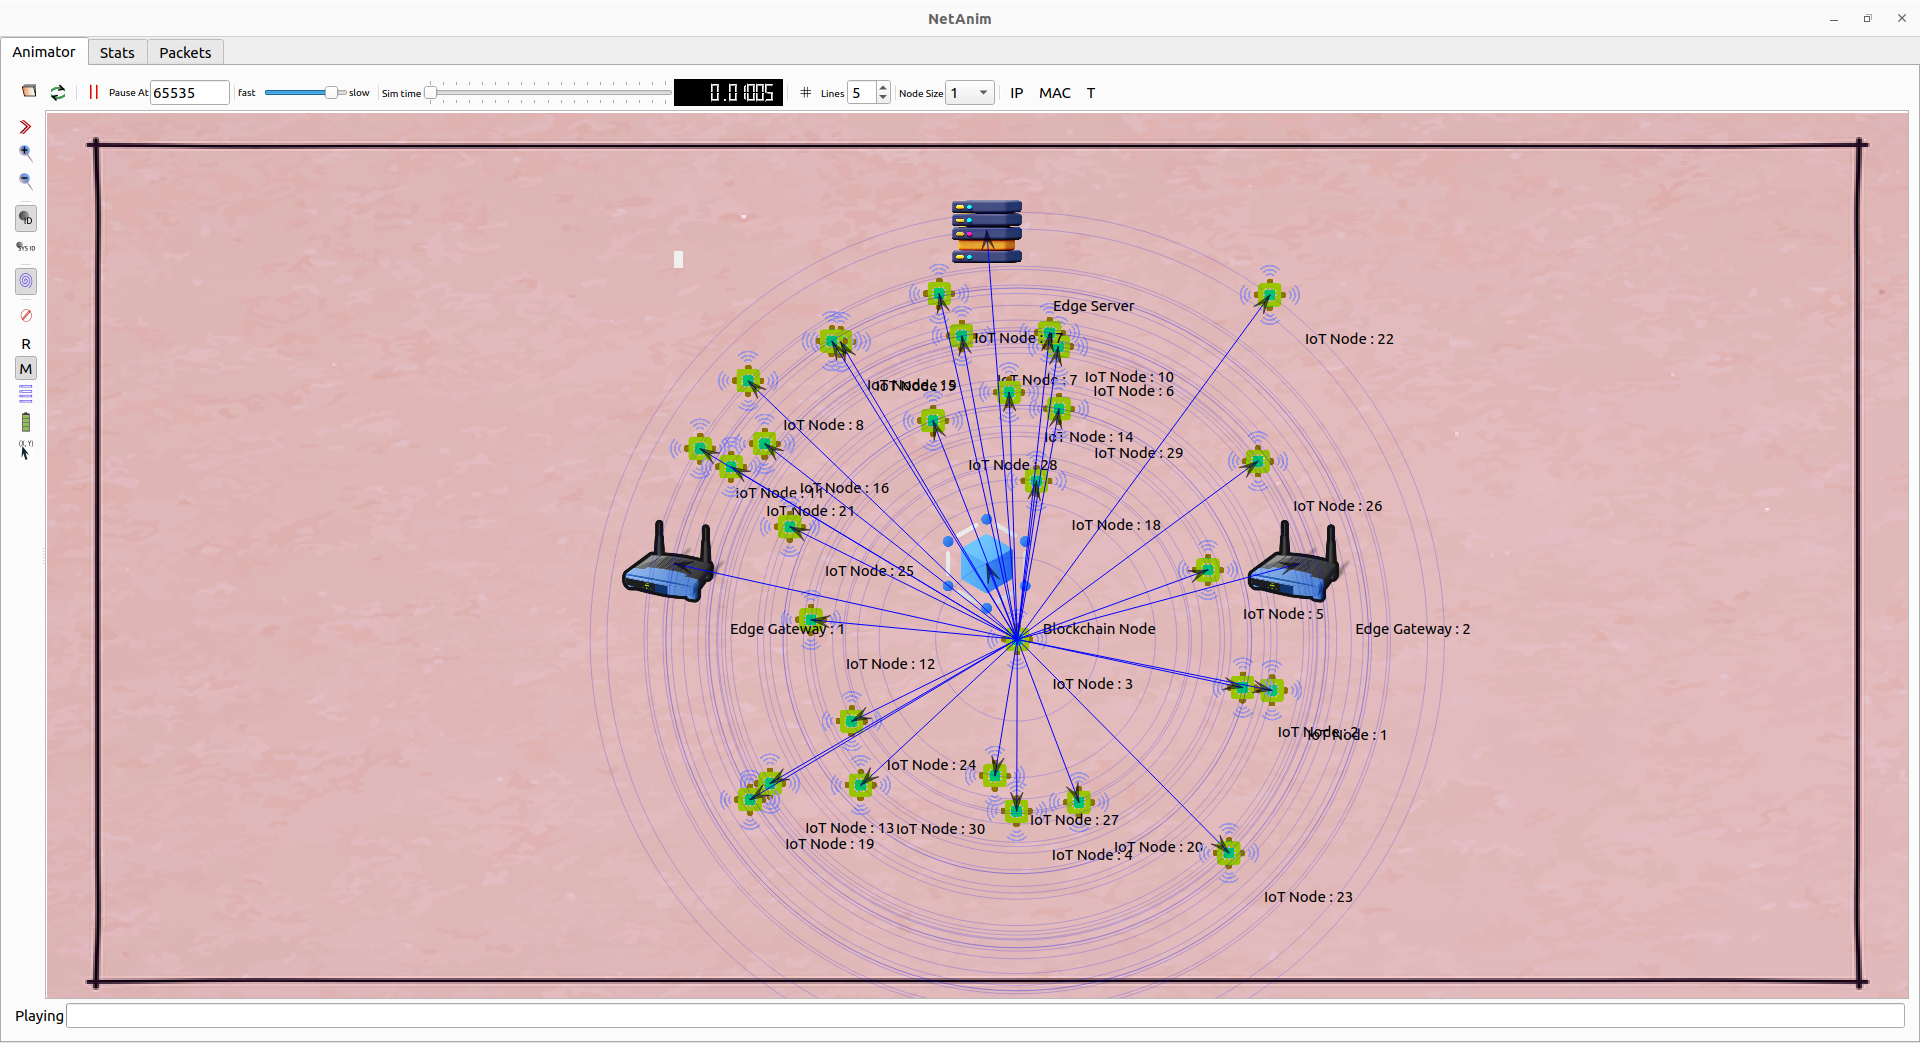
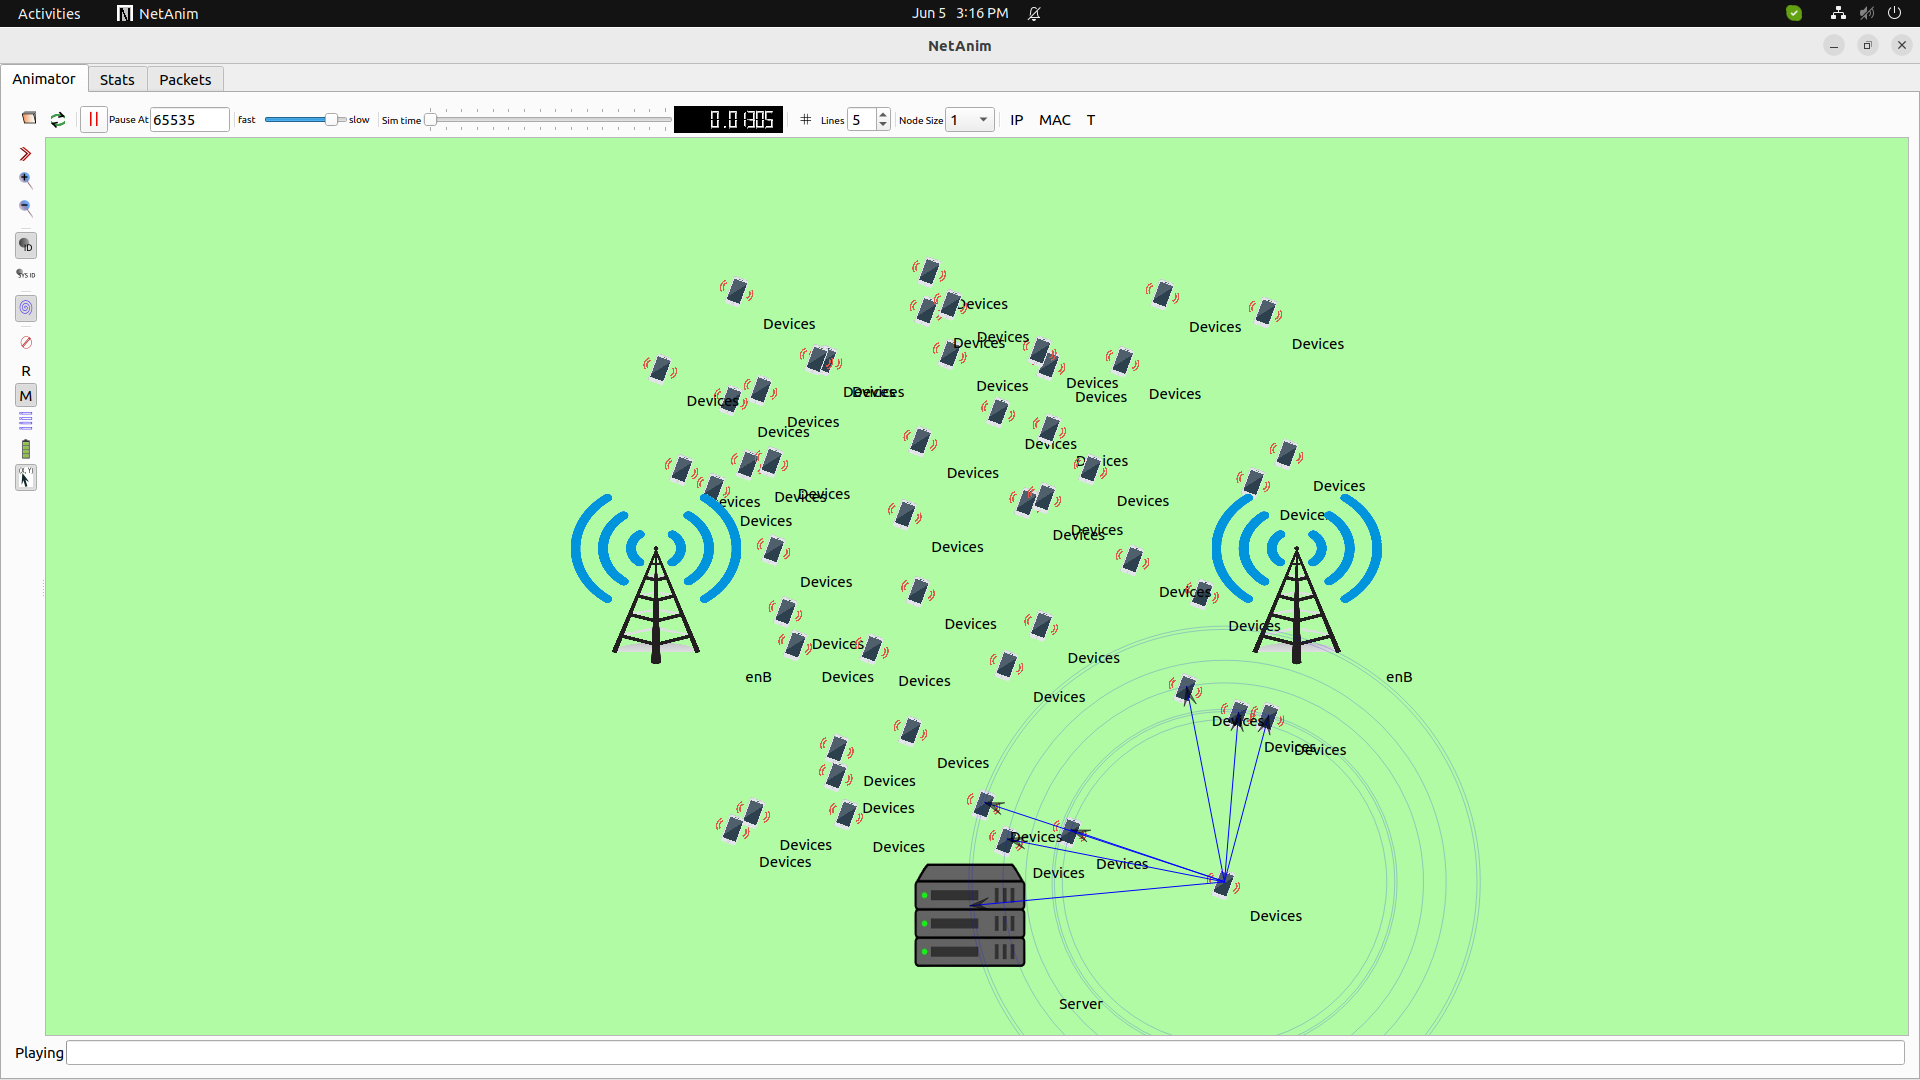
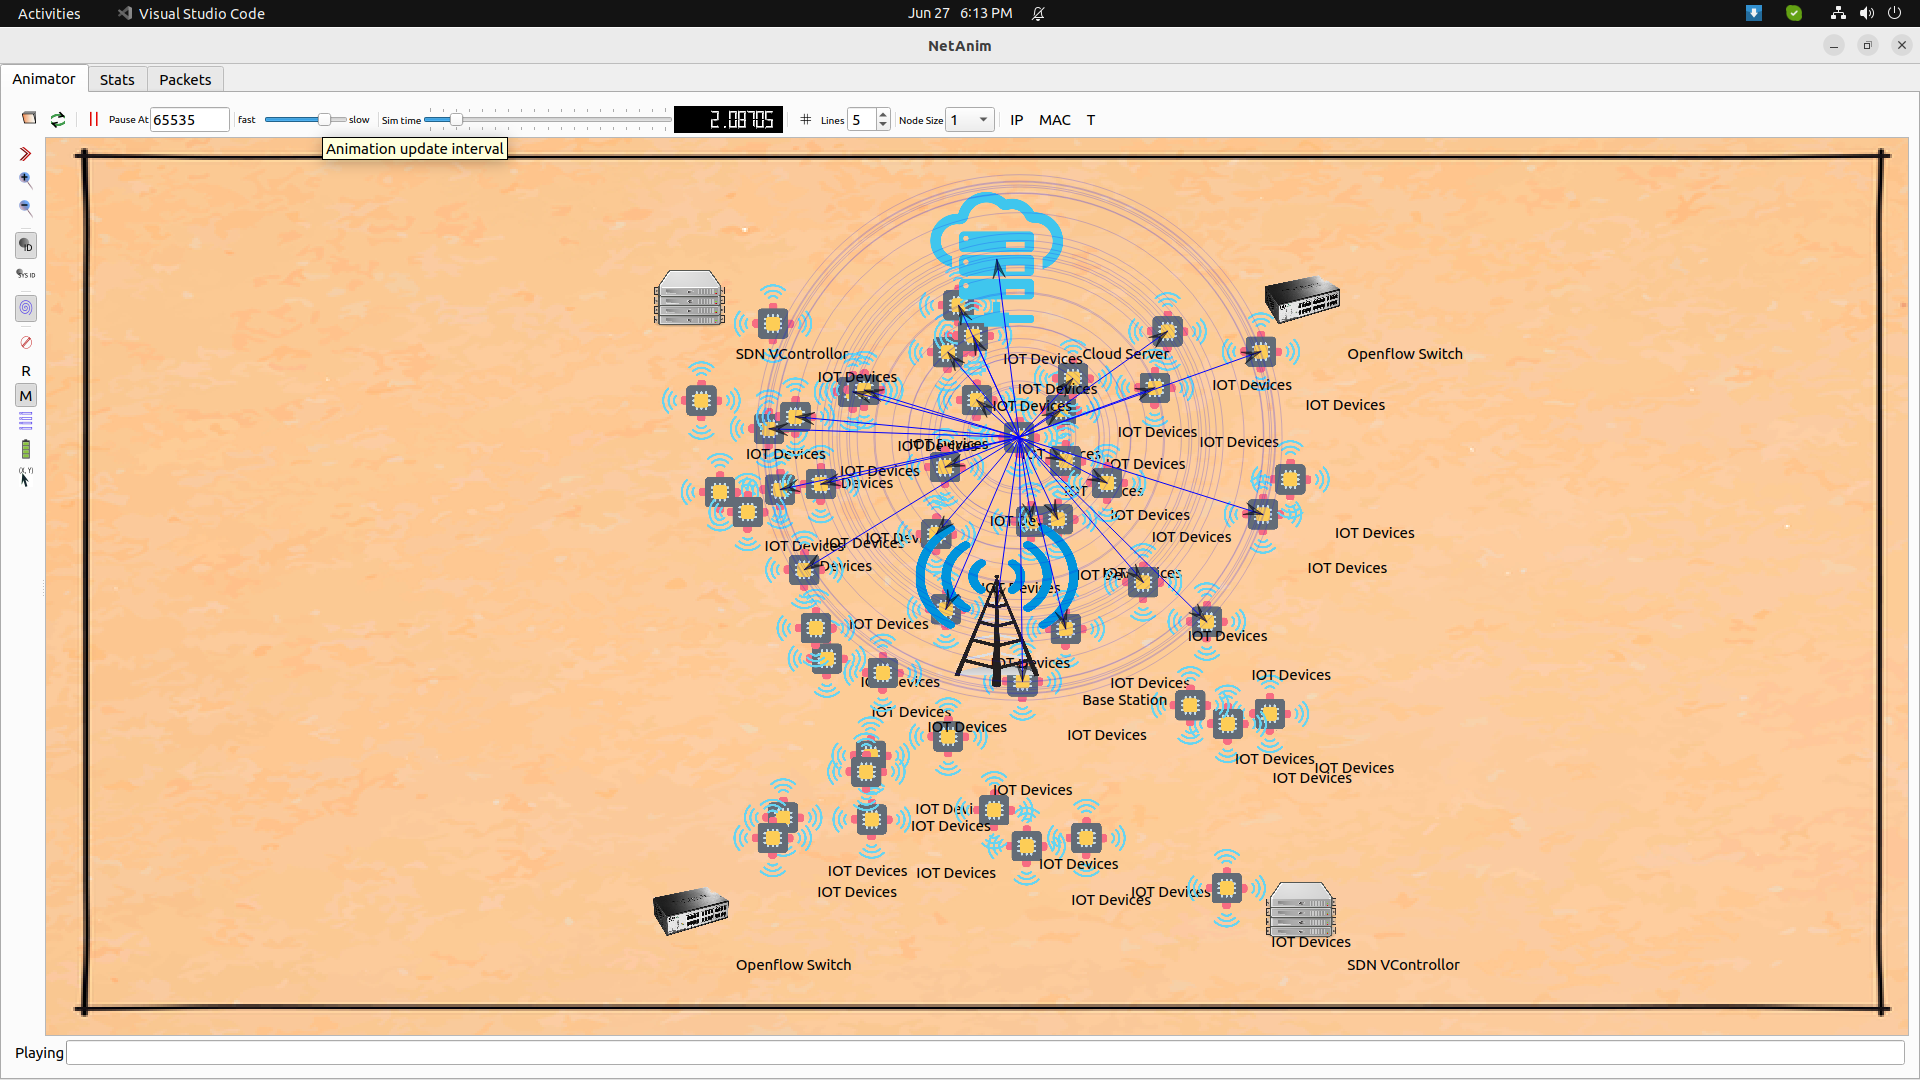
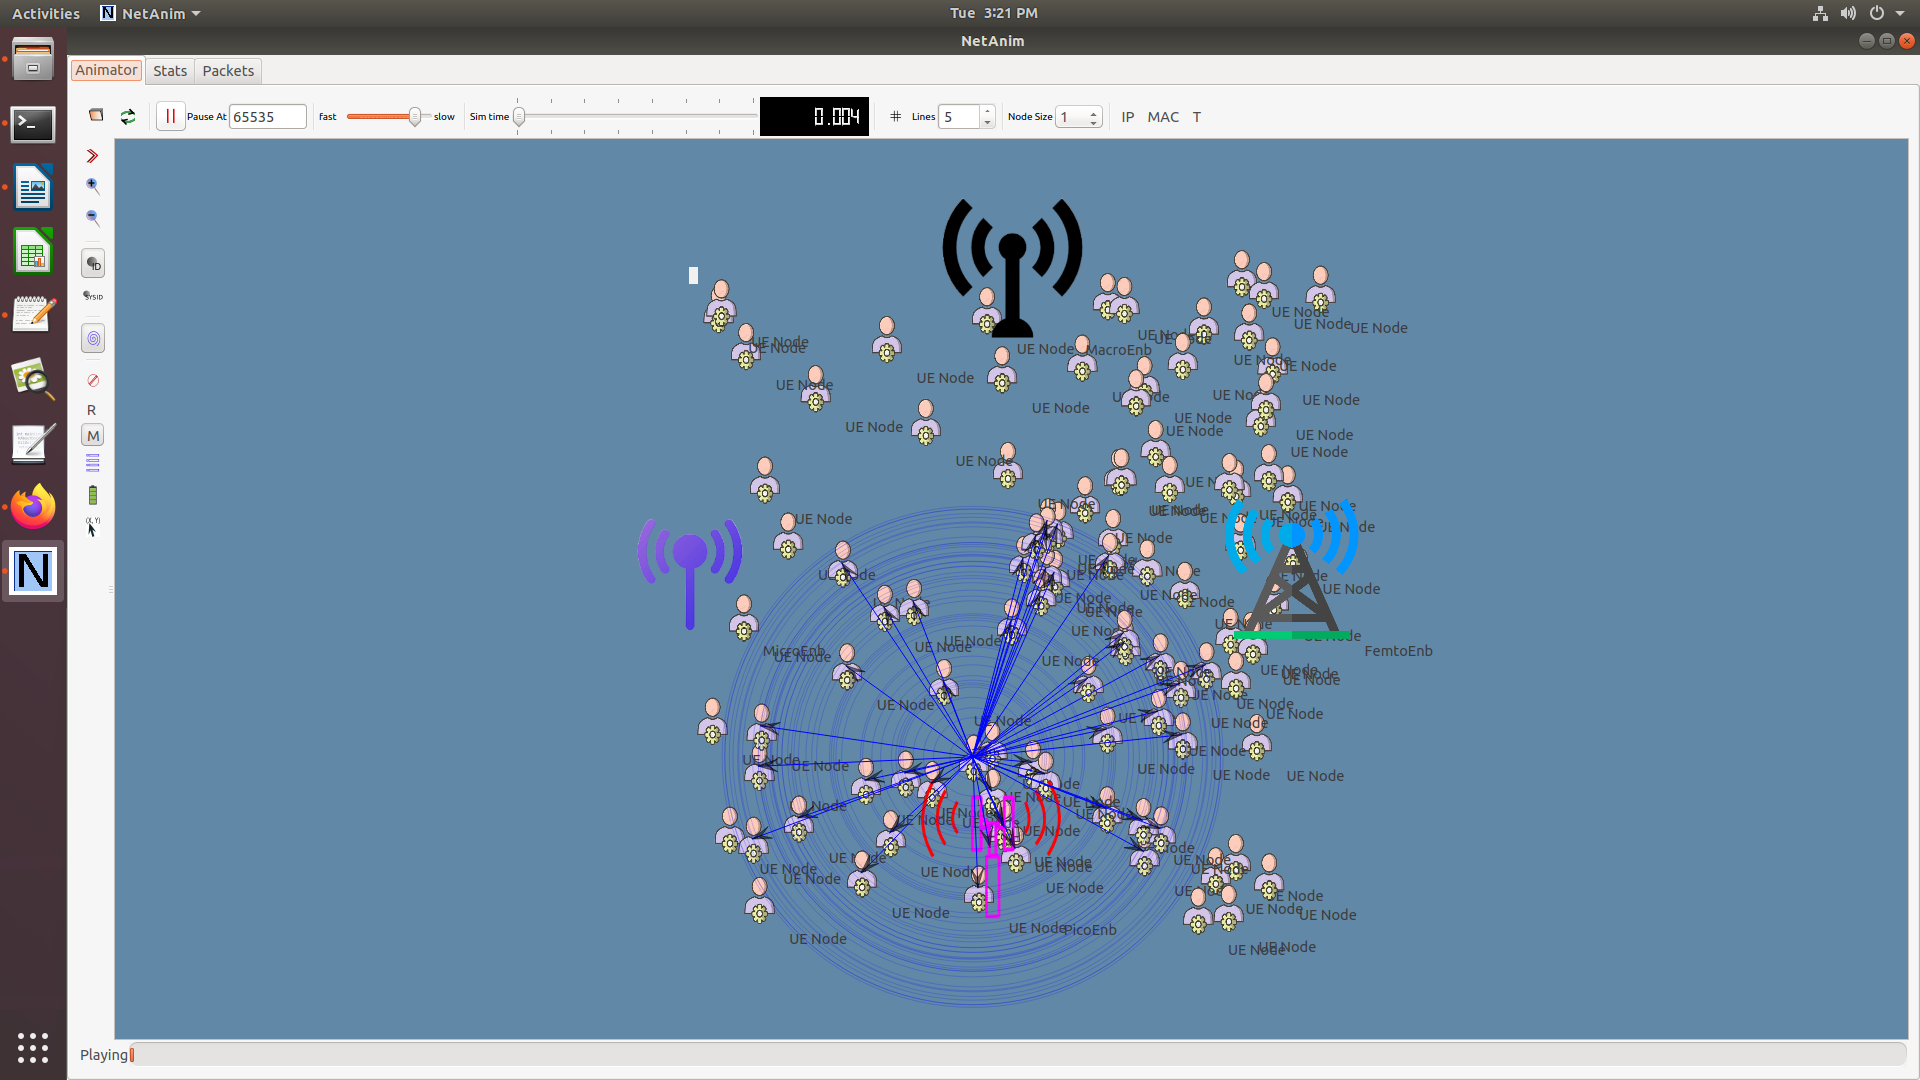
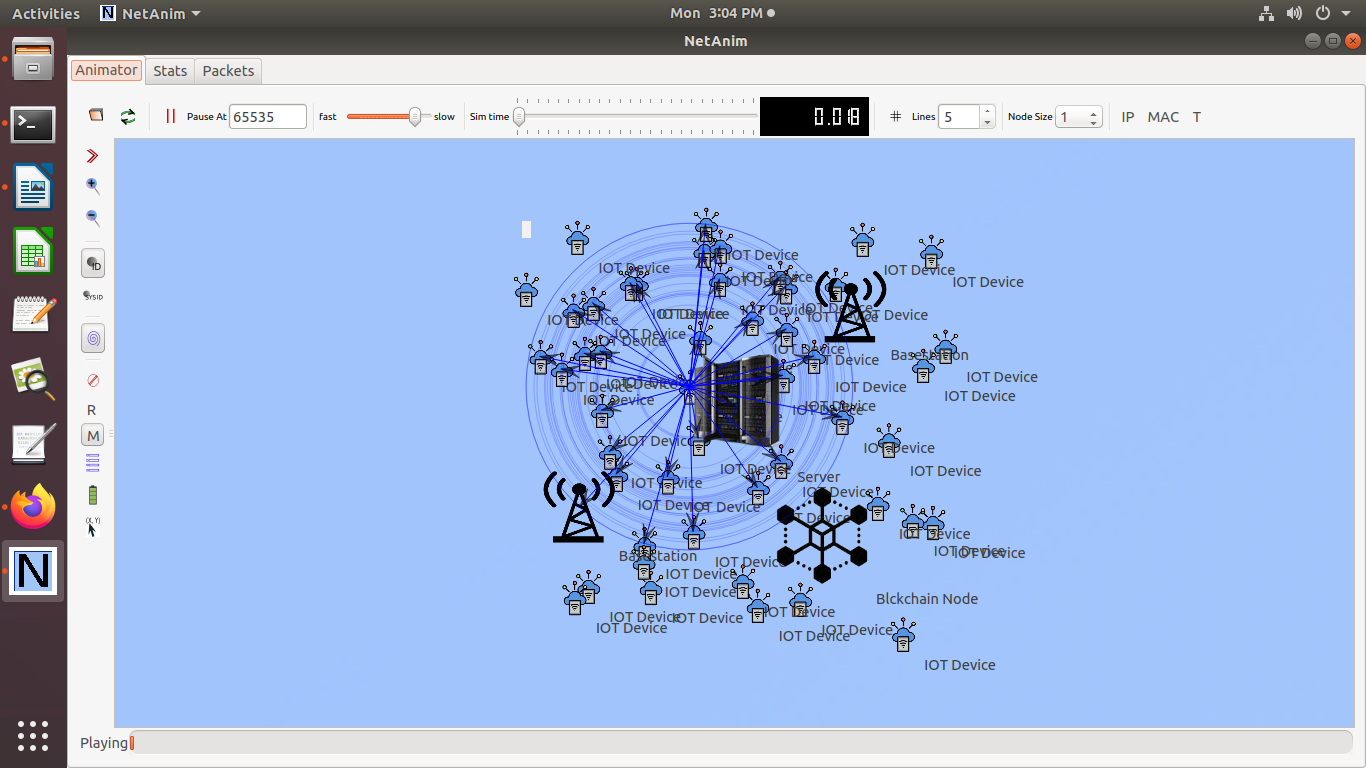
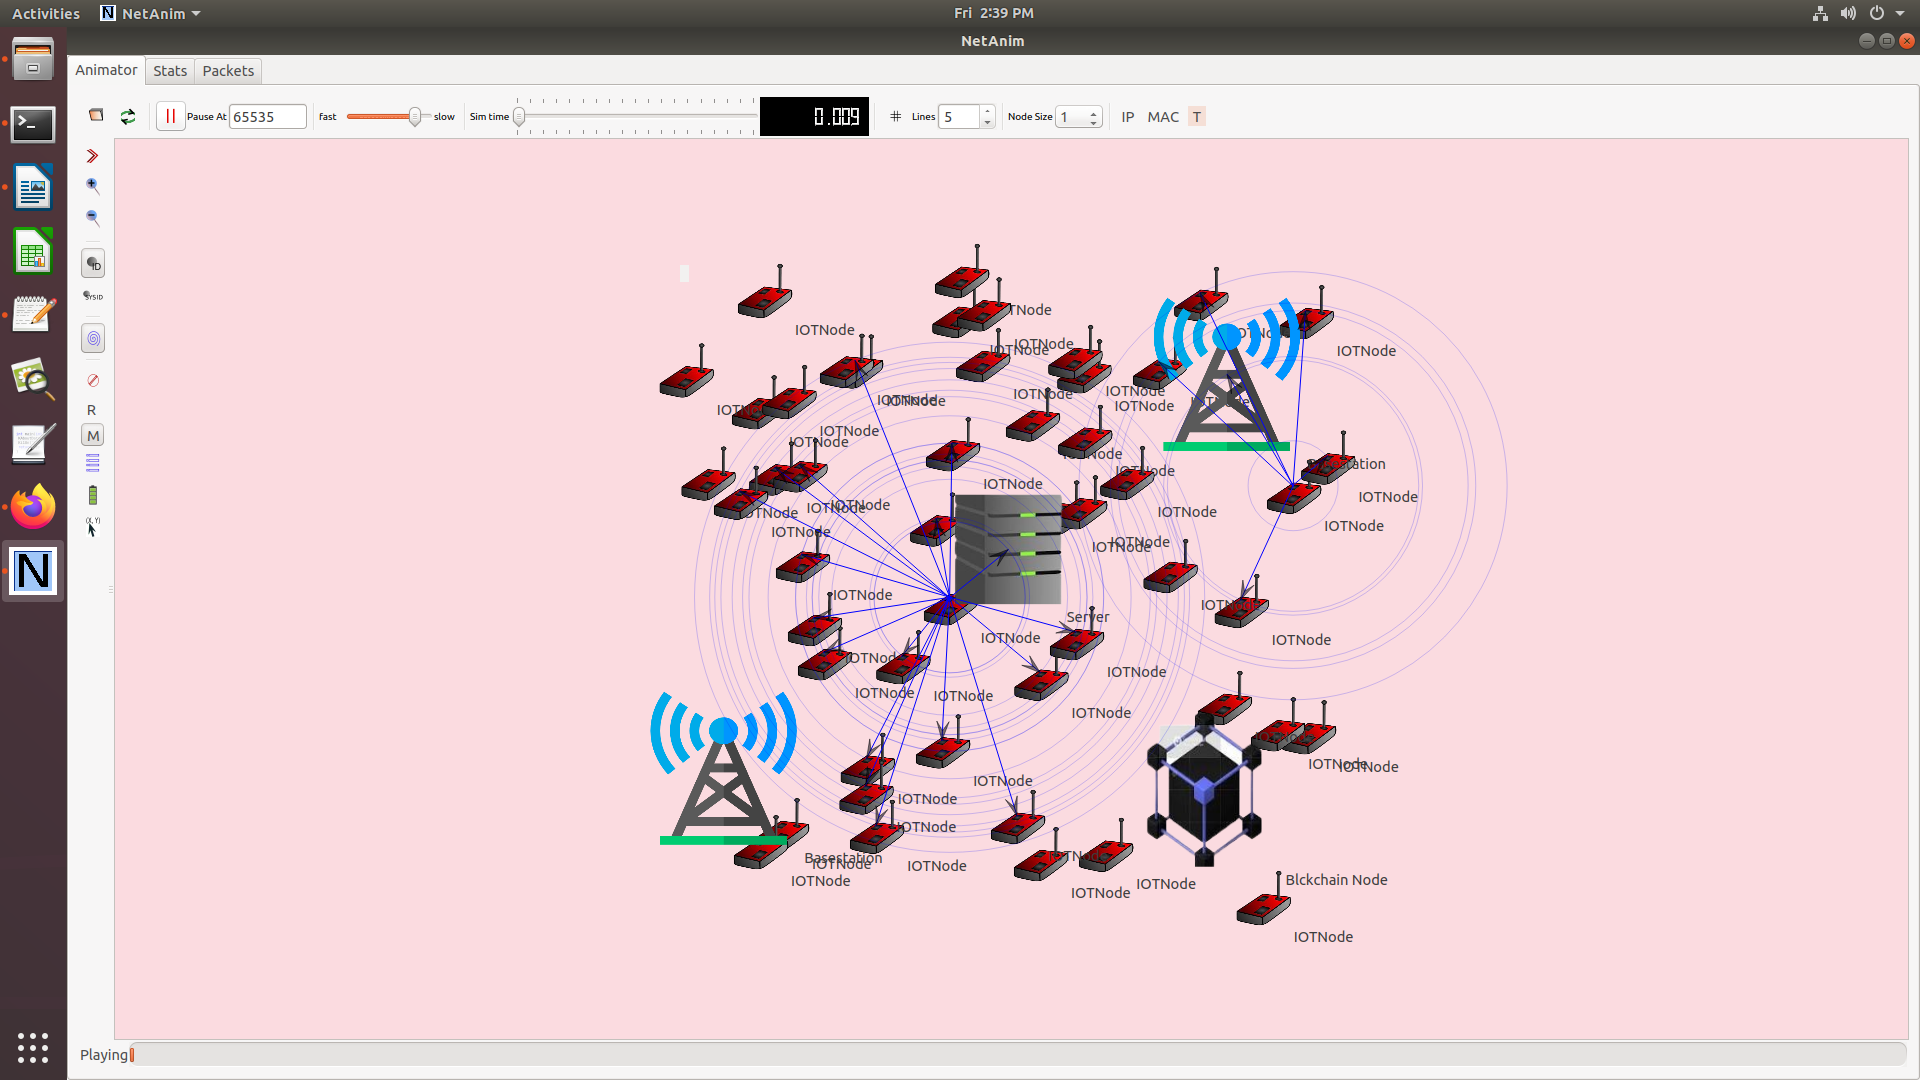
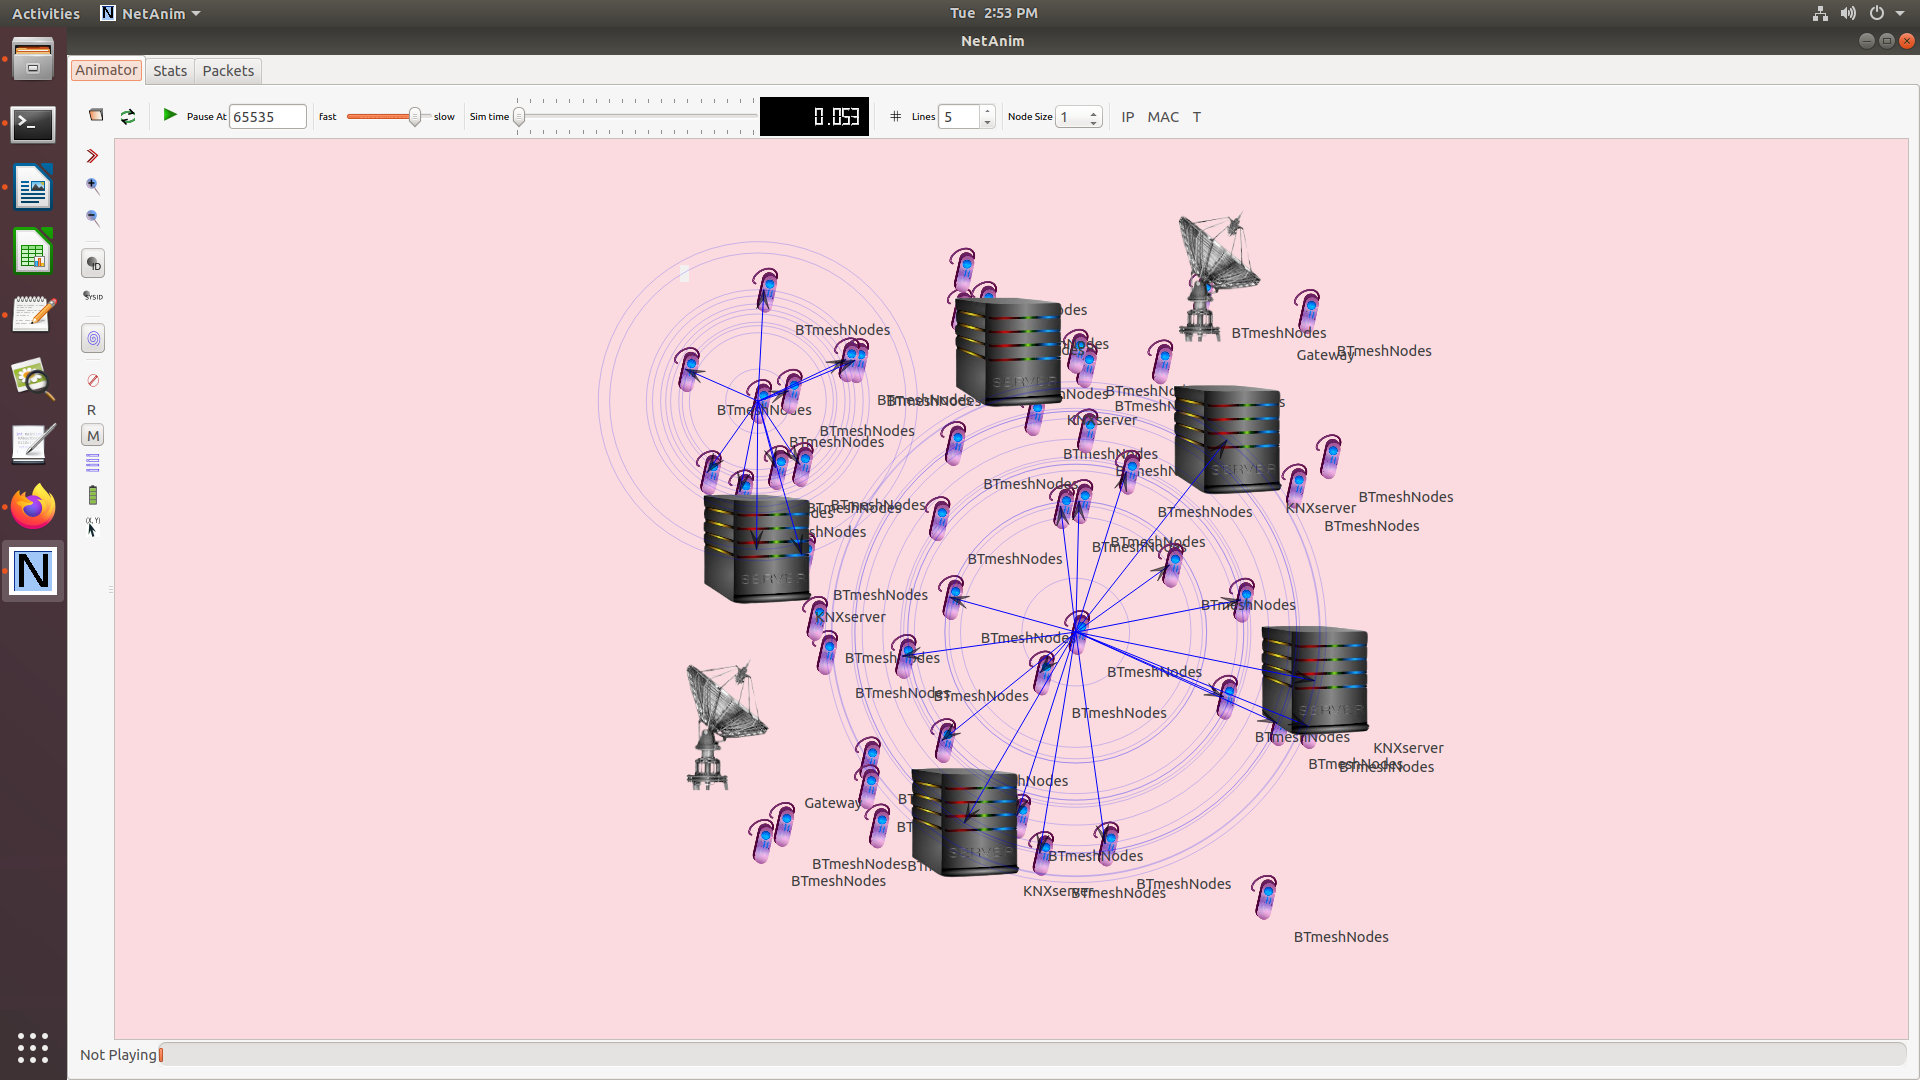
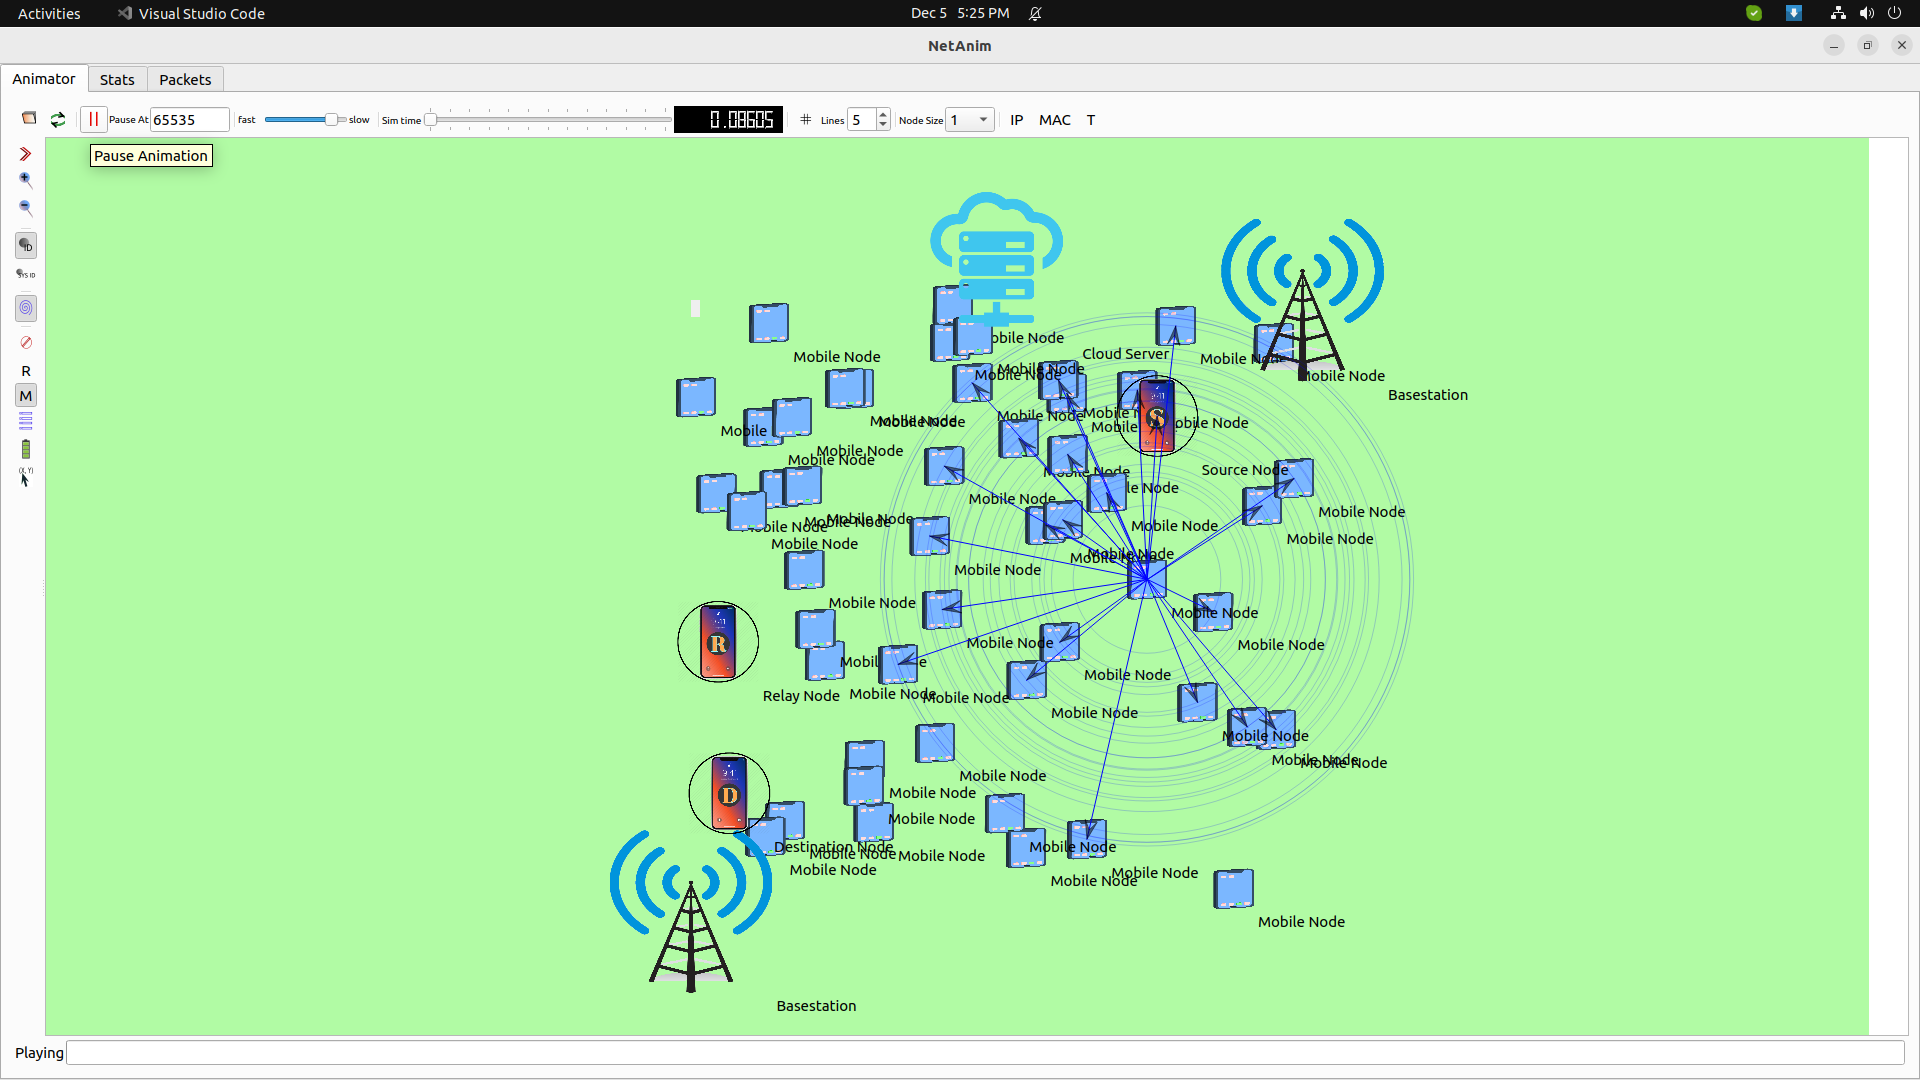
Implementing an optical network in ns-3 involves simulating a network topology that utilizes optical fiber links for transmitting the data in high-speed. Rather wireless networks, ns-3 does not have a built-in module for optical network. Hence, we need to simulate the optical networks by using the point-to-point link. The point-to-point link should have very high data rates and low propagation delays. The following steps illustrates the set up for a basic optical network simulation in ns-3.
Prerequisites
- You should have a system with ns-3 installed in it.
- You should have a basic understanding of ns-3 and C++ programming language.
Steps to Implement an Optical Network in ns-3
Install ns-3: Make sure that you have ns-3 installed in your system. You can download it from the official website and follow the installation instructions.
wget https://www.nsnam.org/release/ns-allinone-3.xx.tar.bz2
tar -xjf ns-allinone-3.xx.tar.bz2
cd ns-allinone-3.xx
./build.py –enable-examples –enable-tests
Include Necessary Headers: Include the headers for network modules, mobility, internet, and point-to-point links.
#include “ns3/core-module.h”
#include “ns3/network-module.h”
#include “ns3/mobility-module.h”
#include “ns3/internet-module.h”
#include “ns3/point-to-point-module.h”
#include “ns3/applications-module.h”
Create Network Topology: Create nodes that represents the devices in the optical network.
NodeContainer nodes;
nodes.Create(4); // Create 4 nodes
Set Up Point-to-Point Links: set point-to-point links to simulate optical communication. Note that you have to Set high data rates and low propagation delays.
PointToPointHelper pointToPoint;
pointToPoint.SetDeviceAttribute(“DataRate”, StringValue(“10Gbps”));
pointToPoint.SetChannelAttribute(“Delay”, StringValue(“2ms”));
NetDeviceContainer devices;
devices = pointToPoint.Install(nodes);
Install Internet Stack: Install the internet stack on the nodes.
InternetStackHelper stack;
stack.Install(nodes);
Assign IP Addresses: Assign IP addresses to the devices.
Ipv4AddressHelper address;
address.SetBase(“10.1.1.0”, “255.255.255.0”);
Ipv4InterfaceContainer interfaces = address.Assign(devices);
Create Applications: Create and install applications to transmit the data between the nodes.
uint16_t port = 9;
OnOffHelper onoff(“ns3::UdpSocketFactory”, Address(InetSocketAddress(interfaces.GetAddress(1), port)));
onoff.SetConstantRate(DataRate(“1Gbps”));
ApplicationContainer app = onoff.Install(nodes.Get(0));
app.Start(Seconds(1.0));
app.Stop(Seconds(10.0));
PacketSinkHelper sink(“ns3::UdpSocketFactory”, Address(InetSocketAddress(Ipv4Address::GetAny(), port)));
app = sink.Install(nodes.Get(1));
app.Start(Seconds(0.0));
app.Stop(Seconds(10.0));
Run the Simulation: Finally, you can set the simulation stopping time and start the simulator.
Simulator::Stop(Seconds(10.0));
Simulator::Run();
Simulator::Destroy();
Example Complete Script
#include “ns3/core-module.h”
#include “ns3/network-module.h”
#include “ns3/internet-module.h”
#include “ns3/point-to-point-module.h”
#include “ns3/applications-module.h”
using namespace ns3;
int main(int argc, char *argv[])
{
NodeContainer nodes;
nodes.Create(4); // Create 4 nodes
PointToPointHelper pointToPoint;
pointToPoint.SetDeviceAttribute(“DataRate”, StringValue(“10Gbps”));
pointToPoint.SetChannelAttribute(“Delay”, StringValue(“2ms”));
NetDeviceContainer devices;
devices = pointToPoint.Install(nodes);
InternetStackHelper stack;
stack.Install(nodes);
Ipv4AddressHelper address;
address.SetBase(“10.1.1.0”, “255.255.255.0”);
Ipv4InterfaceContainer interfaces = address.Assign(devices);
uint16_t port = 9;
OnOffHelper onoff(“ns3::UdpSocketFactory”, Address(InetSocketAddress(interfaces.GetAddress(1), port)));
onoff.SetConstantRate(DataRate(“1Gbps”));
ApplicationContainer app = onoff.Install(nodes.Get(0));
app.Start(Seconds(1.0));
app.Stop(Seconds(10.0));
PacketSinkHelper sink(“ns3::UdpSocketFactory”, Address(InetSocketAddress(Ipv4Address::GetAny(), port)));
app = sink.Install(nodes.Get(1));
app.Start(Seconds(0.0));
app.Stop(Seconds(10.0));
Simulator::Stop(Seconds(10.0));
Simulator::Run();
Simulator::Destroy();
return 0;
}
Running the Script
Use the following commands to compile and run the script.
./waf configure –enable-examples
./waf build
./waf –run <script-name>
We simulate all types of optical networks and work on all modules stay in touch with us for more support.


