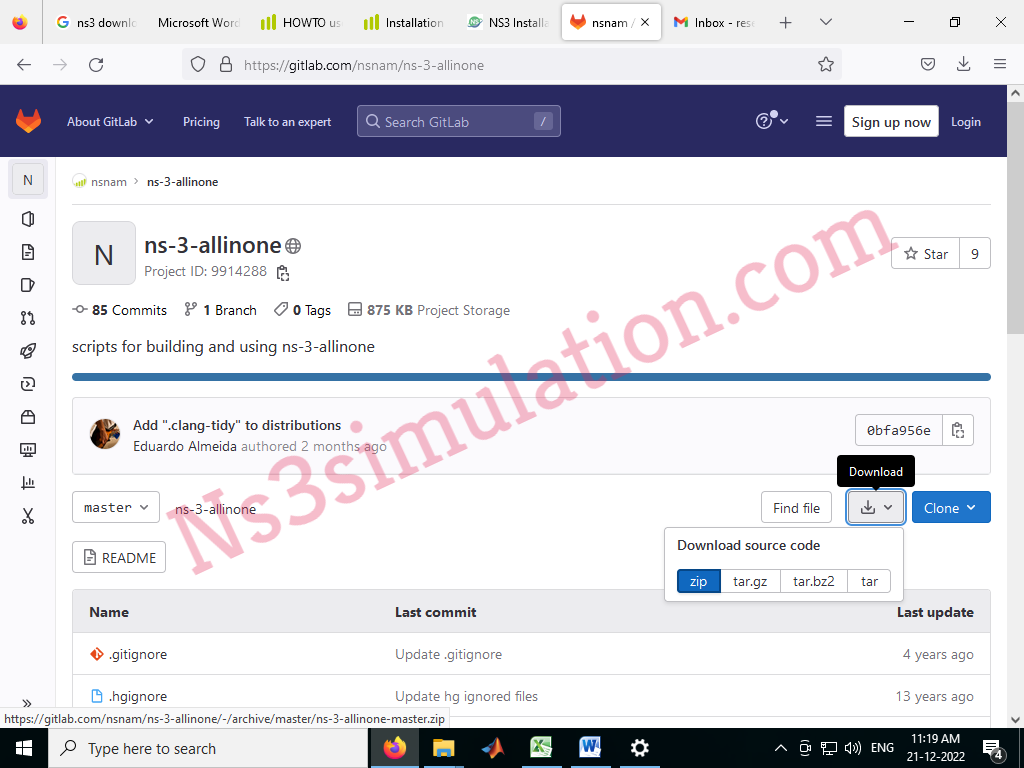
Our research professionals have described this article about the installation of network simulator 3 in windows 10.
Stage: I
As the first process, we have to install the windows subsystem for linux. Our research experts have highlighted the required steps to install WSL.
- First, we have to open the settings and click on the apps
- Then, we have to click the programming and features options in the related settings
- Click the turn windows features on or off option from the left pane
- Check the windows subsystem for linux option
- Click the ok button
- Click the restart now button

Stage: II
Subsequently, we have to download the packages based on Ns3 through the utilization of Git and that is acquired through the following URL.

Stage: III
Following that, we have to execute the following commands in the window to install the basic libraries for network simulator 3.
sudo apt-get update
sudo apt install g++ python3 python3-dev pkg-config sqlite3 qtbase5-dev qtchooser qt5-qmake qtbase5-dev-tools
Stage: IV
At this moment, we have to install the ns-3.35 packages through the implementation of the following commands in the window.
cd /home/…./ns-allinone-3.35/ns-3.35
./waf –disable-python configure
To this end, we hope that we have provided required knowledge to install ns3 in windows 10. In addition, if you have any clarifications just make a call.
